


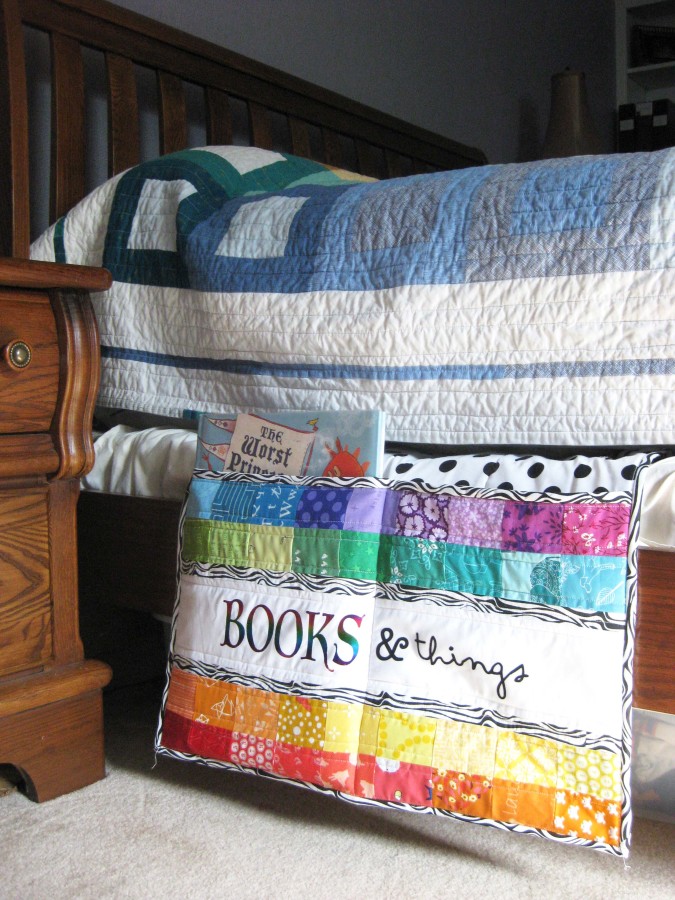
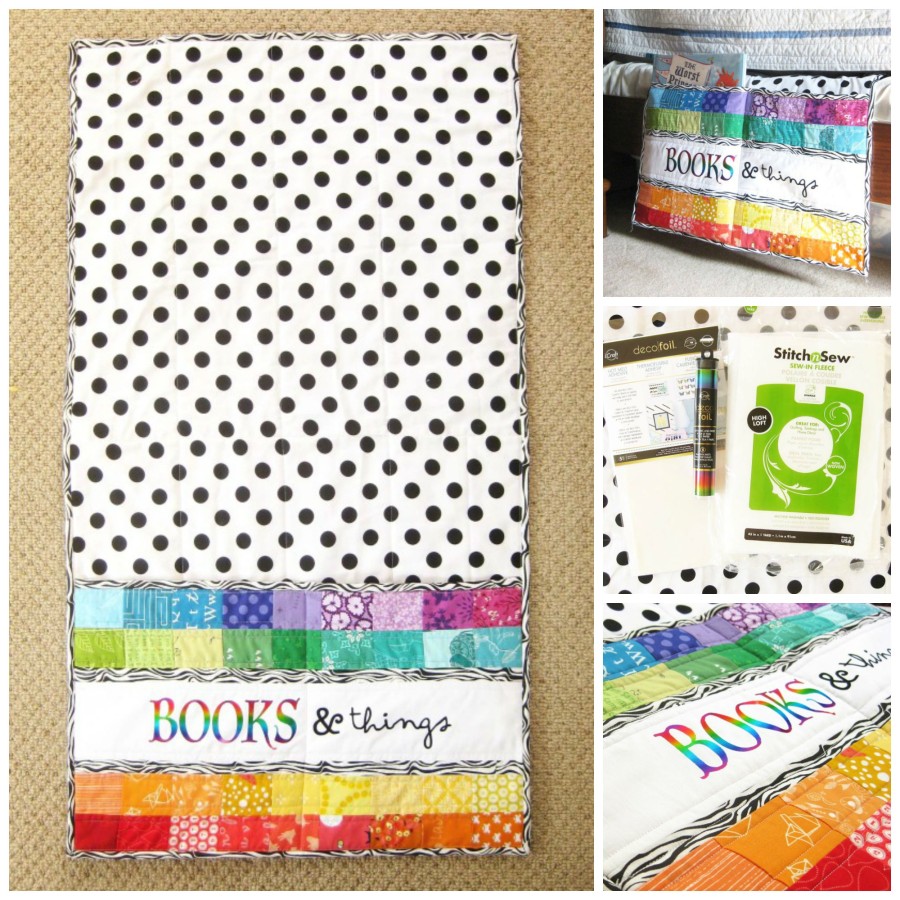
Hello everyone! Audrey here today to share a little back to school organizing project. On busy school mornings, it seems like we are always searching for that missing library book that needs to be returned TODAY! School library books tend to get mixed up with our own book stash, so I wanted to make a special place where my daughter can keep important things. Most of her books end up somewhere in her room, so I decided to make a special bed side caddy where she can keep her important things.
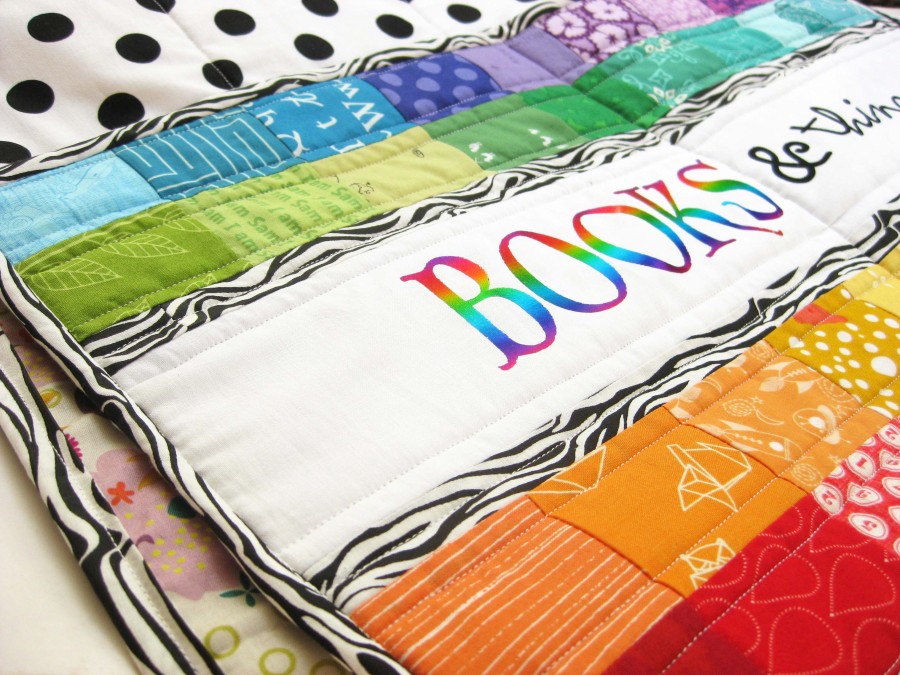
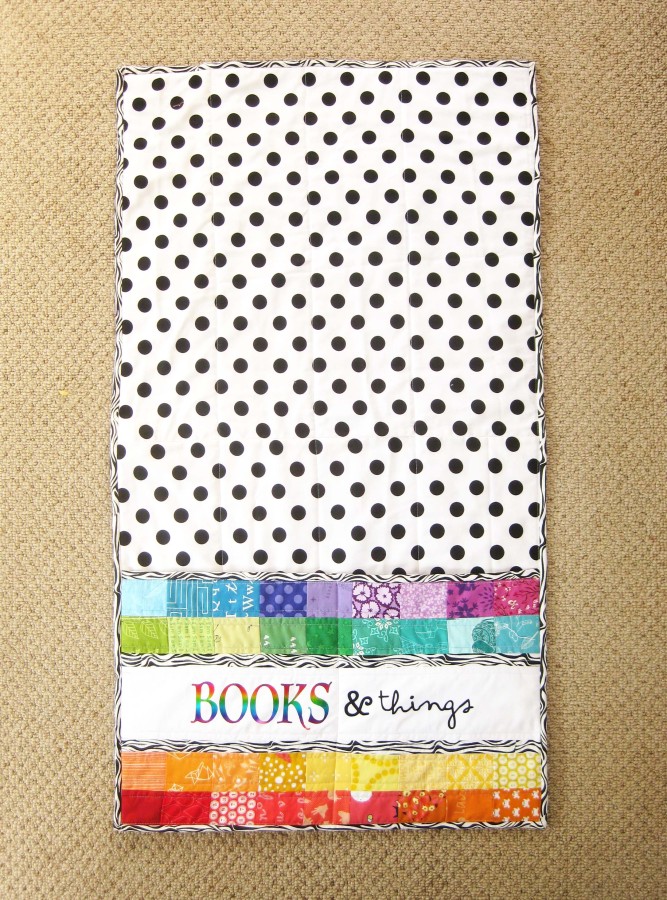
The basic structure of this is a large flap of fabric that is tucked between the box spring and the mattress with a pocket that hangs out the side.
Materials:
2 pieces of fabric for the back flap and interfacing of the same size
2 pieces of fabric for the pocket and interfacing the same size
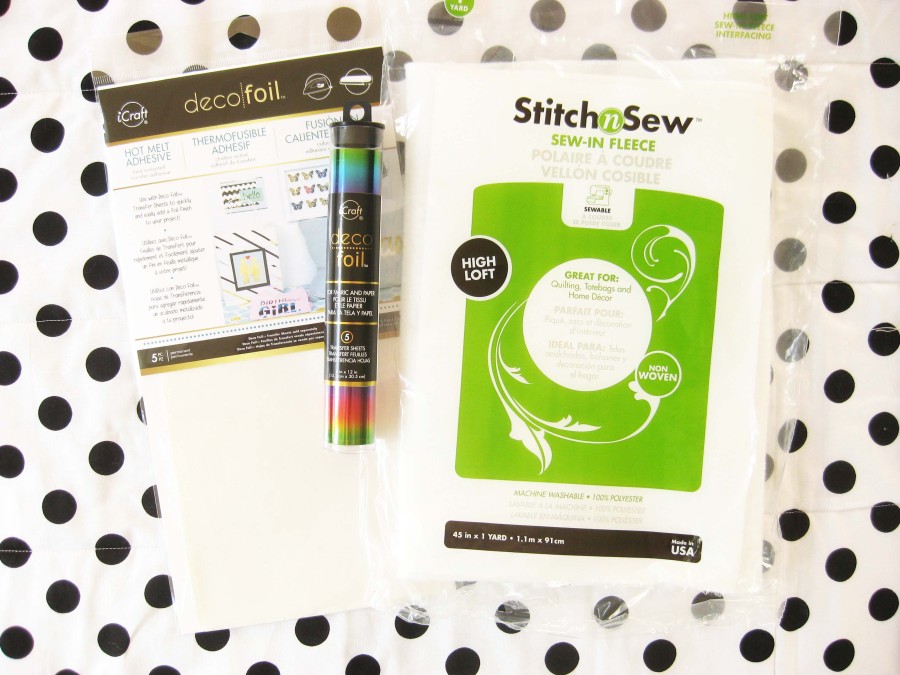
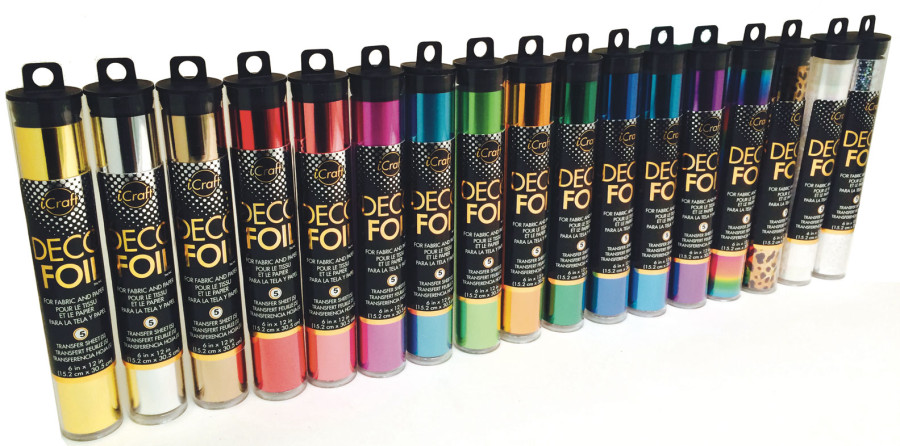
iCraft® DecoFoil™ Rainbow Transfer sheets for designs on the front of pocket
iCraft® DecoFoil™ Hot Melt Adhesive
SewNStitch™ High Loft Interfacing
Instructions:
1. Cut two pieces of fabric for flap and one piece of StitchnSew™ Fleece High Loft interfacing the same size. I made mine long enough so that it would fit deep enough in between the mattresses and wide enough to fit the books and things that I wanted to put in the pocket. Sandwich the interfacing between the wrong sides two pieces of fabric and quilt. I just used a few vertical quilting lines along the length of the fabric.
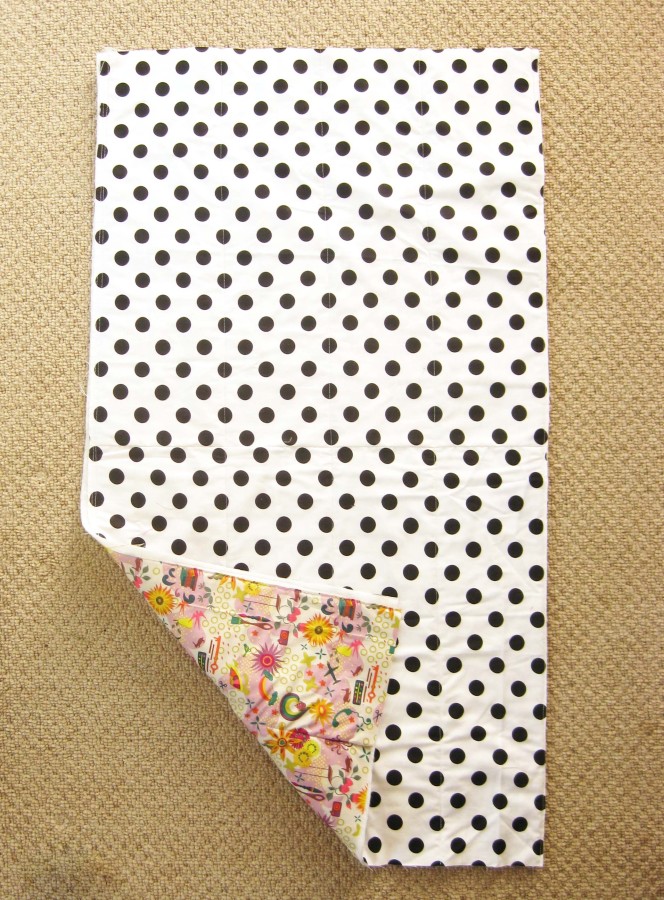
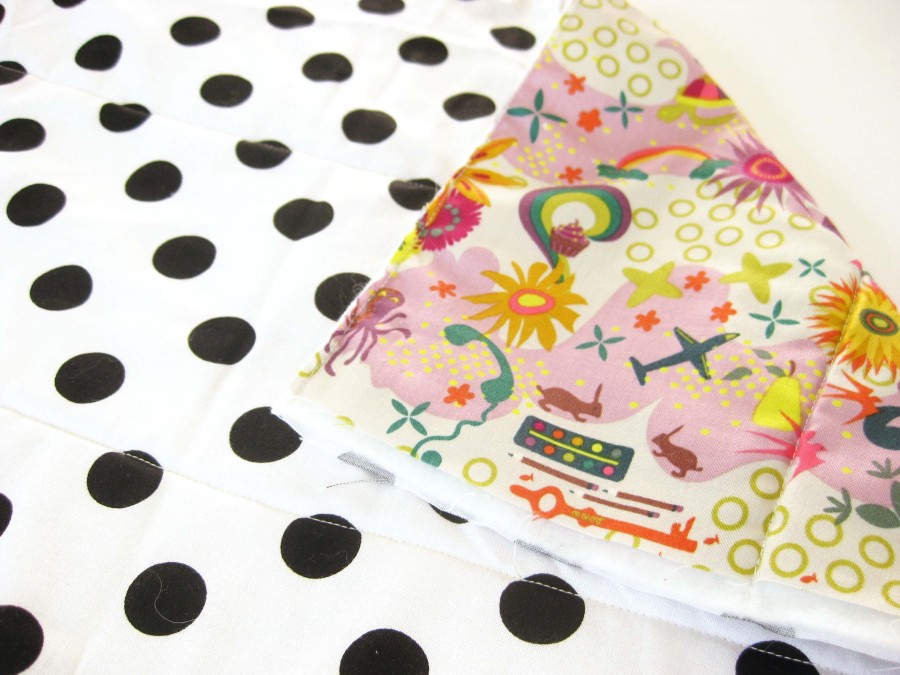
2. Next, cut two pieces of fabric for pocket and one piece of StitchnSew™ Fleece High Loft interfacing the same size. The front piece of my pocket was actually made from scraps of a quilt I had made for my daughter’s bed, however you can use just a plain piece of fabric.
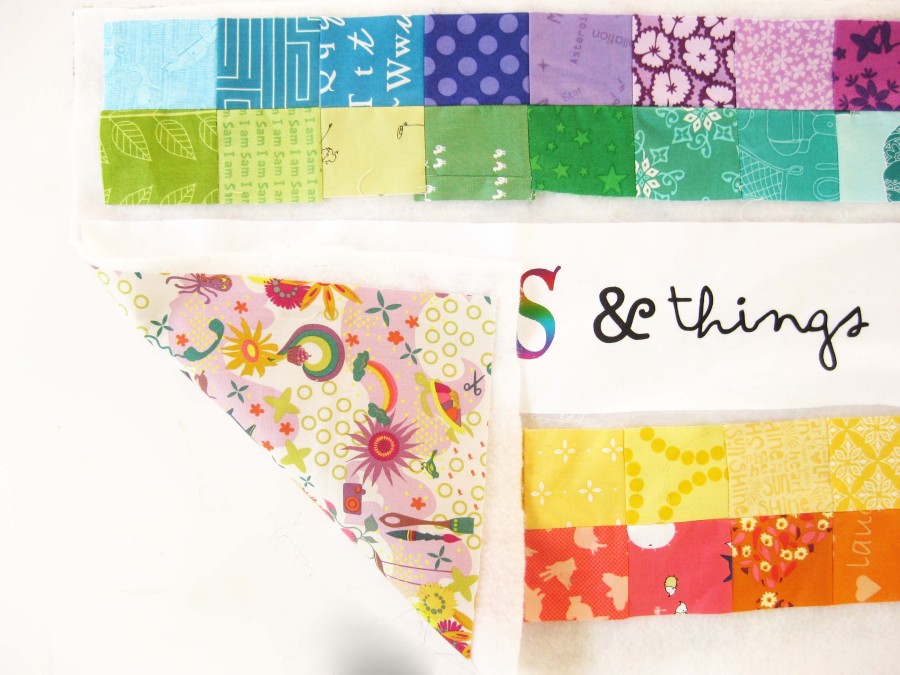
3. To make the word “Books”, use an electronic die cutting machine like the Silhouette Cameo to cut the letters out from the DecoFoil™ Hot Melt Adhesive. Iron to melt the Adhesive letters to some white fabric, and then cover with the Rainbow Deco Foil™ transfer sheet.
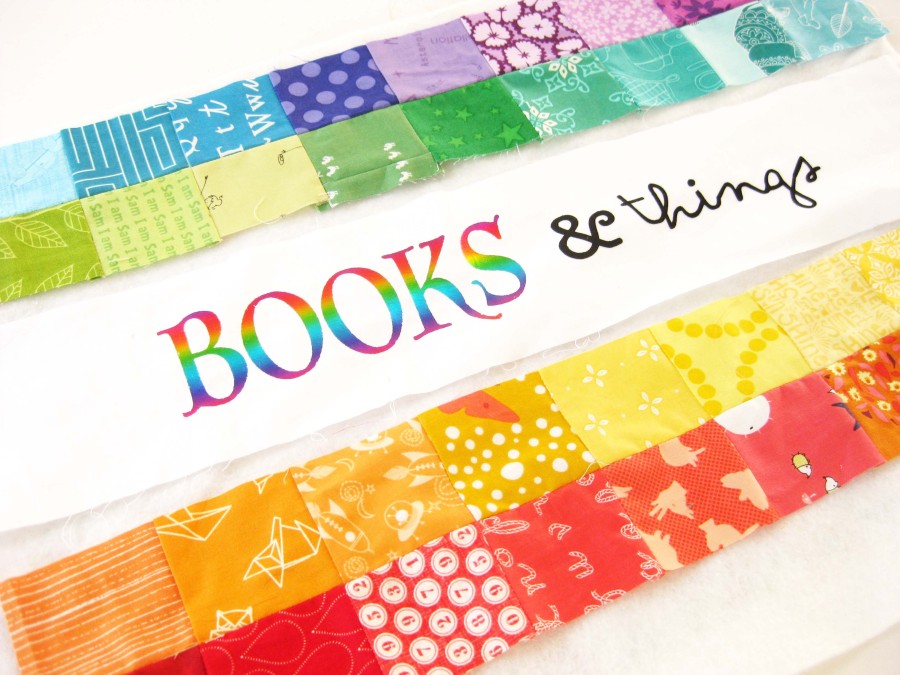
4. To make the words “& things”, iron a piece of Deco Foil Hot Melt adhesive to the back of a piece of black fabric to help stabilize it. Then cut it with your die cutting machine using a fabric cutting blade and settings. The Hot Melt Adhesive on the back of the letters also helps is adhere to the white fabric when ironed.
5. Sandwich the pocket interfacing between the pocket back and the pocket front fabric. Quilt as desired. Machine stitch a binding to the top edge of your pocket.
6. Stitch the pocket to the front bottom of your flap on the sides and bottom. Then machine stitch binding around the entire outside edge of your caddy.
7. Tuck in your bed and keep your important things close!
Thanks so much for joining me today and hope that your Back to School projects are a success!
Stop by our online store to pick up all the supplies from today’s tutorial including our very popular iCraft® Deco Foil™ Rainbow Transfer Sheets!