


Hello and welcome!
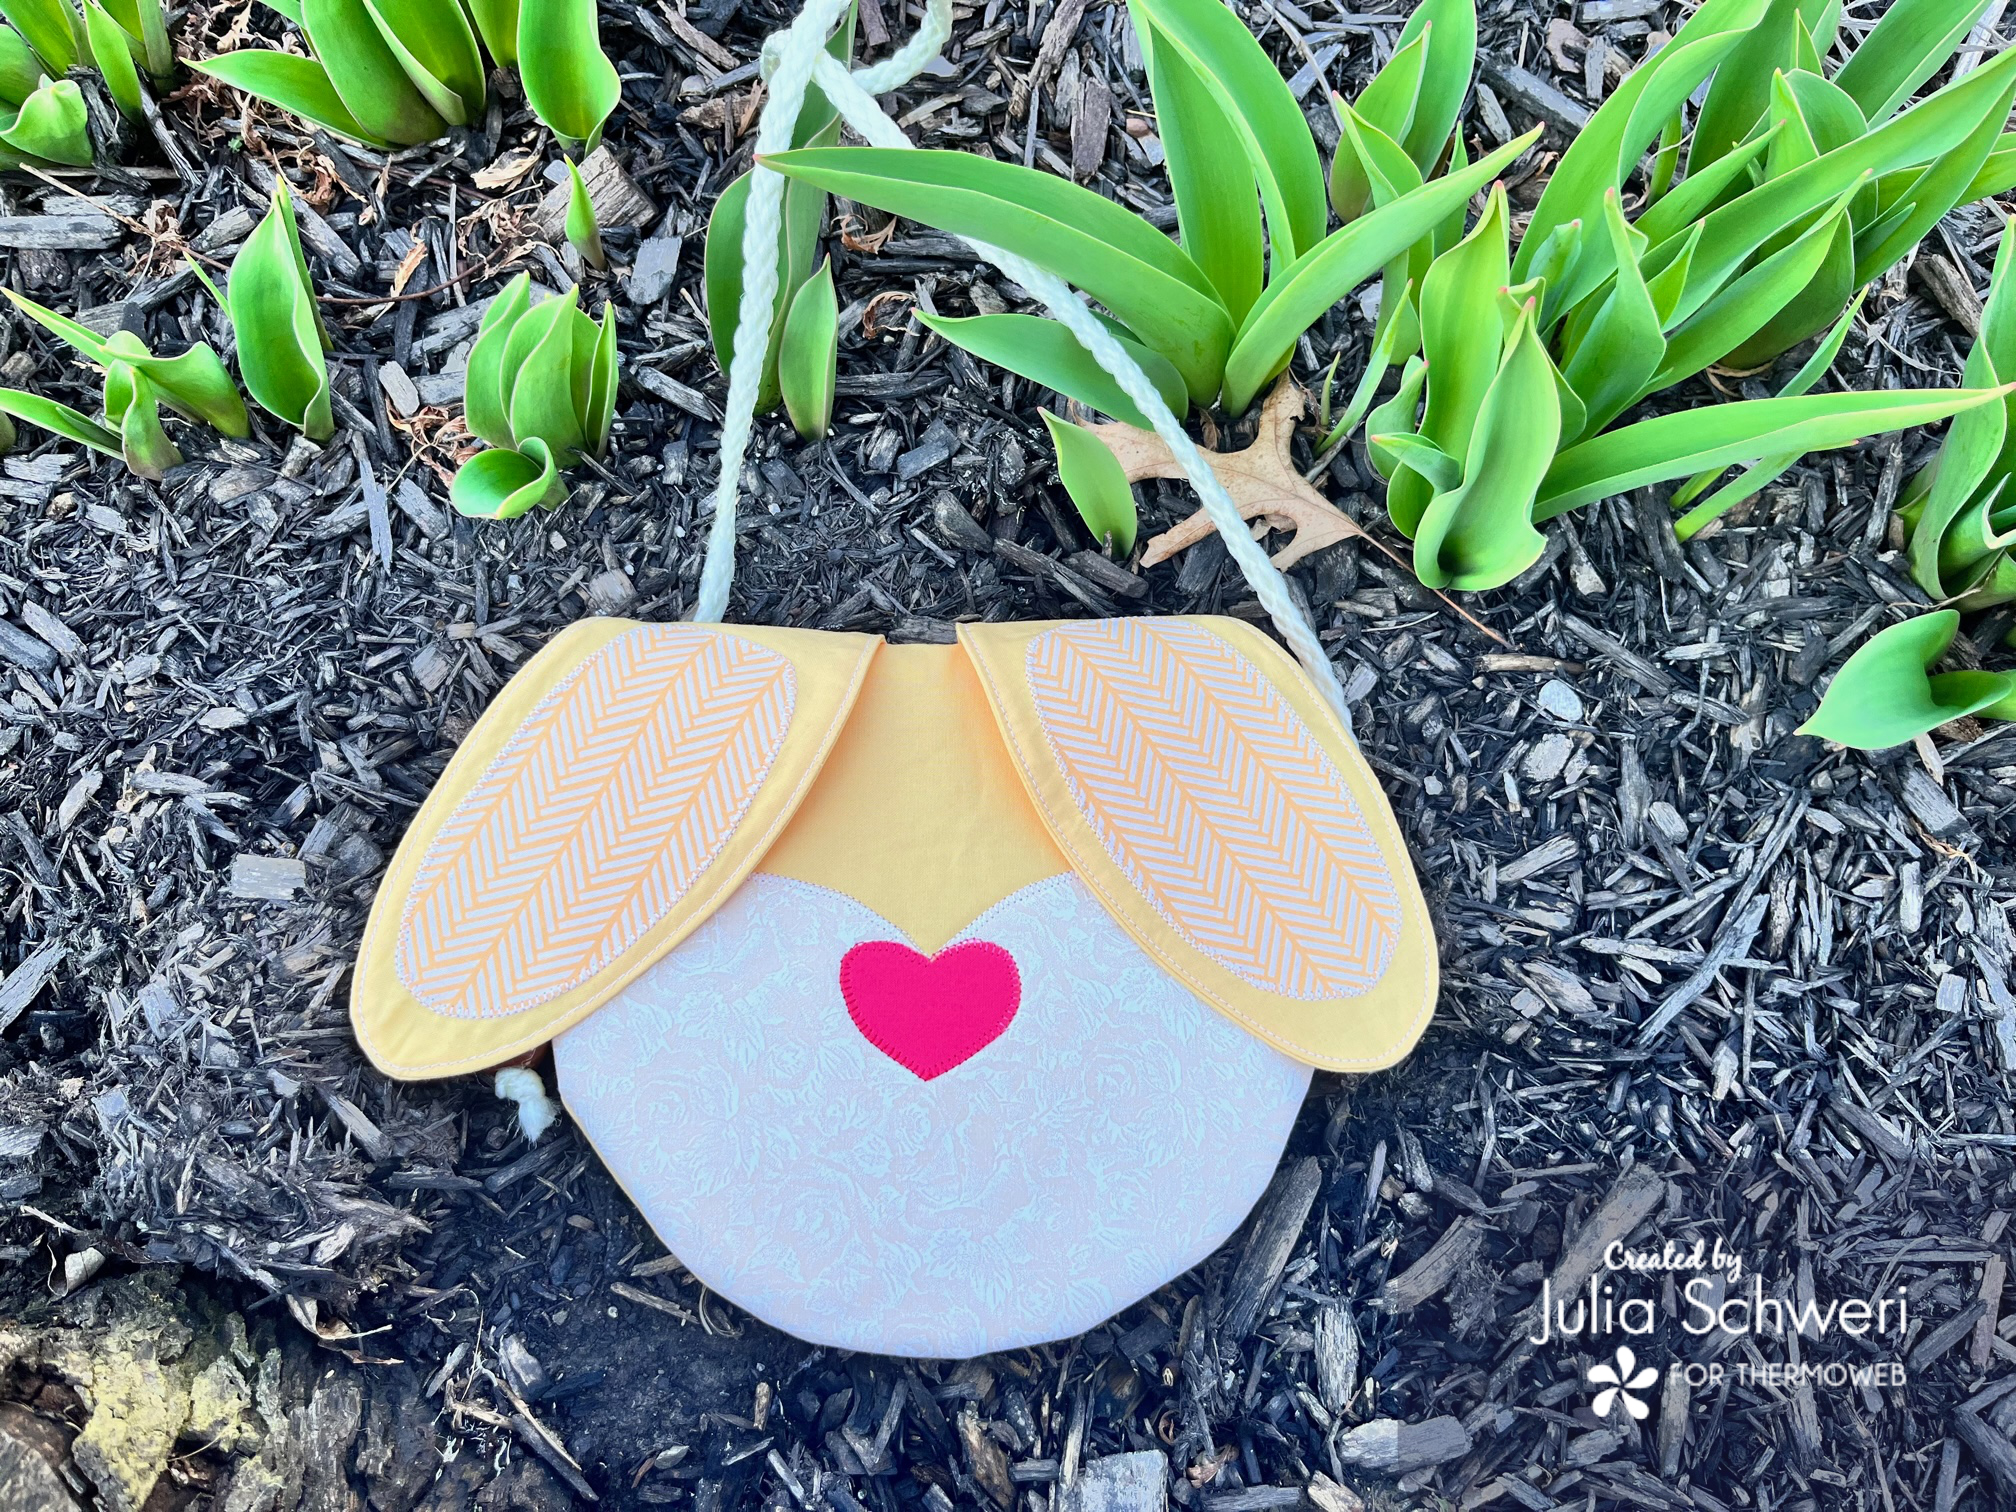
It’s Julia from Inflorescence Designs! I’m so joyful you are visiting today. This week it’s all about little spring bunnies! So for today’s tutorial I am sharing how to make a fun little bunny bag. This little bag is perfect for those special spring and Easter dresses. Make it any color combination you like!
Baby Bunny Bag
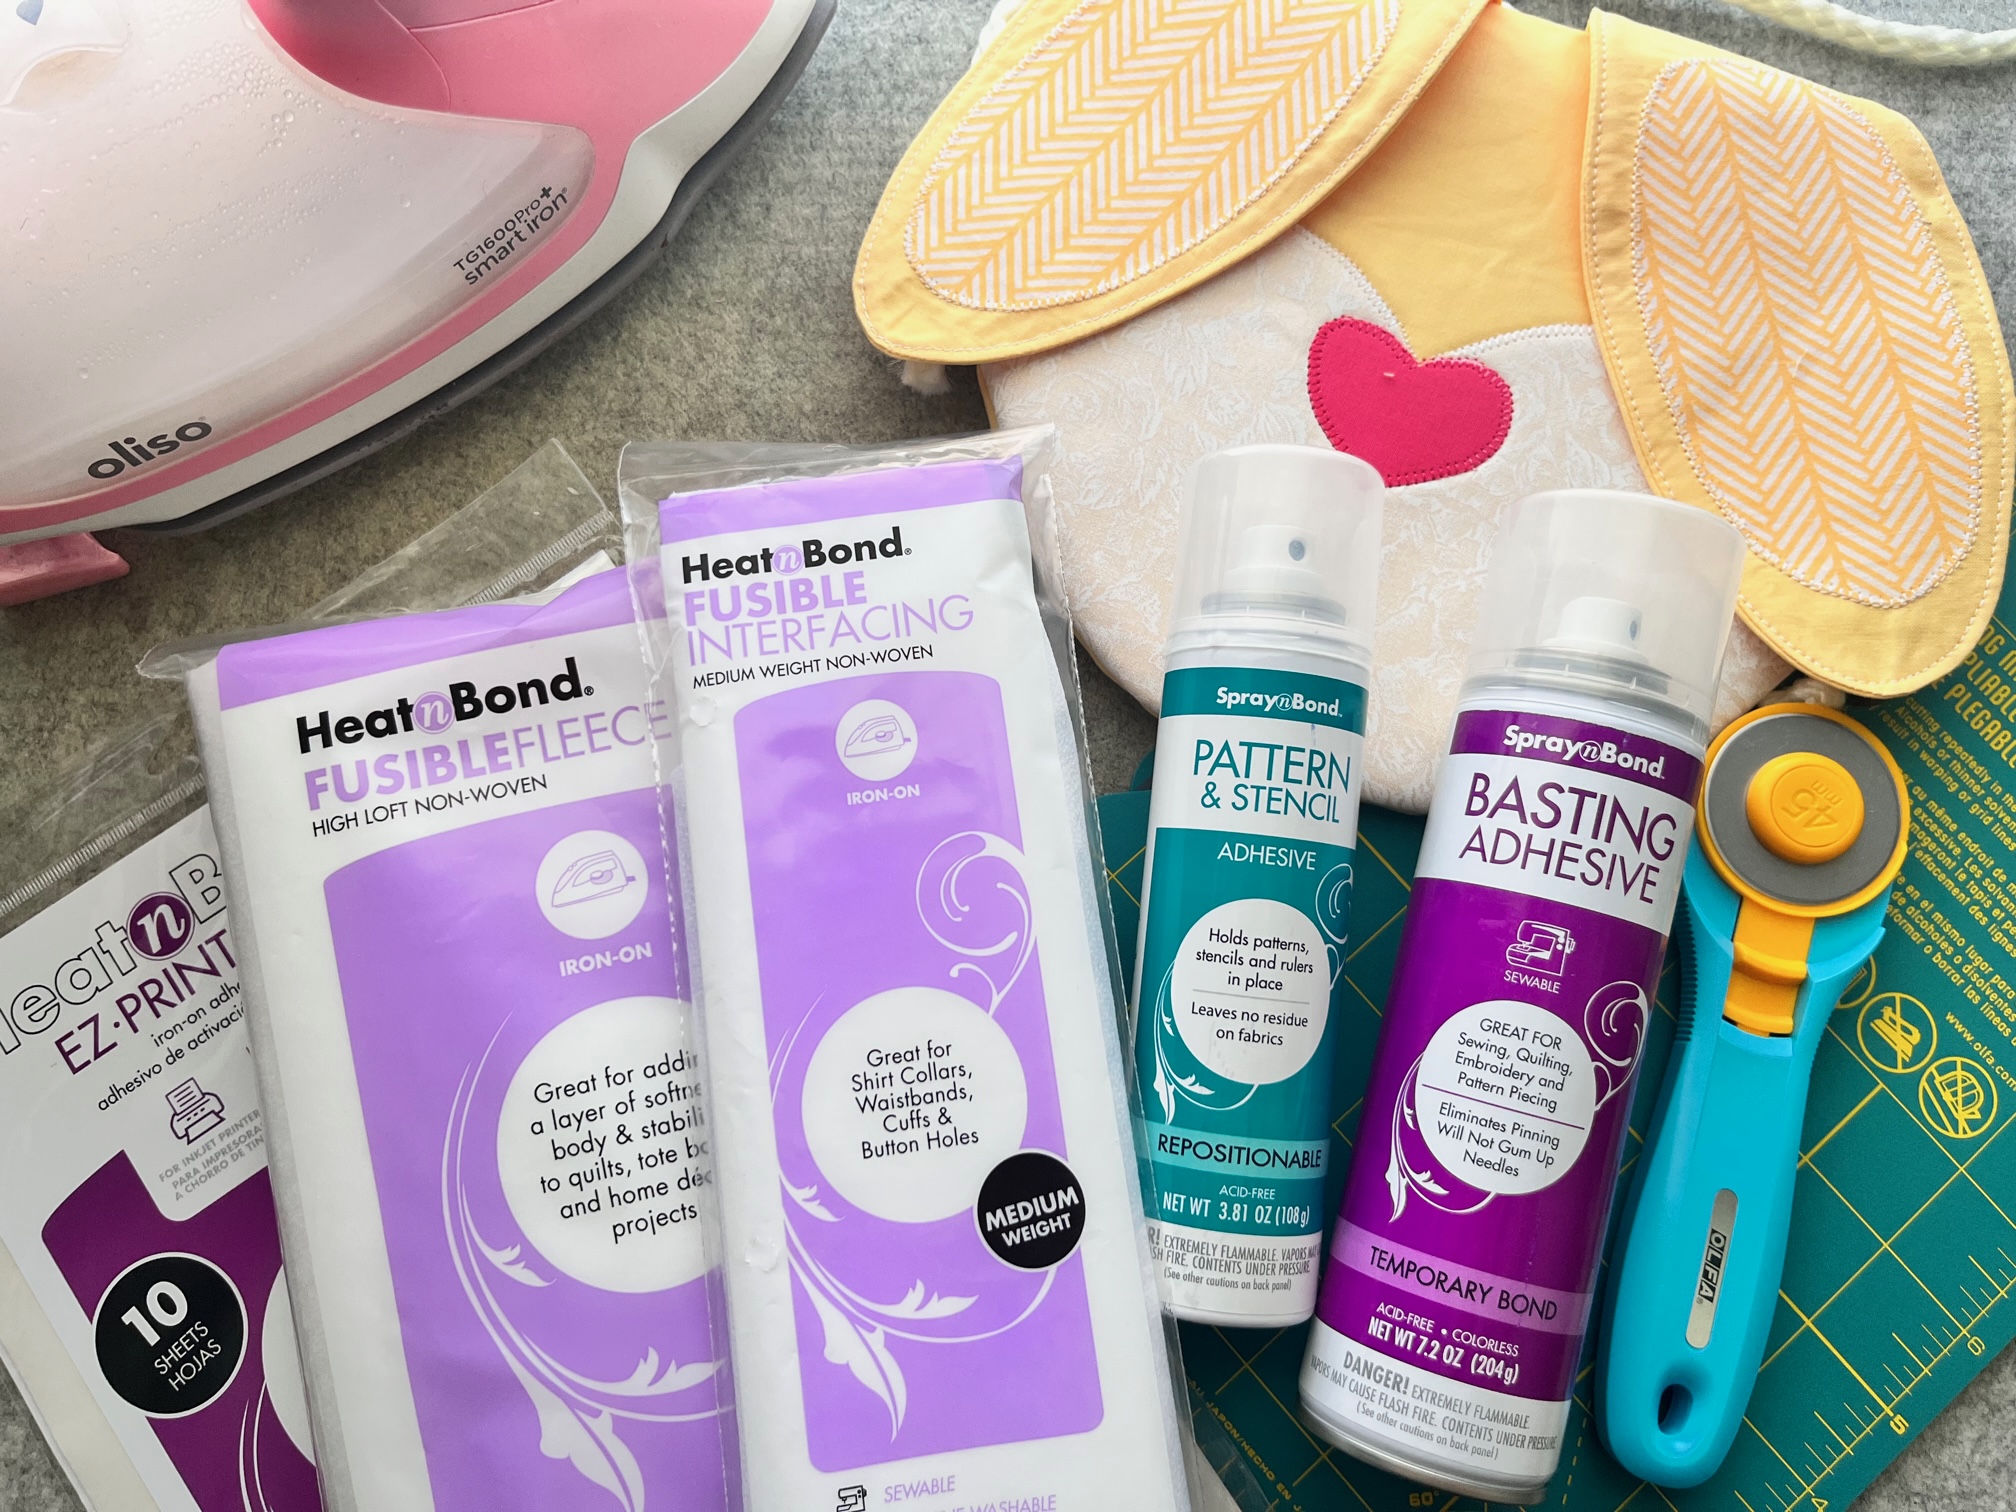
Supplies:
- Baby Bunny PDF Pattern and Template
- HeatnBond Fusible Interfacing Medium Weight
- (2) Main larger ear
- (2) 2″ squares
- HeatnBond Fusible Fleece (2-main bag)
- HeatnBond Lite (muzzle, nose and inner ears)
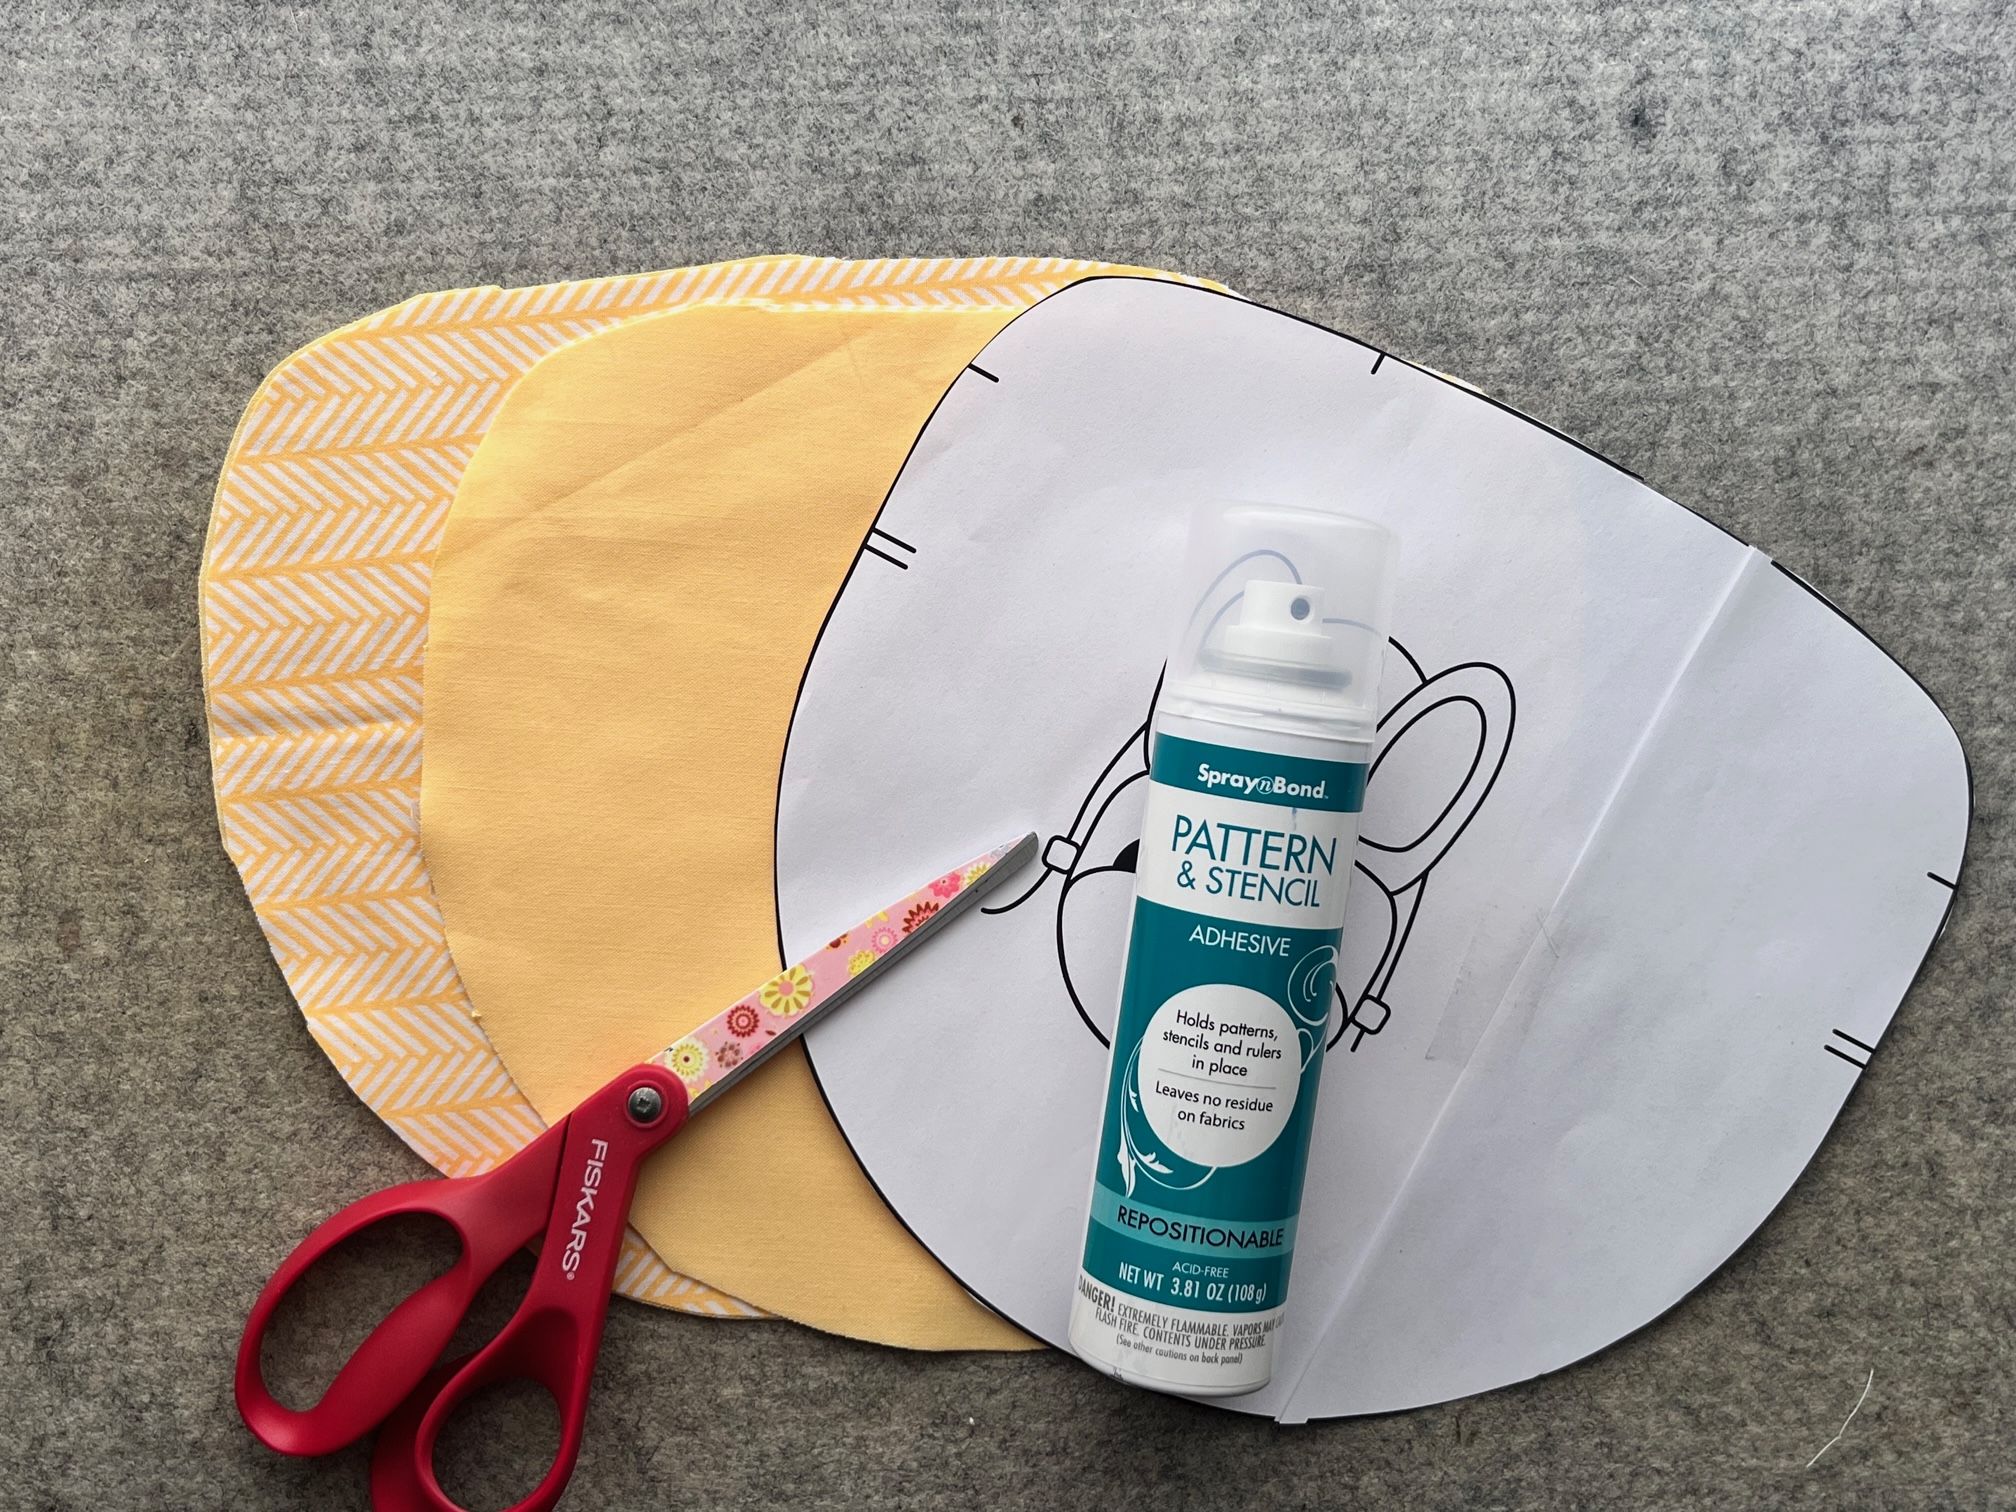
- SpraynBond Pattern and Stencil Spray
- SpraynBond Basting Adhesive
- Oliso Iron
- Olfa Rotary Cutter
- Olfa Folding Cutting Mat
- Fabric:
- Scrap fabric piece for the nose
- Outer bunny fabric for the face and ears
- Lining fabric
- Muzzle fabric
- Inner ear fabric
- (2) 2 1/2″ squares of the main bunny fabric for the tabs
- 12″ zipper
- (2) wooden beads
- 42″ rope or other form of strap for the bag.
Instructions:
Begin by…
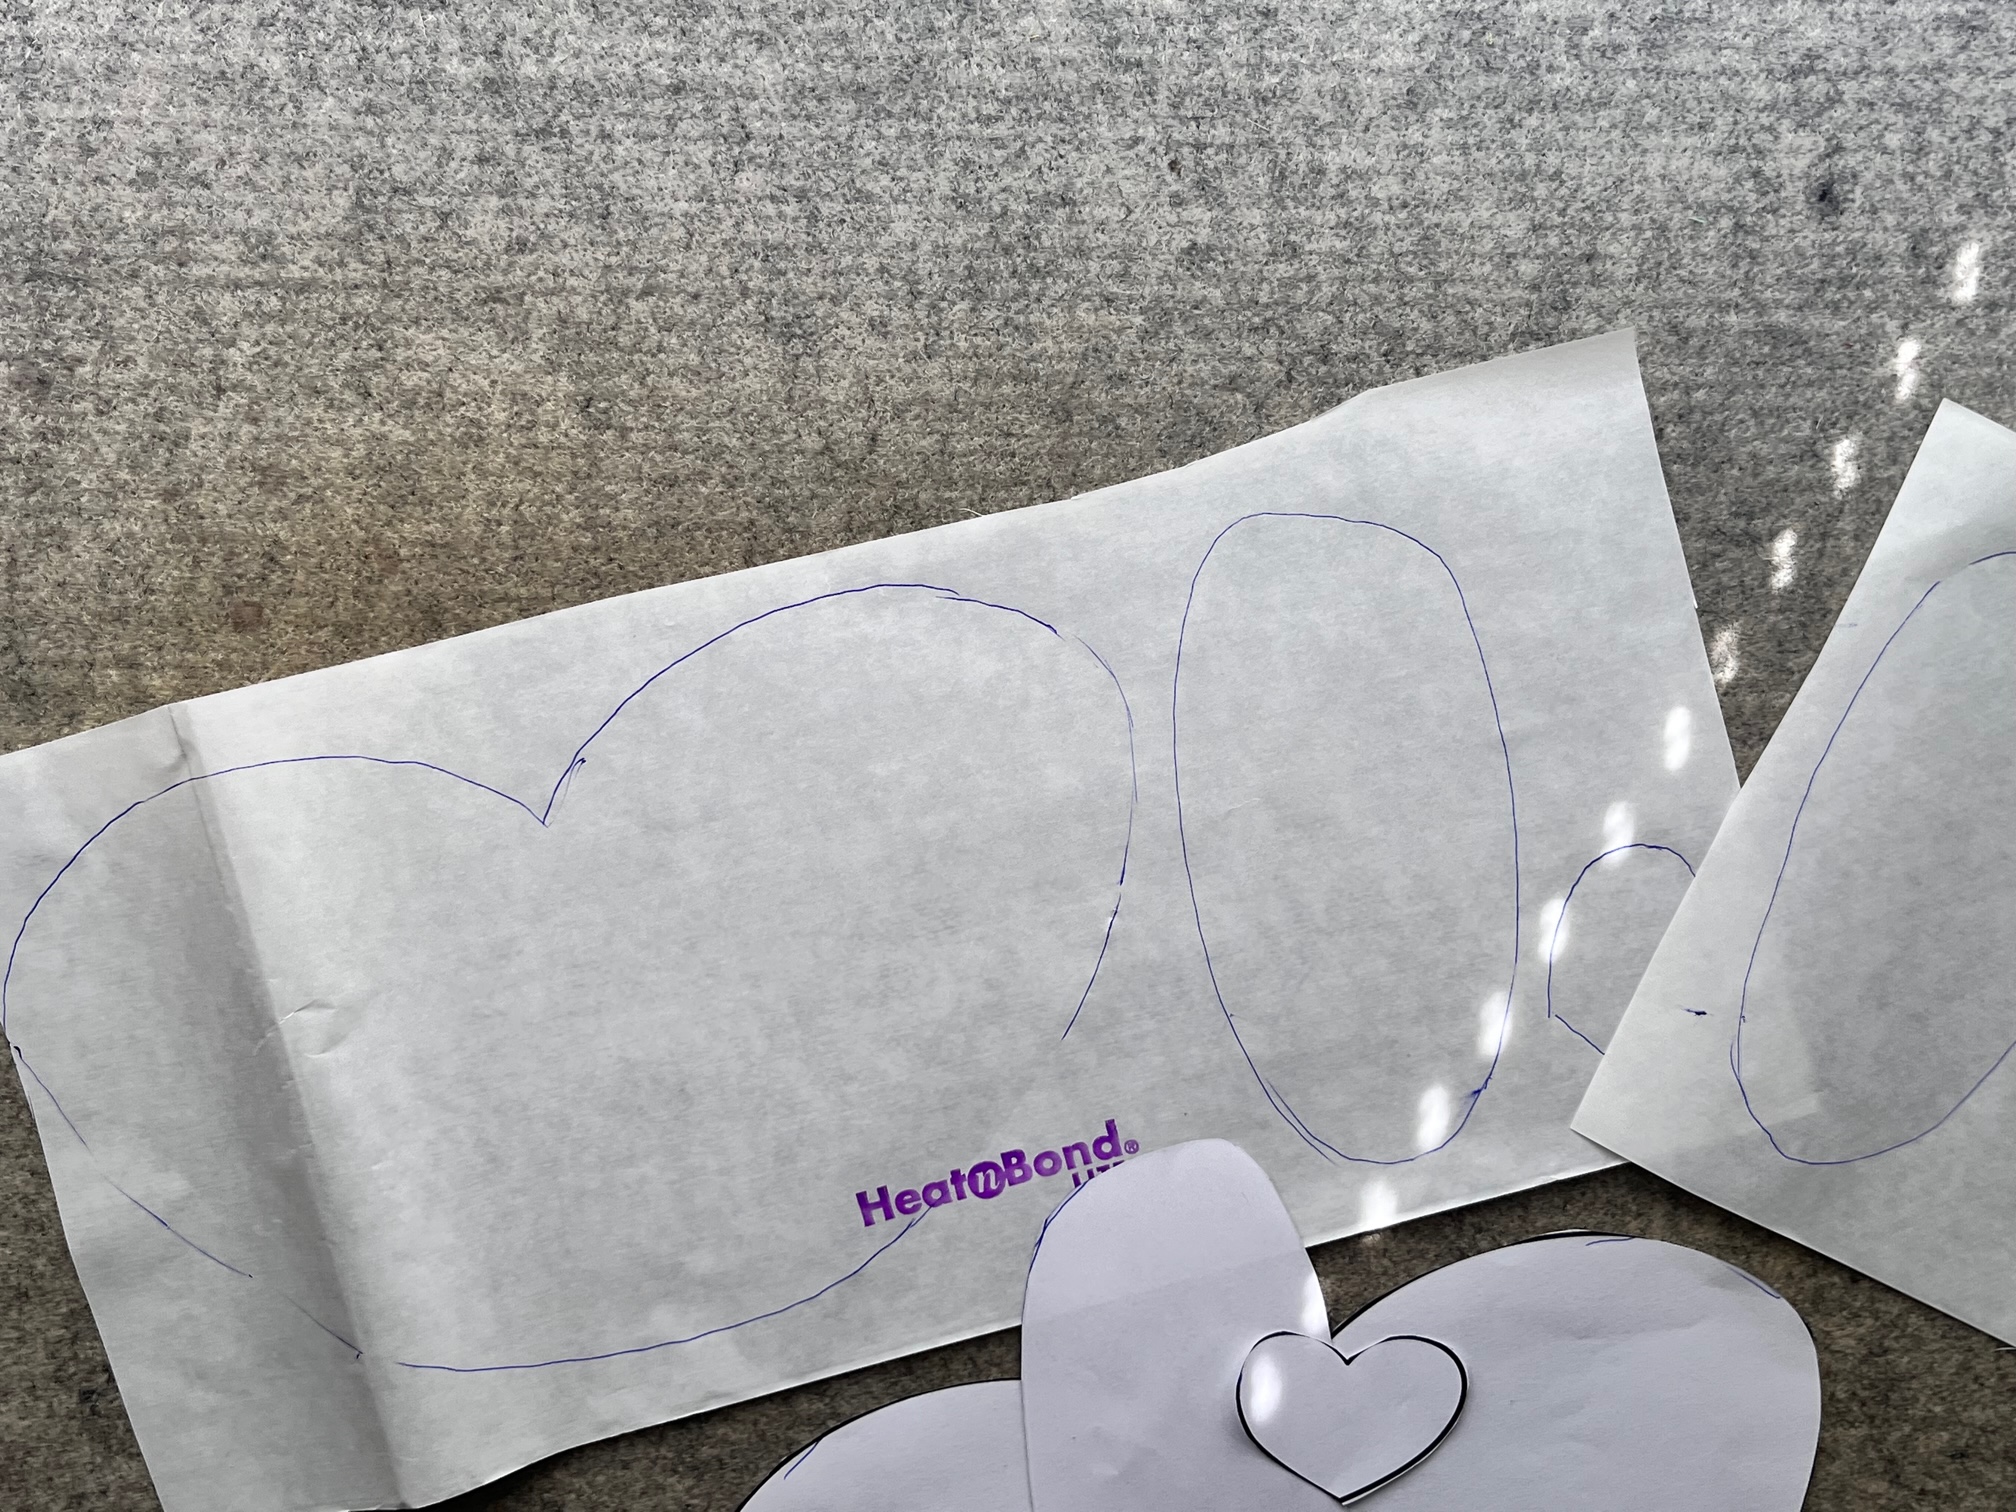
Print and cut out the templates for the Baby Bunny Bag. Trace the muzzle, inner ears and nose onto HeatnBond Lite. Cut out the shapes leave at least a 1/4″ around each shape. For the inner ear, trace one side face up and then flip it over and trace the reverse image.
Next…
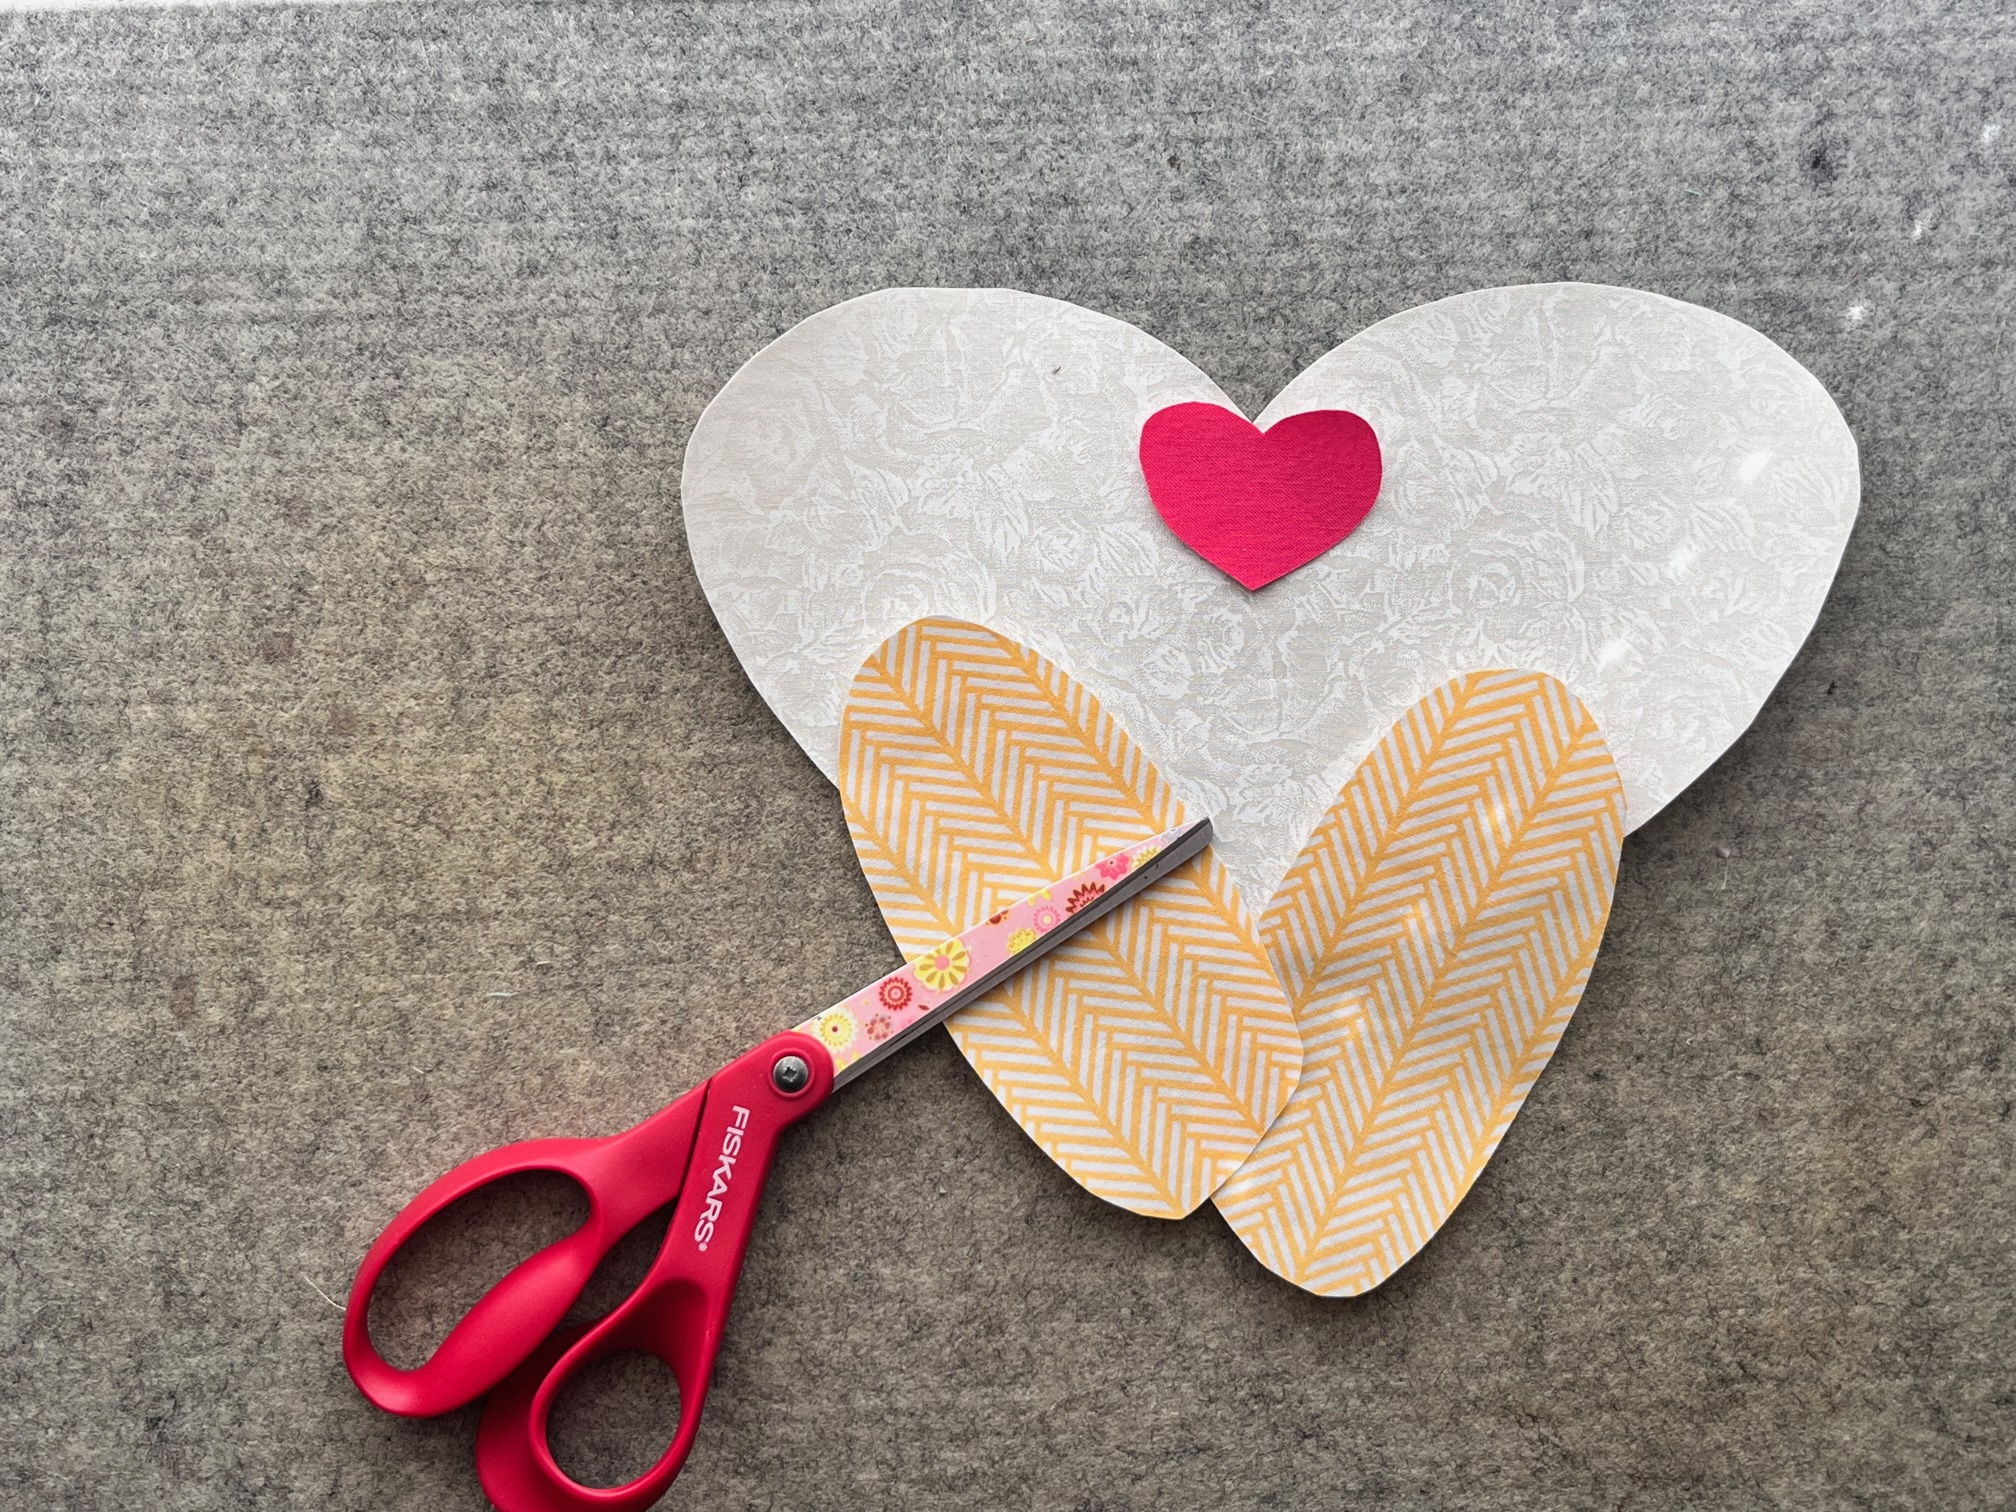
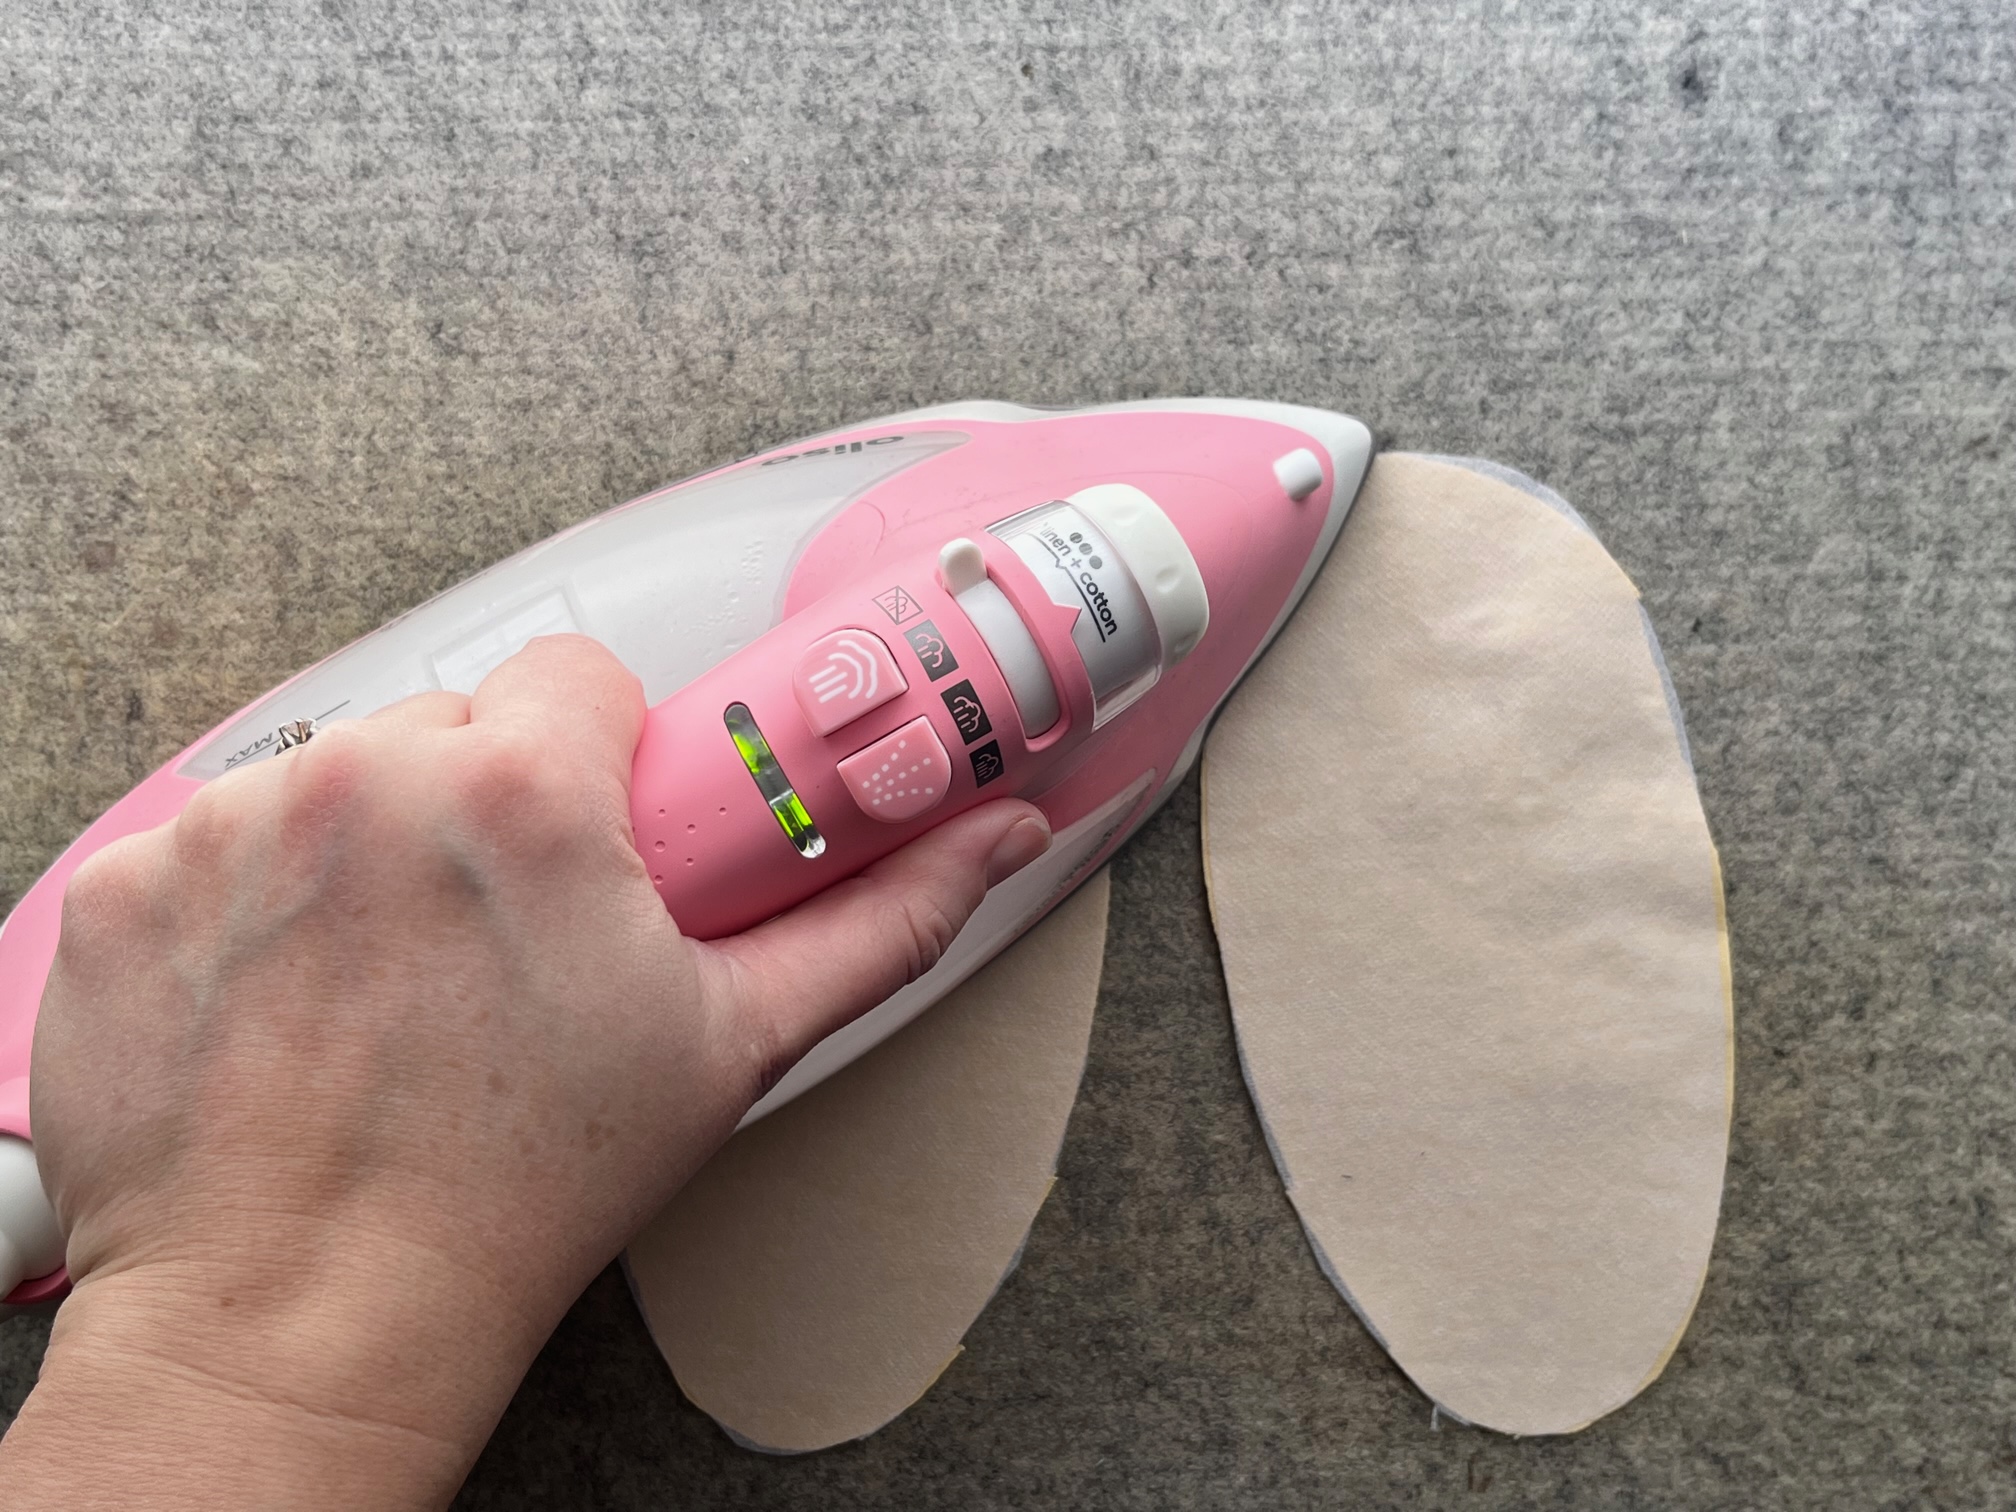
Fuse the HeatnBond Lite to the wrong side of the muzzle, inner ears and nose fabric. Cut out on the lines drawn.

Continue by…
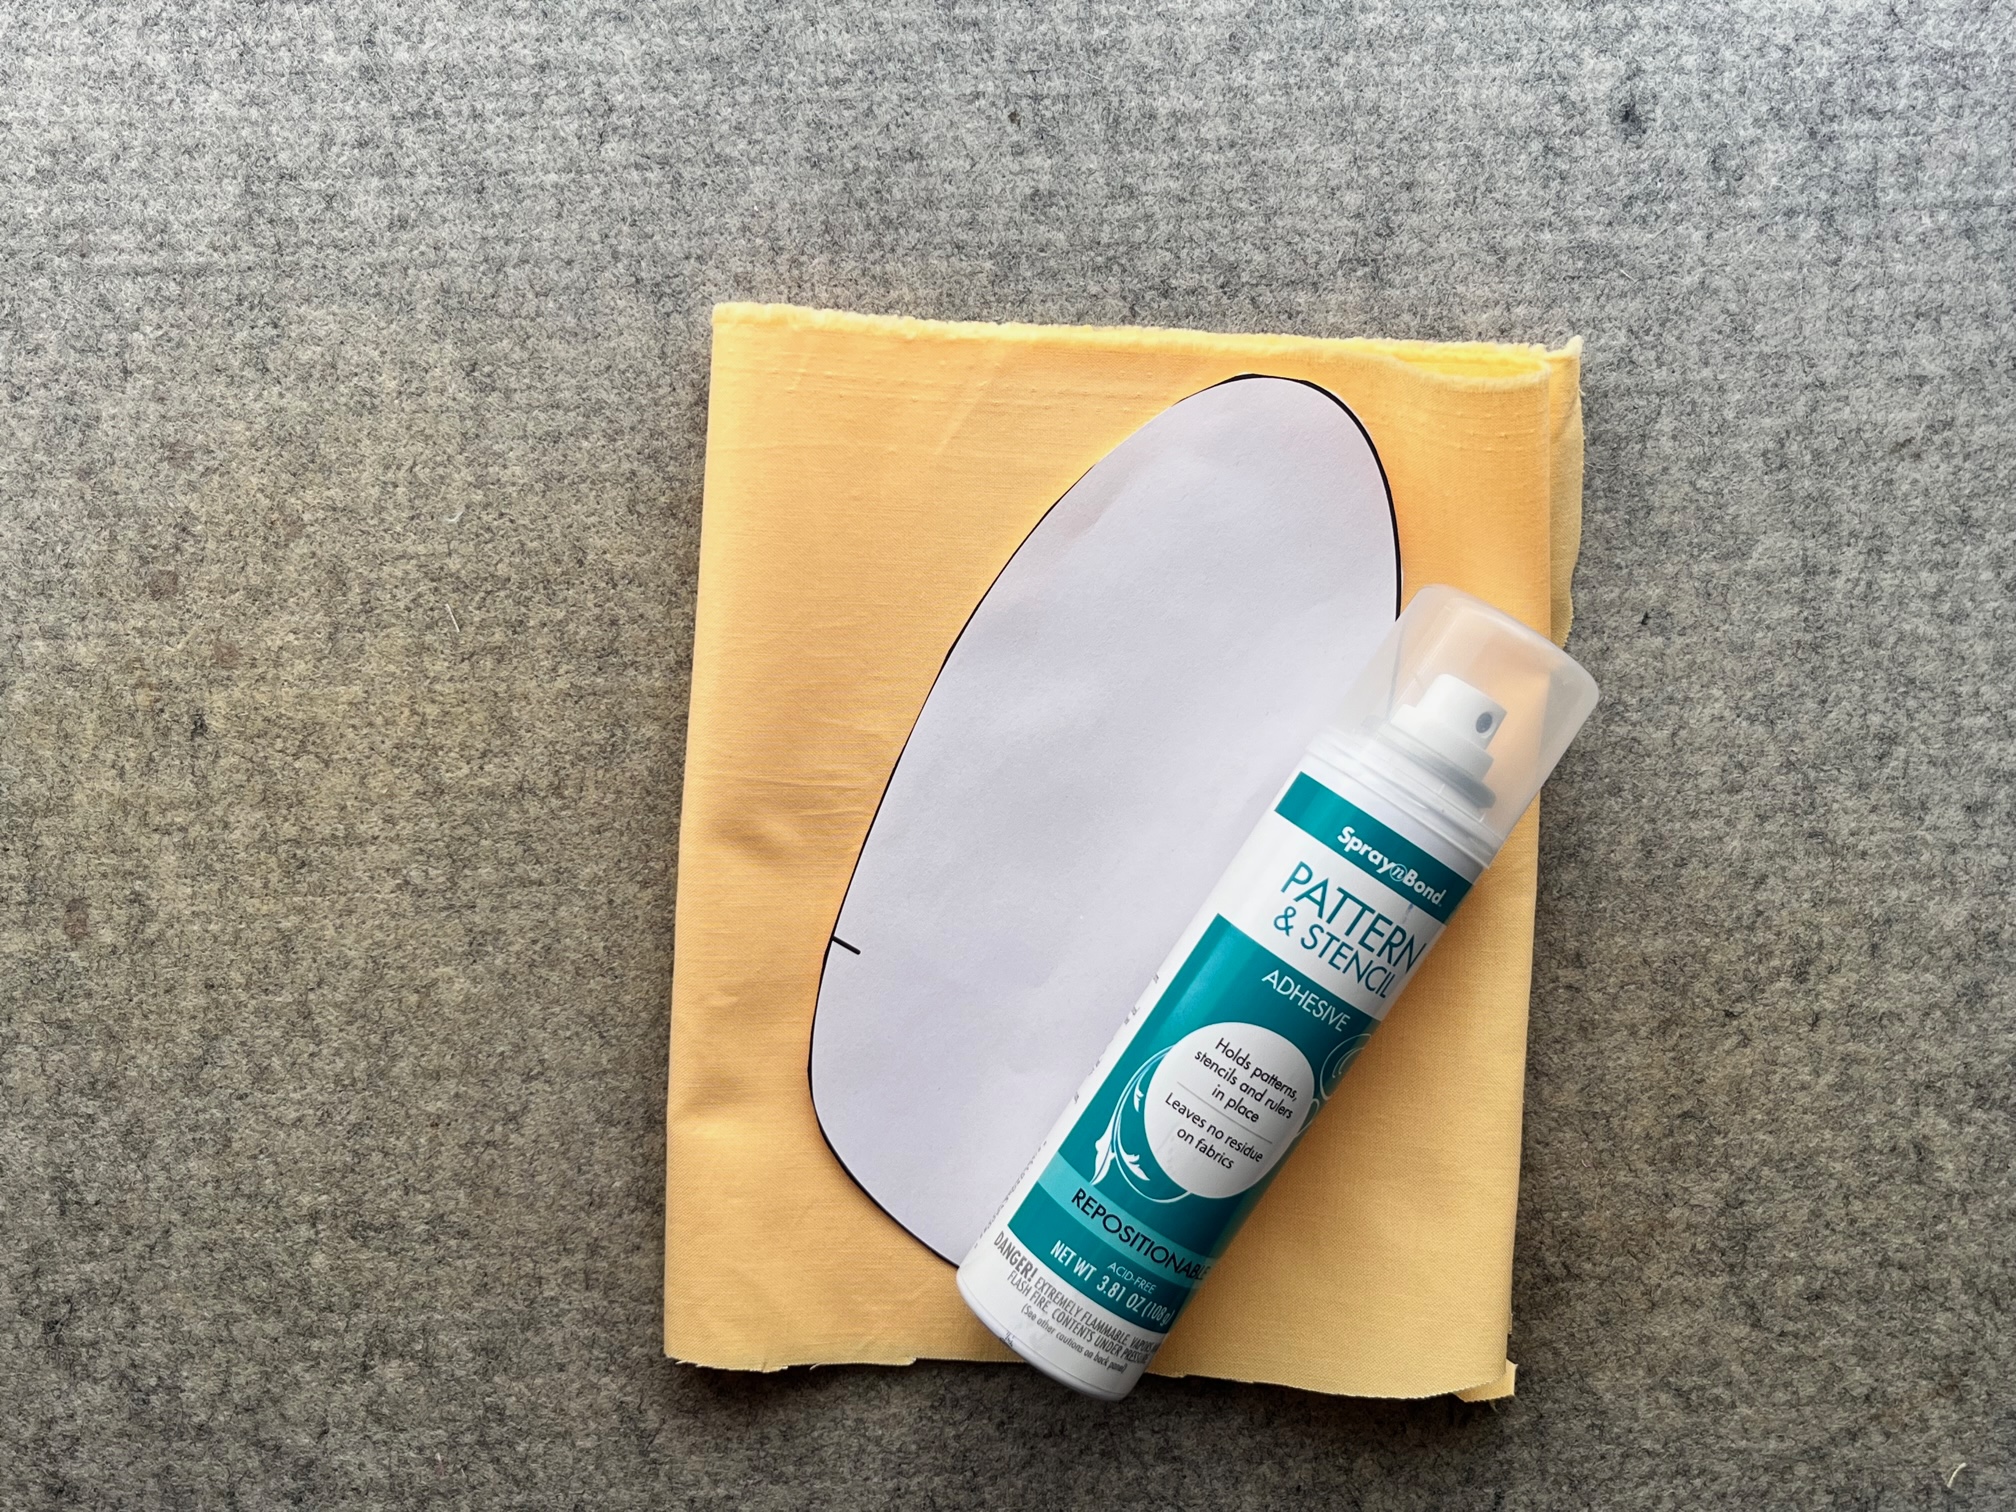
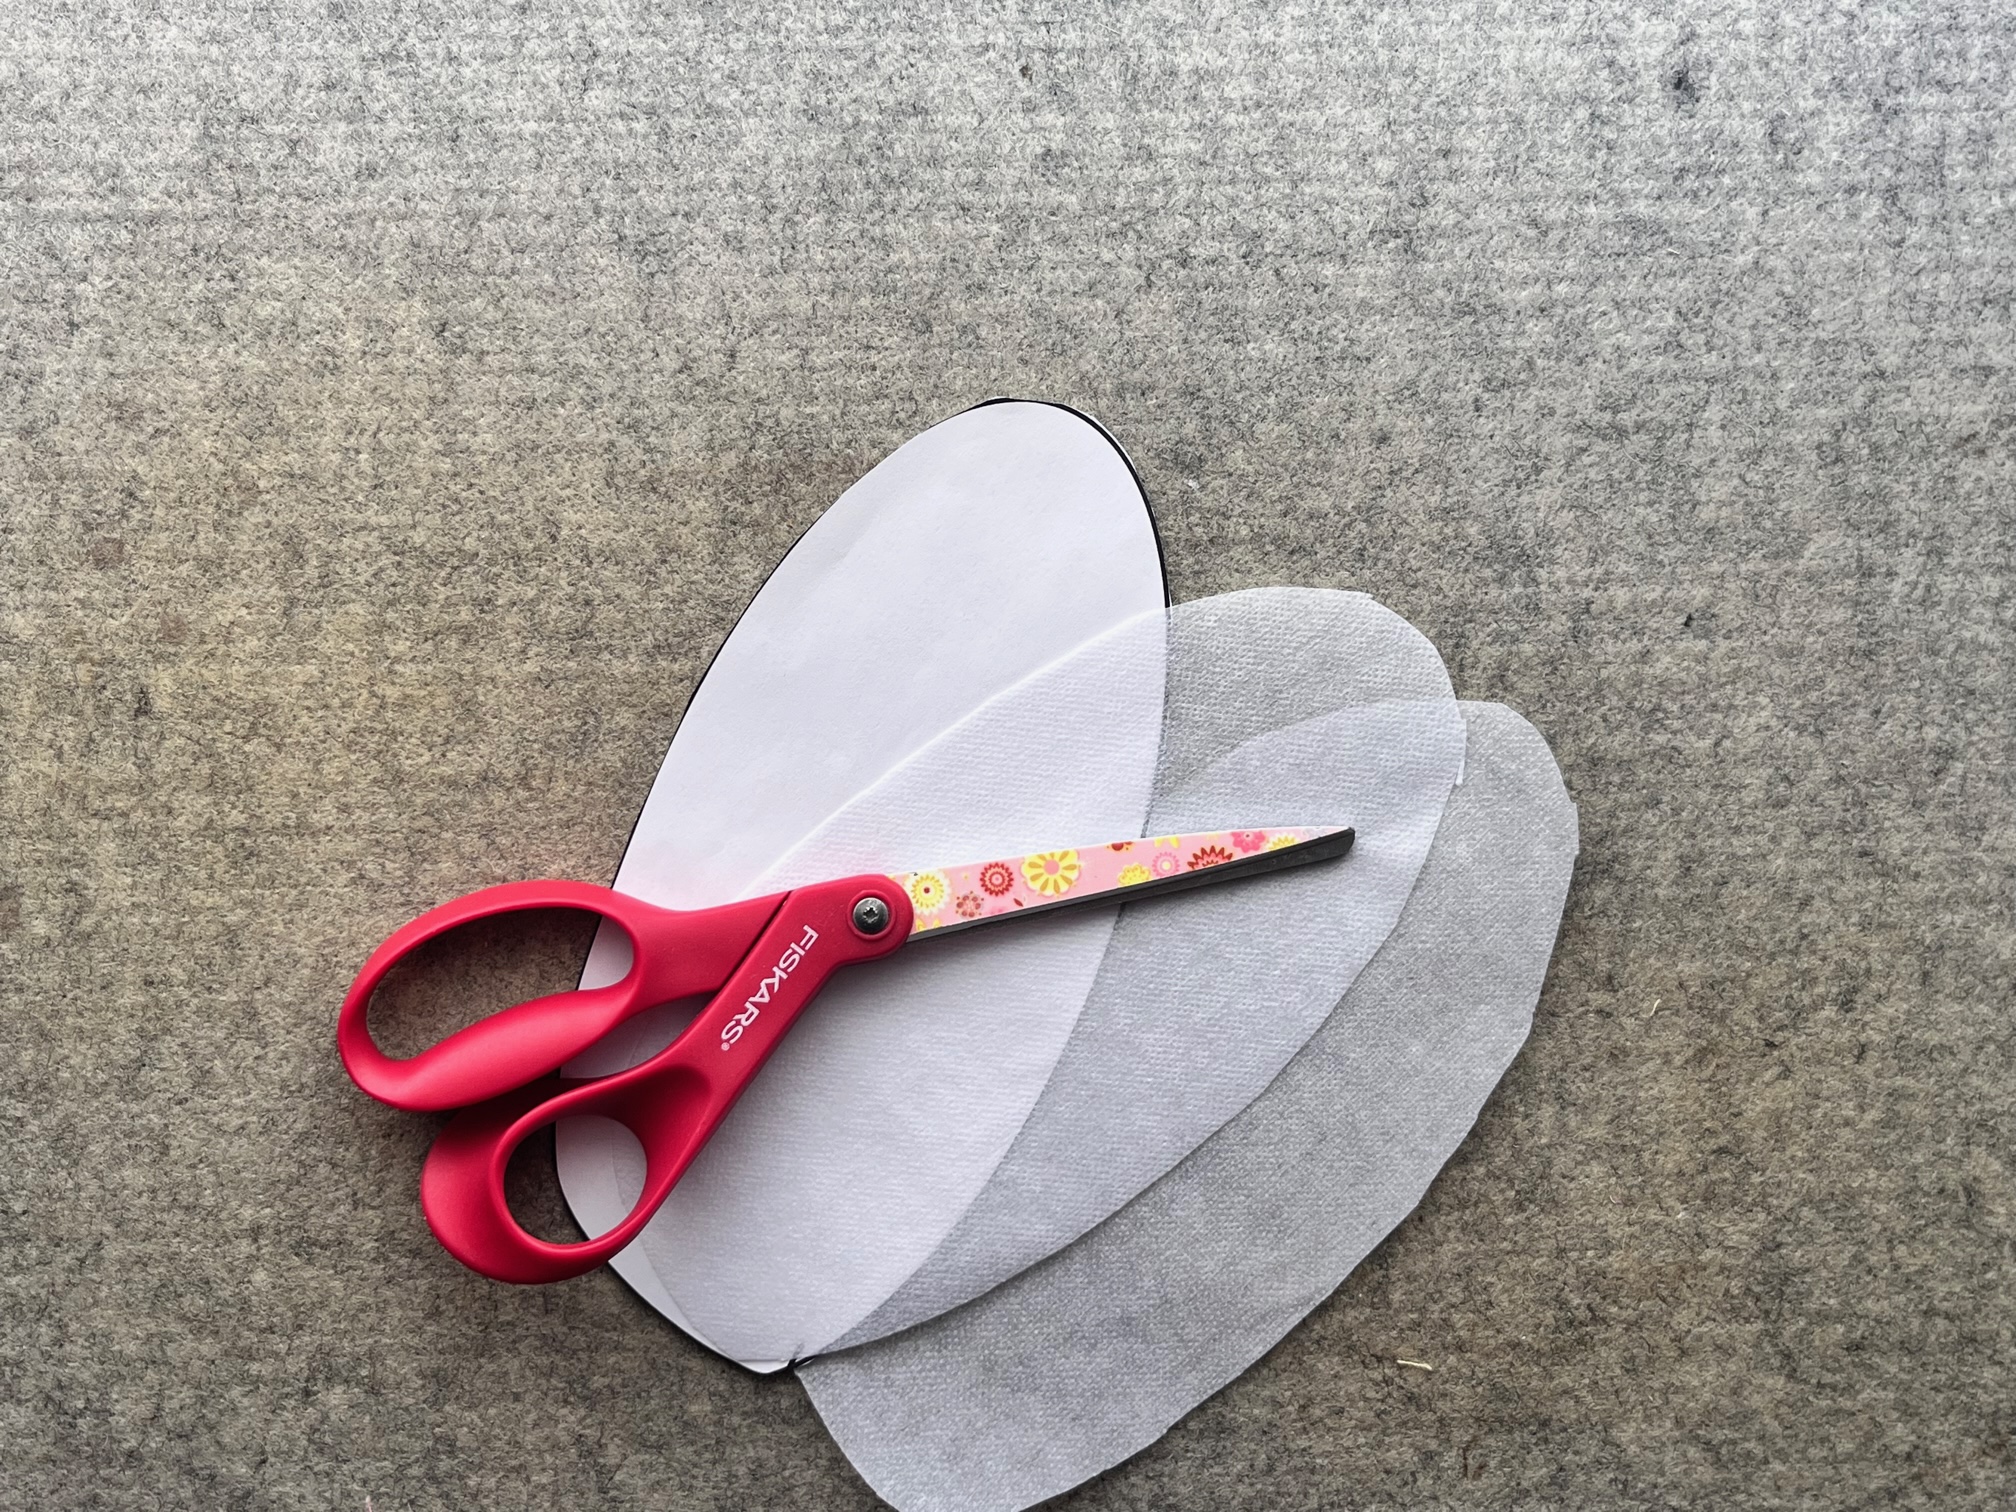
Place the bag lining and outer bag fabric wrong sides together and fold in half. Spray the bunny main bag template with SpraynBond Pattern and Stencil Spray and align over the fabric. Cut out the main and lining bag fabric. Repeat this same process for the fusible fleece.
Important Tip: For more detailed instructions check out the YouTube Video Tutorial found at the bottom of this post. There are also more detail photos provided in the printable PDF pattern.
Then…
Fold the main bunny ear fabric over twice. Cut out 4 main bunny ears. Cut out 2 main bunny ears using the Medium Weight Interfacing and set aside.
Next…
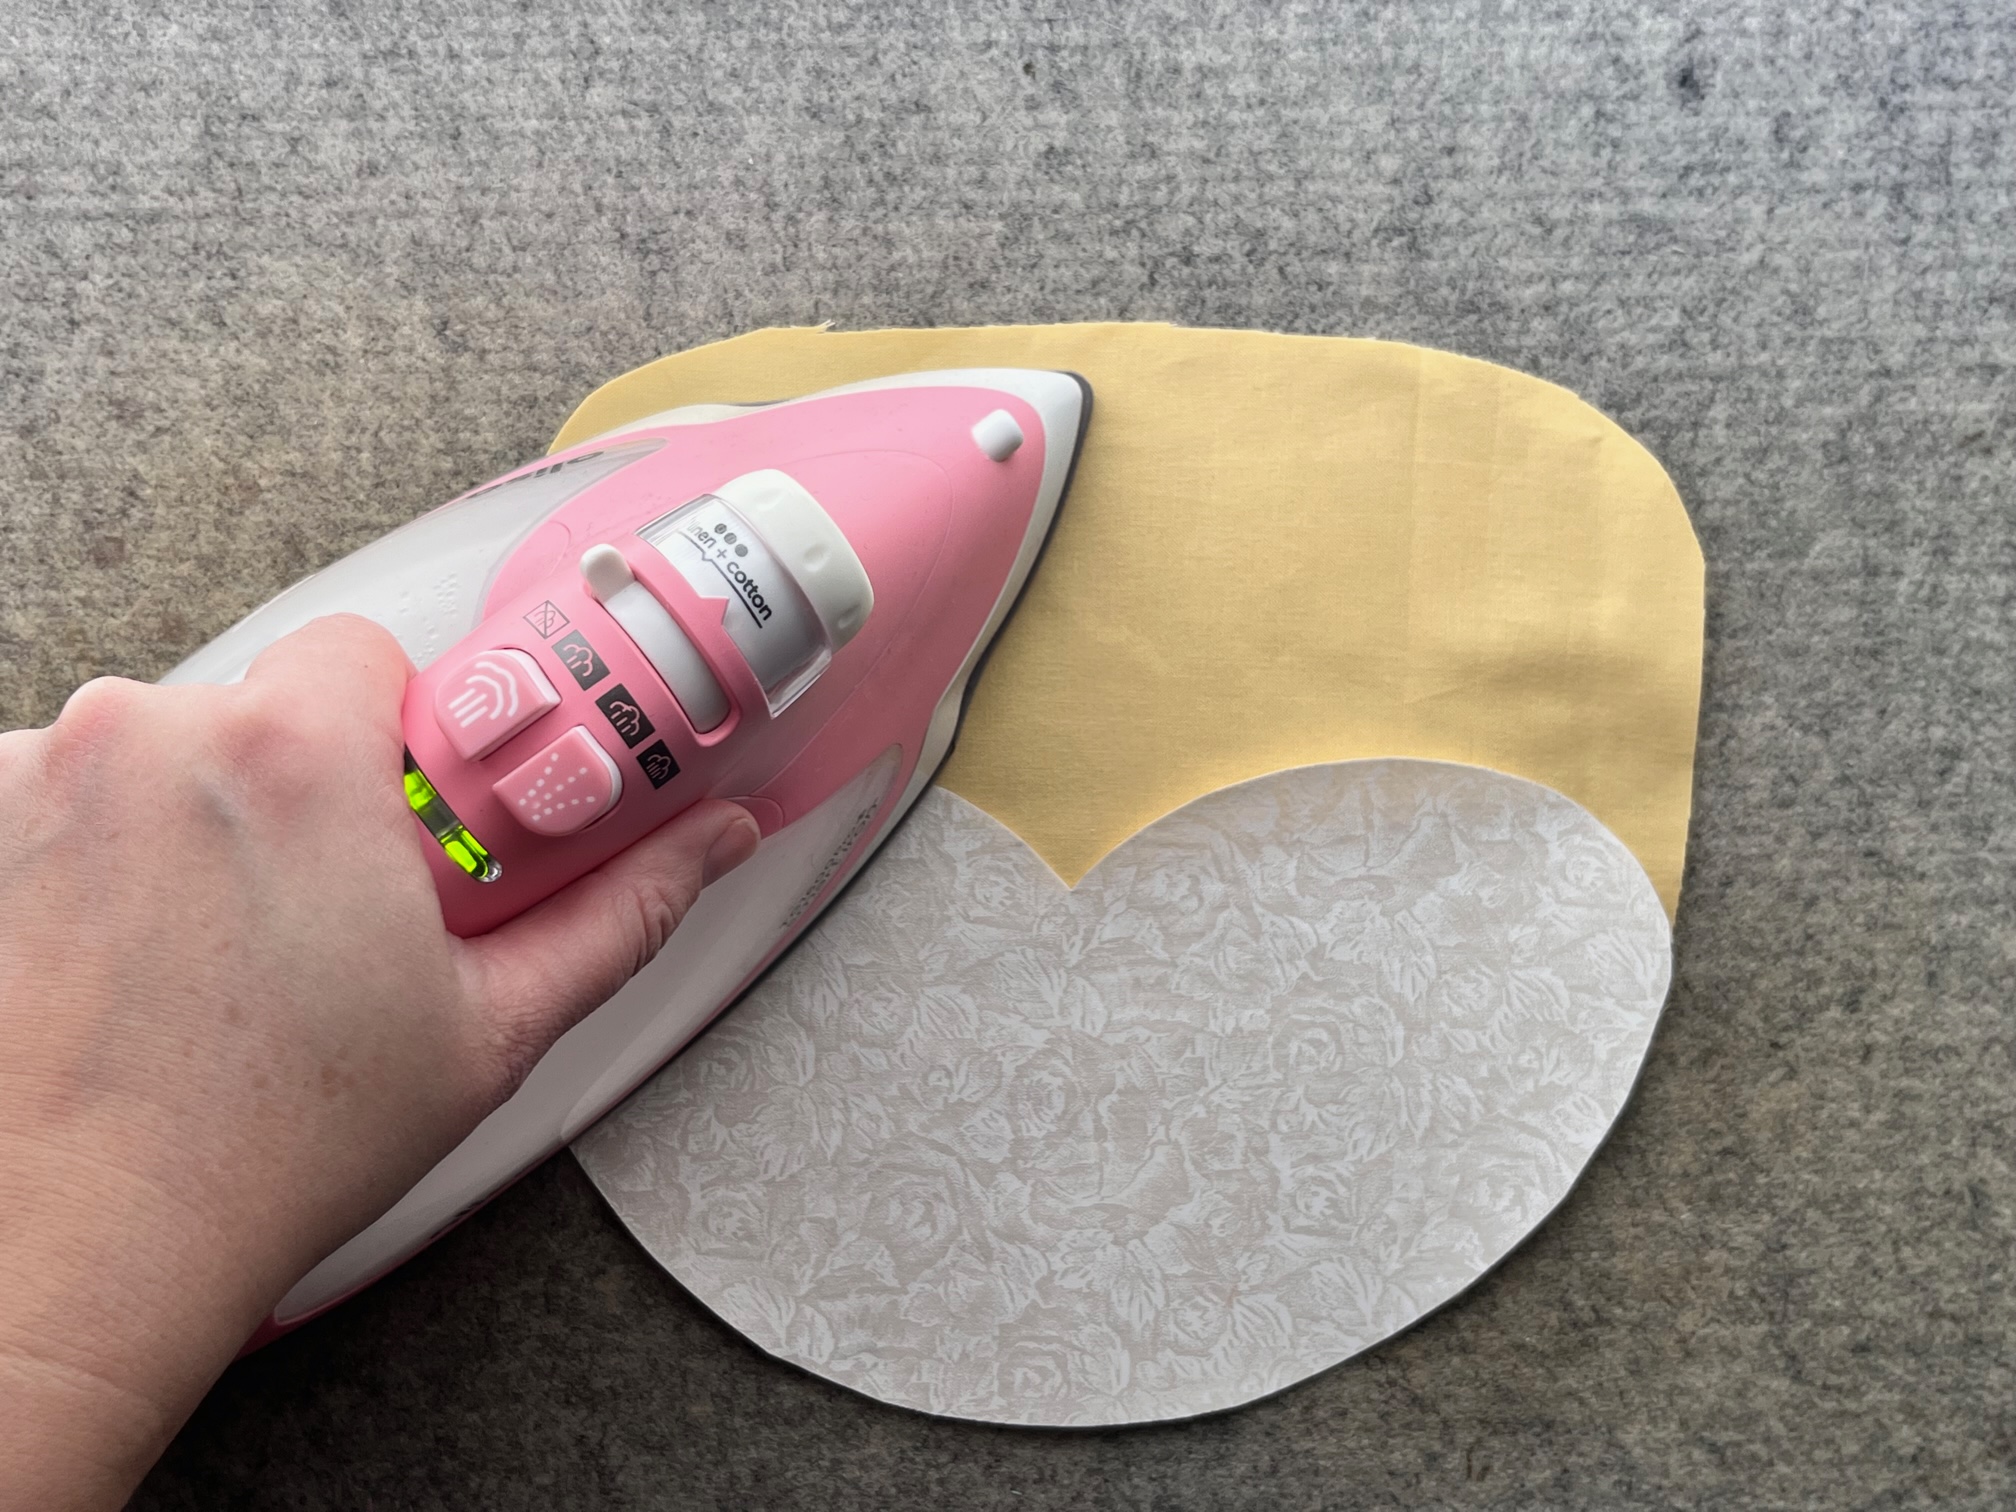
Remove the paper backing from the HeatnBond Lite on the muzzle and nose and adhere it to the main bunny face. Repeat for the inner ears and fuse to the main ear fabric.
Then…
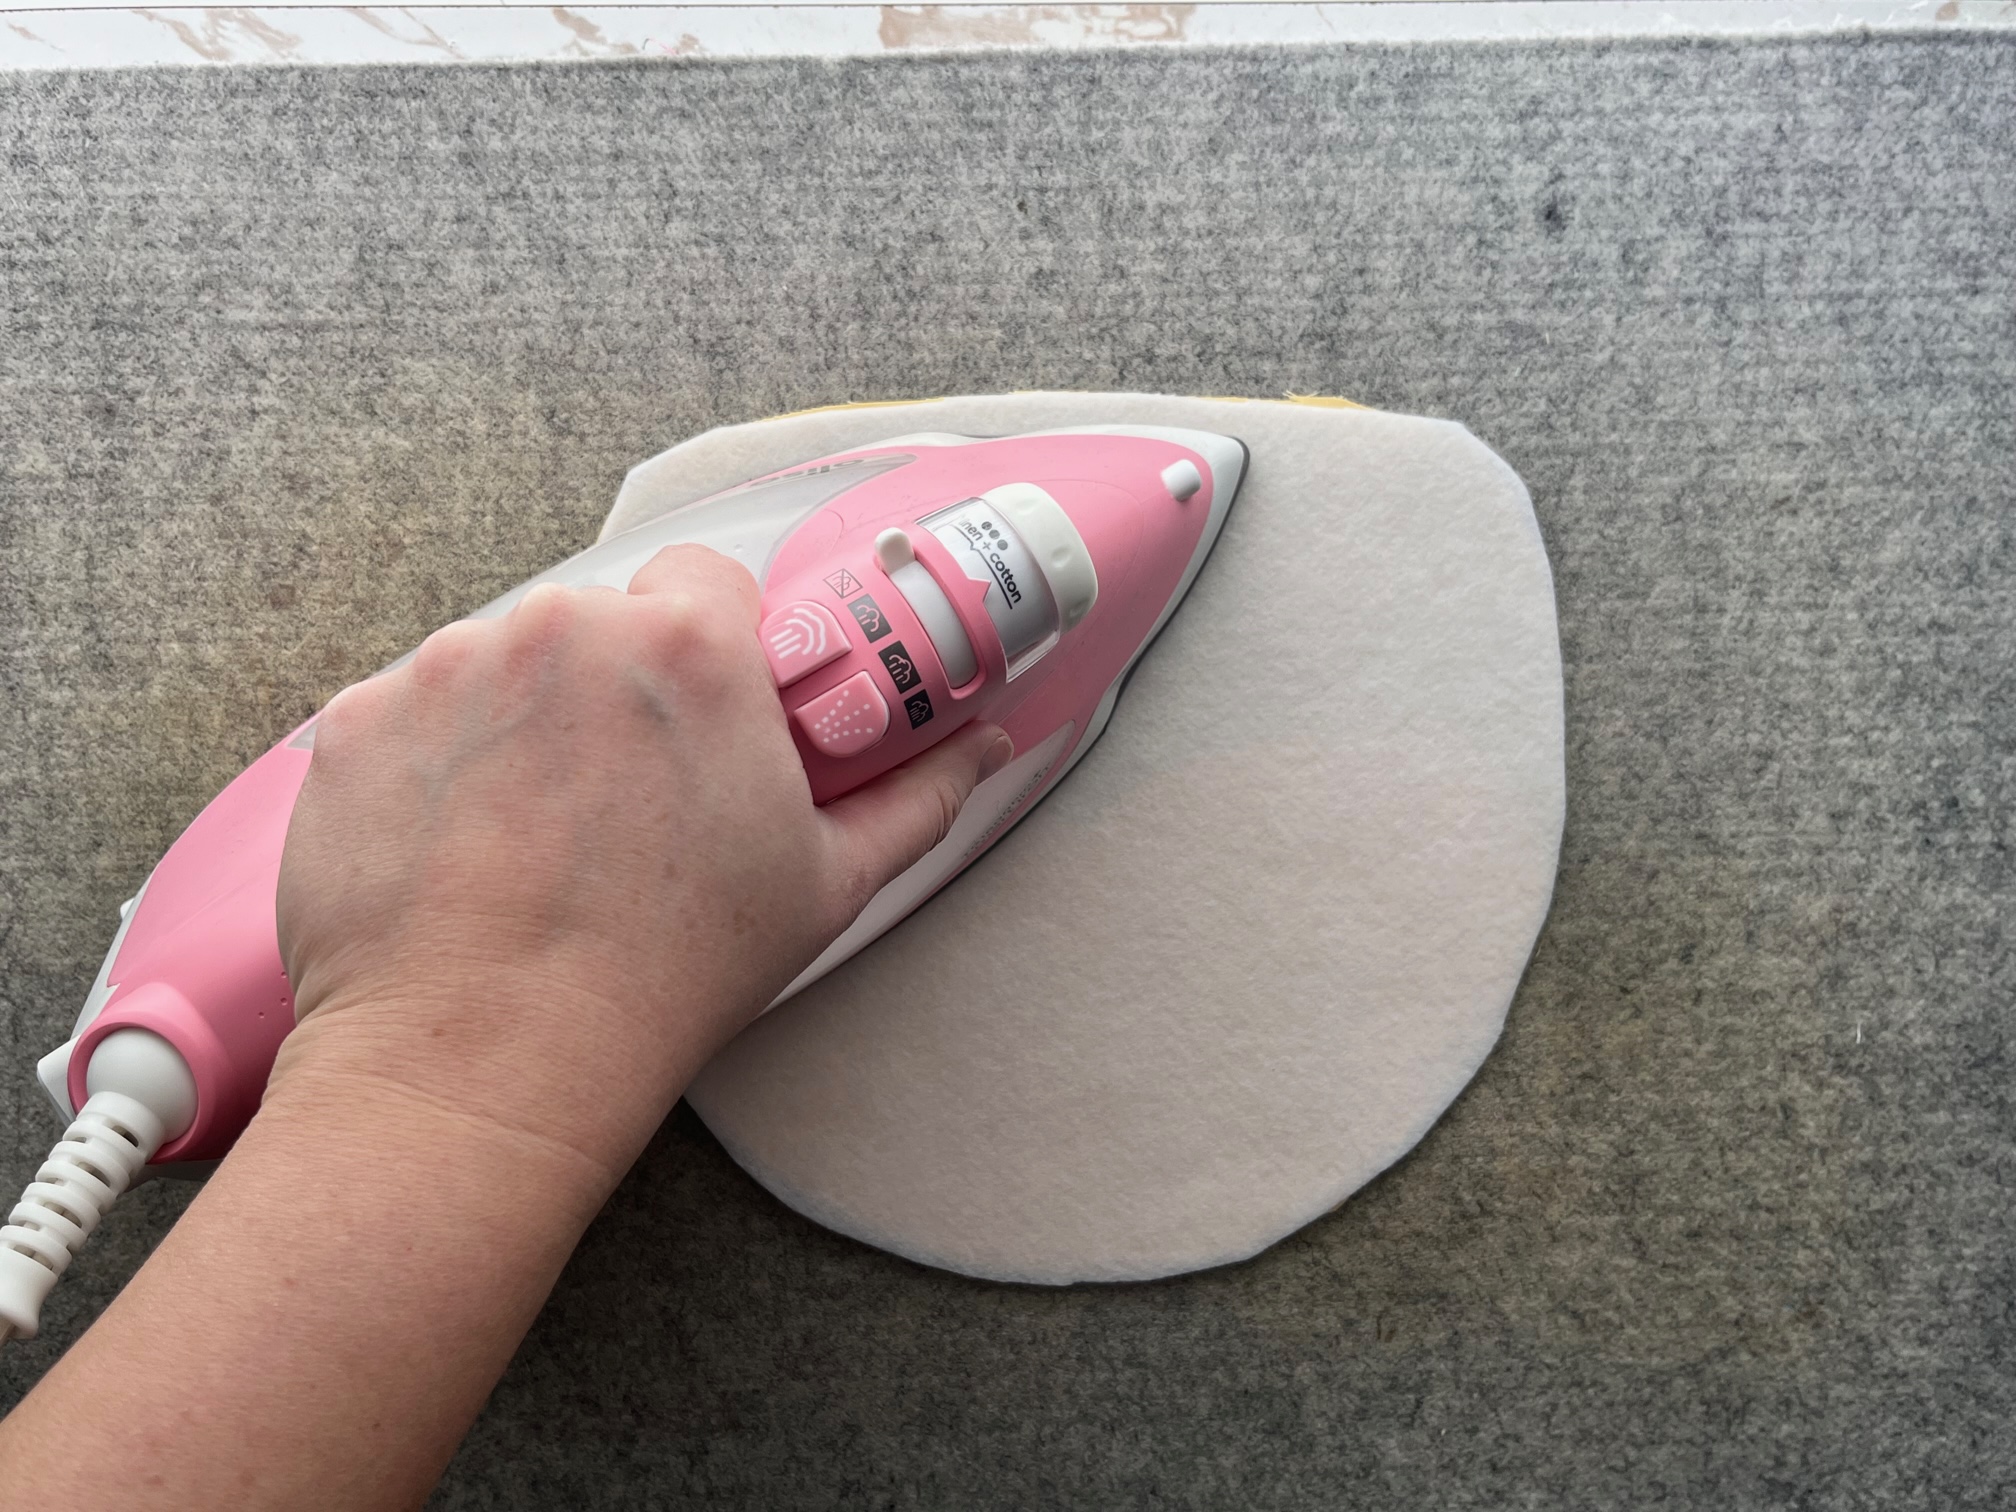
Adhere the fusible fleece to the back of the main bunny face and applique the muzzle, nose and inner bunny ears using your preferred method.
Next…
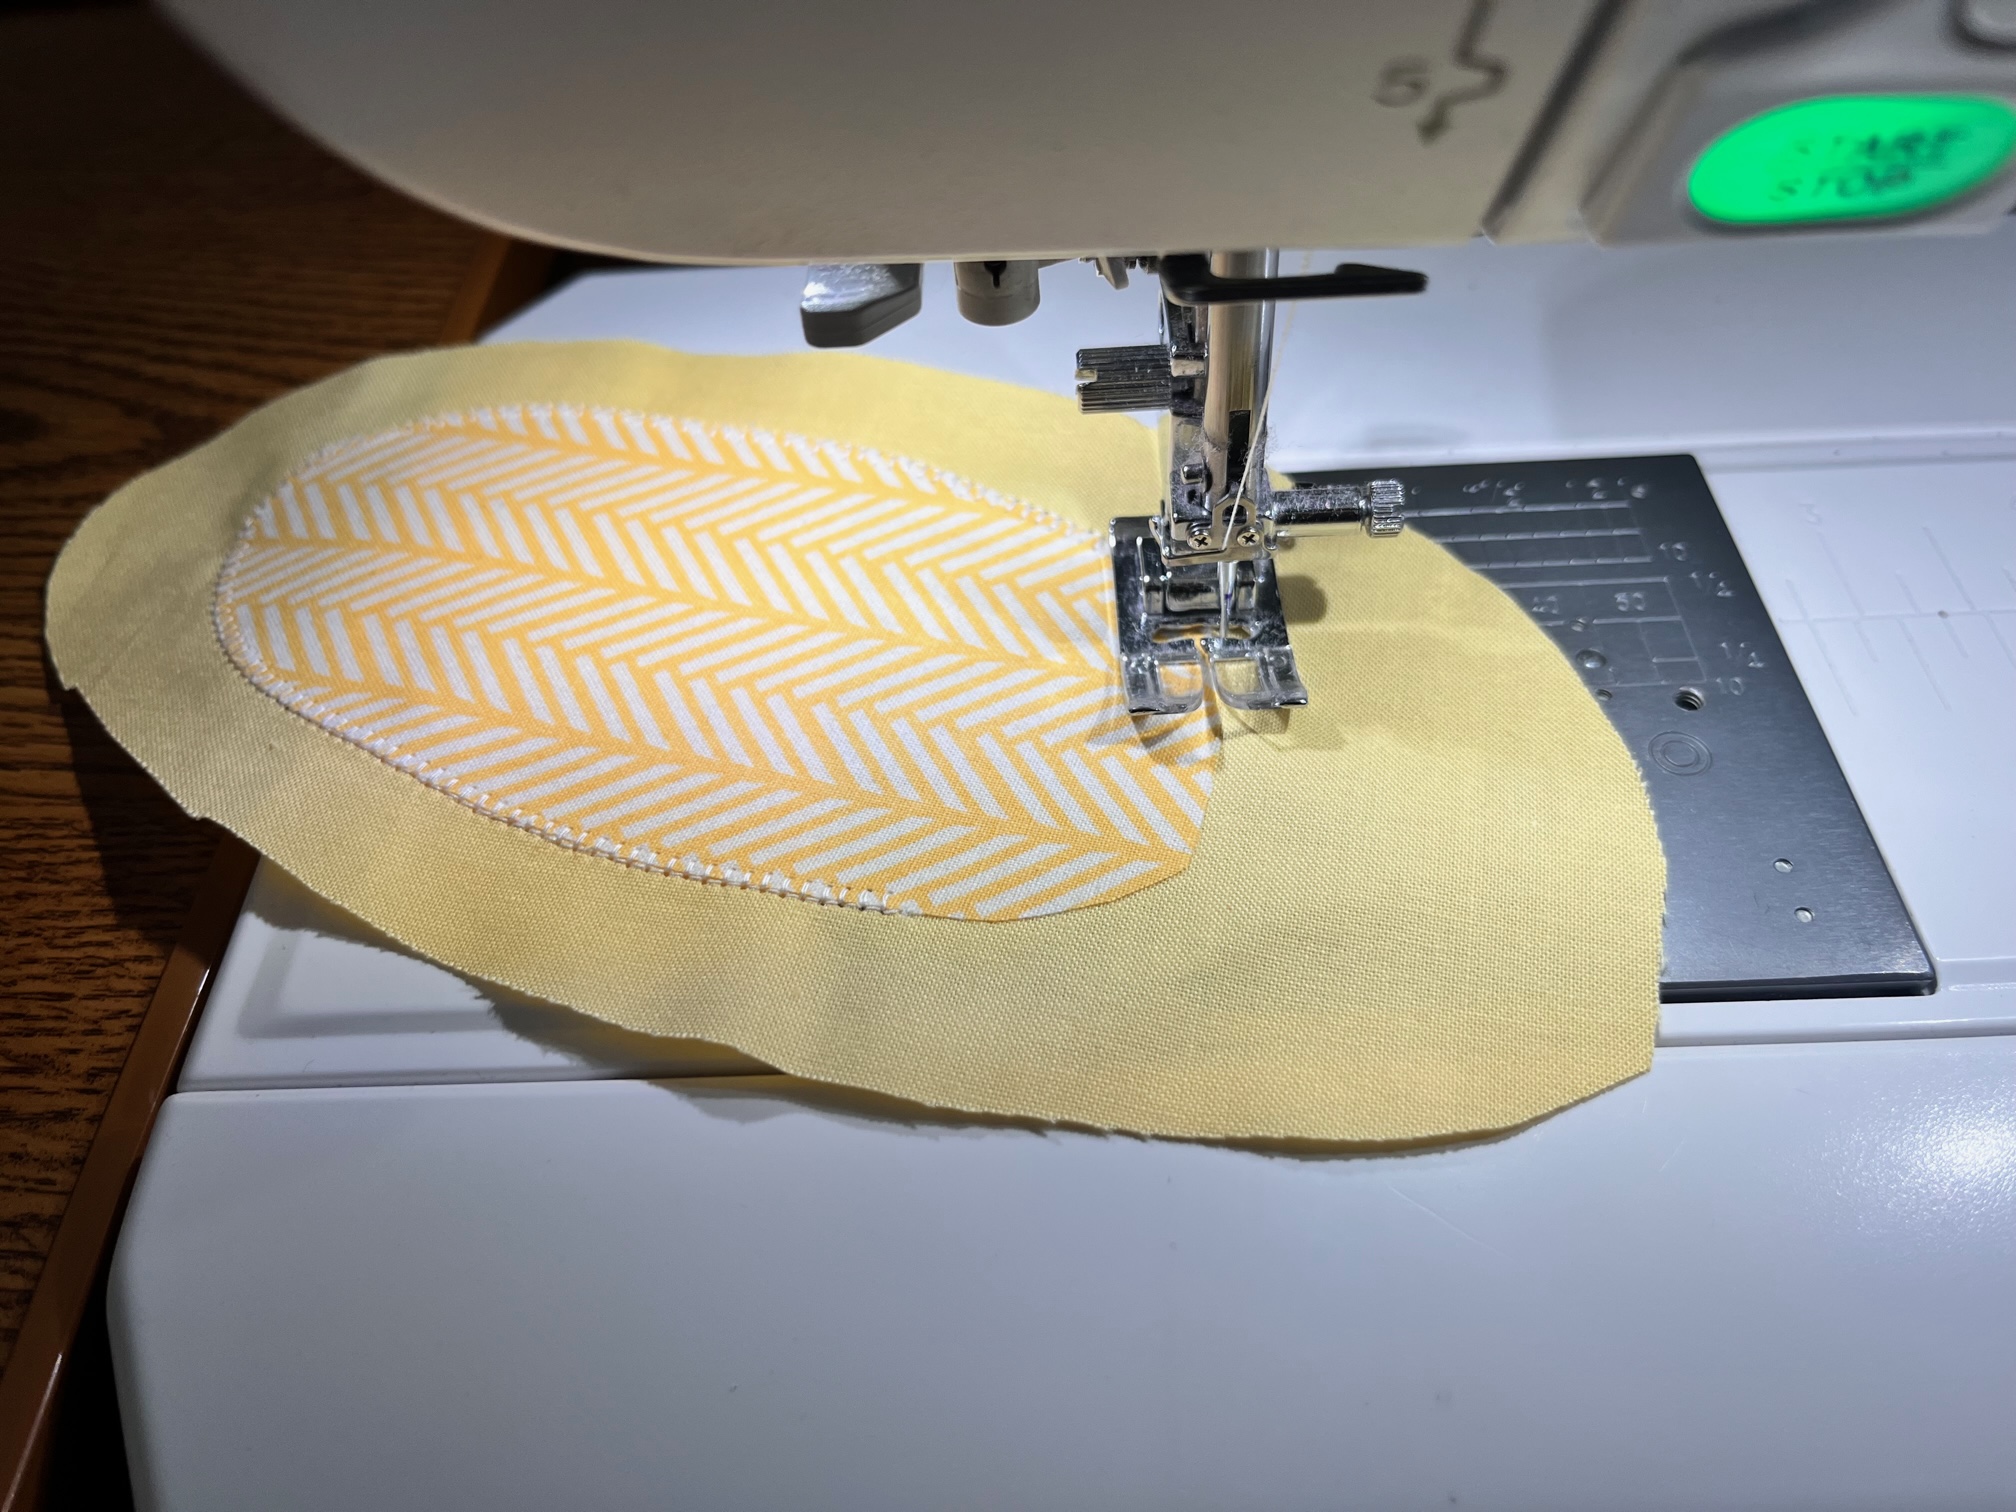
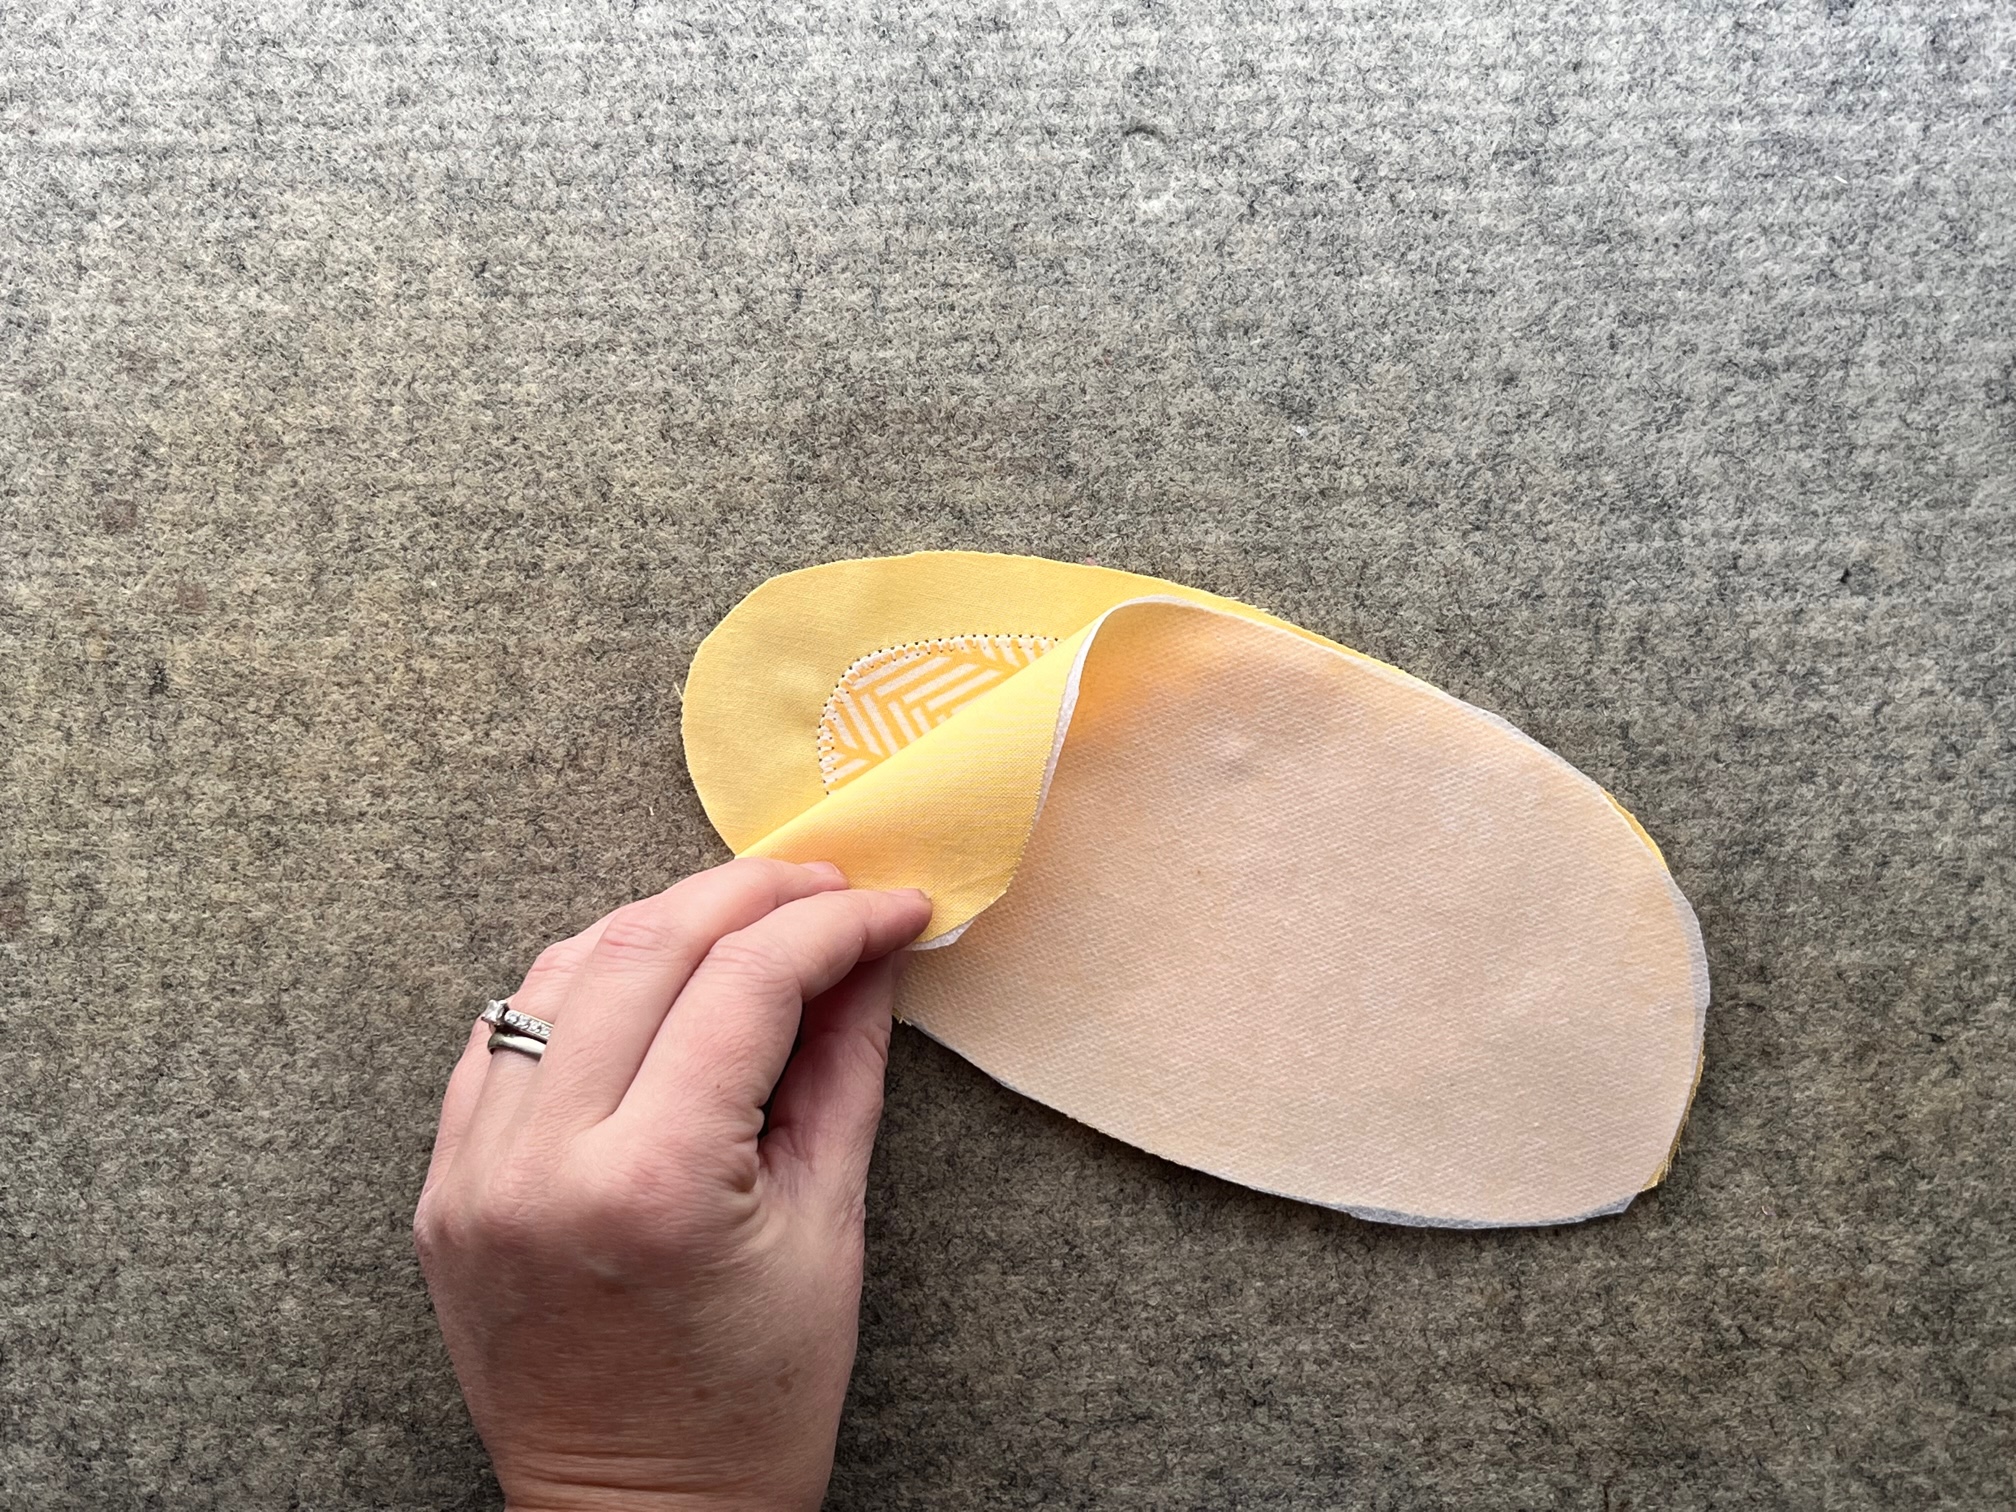
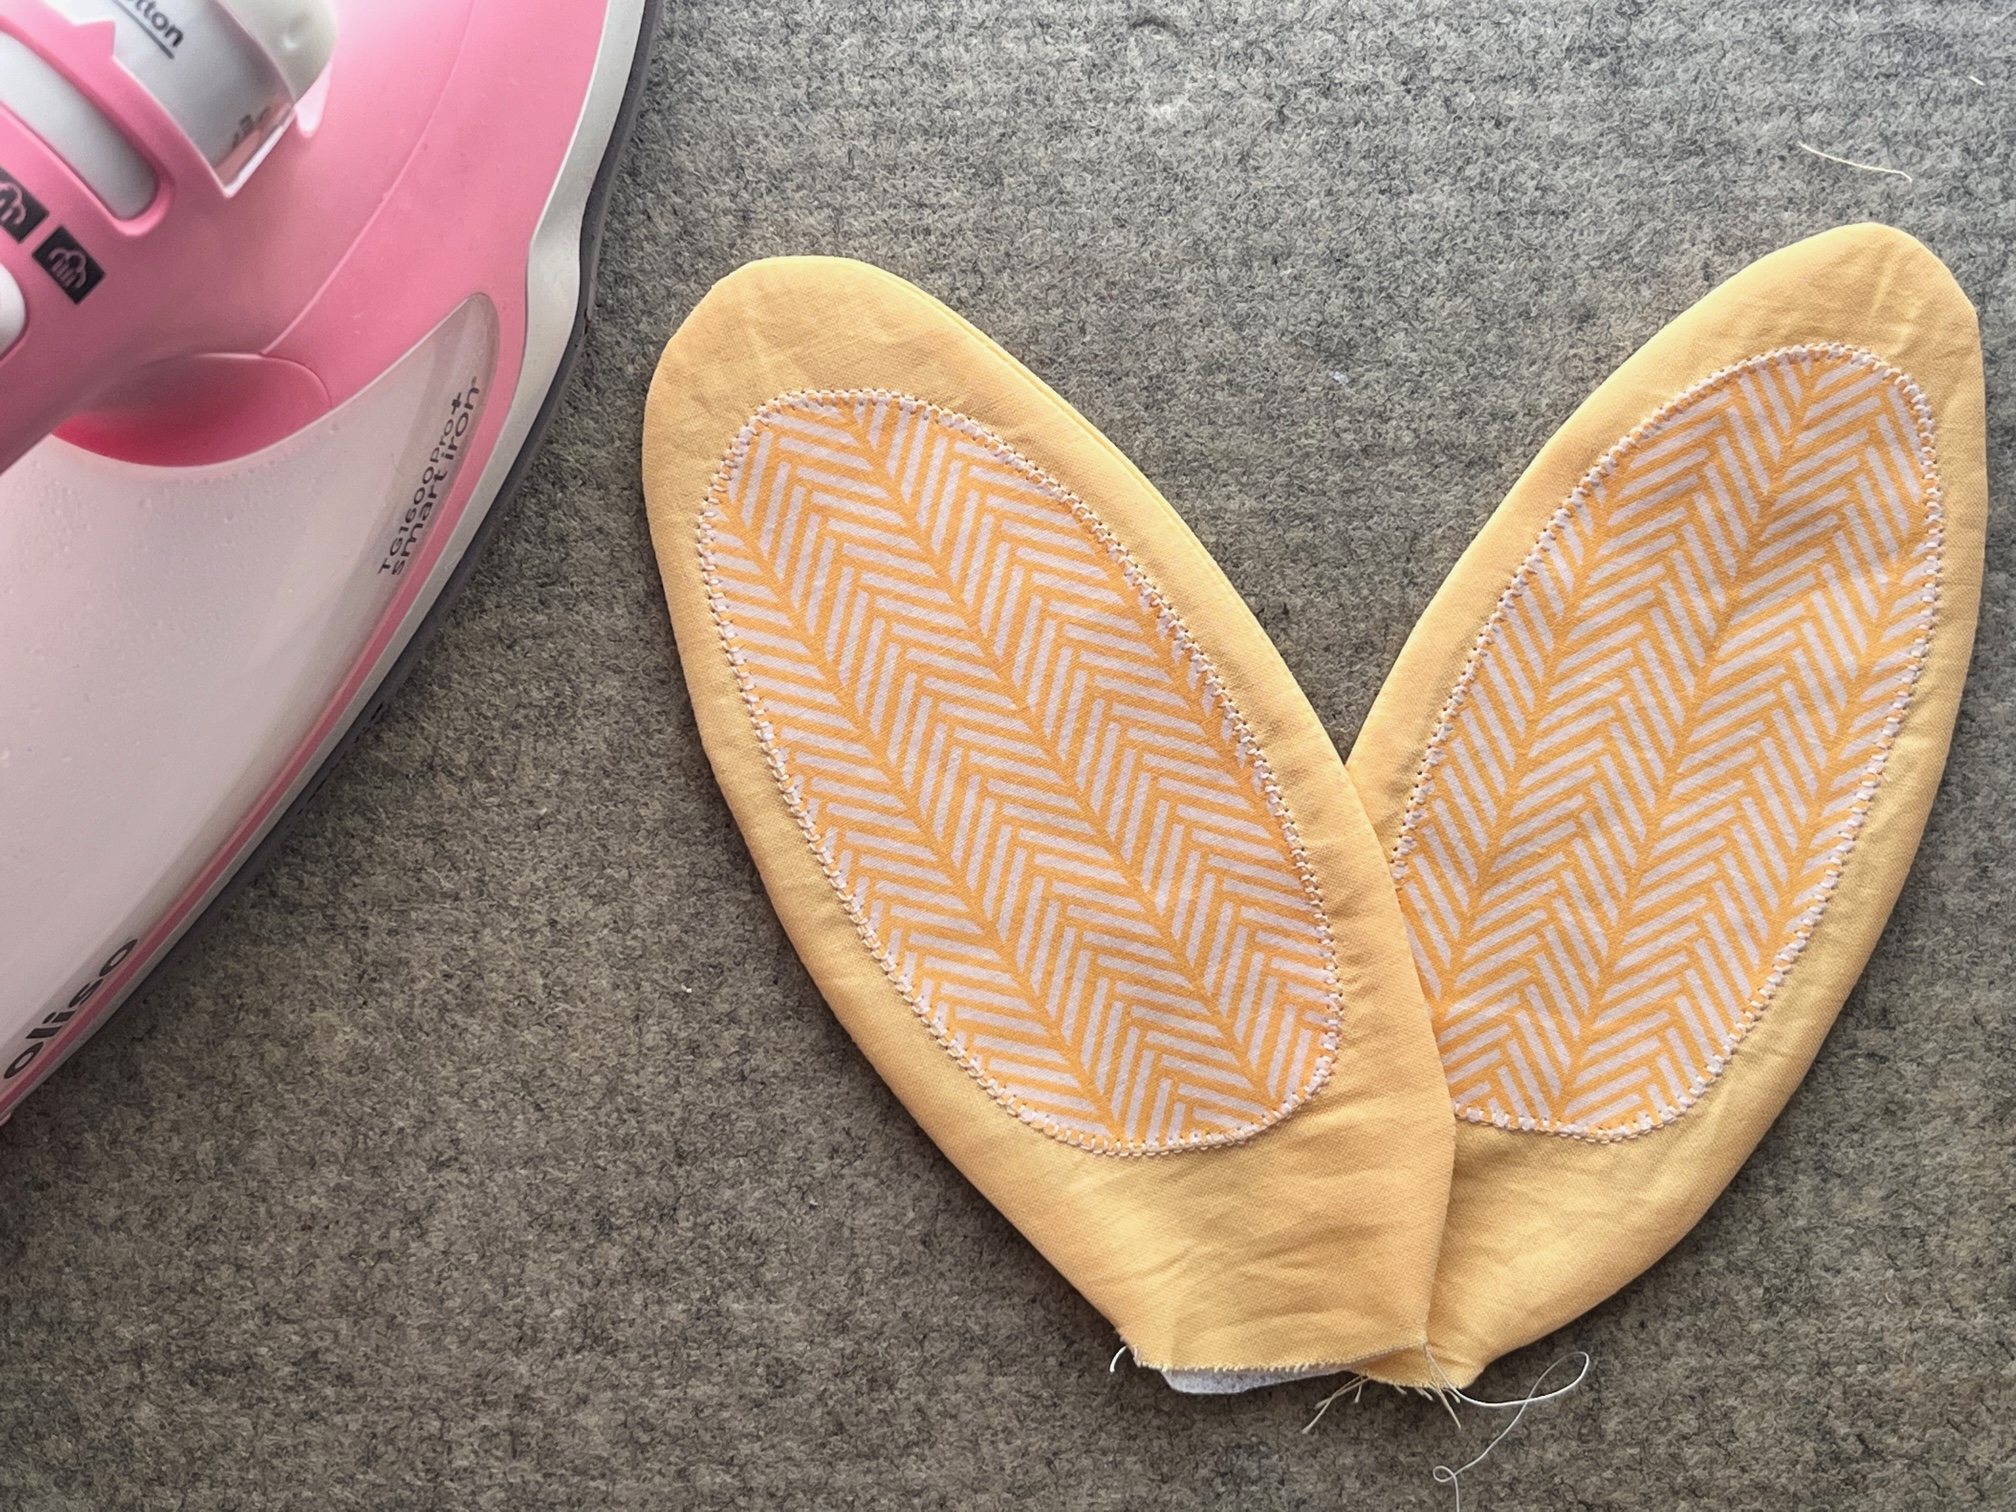
Adhere the Medium Weight Fusible Interfacing that you cut out for the ears to the wrong side of the ear fabric you have not yet used. Layer the ears you just appliqued onto of the ears you just fused with the interfacing with right sides together. Starting at the bottom on one side, sew with a 1/4″ seam all the way to the other side, leaving the bottom open for turning. Once sewn, clip around the top curve with pinking shears or make notches so the curve lies flat, then turn the ears right side out and press. Finish the ears by topstitching 1/8″.
Continue by…
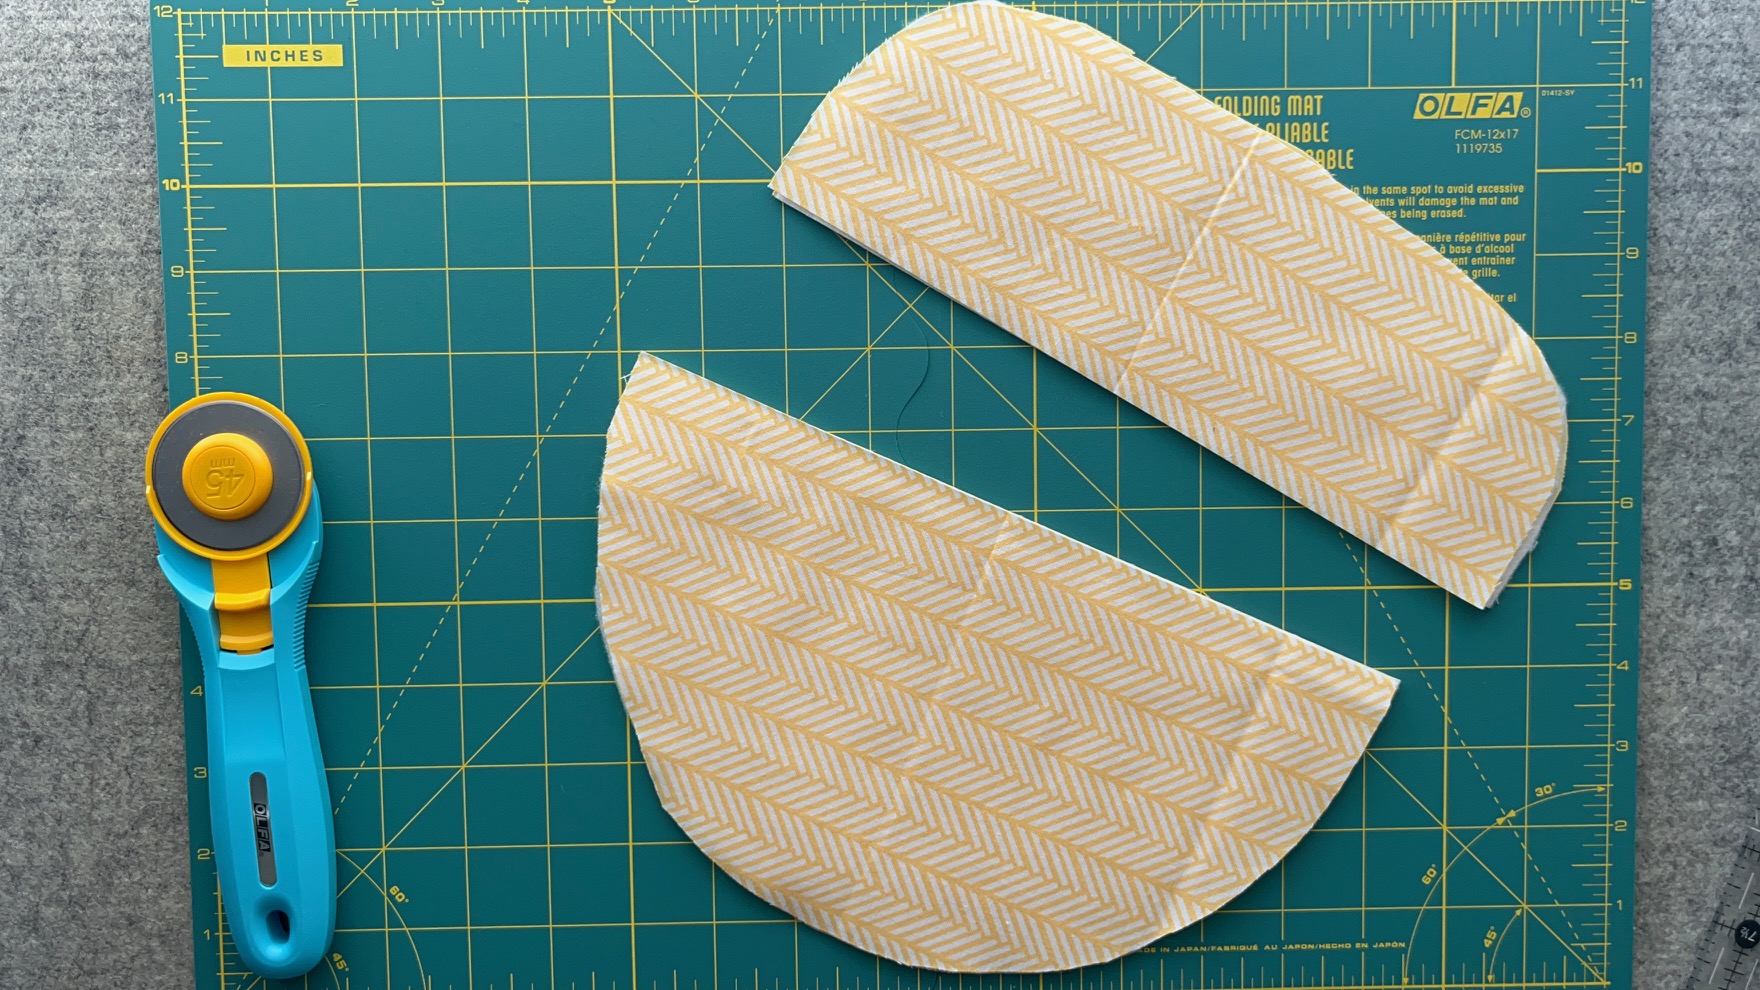
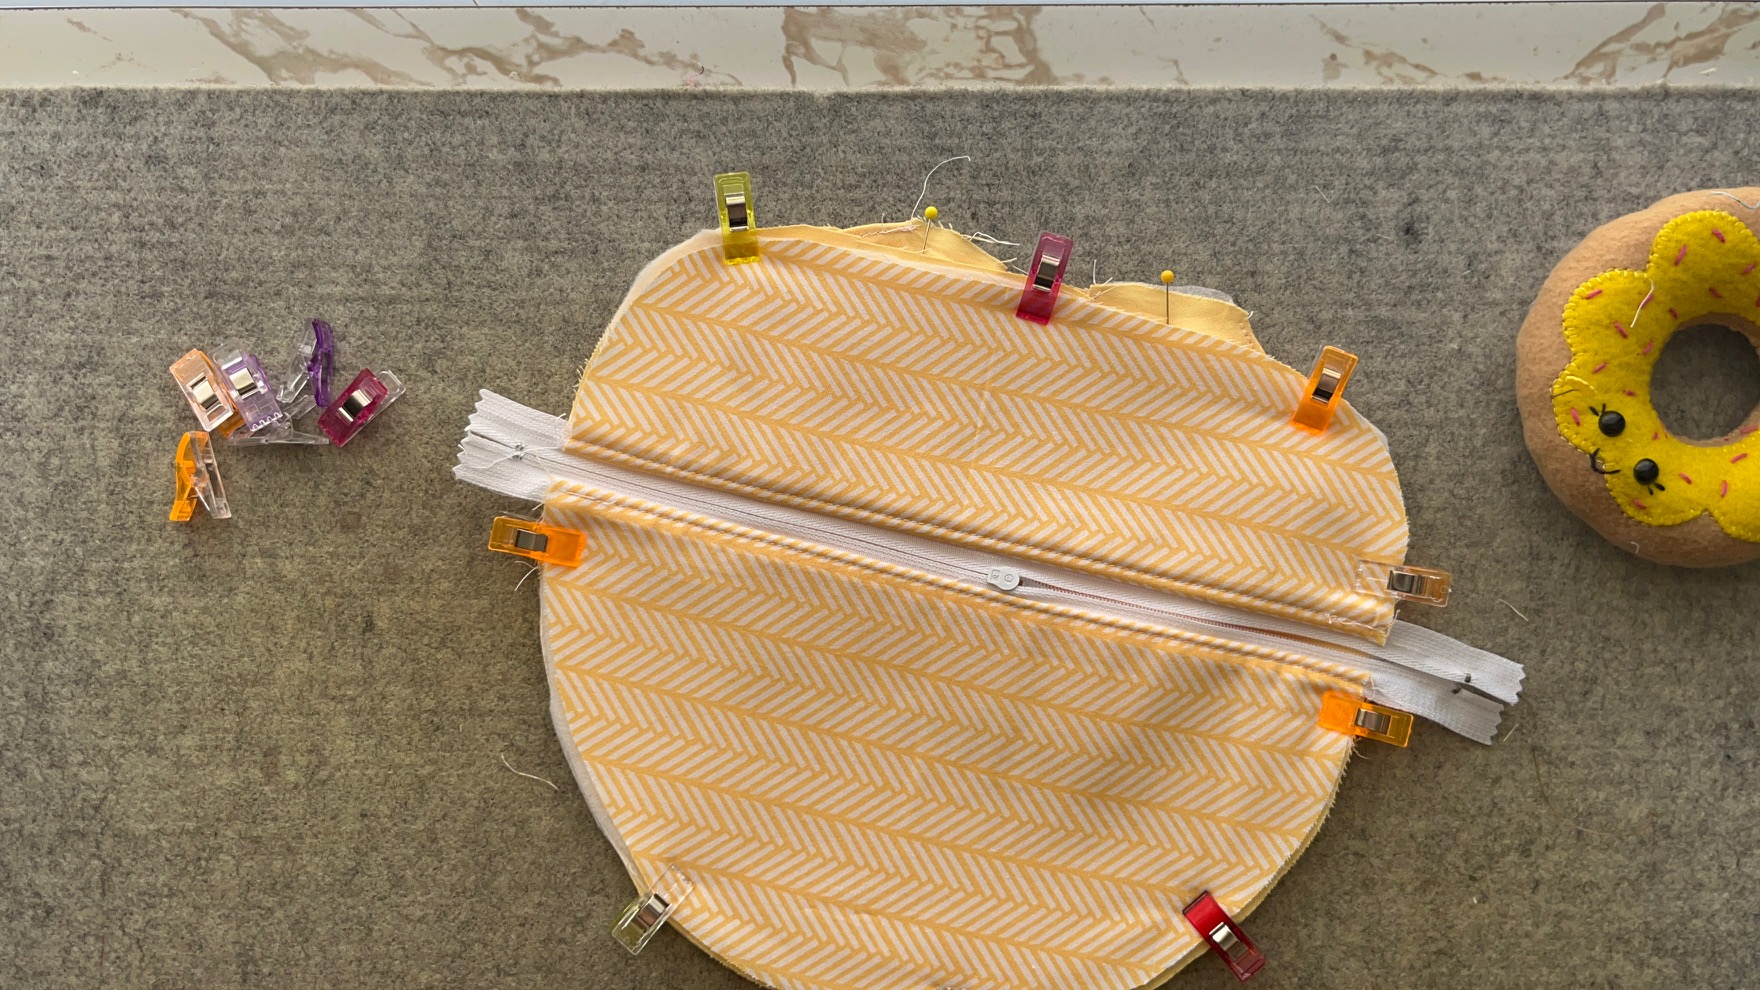
Grab the main bunny fabric for the back of the bag, a lining piece and the remaining fusible fleece. Fuse the fleece to the main bag piece. Layer the lining wrong side to the fleece. With your rotary cutter and ruler, cut through all three layers about 3 1/2″ down from the top (or use the double line guide provided on the pattern).
Next…
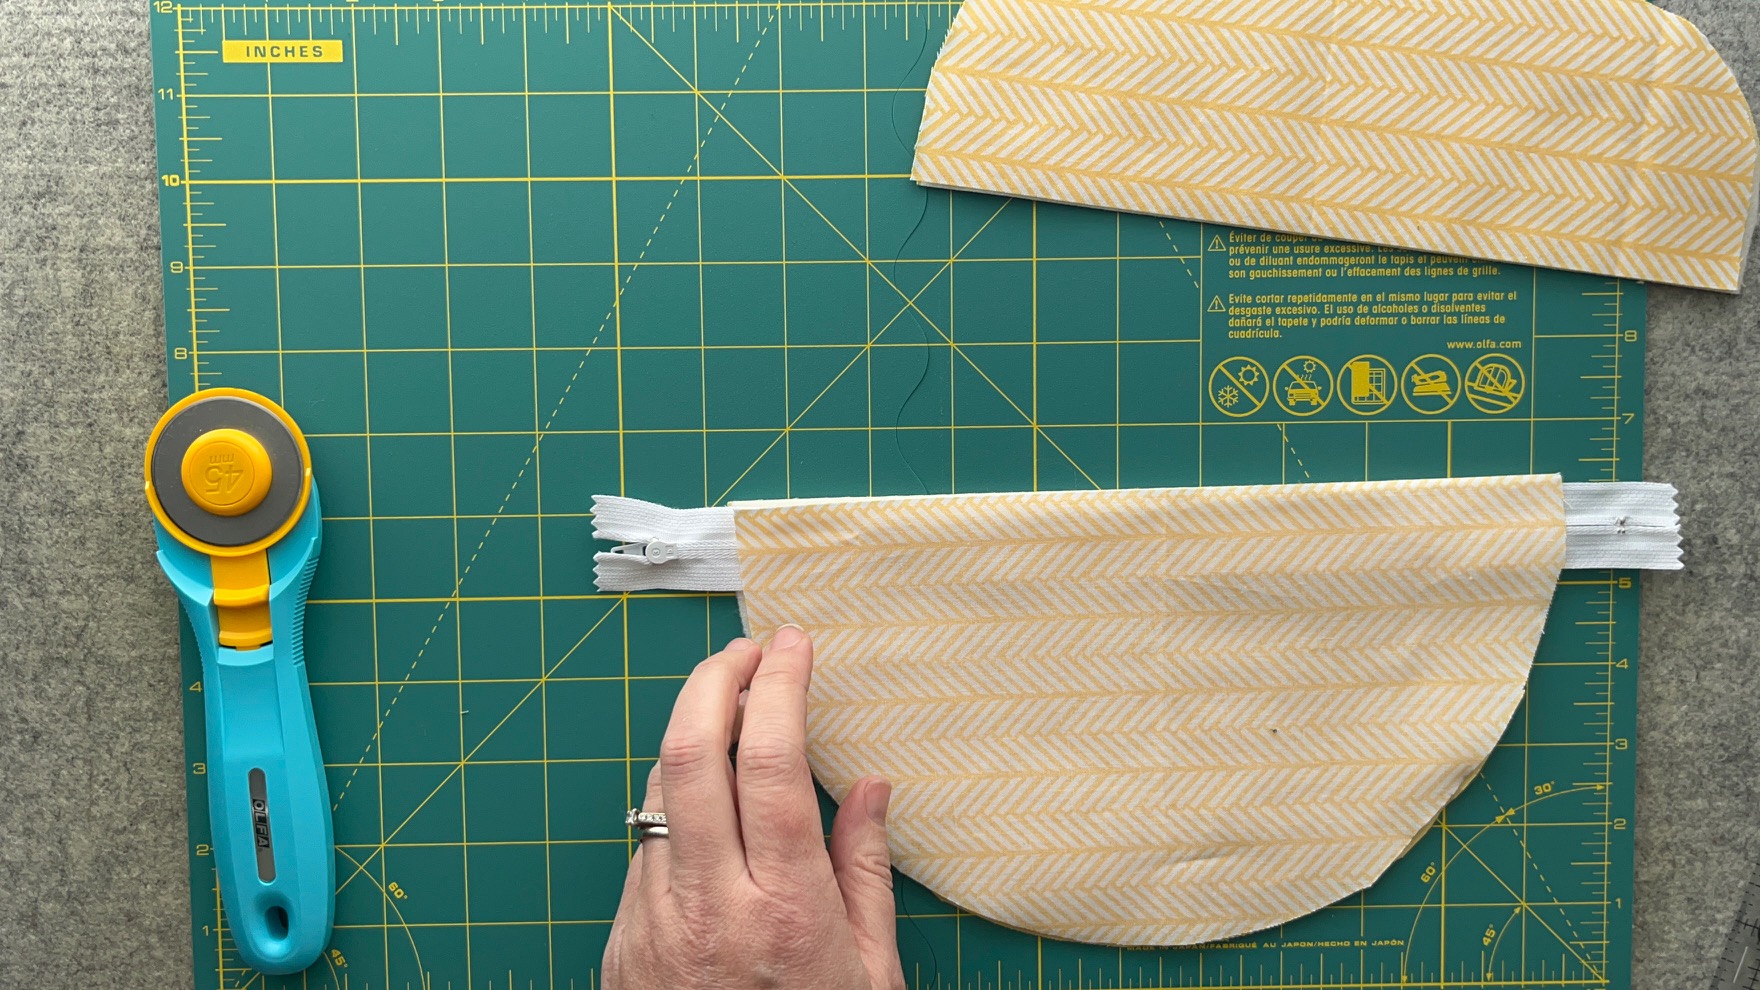
Place the bottom of your main bag facing up and the zipper right side facing down. Layer the lining facing down over the zipper. Align all three layers and sew across with a 1/4″ seam. Repeat these steps for the top half of the bag. Once both the top and bottom are attached to the zipper, topstitch across 1/8″ away from the zipper seam.
Important Tip: For more detailed instructions check out the YouTube Video Tutorial found at the bottom of this post
Next…
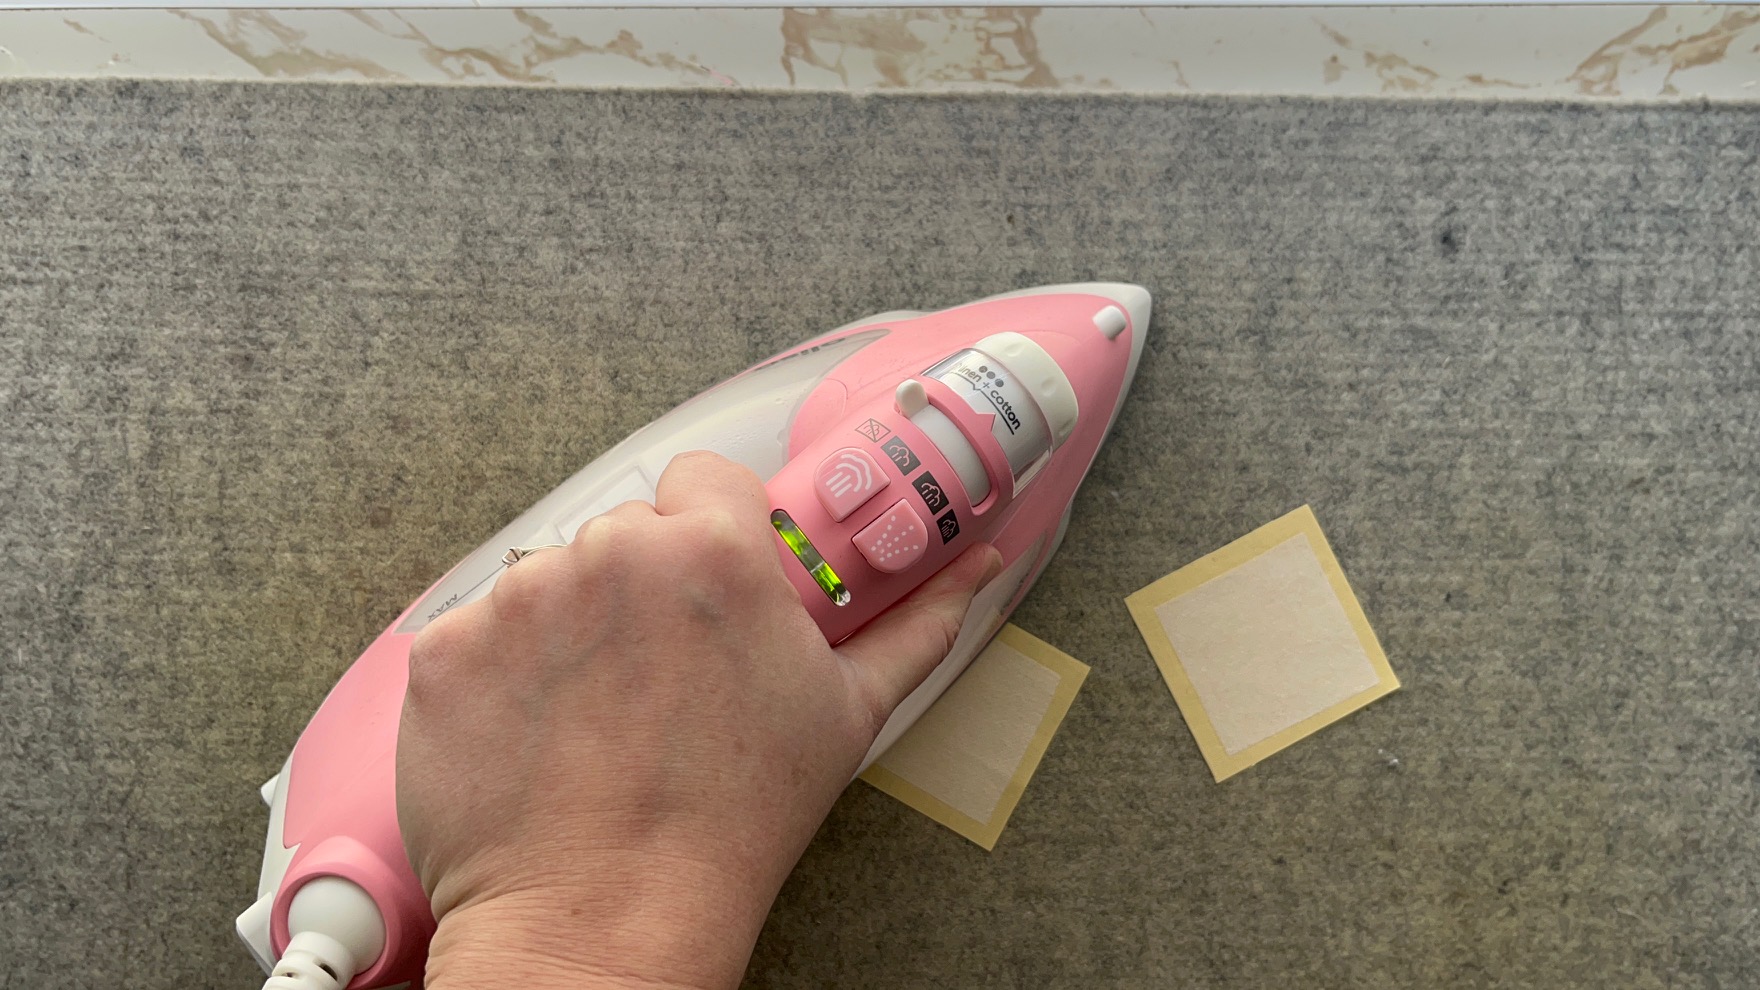
To prepare the tabs for the bag do the following steps.
- Adhere the medium weight interfacing to the wrong side of the fabric.
- Fold the tab in half to make a crease.
- Fold the raw edges to the center crease.
- Fold over one more time.
- Top stitch down each side of the tab.
Continue by…
Grab all the pieces for the bunny bag. Using SpraynBond Basting Spray, baste the lining of the front of the bag to the fusible fleece. Baste the lining on the zipper side as well.

Then…
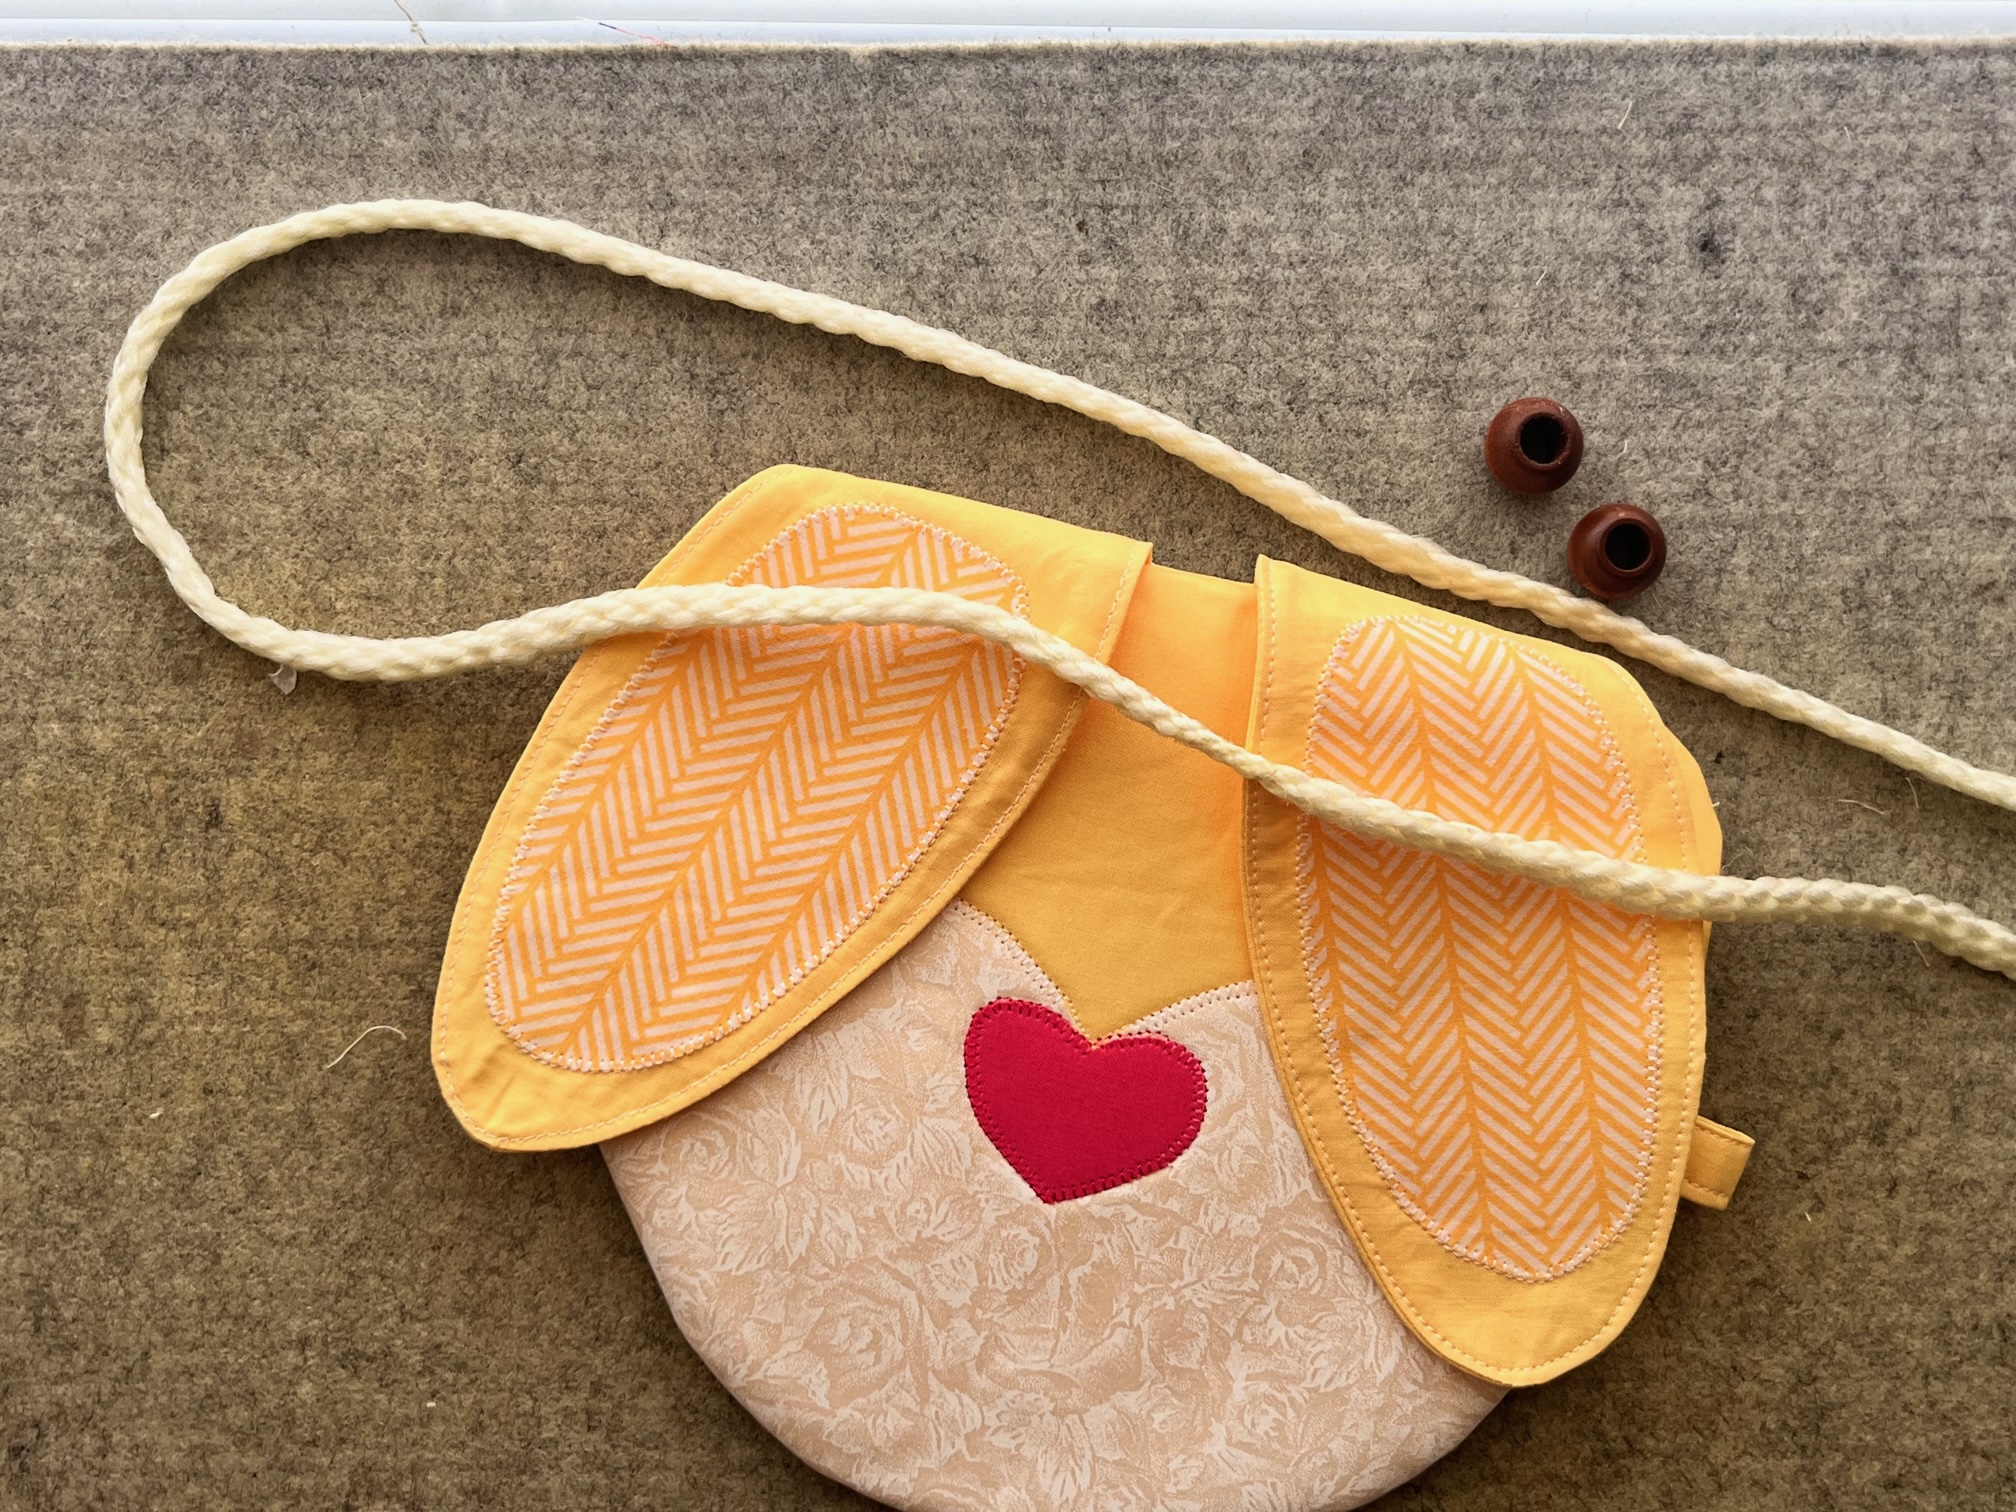
With the bunny front facing up, arrange the ears to your linking and pin. Then, pin the ears together in the center to make sure they don’t end up in the seam when you begin to sew.
Next, layer the back of the bunny bag right side facing down on top of the front. Clip or pin around. Insert the tabs just below the zipper on either side of the bag. Make sure to open the zipper at least halfway.
Then, sew around the bag using a 1/4″ seam. Once finished sewing, trim the zipper and the fabric from the ears. Use an overlocking, zigzag or serger to finish the edges.
Turn the bag right side out and press.
Finally…
Insert the rope through each of the side tabs. Add the wooden bead on the bottom of each side of rope and tie a knot to secure.
Finished!
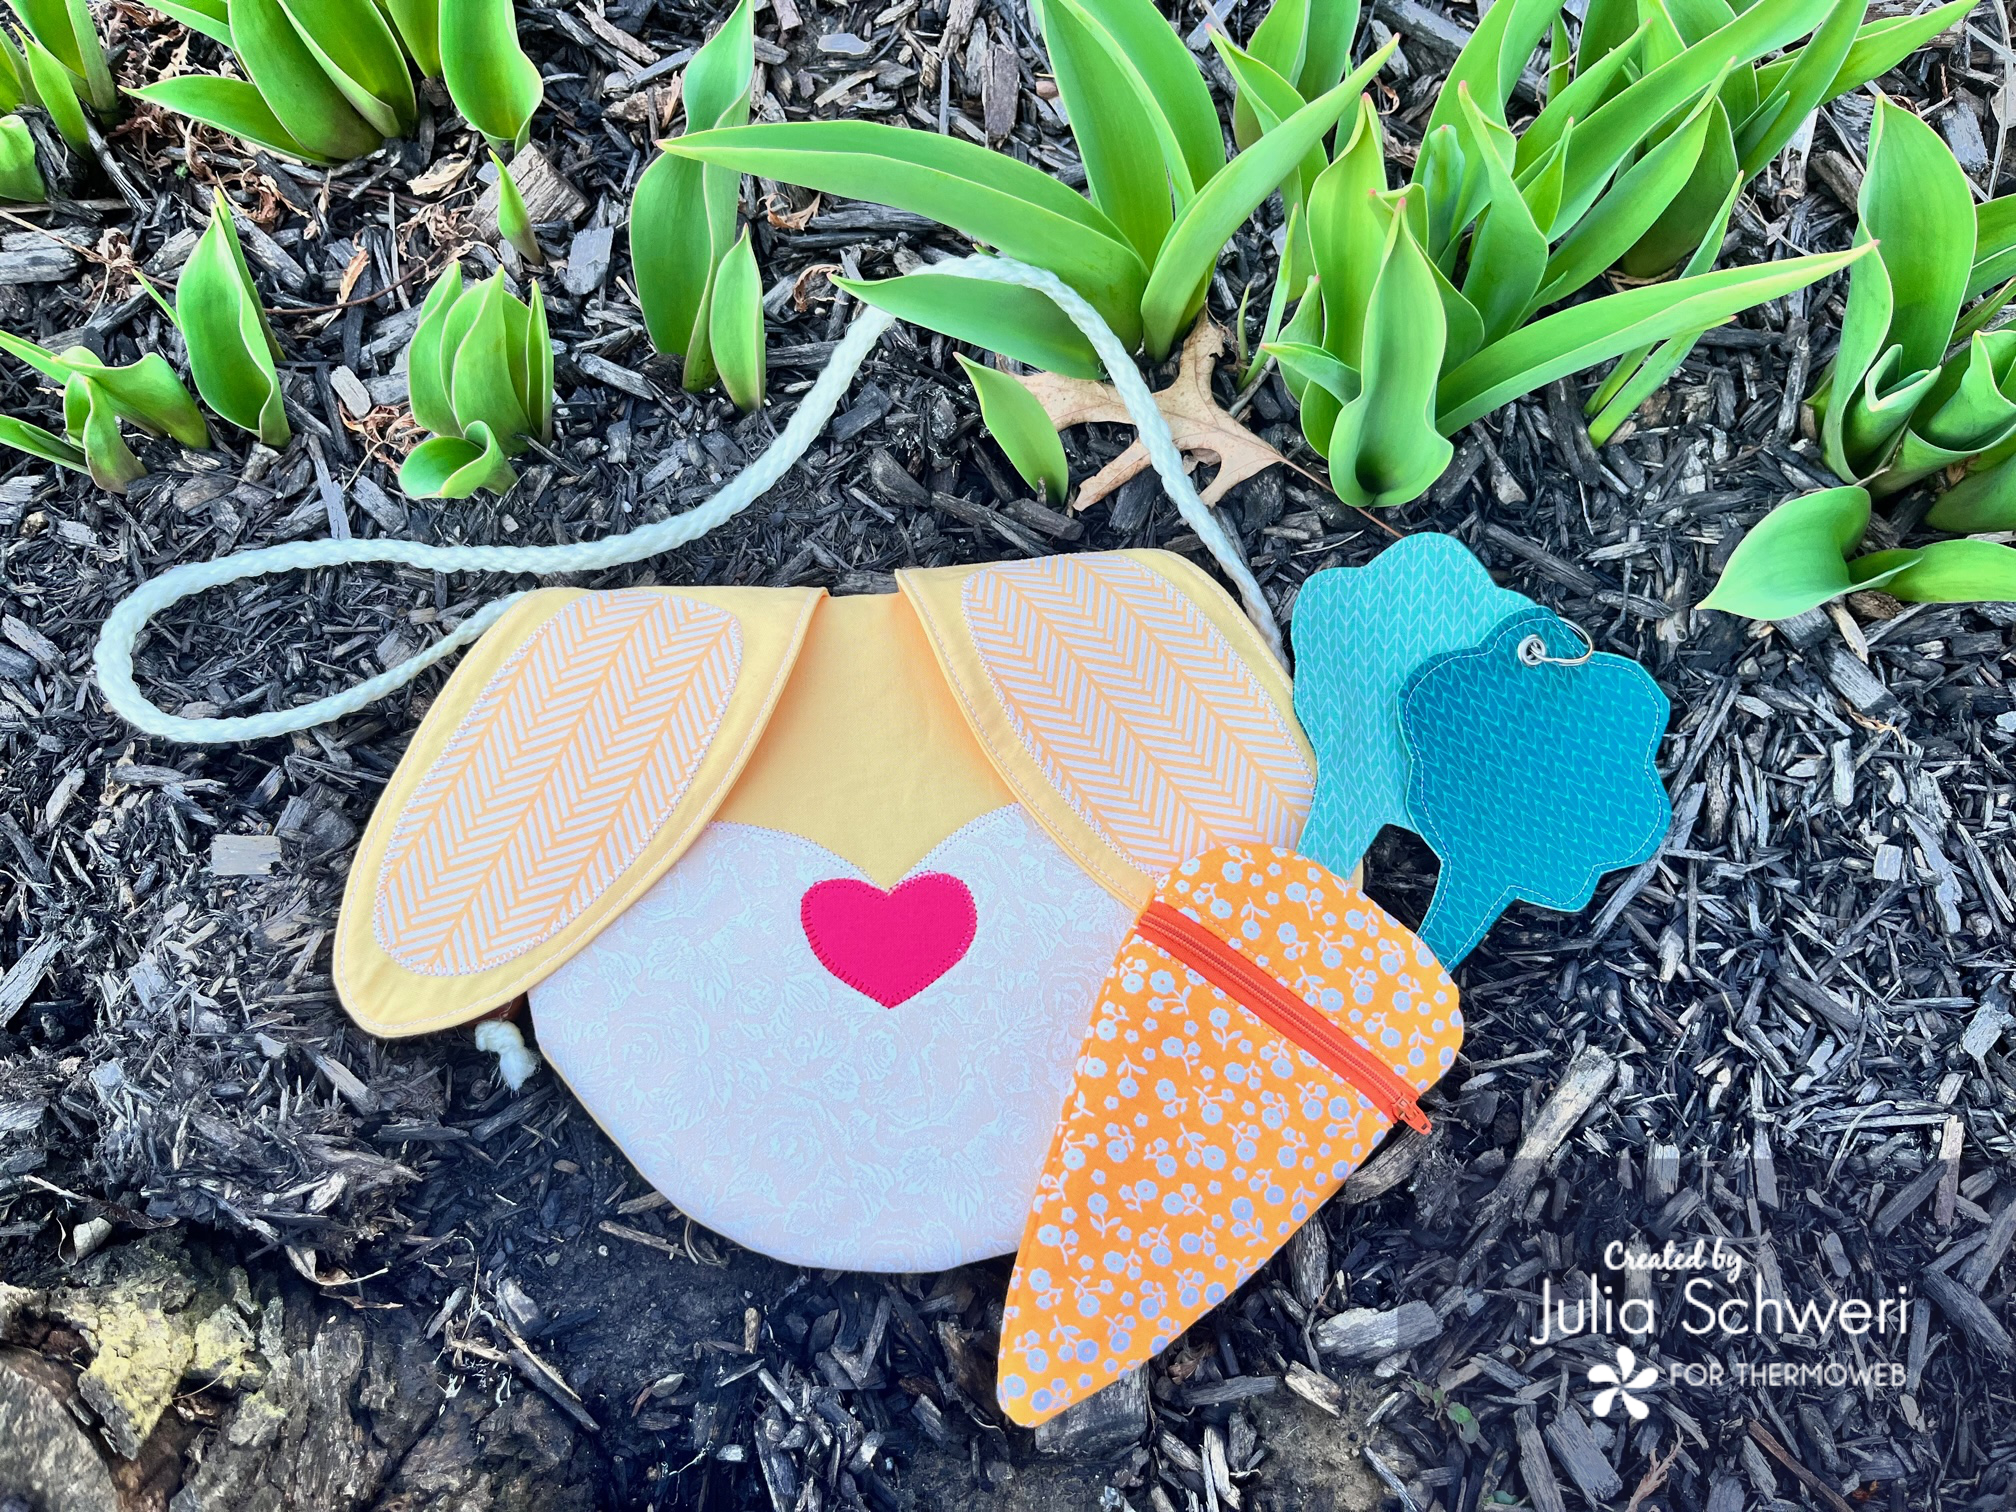
How cute is that Carrot Chage Pouch! Tomorrow night at 7PM central, I will be demonstrating how to make it on Thermoweb’s Facebook Craft Room Page. Check out the page and join so you don’t miss the fun!
Thank you for visiting today! Come back soon to see what else will be starting to bloom with Inflorescence Designs!
Starting to bloom by choosing JOY ~ Julia