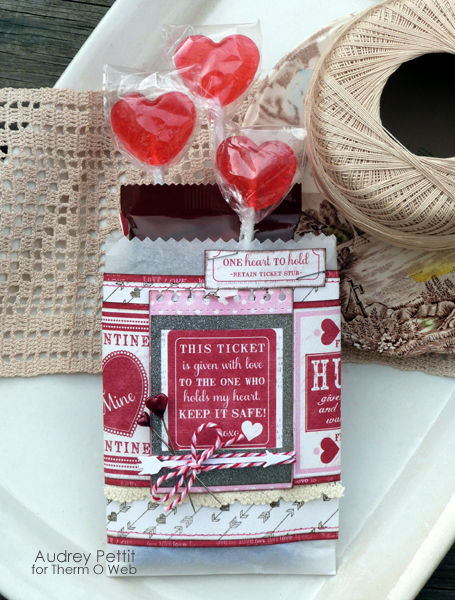
Valentine Sweet Treat by Designer Audrey Pettit
Supplies:
Therm O Web SuperTape™ Roll • 1/4 in
Therm O Web Sticky Tape Mini Runner™
Therm O Web Fabric Fuse 5/8″ x 20′ Tape
Therm O Web Zots™ Roll • Bling
Therm O Web Glitter Dust Frame
Authentique Smitten Collection:Patterned Paper
Cardstock: Stampin’Up
Dies: Papertrey Ink (memo pad), Sizzix (arrow)
Pins, Twine: Maya Road
Trim: Webster’s Pages
Ink: Clearsnap
Parchment Paper
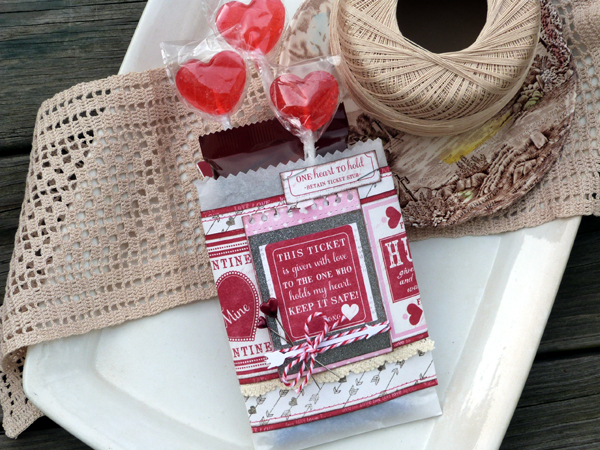
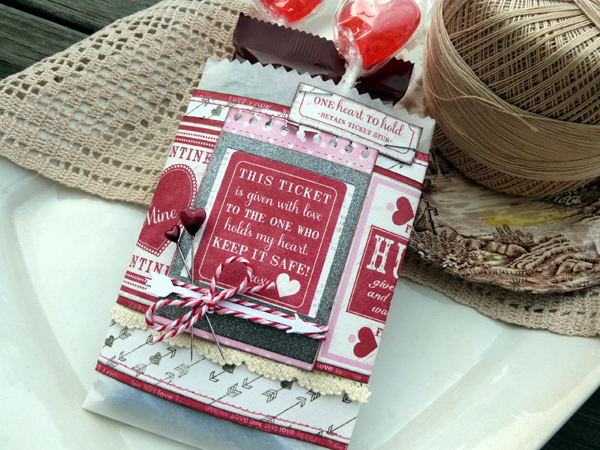
I love the look of treats packaged up in glassine bags, but I’ve found that I don’t always have the right size bags on had to fit my needs, especially when I’m interested in packaging some larger sweets, like this full-sized candy bar and long lollipop sticks. Fortunately, it’s super easy to create your own custom treat bags using parchment paper and strong adhesive, like Therm O Web’s SuperTape.
Here’s all you need to do.
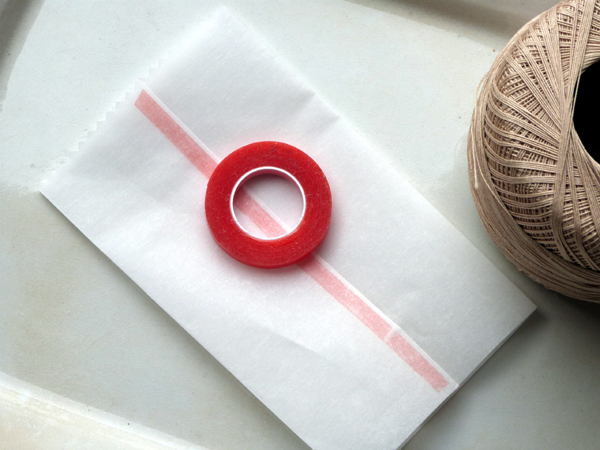
Start by cutting a sheet of parchment paper to a size suitable to hold your treats. I measured the width of my candy bar and then doubled that, plus threw in about an extra inch to allow for the depth of the bar. Basically, lay your treat onto the parchment, and make sure you have enough to fold over and secure the back flap. Fold in the two sides so that they have a slight overlap in back, then secure the flap with 1/4″ SuperTape.
*Note: Parchment paper is glossy, making it a bit tricky to adhere. Try burnishing the SuperTape with a bone folder or wooden stick before removing the red liner.
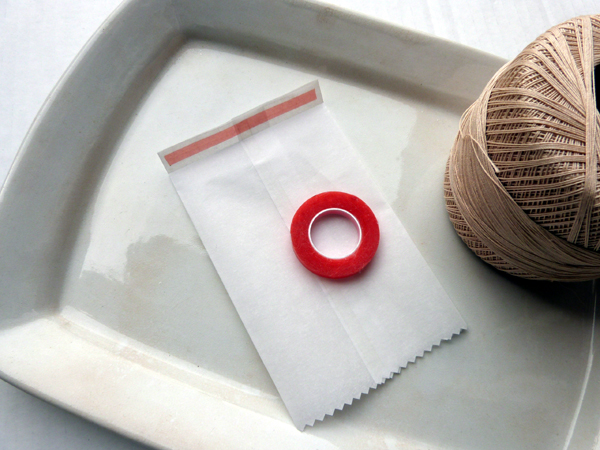
Fold up the bottom 1/2″, and secure with Super Tape. Then trim the top to size using decorative pinking shears, if desired.
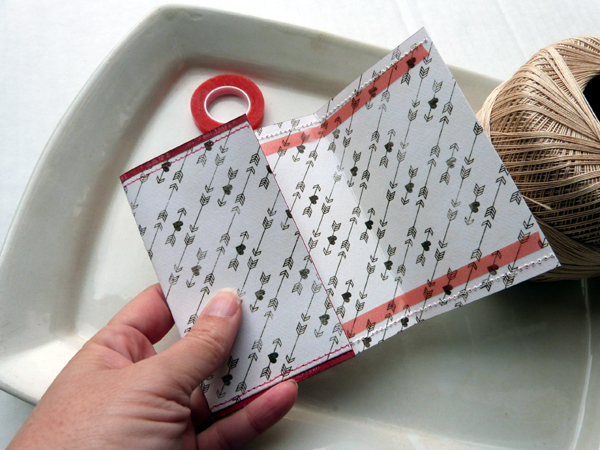
Cut a 12″ x 4.5″ strip of patterned paper. Layer with a contrasting patterned paper cut slightly bigger and adhere the papers together using Therm O Web Mini Tape Runner adhesive. Add machine stitching if desired. Wrap paper panel around the parchment bag and create strong crease folds at the bends. If too much overlaps in the back, simply trim off a bit from each end. Adhere the belly band wrap to the bag using additional SuperTape for a super strong hold.
*Note: for a shabby chic finish, try edging all paper pieces with brown ink.
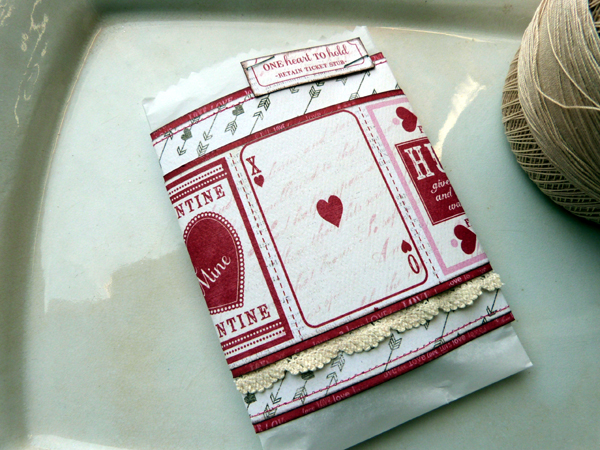
Cut a strip of Valentine journaling cards from patterned paper and layer with contrasting patterned paper. Add lace trim to the bottom edge using Therm O Web Fabric Fuse Tape. Wrap strip around the parchment bag, securing in the back with SuperTape. Cut a small ticket embellishment from patterned paper and staple to the top of the bag.
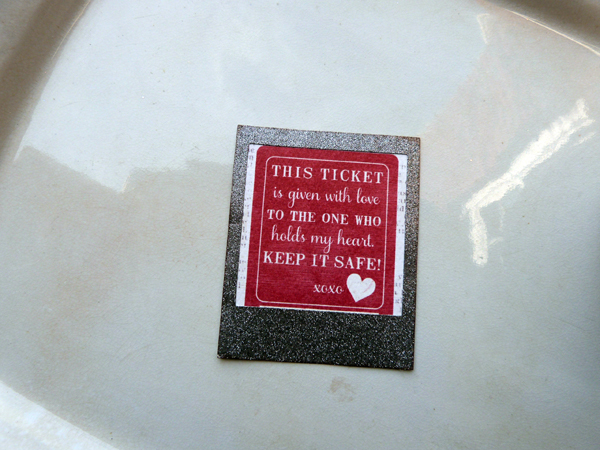
Peel and stick a silver Glitter Dust Frame to one of the Valentine journaling cards, and trim out. Die cut a memo paper from pink polka dotted paper and adhere frame to the die cut. Wrap twine around the frame and adhere to the bag.
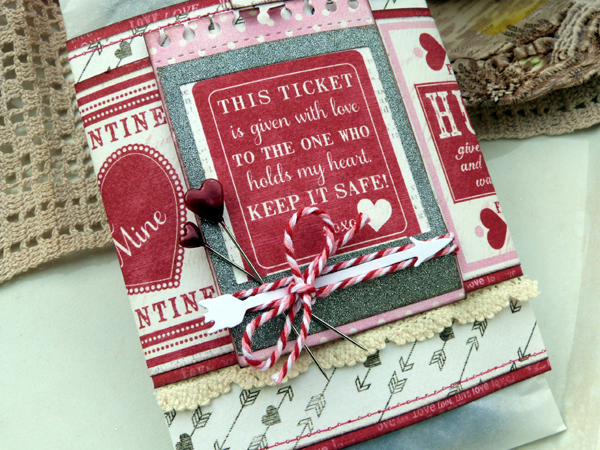
Adhere a die cut arrow and decorative pins to the bottom of the frame using Zots for Bling.
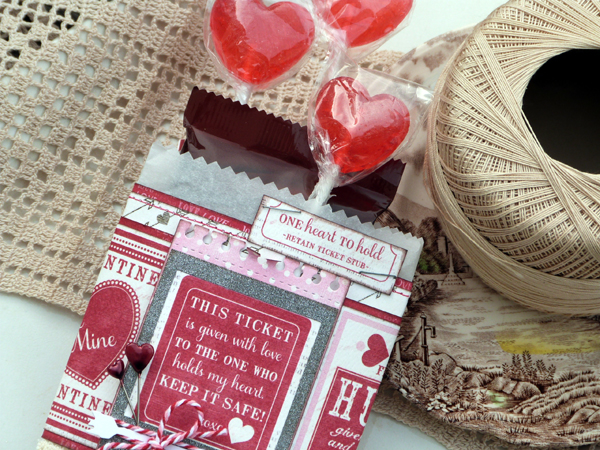
Fill bag with treats, and enjoy!
We’d like to help you create and craft up a storm with some of our Designers favorite products! Simply enter to win and you’ll have a chance at winning this…
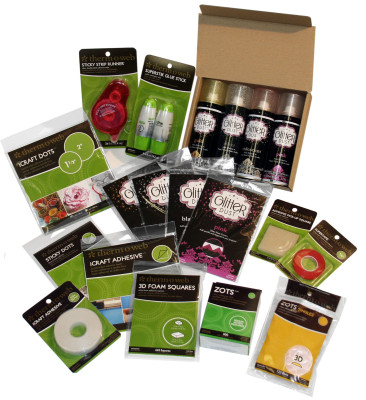
amazing prize pack valued at over $100!! It’s filled with all of our Designers favorites and more! SuperTape, Glitter Dust™ Photo Corners, Zots™, iCraft Adhesive™, Sticky Dots, Glitter Dust™ Spray and more!
Don’t miss your chance to WIN!
a Rafflecopter giveaway
5 Comments on Authentique Valentine Sweet Treat
1Pingbacks & Trackbacks on Authentique Valentine Sweet Treat
-
[…] got the complete step-by-step tutorial up on the Therm O Web blog, if you’d like to learn […]

Mary Whiting
February 11, 2014 at 9:56 am (11 years ago)So cute and inspirational!
Debra
February 11, 2014 at 9:51 pm (11 years ago)I love the therm o web fabric fuse and super tapes.
Judy B
February 12, 2014 at 4:26 pm (11 years ago)Love the little parchment bag. Anyone would be happy to get it. Right now I’m trying to get caught up on some of my layouts of my great grandson.
Cathy R.
February 13, 2014 at 8:11 am (11 years ago)Such cute project. Would love the opportunity to try the glitter dust.