As promised…we’re back with a second project for you today…this one from Designer Audrey Pettit!
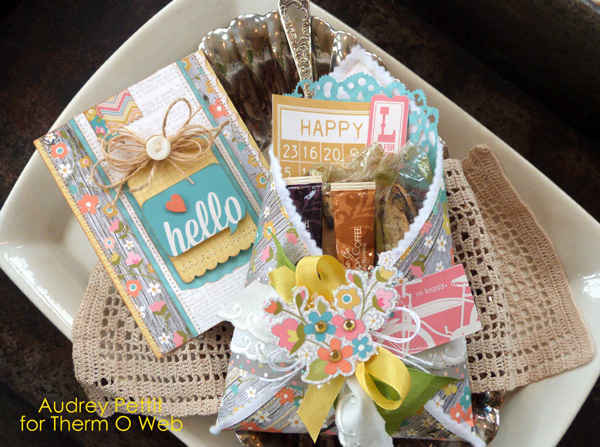
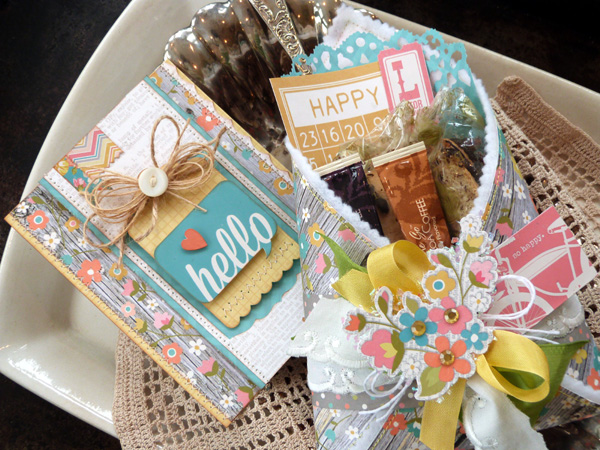
So Happy Pocket Pouch Gift Set by Audrey Pettit
Supplies:
Therm O Web Stitchn’Sew Woven Sew-In Interfacing- Soft
Therm O Web Fabric Fuse Tape
Therm O Web XL Memory Tape Runner
Therm O Web 3D Adhesive Squares
Therm O Web Medium Zots Clear Adhesive Dots
Simple Stories Vintage Bliss Collection:
12×12 Collection Kit and 12×12 Simple Basics Kit
Dies: Sizzix
Trim: Stampin’Up, American Crafts, Craft Supply
Gems: Want2Scrap
Looking for a fun gift idea for Mother’s Day this year? Try creating this quick and easy pocket pouch gift set. You can easily adapt the size of your pocket to fit a variety of treats and customize it to perfectly suit your theme. Does Mom love coffee or tea, sweets or candy? How about filling this pouch with seed packets for a mom who loves to garden. Or bath and body products to pamper mom. The possibilities are endless.
Here’s a few quick and easy steps for creating the pocket pouch.
1. Cut a square of patterned paper to size. You can easily adapt the size of the square to make bigger or smaller pouches, just remember to start with a perfect square. For my project, I used an 8″ square.
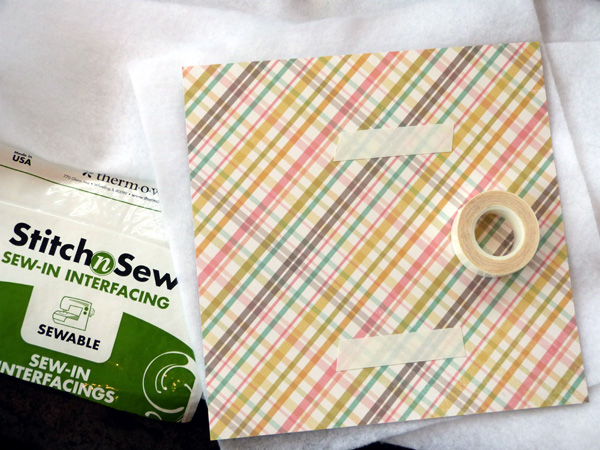
2. Cut a panel of Stitchn’Sew Woven Sew-In Interfacing slightly larger than the paper.
3. Apply two small strips of Fabric Fuse Tape to the back side of your patterned paper, and lightly adhere the paper to the interfacing. This will keep your paper from slipping while you sew.
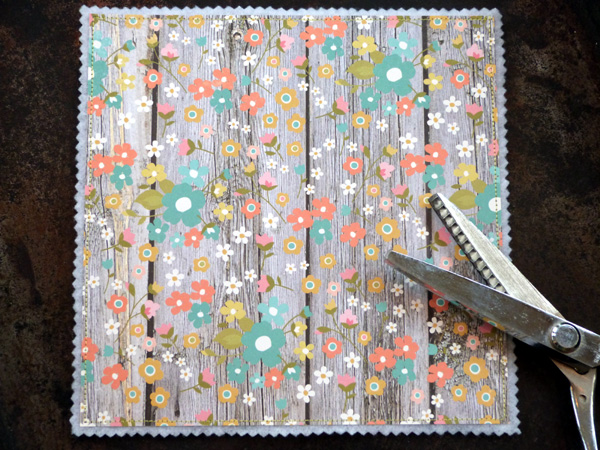
4. Stitch around the edge of the patterned paper. Using ~ 1/4″ allowance, trim interfacing around the paper using pinking shears.
*Note: You can create a pocket pouch using paper only, but by lining the paper with interfacing, you add structure and stability to the finished pouch. The interfacing also makes the paper more flexible, allowing you to bend it without creasing. Plus the added softness and texture is a great visual detail.
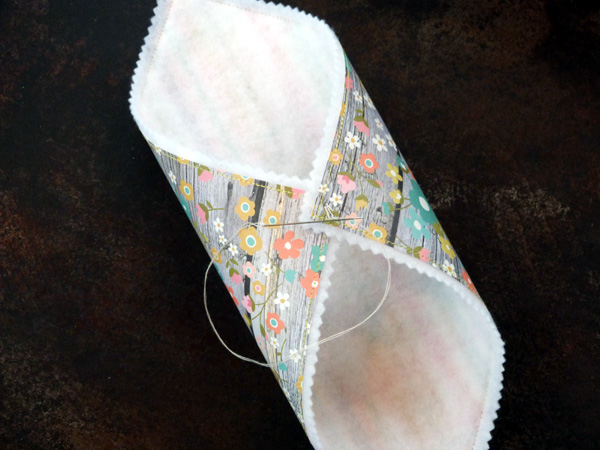
5. Lay the square panel face down so that the interfacing is facing up. Take two opposite corners and bend them towards the center of the square so that the two points overlap slightly in the middle. Secure corners together with a few hand-stitches or a staple.
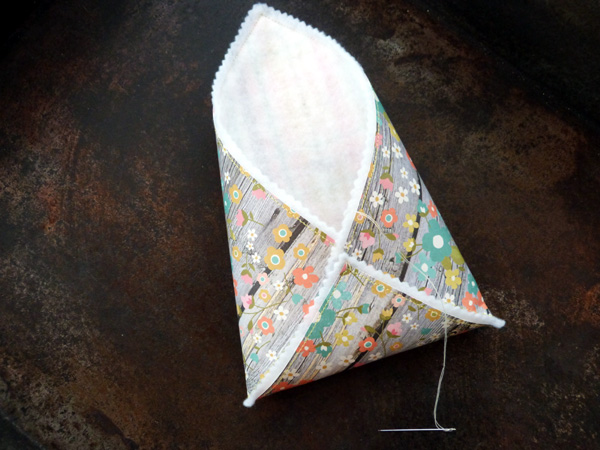
6. Take the bottom corner and fold it upwards until the corner point meets the two previous corners in the middle. Secure with additional hand-stitches or staples.
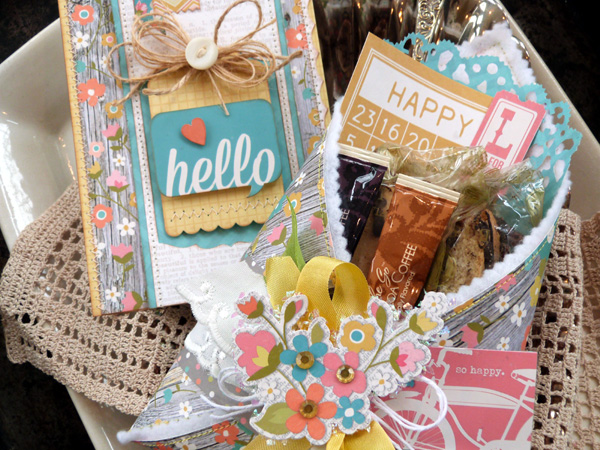
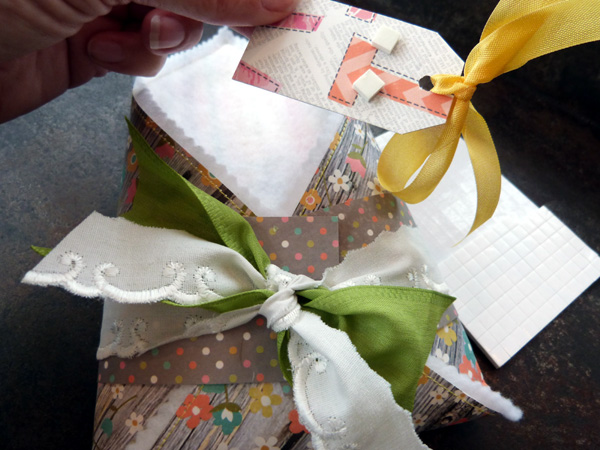
Now your pocket pouch is ready to embellish as you wish. I wrapped mine with a 2×12″ strip of contrasting patterned paper and tied it with lace trim. Zots adhesive dots help keep the paper strip in place. For extra detail, I added a few additional trims to the tie.
Embellish with cardstock sticker tag. A trick I use when adhering cardstock stickers to dimensional projects is to adhere the sticker to a piece of scrap paper first and then trim it out. Then adhere the tag to the pouch using 3D Foam Squares. Lining the sticker first will ensure that the sticker doesn’t pick up any stray debris.
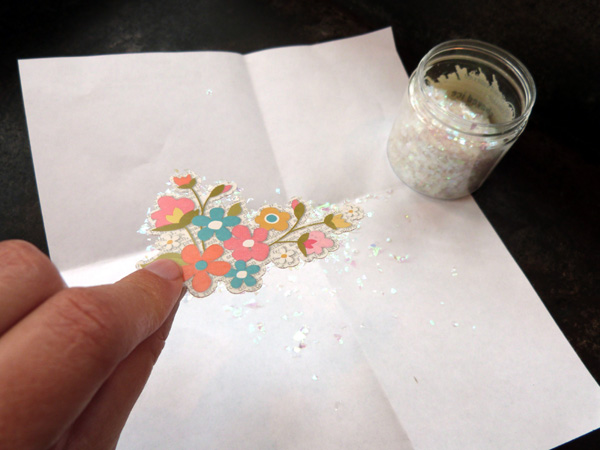
For stickers with more intricate details, try pressing them into baby powder or mica glitter, rather than trying to trim them out. It’s much easier and the mica will add a great finishing touch. Adhere sticker to the bow using Zots adhesive squares.
Tuck a die cut decorative doily and a happy bingo card into the pocket and fill with assorted gifts or treats. Create a matching card using leftover kit materials, and shower Mom with love this Mother’s Day!
There’s still time to shop and pick up our Adhesive Kit on sale for 30% off! Don’t wait!
8 Comments on Audrey Simple Stories Mother’s Day
1Pingbacks & Trackbacks on Audrey Simple Stories Mother’s Day
-
[…] got the full step-by-step directions for creating this gift pouch on the Therm O Web blog, if you’re interested in taking a […]



Janetta Zeimetz
May 6, 2013 at 6:34 pm (12 years ago)Cute pocket! Love it! Thanks for sharing!
jpscraps
May 6, 2013 at 6:44 pm (12 years ago)This is lovely! Any momma would love it!
Natasha Poteraj
May 6, 2013 at 7:27 pm (12 years ago)How cute the little pouch is!
Sharon Gullikson
May 6, 2013 at 9:23 pm (12 years ago)The pinking shears make a cute edge. I like your papers and colors, too. What a cute craft.
Jean Bullock
May 6, 2013 at 9:53 pm (12 years ago)Love these delightful pouches!
TracyM #6773
May 7, 2013 at 5:27 am (12 years ago)What lovely pair of projects – so pretty and tasty too!!!
Thank you for sharing you tutorial and that wonderful hint about the mica & stickers, haven’t got any mica in my stash, will look for it on my next crafty shop, in the meantime I will try it with coarse glitter 🙂
Denise Bryant
May 12, 2013 at 11:48 pm (12 years ago)Pretty pocket pouch! Fun project. Love the paper!