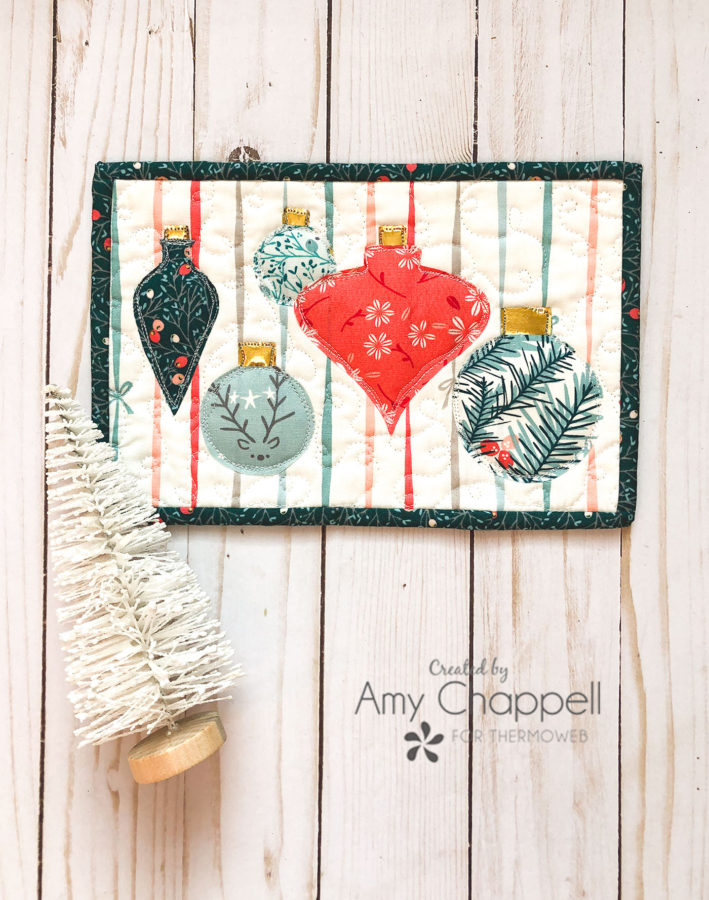
A warm drink, delightful treat, and a toasty fire. Winter evenings are my favorite. Dress up your cozy routine with this gorgeous Vintage Ornament Mug Rug.
Vintage Ornament Mug Rug Tutorial
Mug Rug Supplies
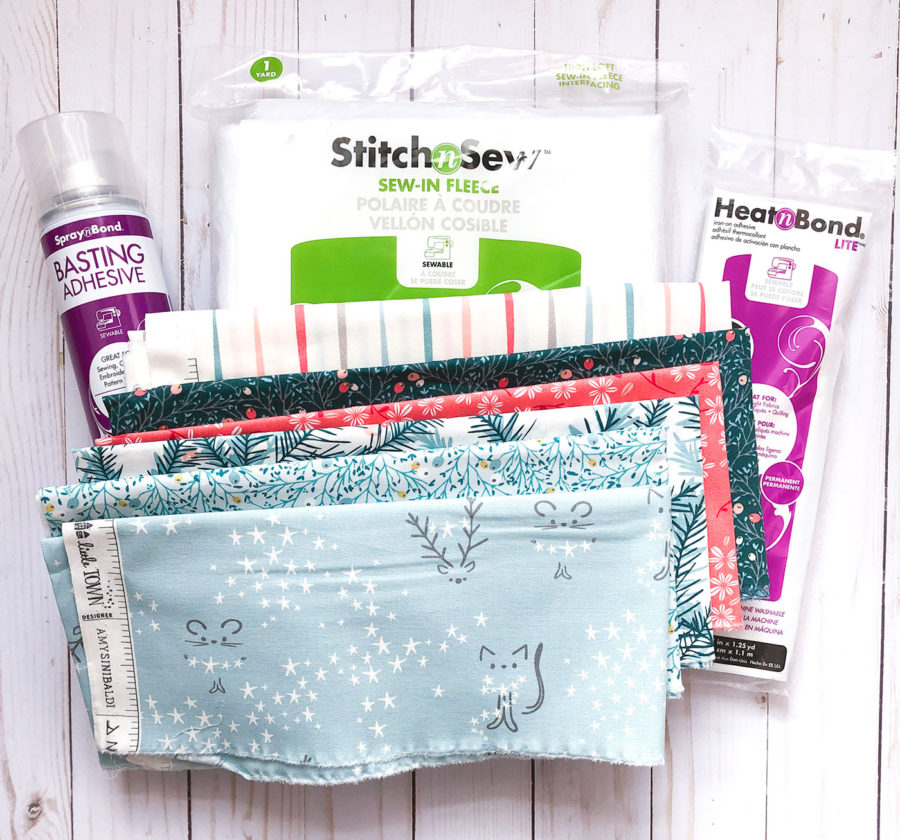
- Fabric – I am using this delightful Little Town fabric from Art Gallery Fabrics
- Cut background fabric to 9 1/2″ X 6 1/2″
- Cut backing fabric to 10″ X 7″
- Cut one strip 2 1/4″ X width of fabric for binding
- StitchnSew Sew-In Fleece – Cut to 10″ X 7″
- HeatnBond lite Fusible Adhesive
- SpraynBond Basting Adhesive
- Deco Foil Hot Melt adhesive
- Deco Foil Transfer Sheet – Gold
- Vintage Ornament Mug Rug Pattern
Prepare Applique
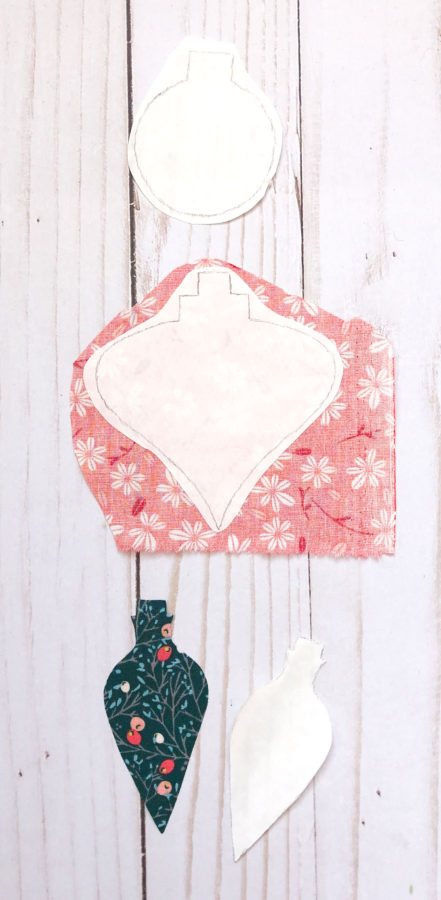
- Trace the ornament patterns onto the paper side of the HeatnBond lite.
- Cut out each ornament, leaving a slight margin of HeatnBond around each one.
- Fuse the HeatnBond to the wrong side of the fabric.
- Cut out ornament along the traced line.
- Remove the paper backing.
Make mug rug front:
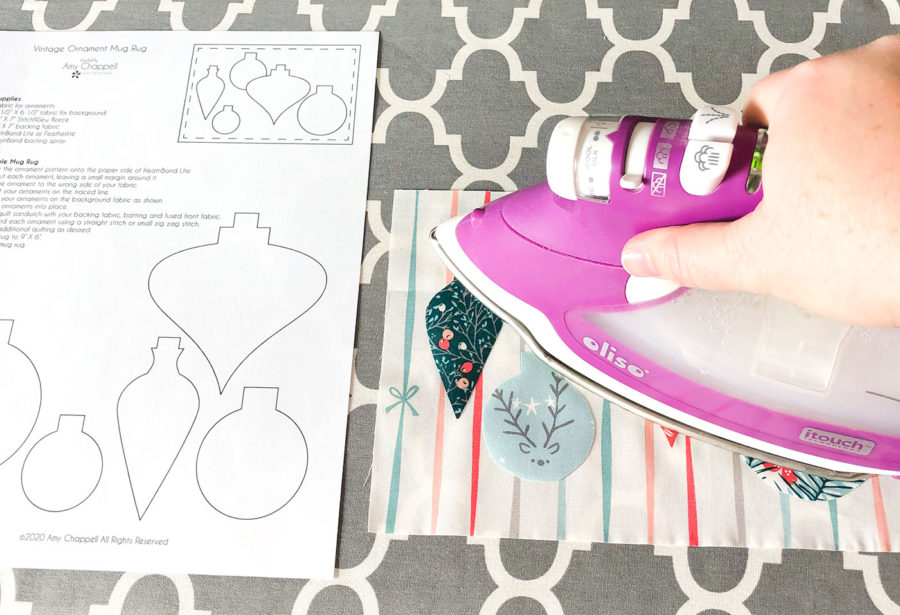
- Place your background fabric right side up on your pressing surface.
- Position the ornaments using the placement guide on the pattern. Be sure to leave at least 1/2″ margin around the fabric to allow for squaring up and seam allowances.
- Fuse the ornaments into place following package instructions.
Add foil accents
*This can be done before or after sewing down the applique.
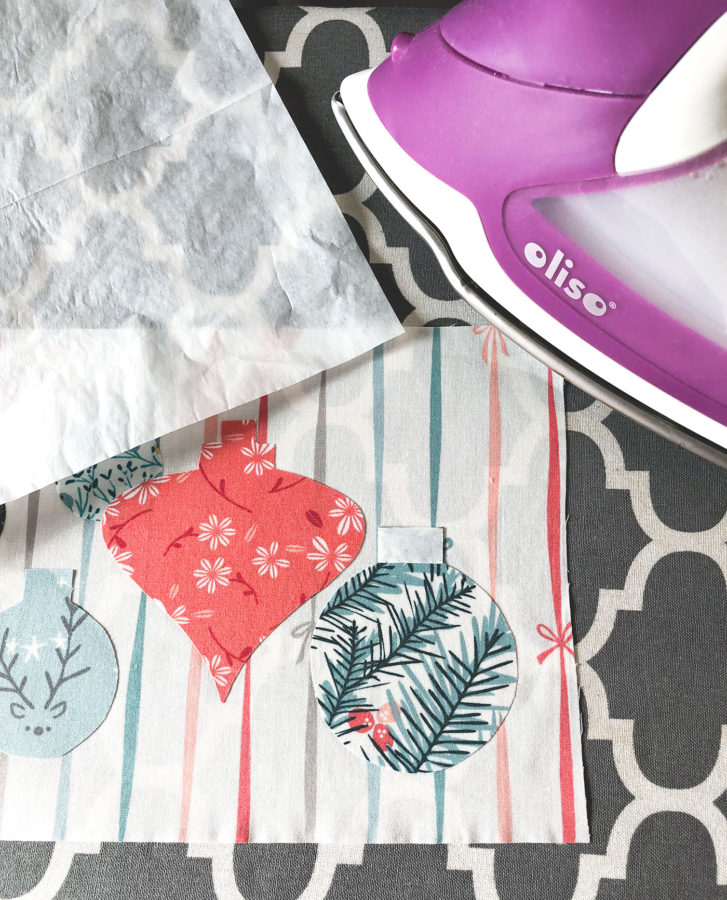
- Trace the accent pattern pieces onto the paper side of the Deco Foil adhesive sheet.
- Cut out the accent pieces.
- Position the adhesive pieces on the ornaments.
- Fuse into place. *note- be sure to use the parchment paper included with the adhesive to protect your iron. Follow all package instructions.
- Remove the paper covering.
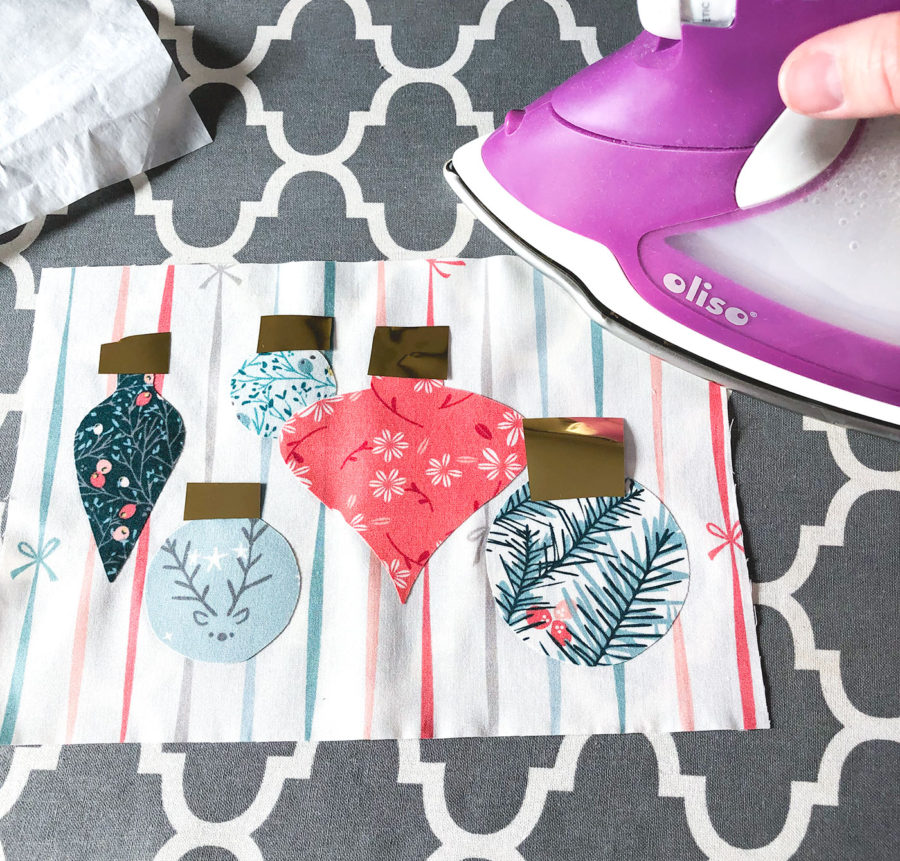
- Cut pieces of foil large enough to generously cover the adhesive.
- Place your parchment paper on top and fuse using your iron- follow the package instructions carefully.
- Allow to cool and remove foil.
Quilt mug rug
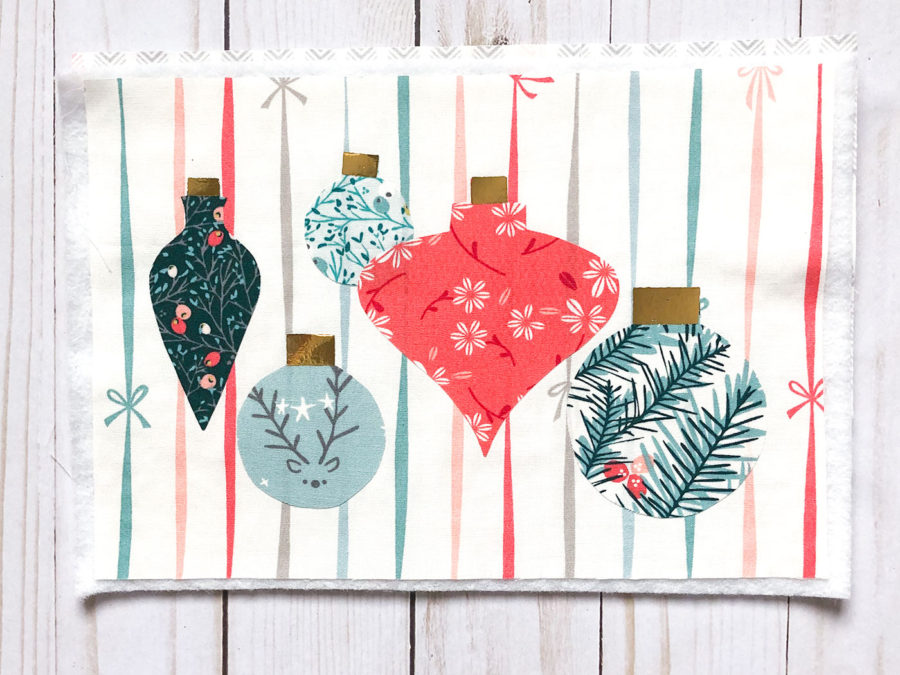
- Use SpraynBond to baste the backing fabric, StitchnSew fleece, and mug rug front together.
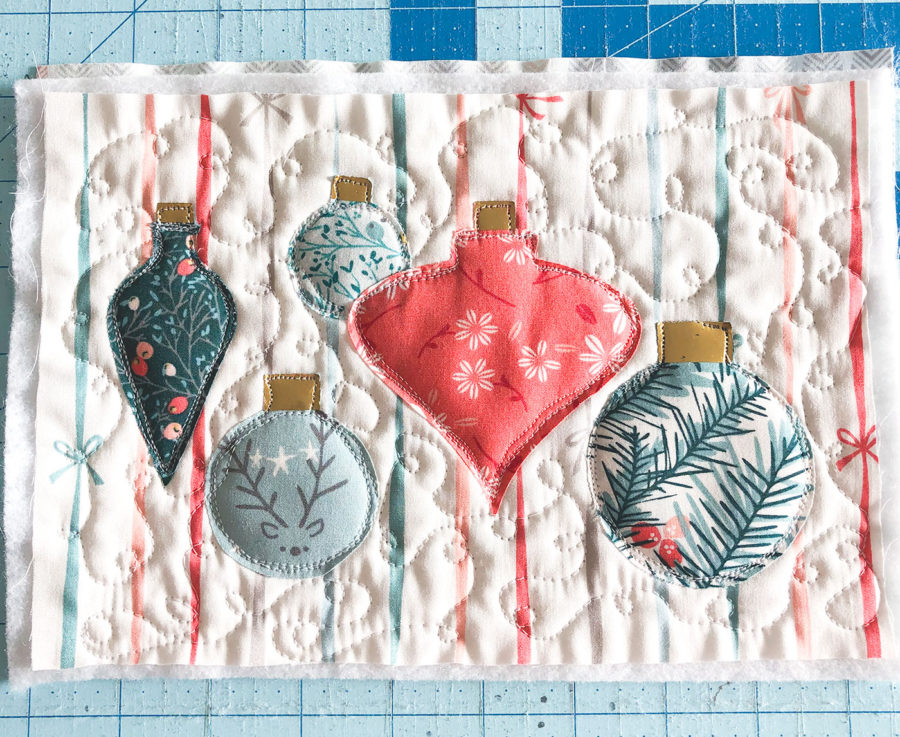
- Sew around each applique piece to secure- use a straight stitch or a zig-zag stitch. I like to use my walking foot or embroidery foot to do this.
- Add additional quilting to your mug rug as desired.
- Trim the mug rug and square it up to 9″ X 6″.
- Add binding using your favorite method.
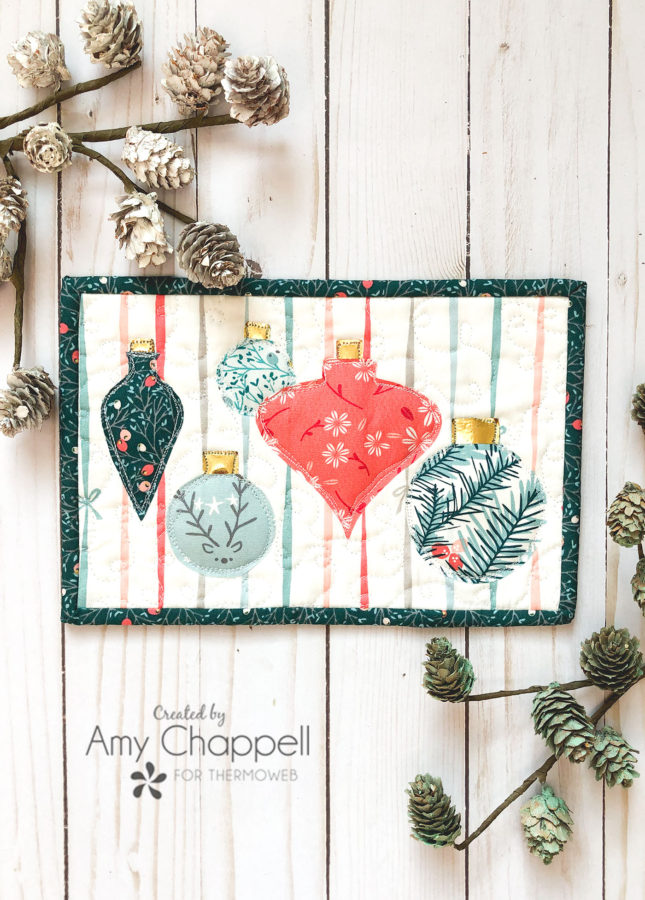
That’s it! You now have a stunning, sparkly mug rug to use or gift!
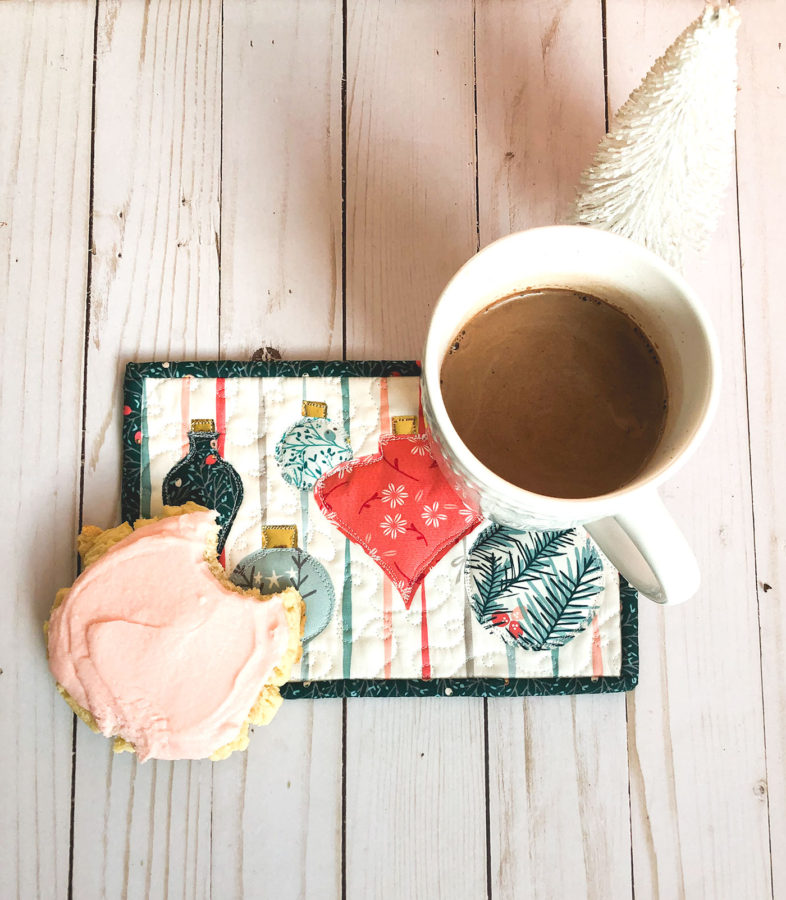
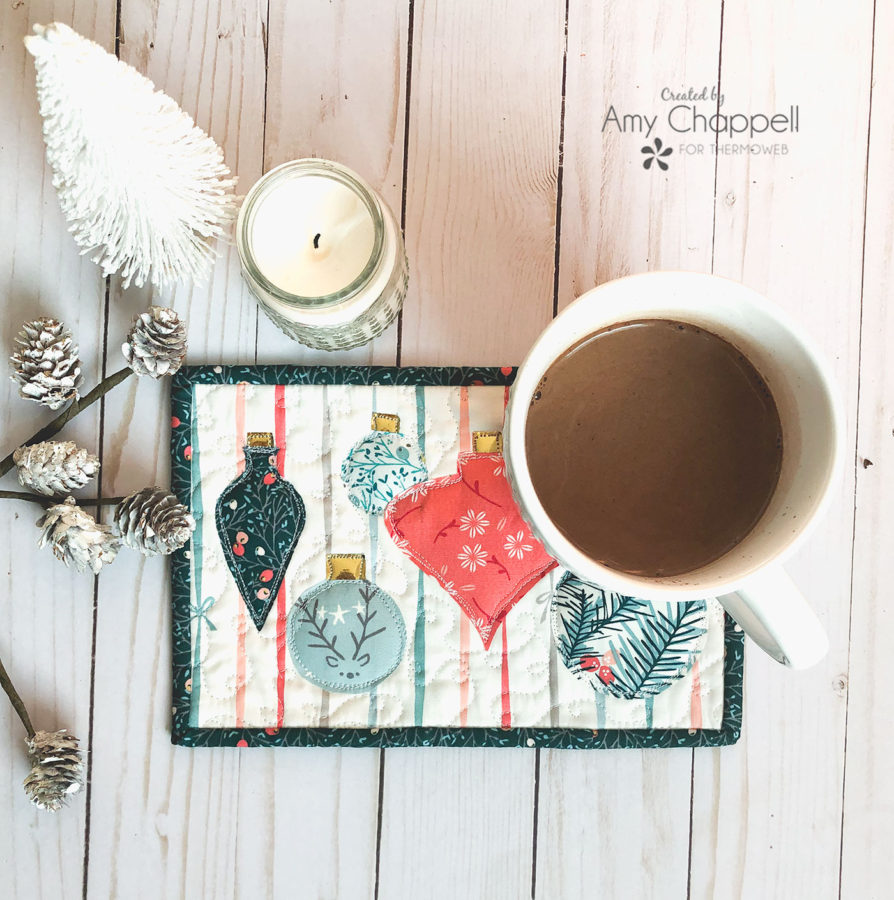
Happy Sewing! Amy

Mary Lynn
December 3, 2020 at 6:15 pm (5 years ago)What a cute little gift.Thank you