 Hello friends, it’s Ellen here! Welcome back to our collaboration week. This week ThermOWeb, Picket Fence, and Sweet Petunia are gathering together. We hope you’re enjoying all the ideas and inspiration for combining all three companies products!
Today we’re in Mermaid mode with some more fun cards featuring adorable stamps from Picket Fence!
You Are Mermazing Deco Foil Cards

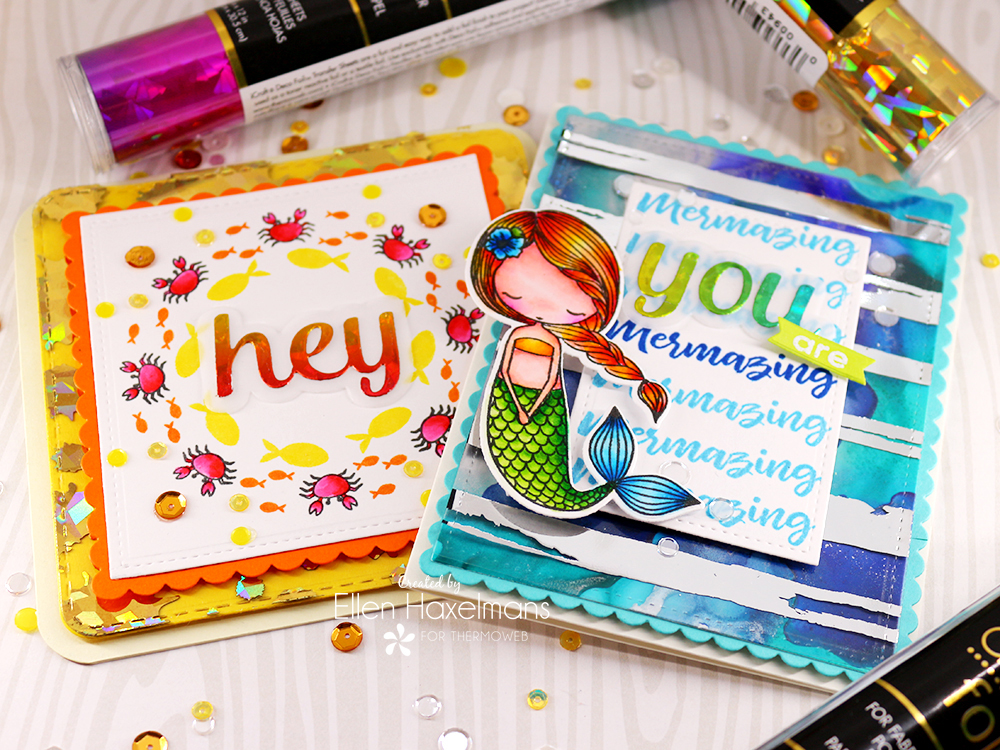
As you can see on the picture I made two different cards where the foil gives it the perfect finishing touch. One is making a wreath the other one is made with stamping in repetition.
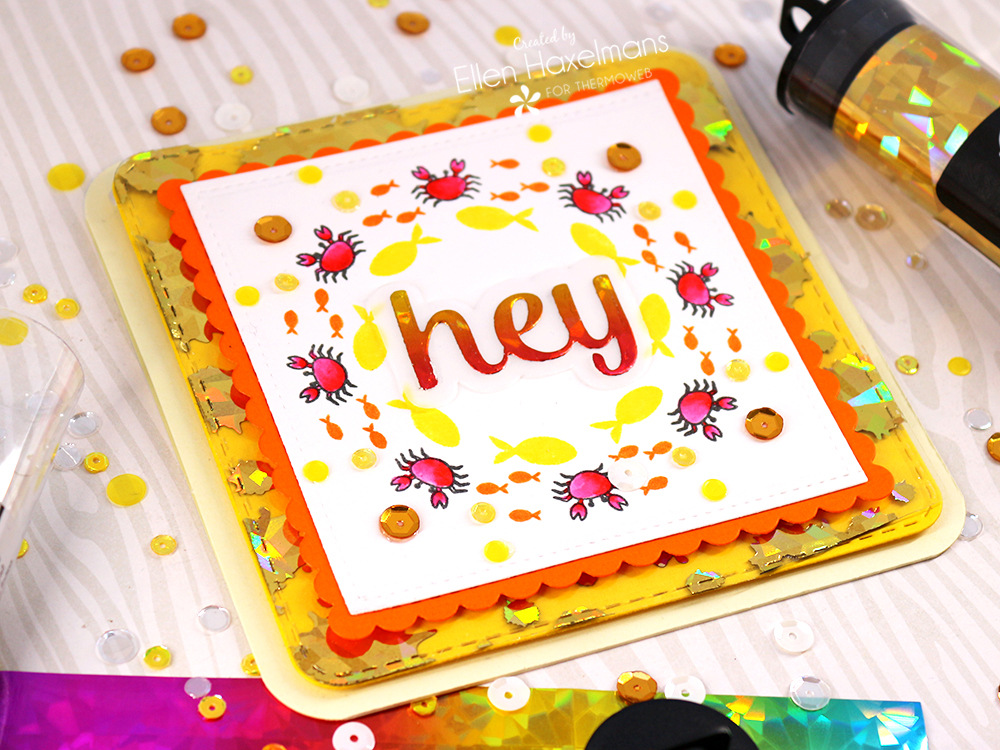
Wreath Card
You can do awesome techniques with the Misti Tool. One of them is making a wreath.

Let me show how this card was made from start to finish:

1. First I used the “Misti Tool” and the “wreath builder stencil” to create the perfect wreath. I placed the stencil in the Misti Tool and used Purple Tape to keep it in the same place. You simply position your squared piece of paper straight into the template. Then you’re going to position your stamp on your paper and pick up in your stamp positioning tool (here the Misti). When these steps are made, just turn your paper each time and ink up the stamp (without removing the stamp from his original place).
2. The stamps are all from the Picket Fence Little Coral Girl stamp set, but only the crab did need coloring. I colored it with a red watercolor marker.
3. To finish the wreath I attached sequins with the ICraft Mixed Media adhesive around the circular pattern.

4. I did only need to finish the card by adding a message and layer paper. In my opinion, the foil really gives the extra wow to the flat wreath that was made. The Splatter Clear Toner Sheet with the Gold Shattered Glass Deco Foil Transfer Sheet looks so awesome! It’s just perfect for this underwater wreath.
5. The Rainbow Shattered Glass Deco Foil Transfer Sheet was used for the sentiment. You can accomplish this by transferring the foil on to the Deco Foil Toner Sheets and die cutting the word.
6. The iCraft Mixed Media adhesive was perfect to add the word to the shadow cut out of vellum.

I really love the card!
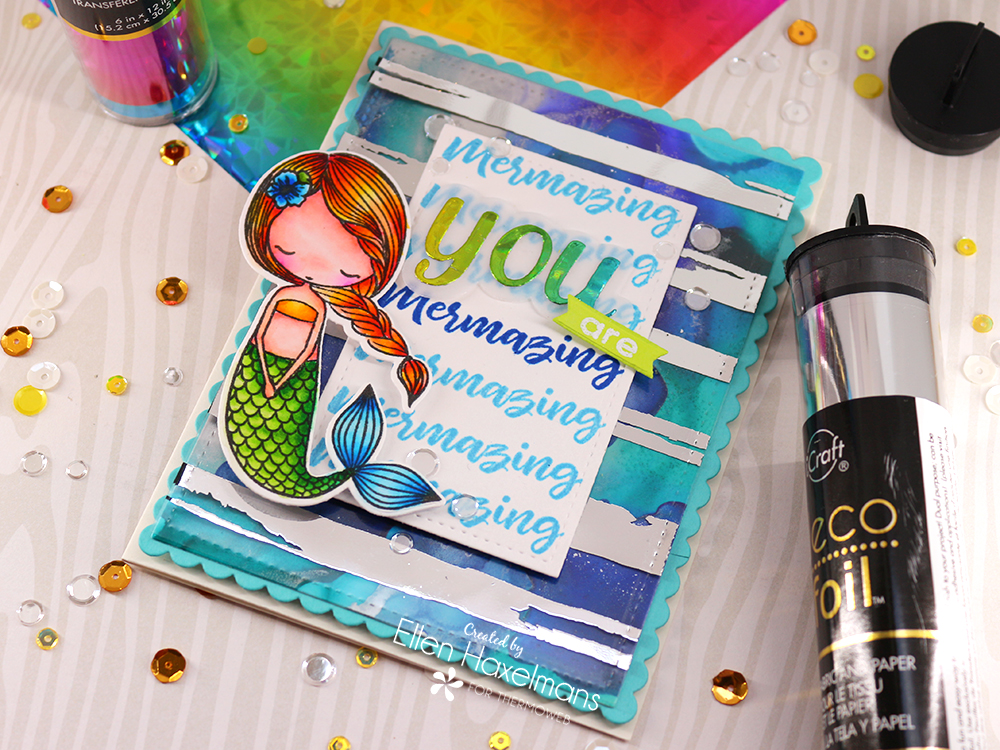
Repetitive Stamping
The next technique is also fun and even more simple to create!

Below I will explain in a very helpful step by step tutorial how it’s done:

1. Before I start stamping I mark where the original placement of the rectangular paper is. I do this by the help of Purple Tape. Then I stamped the first time my sentiment.
2. I keep the sentiment in the exact same place as the first time I stamped it. The only thing I do is taking my paper a little bit down. This ensures when I stamp it again it will be perfectly stamped a bit further. The grit on the Mouse Pad from the Misti Tool is very helpful to see how much space the sentiment needs. That makes it easy to know how much squares you need to bring the paper down to stamp it again (for this card it’s two squares).
3. I left one space to stamp the same sentiment in a darker color.

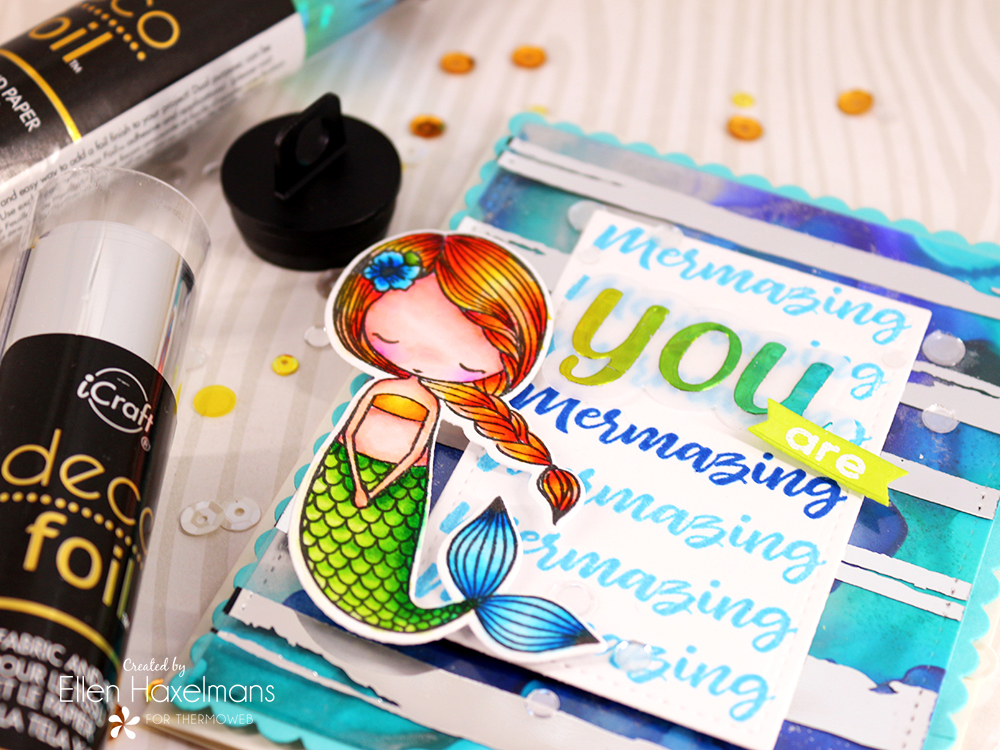
4. This card was finished by using the Distressed Lines Toner Sheet and the Deco Foil Silver Transfer Sheet. The panel was placed on top of an alcohol background piece with ICraft Adhesive Tape 1/8 Inch.
5. Again I attached sequins with the ICraft Mixed Media adhesive.
6. The last step was to add the sentiment. Also for this one, I used the Rainbow Shattered Glass Deco Foil Transfer Sheet. After it was glued the foiled word on top of the vellum I did cut out the word from White Foam Adhesive to make it pop.
I love how the foil really spices up your cards. The Rainbow Shattered Glass Deco Foil Transfer Sheet also makes it possible to use the collars that you exactly need for your card. You can see that the wreath card used more the warmer colors of the foil and this card the colder parts.

I had a lot of fun making these projects and I’m amazed by how well the products all work together! I hope you had a blast and this post give you a lot of inspiration. See you later!
ThermOWeb Supplies Used:
Deco Foil Clear Toner Sheets – Splatter
Deco Foil Clear Toner Sheets – Distressed Lines
Deco Foil Clear Toner Sheets
Deco Foil Clear Transfer Sheets – Rainbow Shattered Glass
Deco Foil Clear Transfer Sheets – Gold Shattered Glass
Deco Foil Clear Transfer Sheets – Silver
Deco Foil Clear – White Foam Adhesive
iCraft Mixed Media Adhesive
iCraft Adhesive Tape – 1/8 in.
Gina K Design Foam Squares White
Purple Tape
Other Products:
Picket Fence: Coral Girl – Stamp Set, Coral Girl – Die Set, Hey You – Die Set, Happy Hour Lemon Drop – Sequins
My Sweet Petunia: Original Misti Laser Etched, Bar Magnet, Memory Misti Mousepad, Turquoise Stickers
Newton’s Nook Design: Frames & Flags – Die Set, Frames Squared – Die Set
Lawn Fawn: Small Stitched Rectangle Stackable – Die Set

Be sure to stop by the Picket Fence Studios Blog as well as the My Sweet Petunia Blog for more ideas and inspiration and chances to WIN!

Vicki Kroll
August 8, 2019 at 1:47 pm (6 years ago)I just love the background using the Splatter Clear Toner Sheet with the Gold Shattered Glass Deco Foil Transfer Sheet on the “Hey” card. So beautiful! Great instructions on making a wreath. The second card is adorable. Love the background using the Distressed Lines Toner Sheet and the Deco Foil Silver Transfer Sheet.
trainwithmeghan
August 8, 2019 at 4:02 pm (6 years ago)What a beautiful set of cards! I love that mermaid and your backgrounds!
Mary Holshouser
August 8, 2019 at 4:27 pm (6 years ago)While organizing my room (it was a disaster) I found
some CS that I had foiled and planned to use
for backgrounds whenever needed. Need to
make a few cards tomorrow, so these will come
in handy. Time-saver to have them on hand.
Love the foiling. The cards are fantastic.
thanks for sharing
txmlhl(at)yahoo(dot)com
Denise Bryant
August 8, 2019 at 4:35 pm (6 years ago)Great cards! Love the wreath card (the MISTI is amazing for making wreath designs!) and that mermaid card is just adorable! The foils add such a pretty detail!
Sue D
August 8, 2019 at 6:11 pm (6 years ago)Pretty cards!
Terrie D.
August 10, 2019 at 1:12 pm (6 years ago)Your cards are so fun! The mermaid is adorable, and I love the look of foil in the background. 🙂