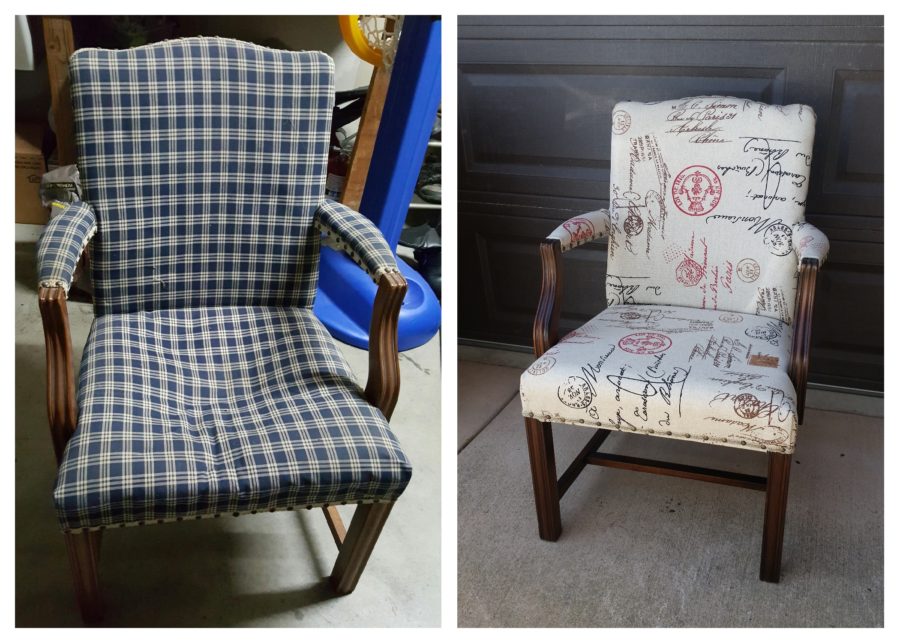
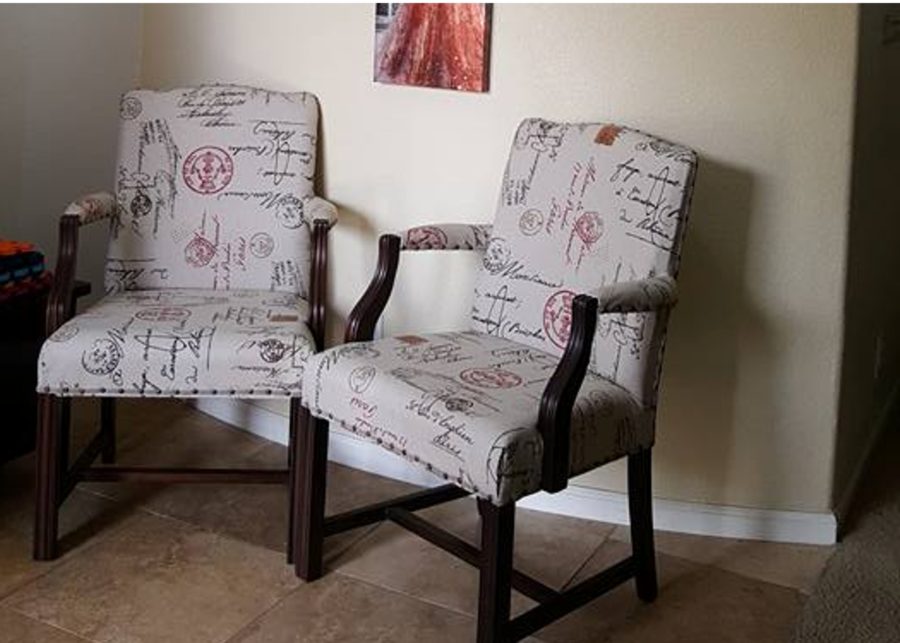
Each Upholstery projects brings new adventures, you never know what you will find when you begin peeling back the layers but if you have the right products on hand it will always go back together beautifully. This chair upholstery adventure started with a pair of chairs that had lost its luster and the bottom would no longer sustain the weight of even the lightest of sitters. Staple puller in hand the adventures begins.
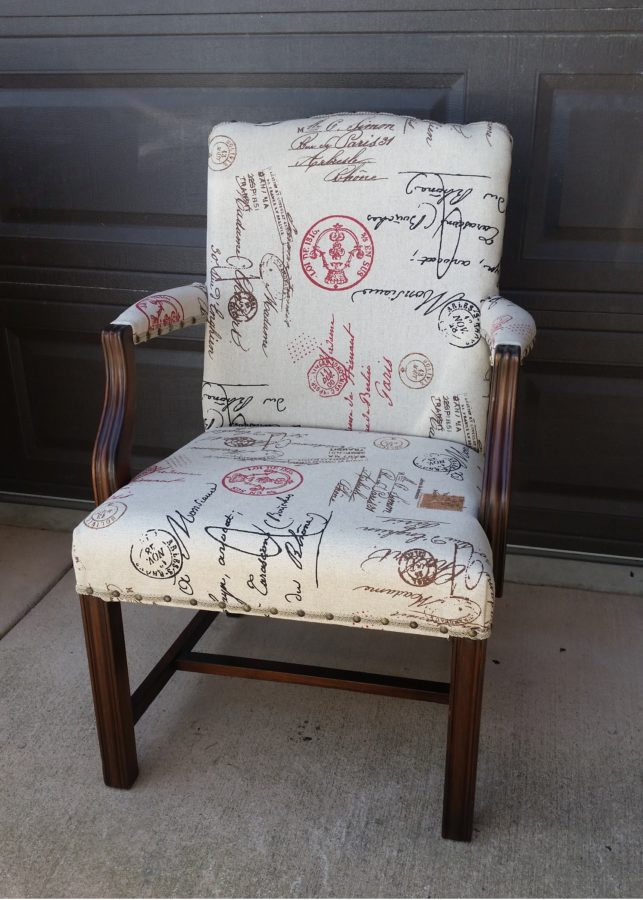
Adventures in Chair Upholstery with HeatnBond®
SuppliesI love to have on hand:
StitchnSew™ Non-Woven Craft Interfacing
StitchnSew™ Sew-In High Loft Fleece
SpraynBond® • Basting Adhesive
Must have tools:
Staple puller
Air Stapler and LOTS of staples.
Webbing Stretcher
Chair Upholstery Instructions:
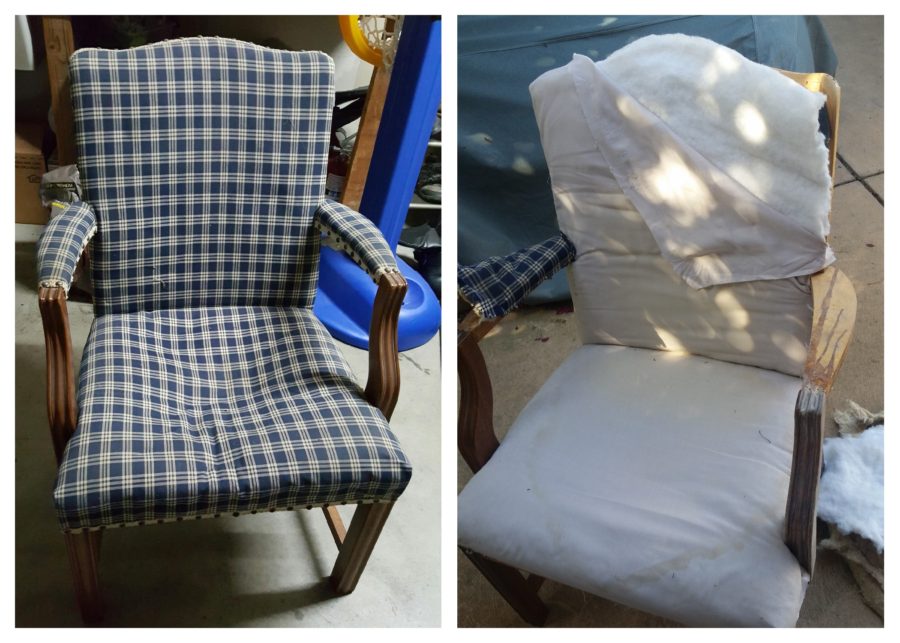
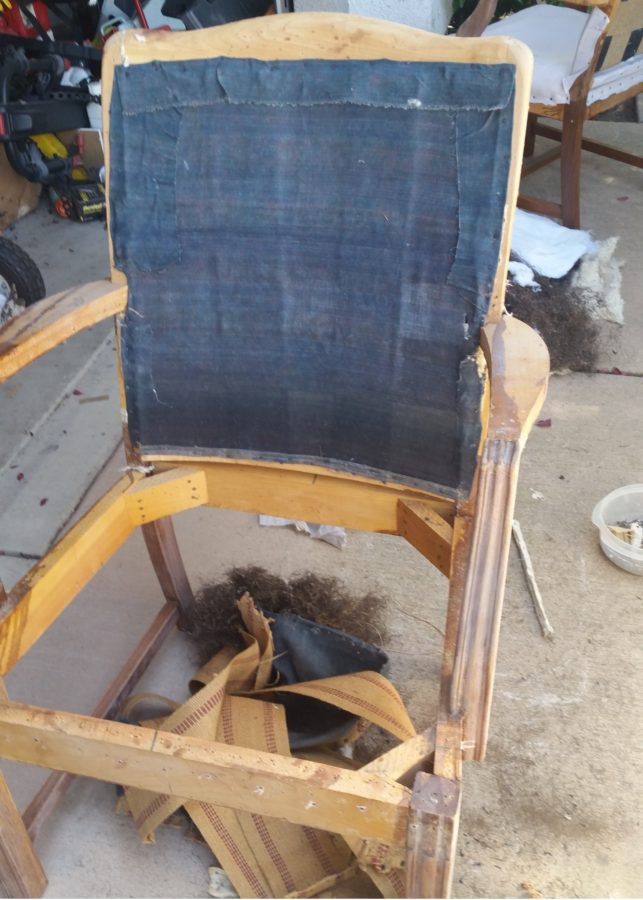
Peeled back to the frame and sanded, leaving the back webbing in place. Turns out at one point these chairs were covered in green leather, I feel like an upholstery archeologist!
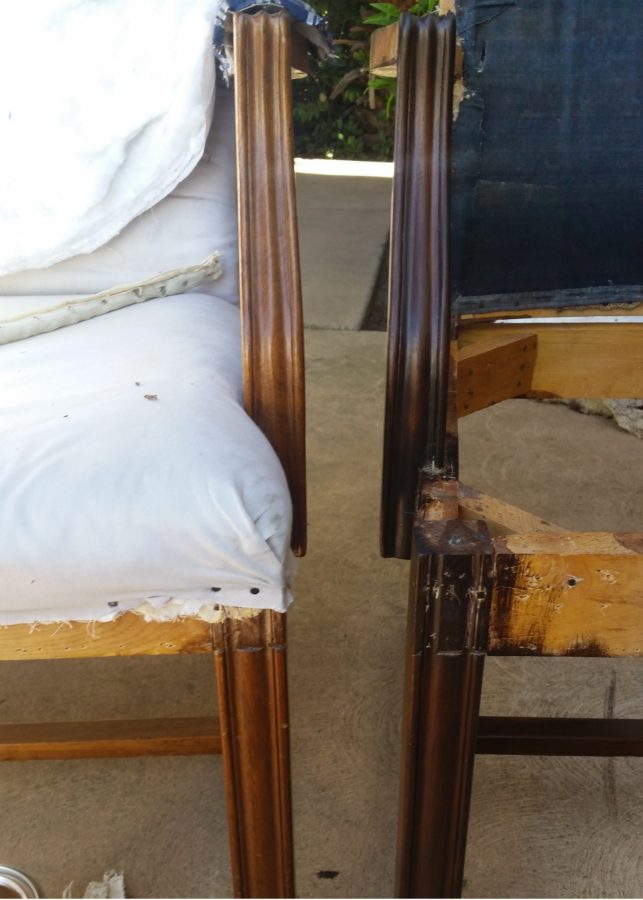
Next, I restained the wood to a dark Kona.
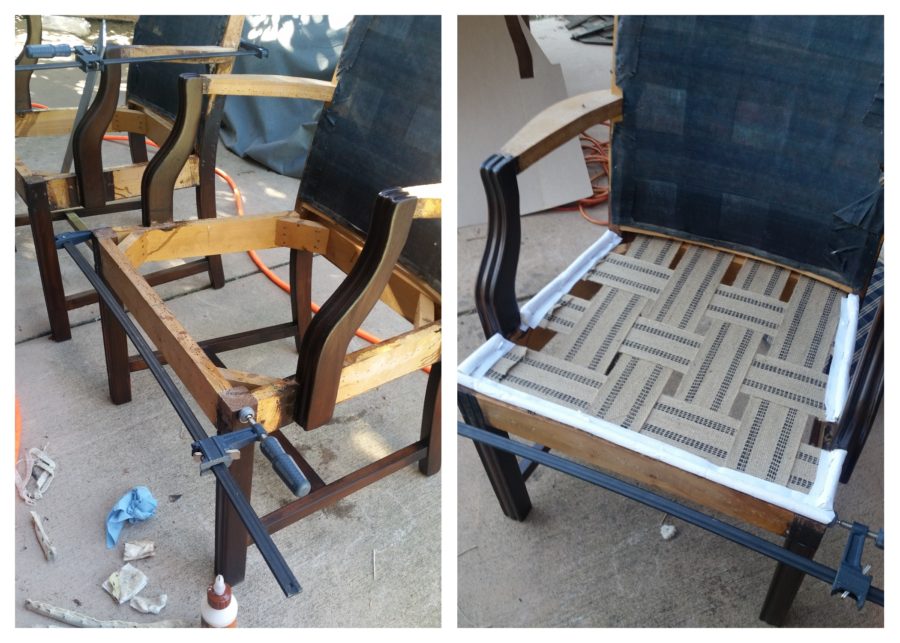
Here is when the where the products make all the difference…To create a soft border around the seat base Cut 3-inch strip of Stitch n’ Sew non-Woven Craft Sew-in Interfacing and wrap it around an Upholstery Piping Cord 3/8″. Cut them to length and staple in place around the base of the seat. Next up foam, put foam in place, use SpraynBond • Basting Adhesive to anchor Sew-In High Loft Fleece to top of foam, this layer allows us to pull the fabric over the foam and give soft rounded edges.
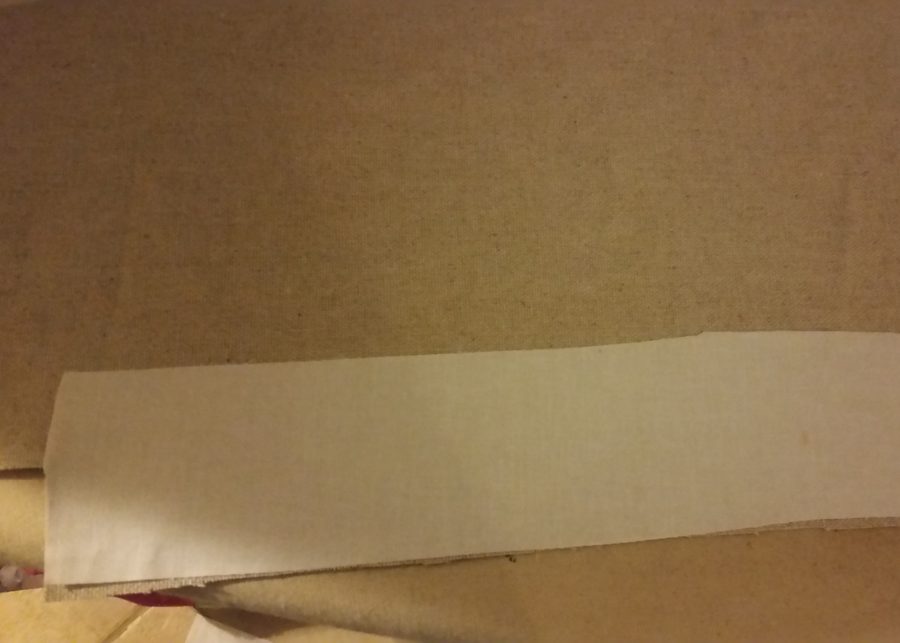
To reinforce the edges of the fabric I cut 2-inch strips of HeatnBond® Woven Fusible Soft along the edges. This fabric is a fairly loose weave and with upholstery, we pull on the fabric and staple it in place, this step prevents from fatiguing the edges of the fabric and allows the staples to anchor the fabric securely in place.
With the stability and softness of my arsenal of Therm O Web products my upholstery projects always look amazing.
