
Hey hey!! Katrina from Paper, Scissors, Glue and Hybrid Too gobbling on the blog today with a Thankful layout! It is the day before Thanksgiving (for the US) after all! Have you ever though to use our Flock Transfer Sheets to create a flocked title? Well, I am here to show you how!

Therm O Web Supplies Used
Memory Runner XL
Memory Runner XL Refill
3D Foam Squares – Combo Pack
NEW 3D FOAM SQUARES BOX
NEW 3D FOAM TAPE ROLL 1/16
Deco Foil Foam Adhesive
Deco Foil Flock Transfer Sheets-Teal Waters
iCraft Purple Tape
iCraft Easy Tear Adhesive Tape-1/2 inch
iCraft Easy Cut Adhesive Sheets
Ultra Bond Liquid Adhesive
iCraft Ultra Bond Liquid Adhesive Pen
Gina K Designs Foam Tape
Other Supplies Used
Bungalow Lane Collection-American Crafts
American Crafts Cardstock
Dina Wakley Gloss Spray-Gilt
Paper Issues FREE Cut File-Thankful for My Turkeys
Use Katrina for 20% off in the Paper Issues Store
Layout Details
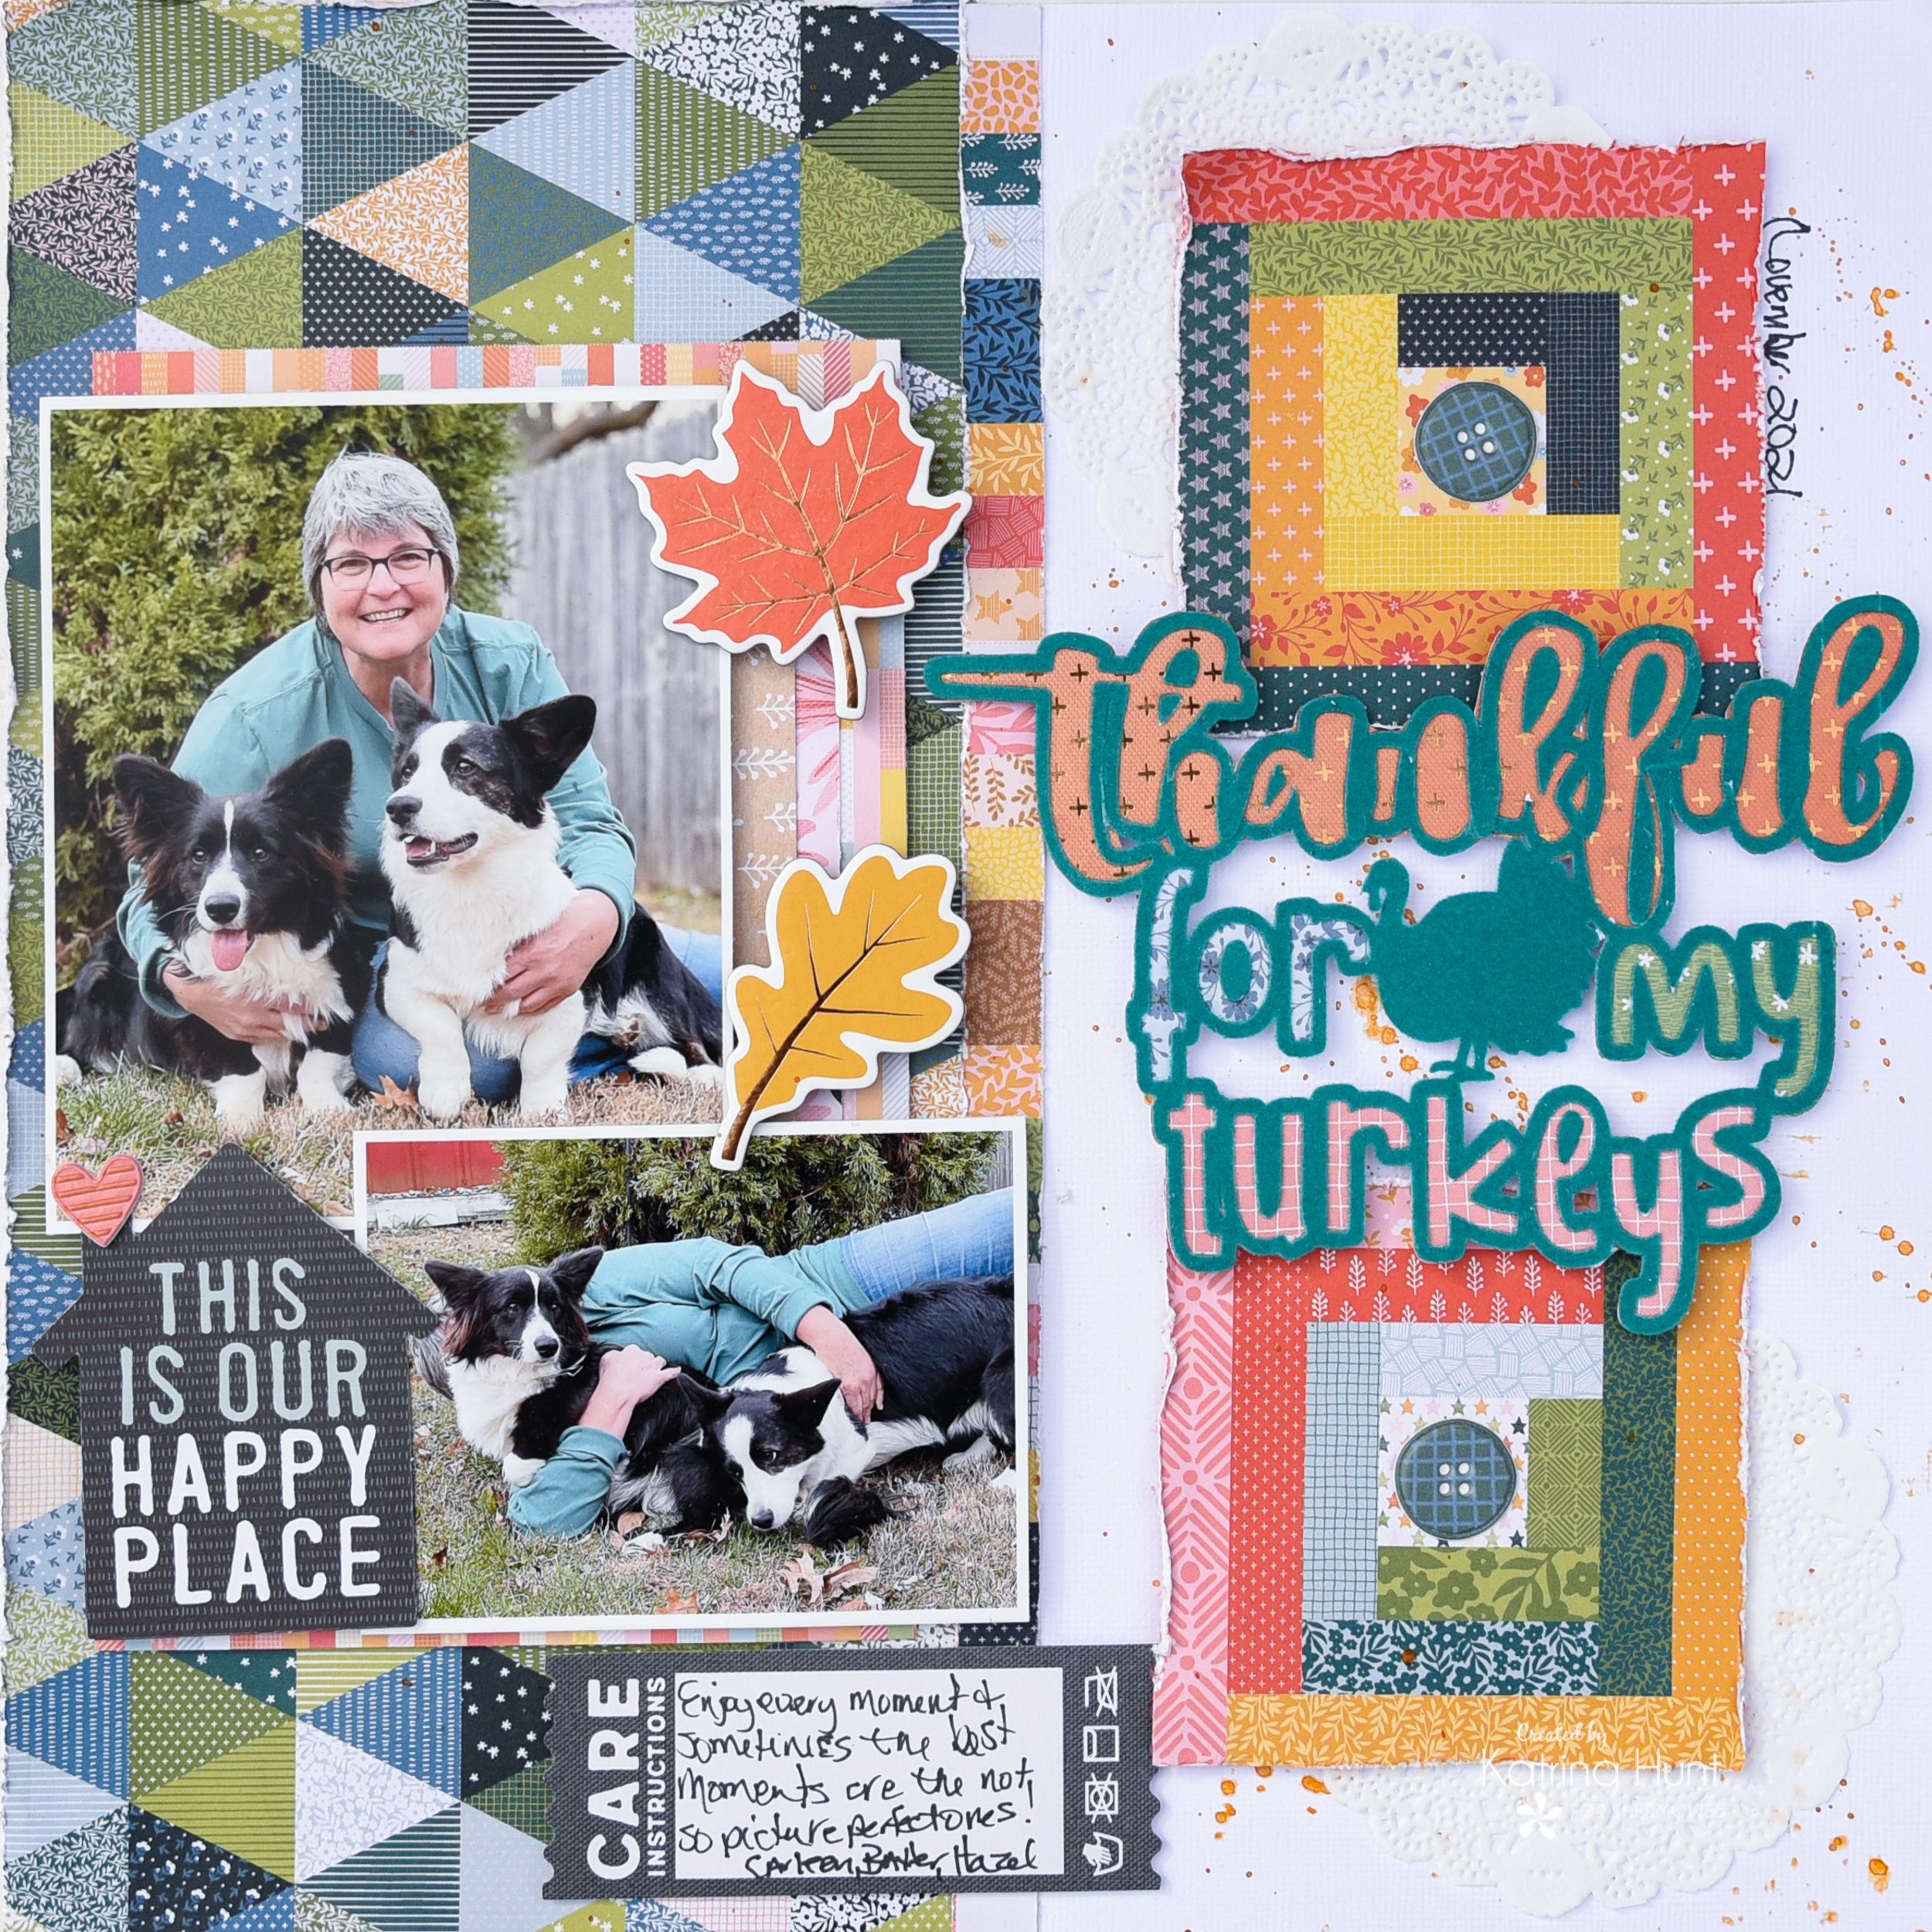
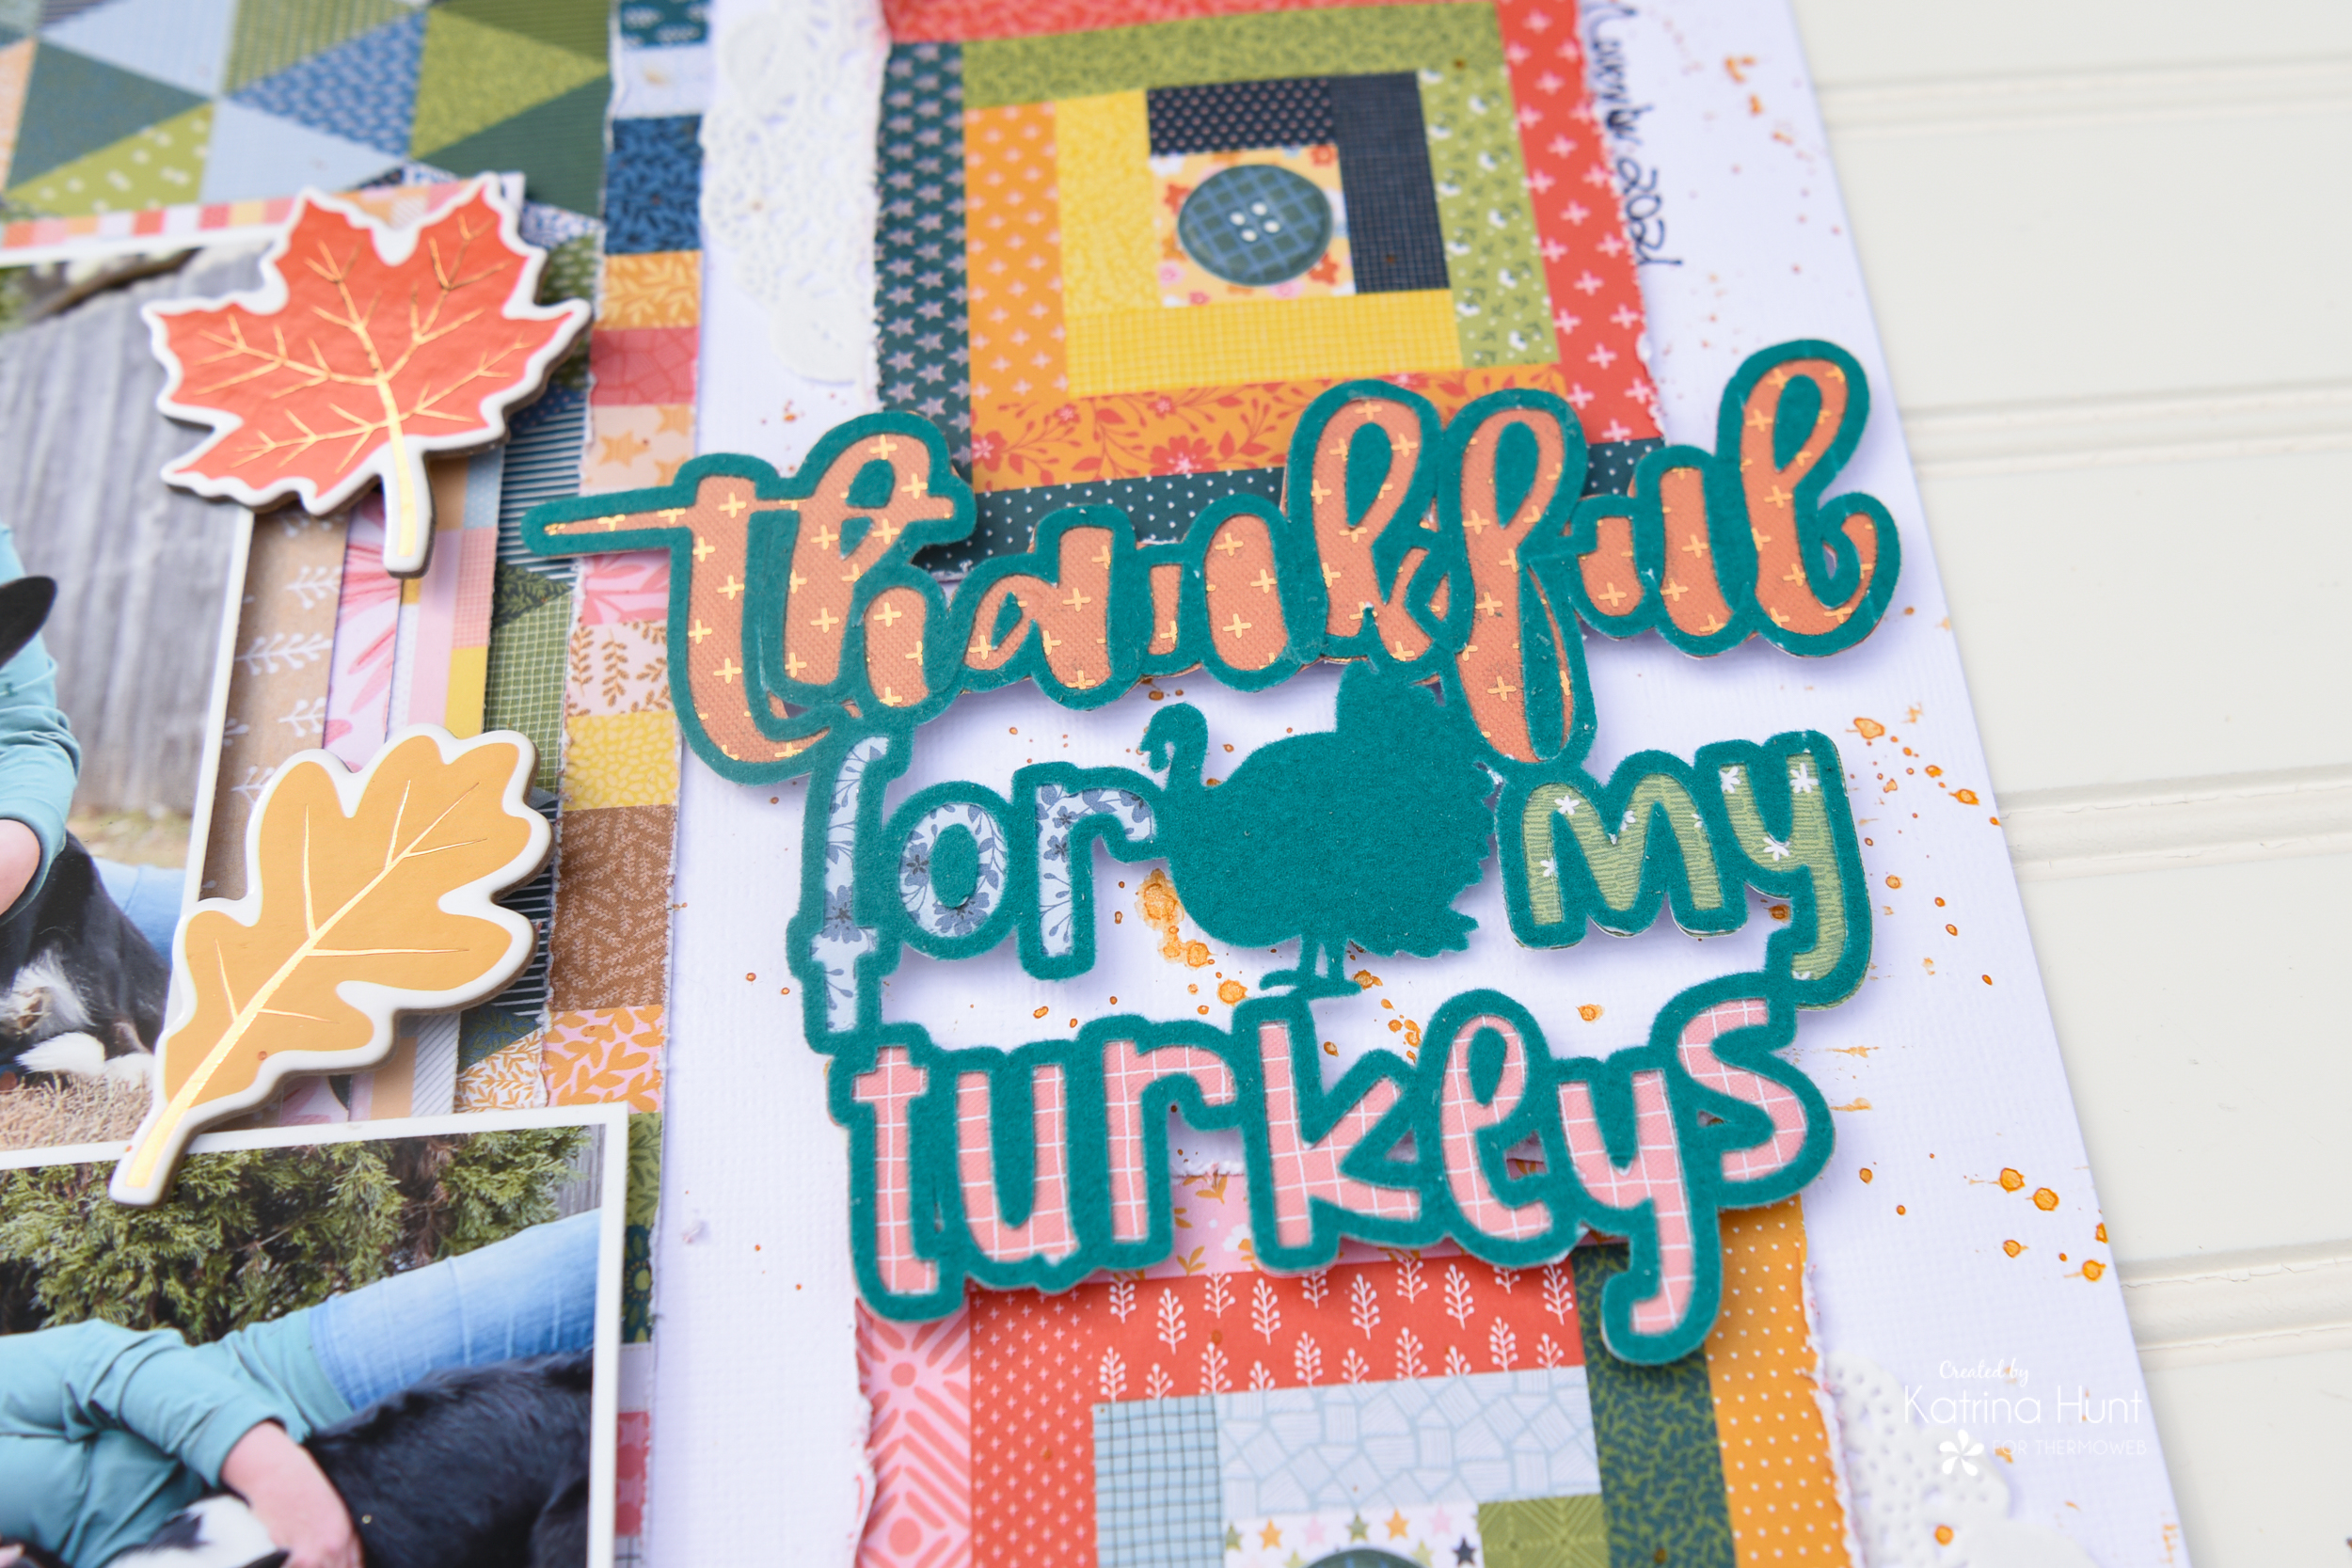
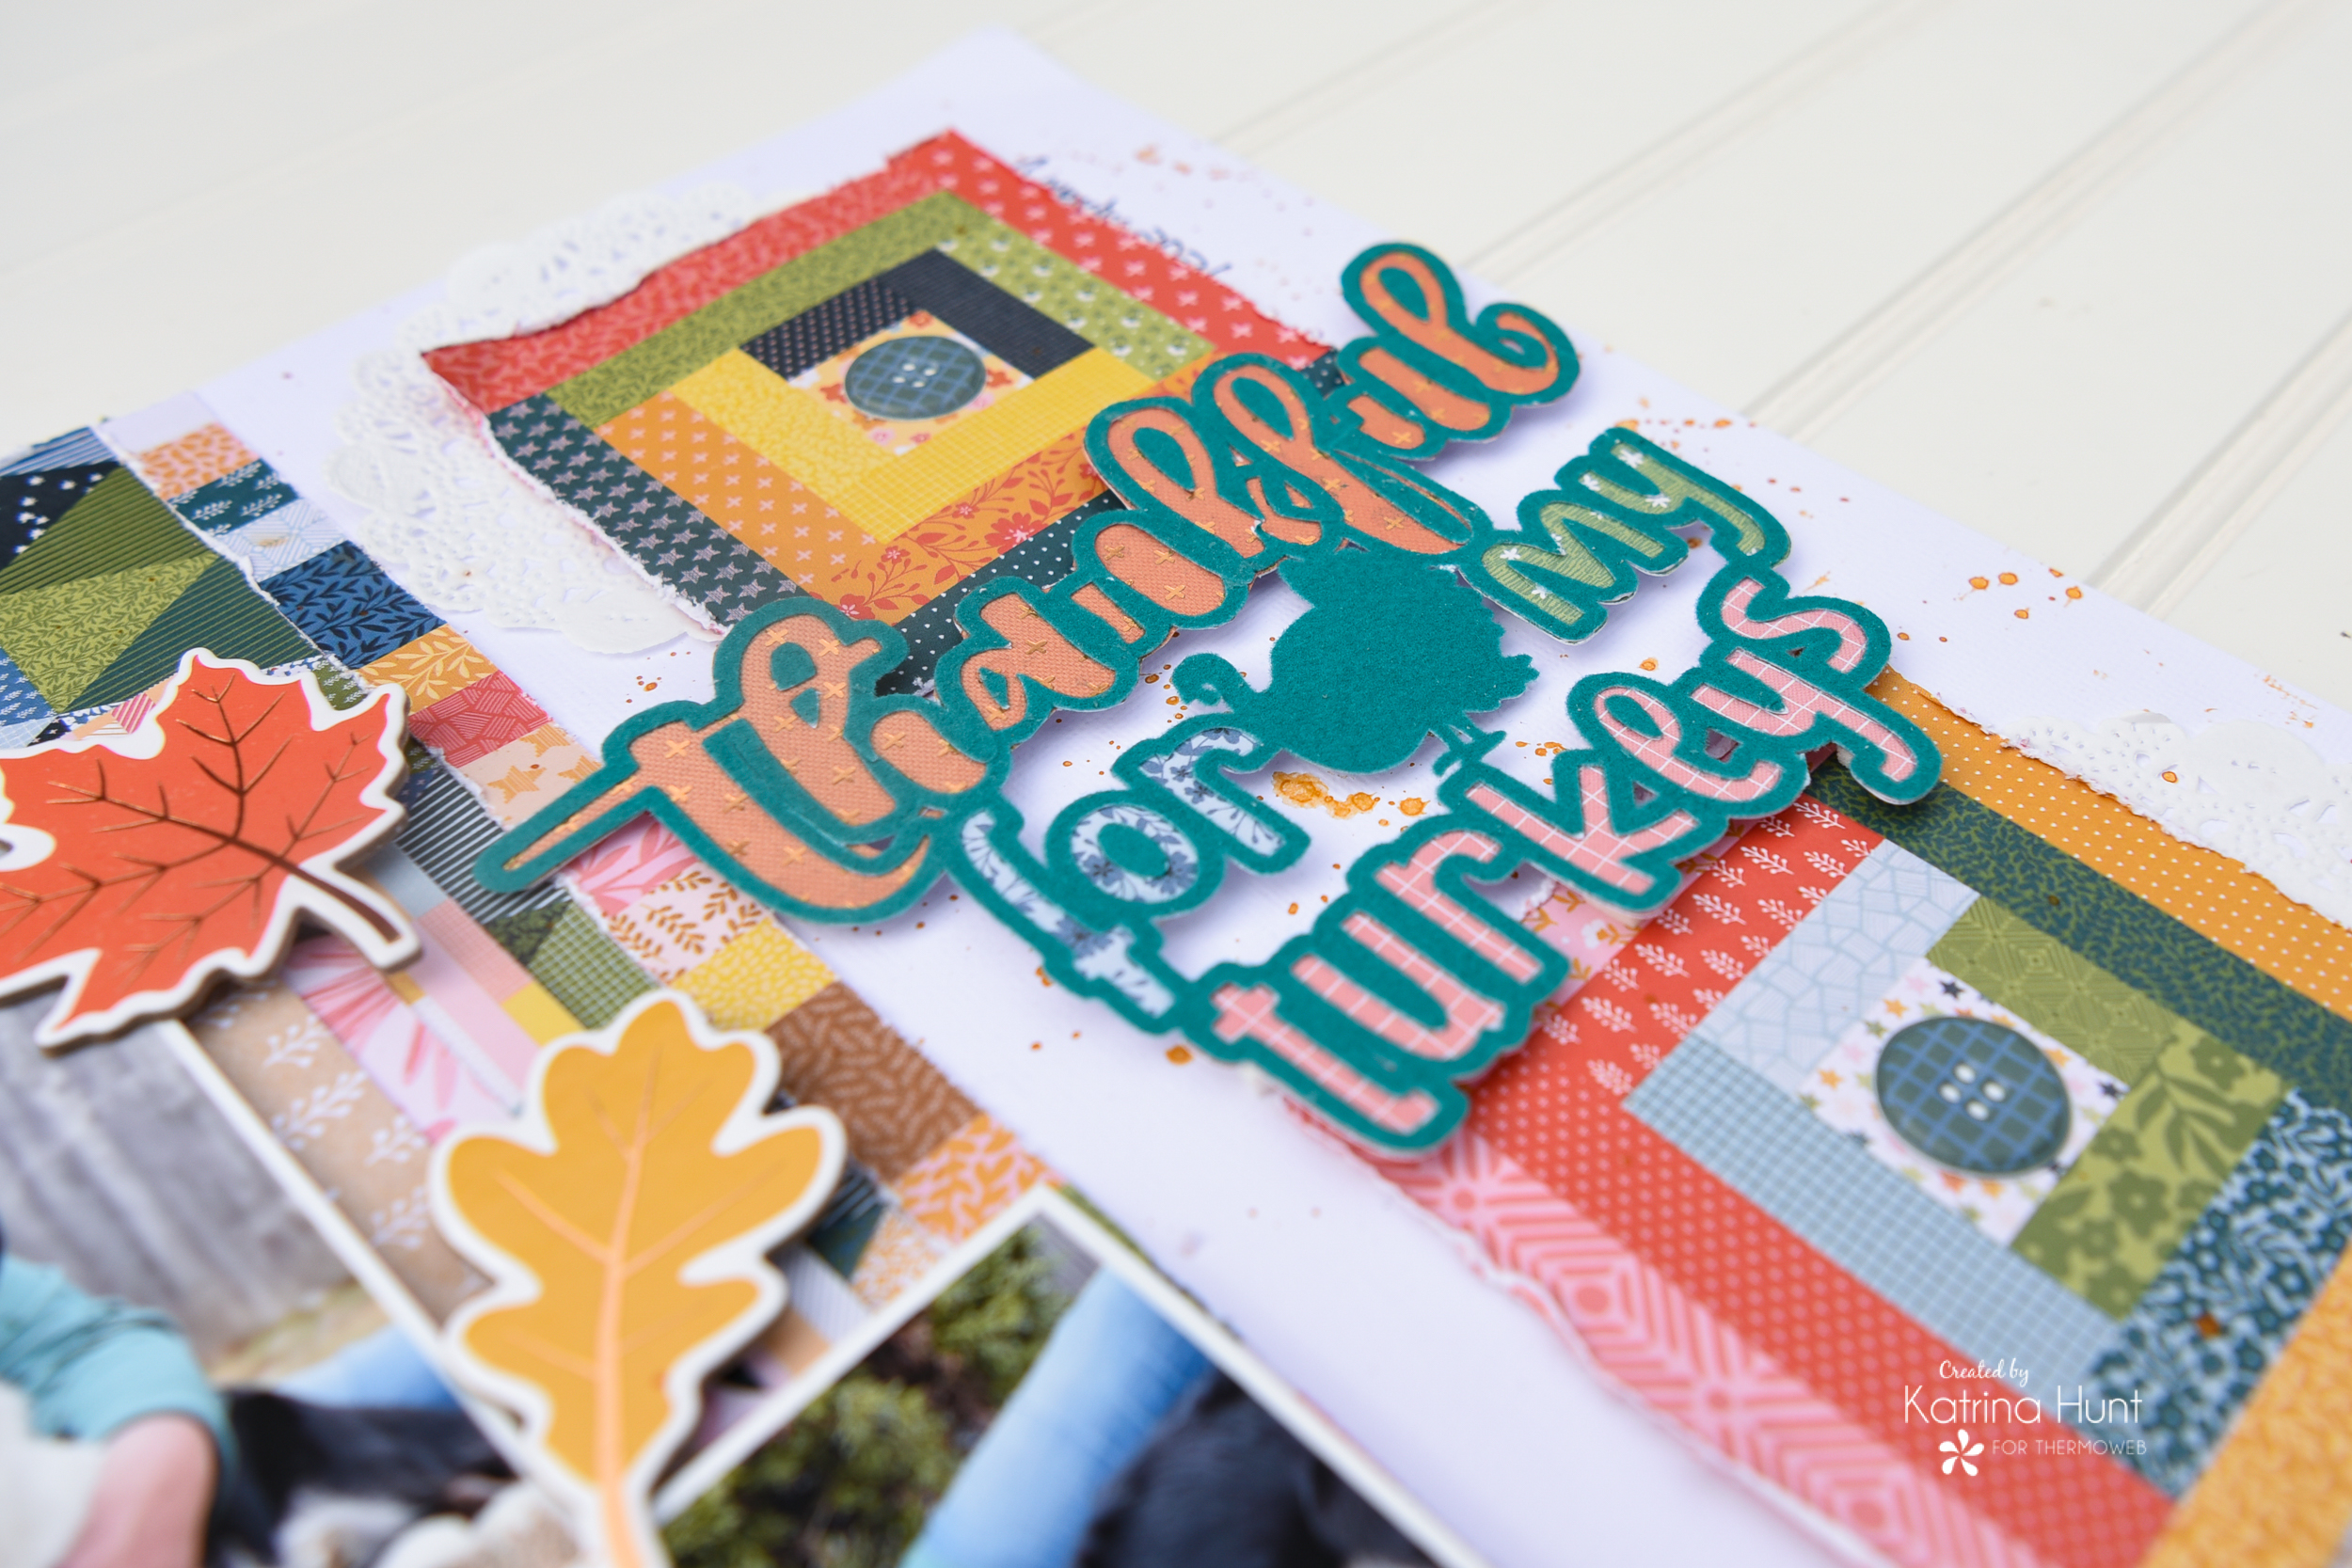
I had taken these pictures recently and the outtake was pretty funny. And I am pretty darn thankful for these turkeys I live with!! When I saw the title cut file I thought it would be fun to use the Deco Foil Flock to add color and texture to it. So here is how it’s done!
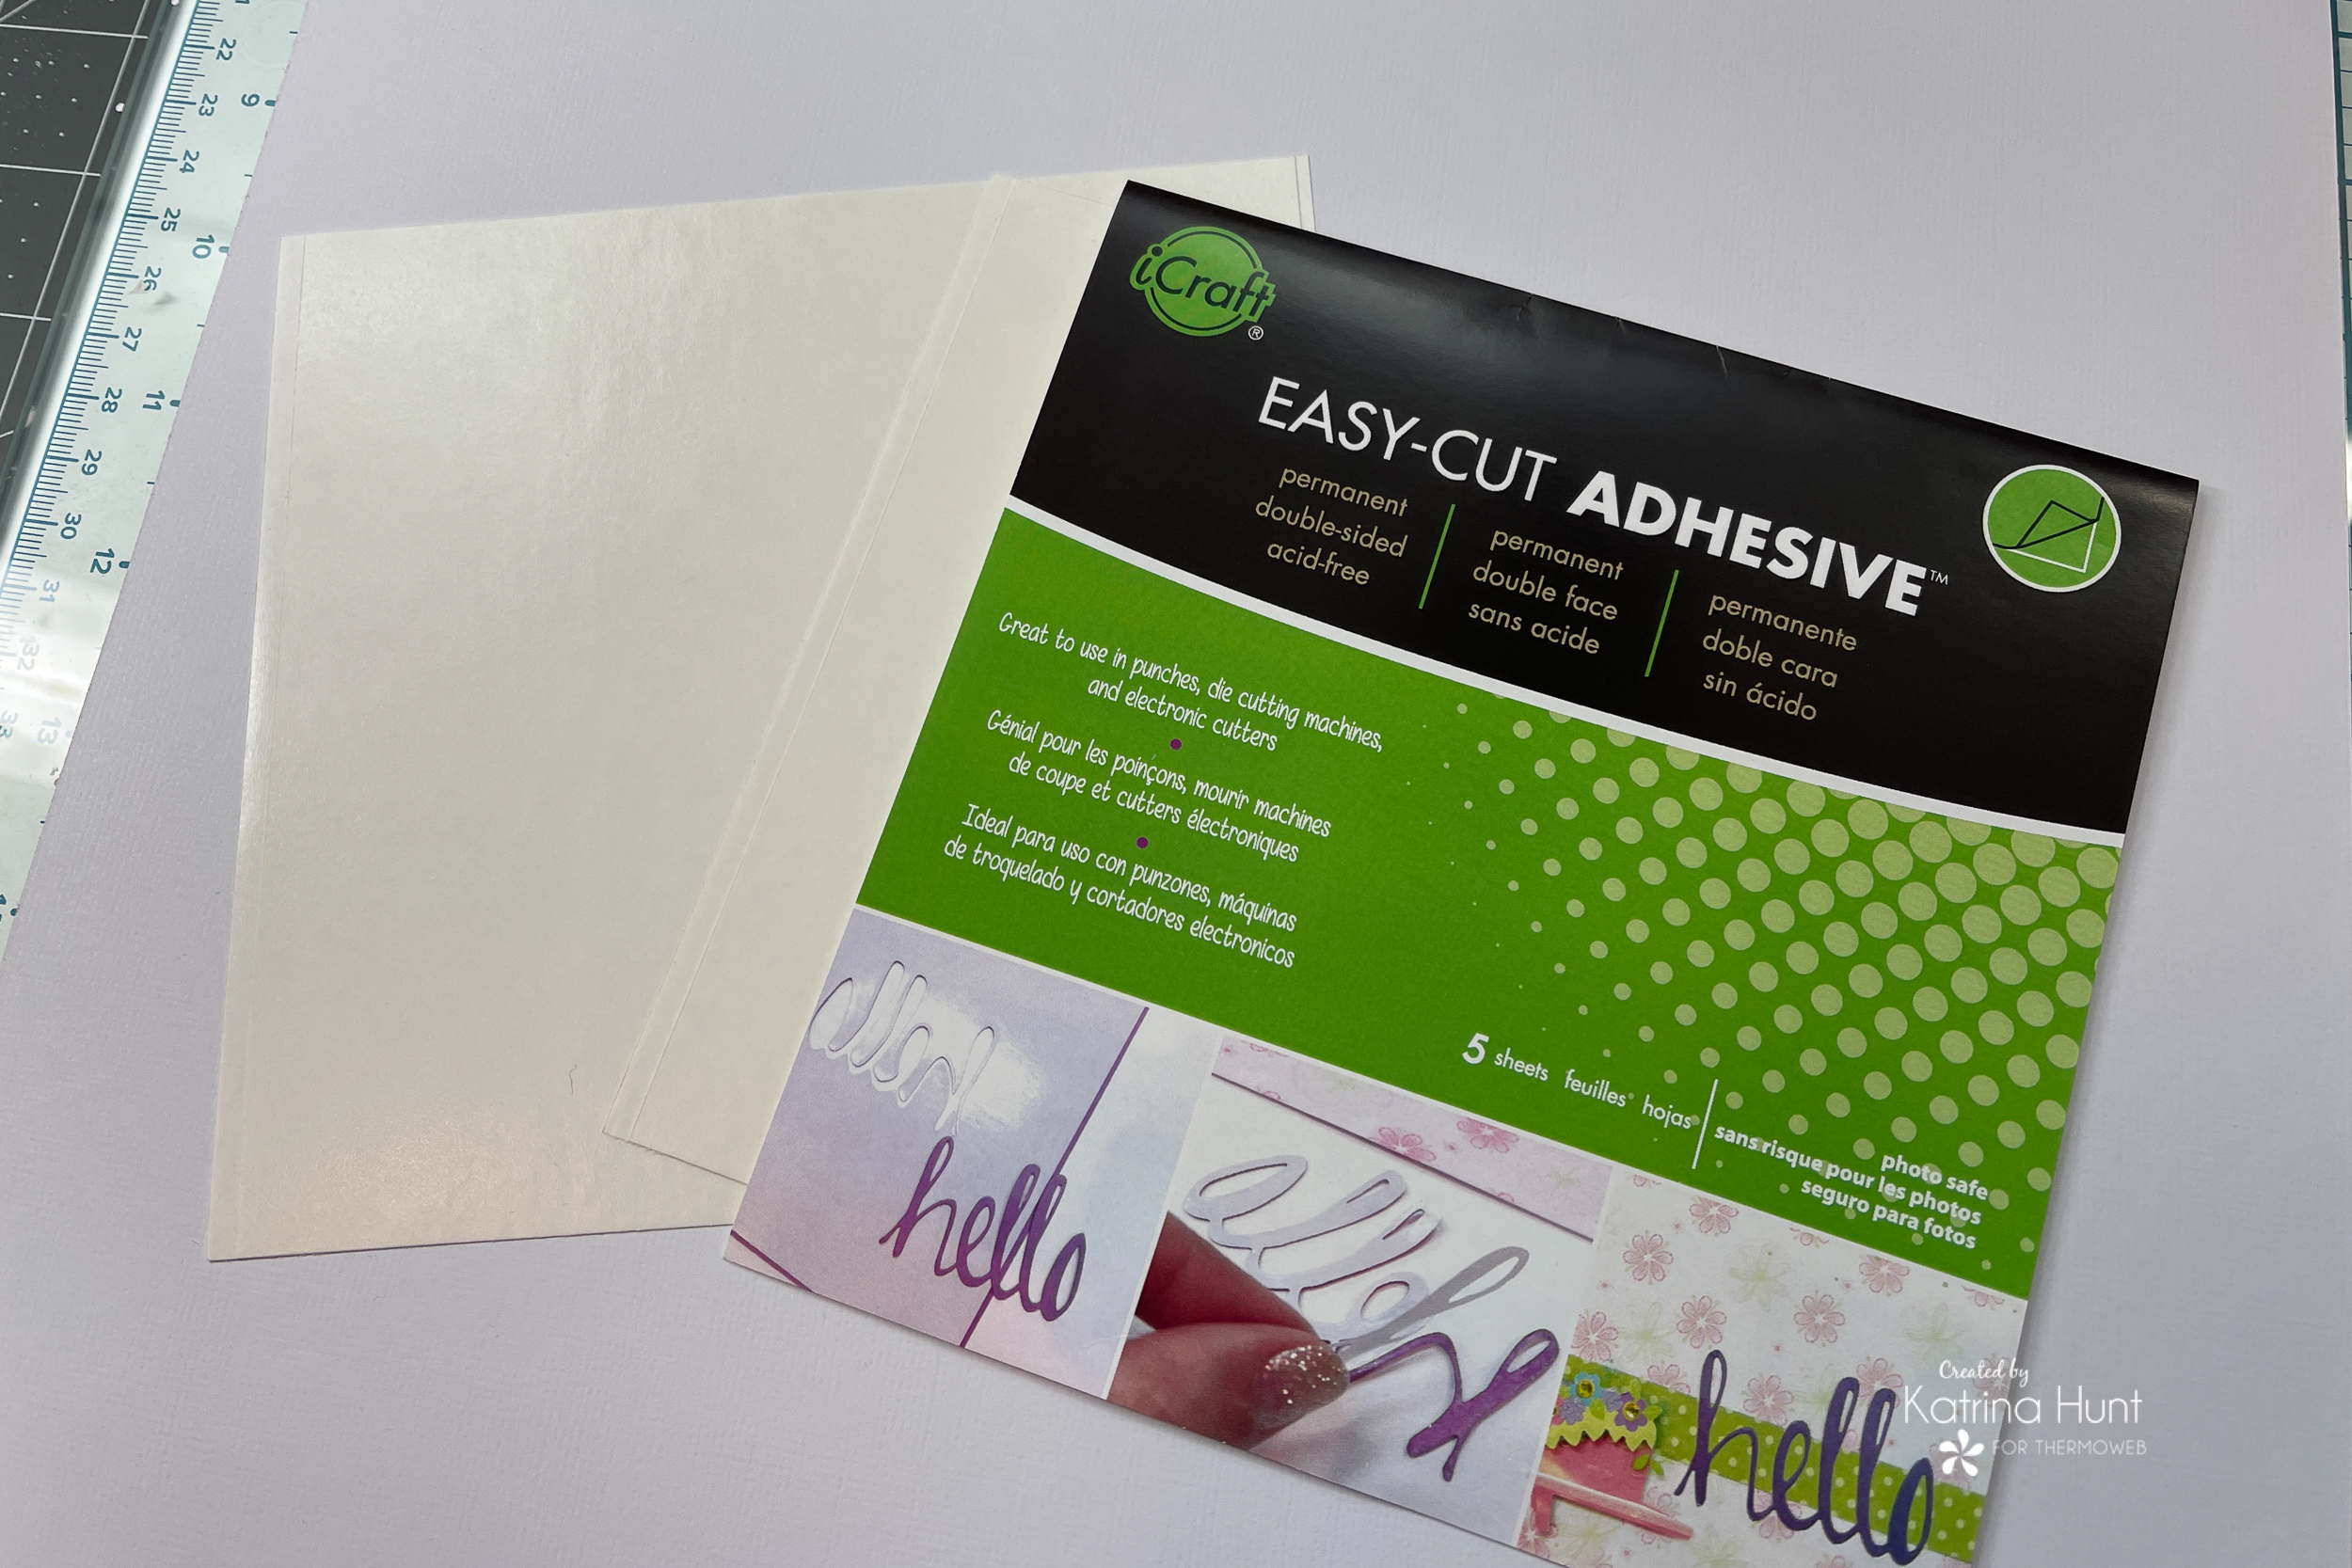 The first step was to size my title in the Silhouette Studio software. Once I had the size, this let me know that I was going to need a full 6×12 area, because my cut file was a little over 6 inches wide. After I determined this, I applied the Easy Cut Adhesive to white cardstock. To do this, carefully remove one of the protective coverings and carefully place the sticky side down to your cardstock.
I just lined up two of the 6×6 squares to make a full 12 inches wide. Next, using your cutting machine and software cut the cut file out. Place your cardstock down on the cutting mat, leaving the protected adhesive sheet on the top side. The only setting I changed was to cut with two passes, to make sure everything was cut completely through.
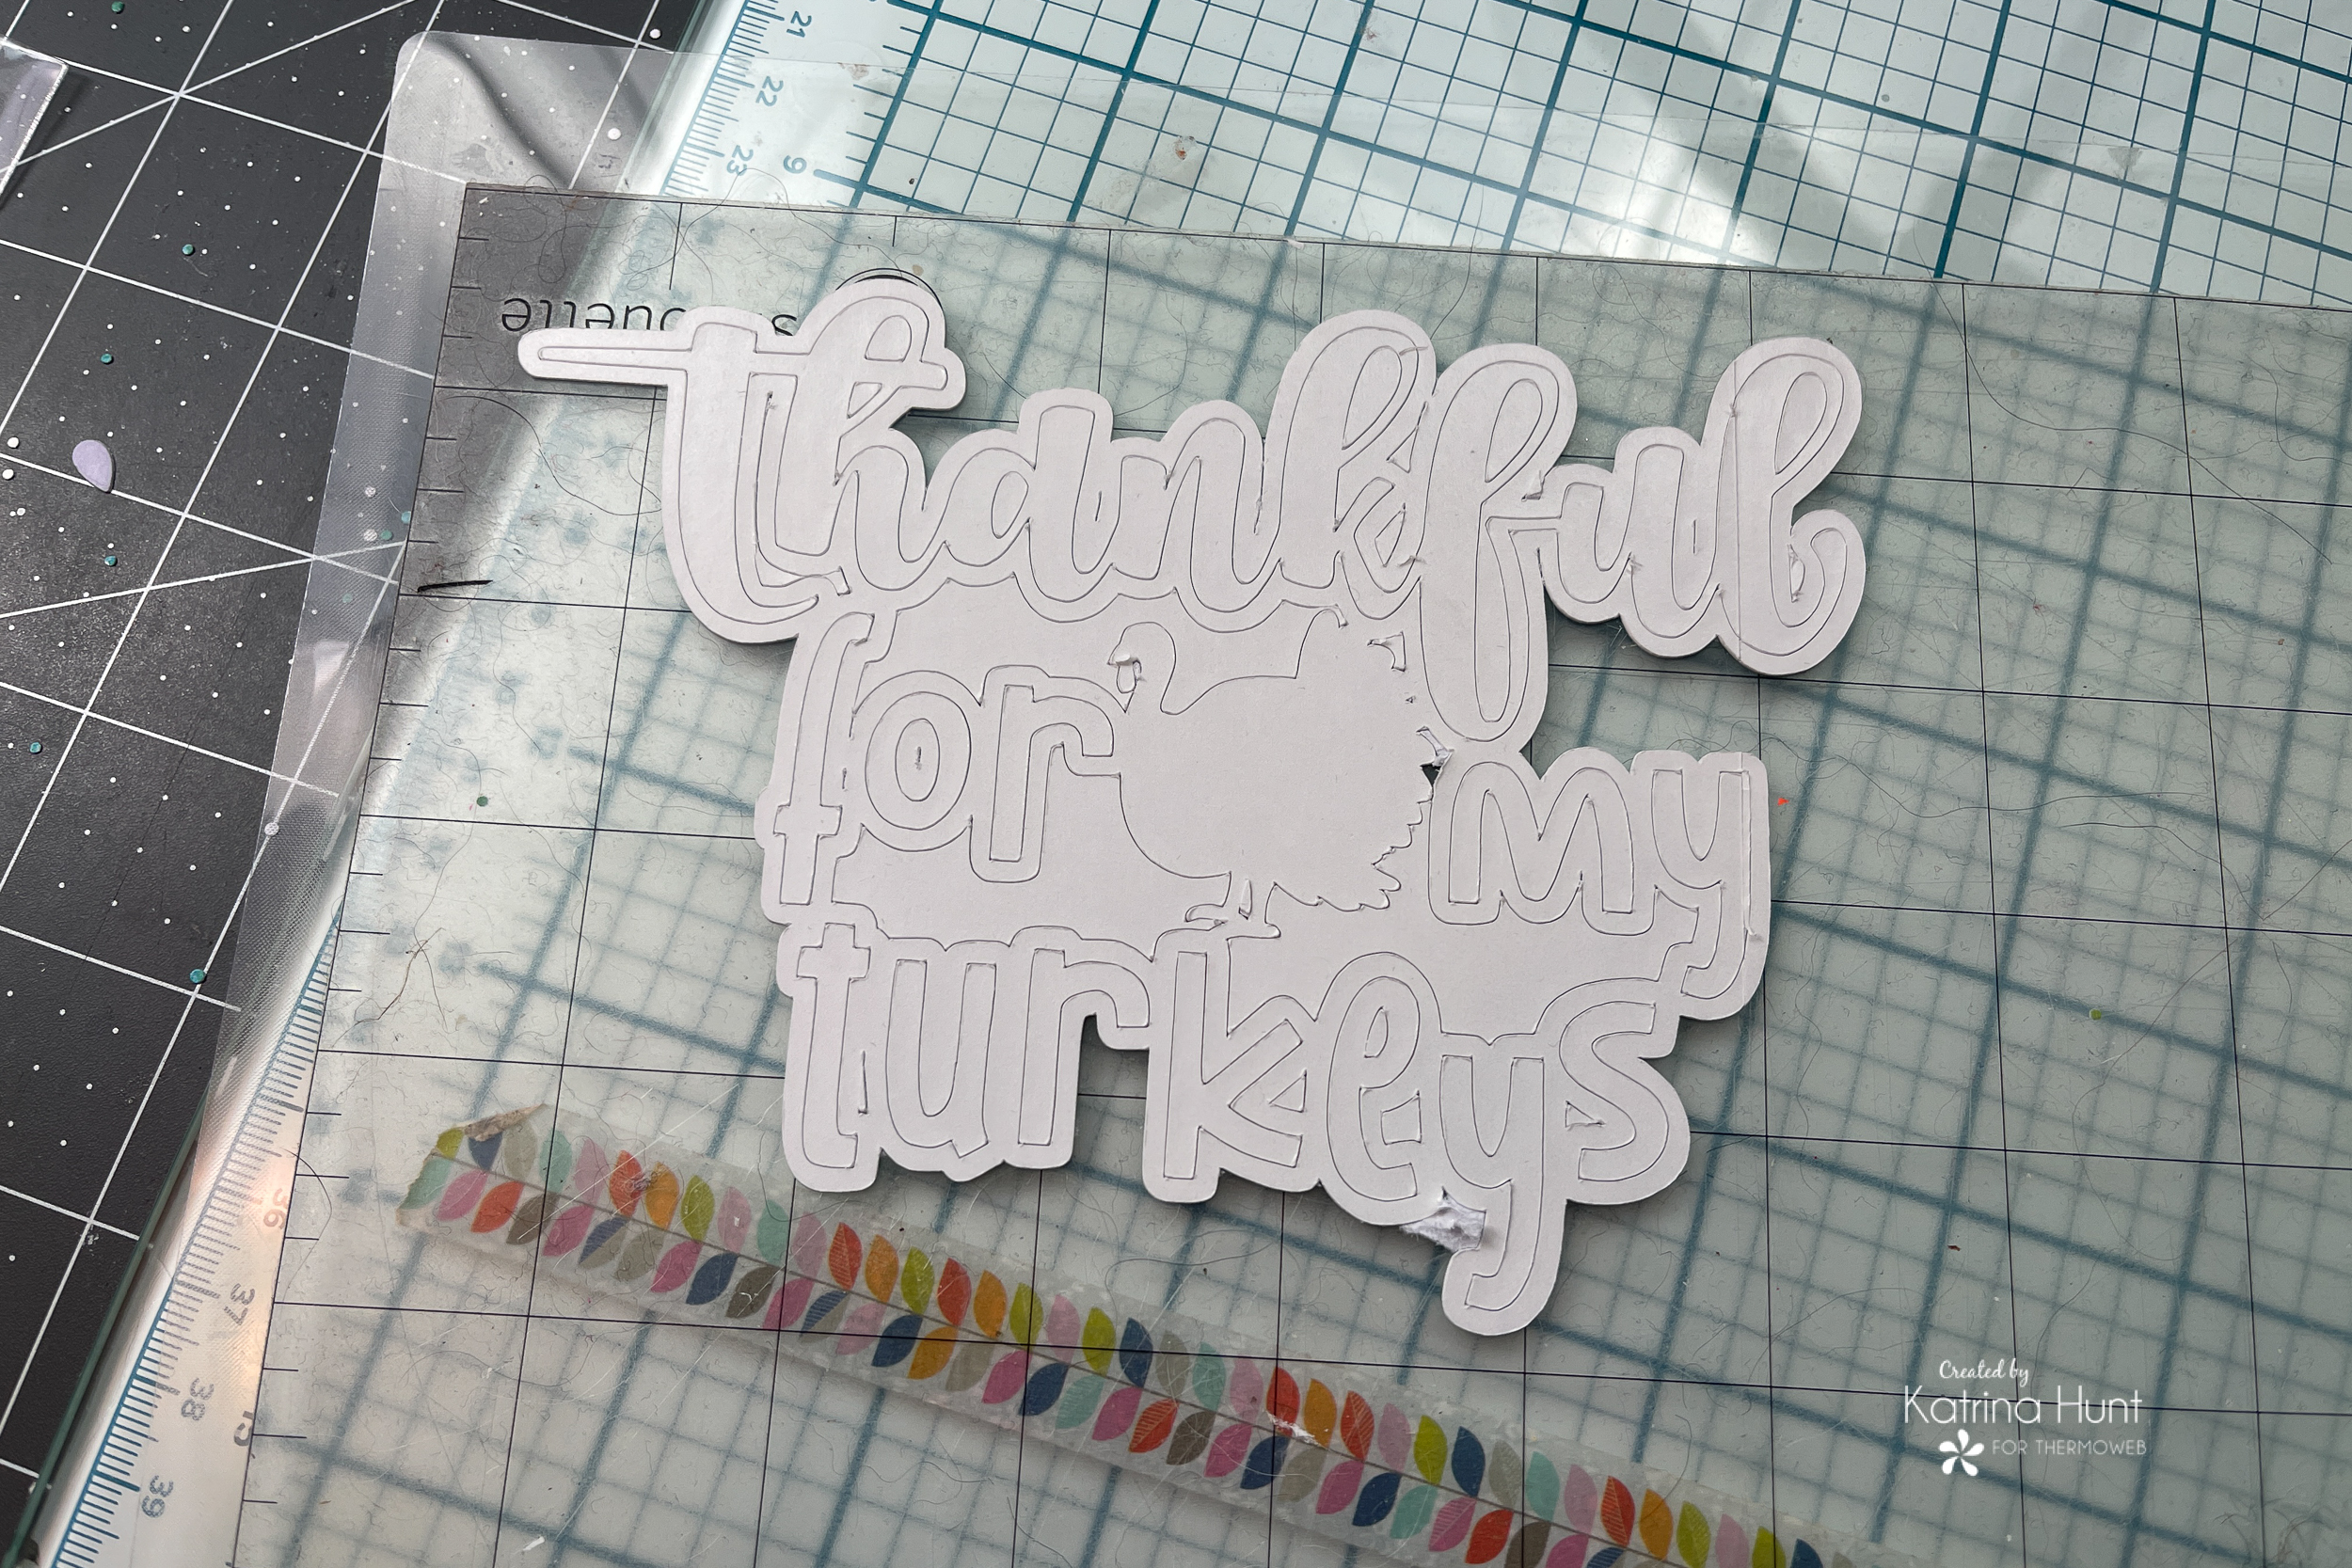
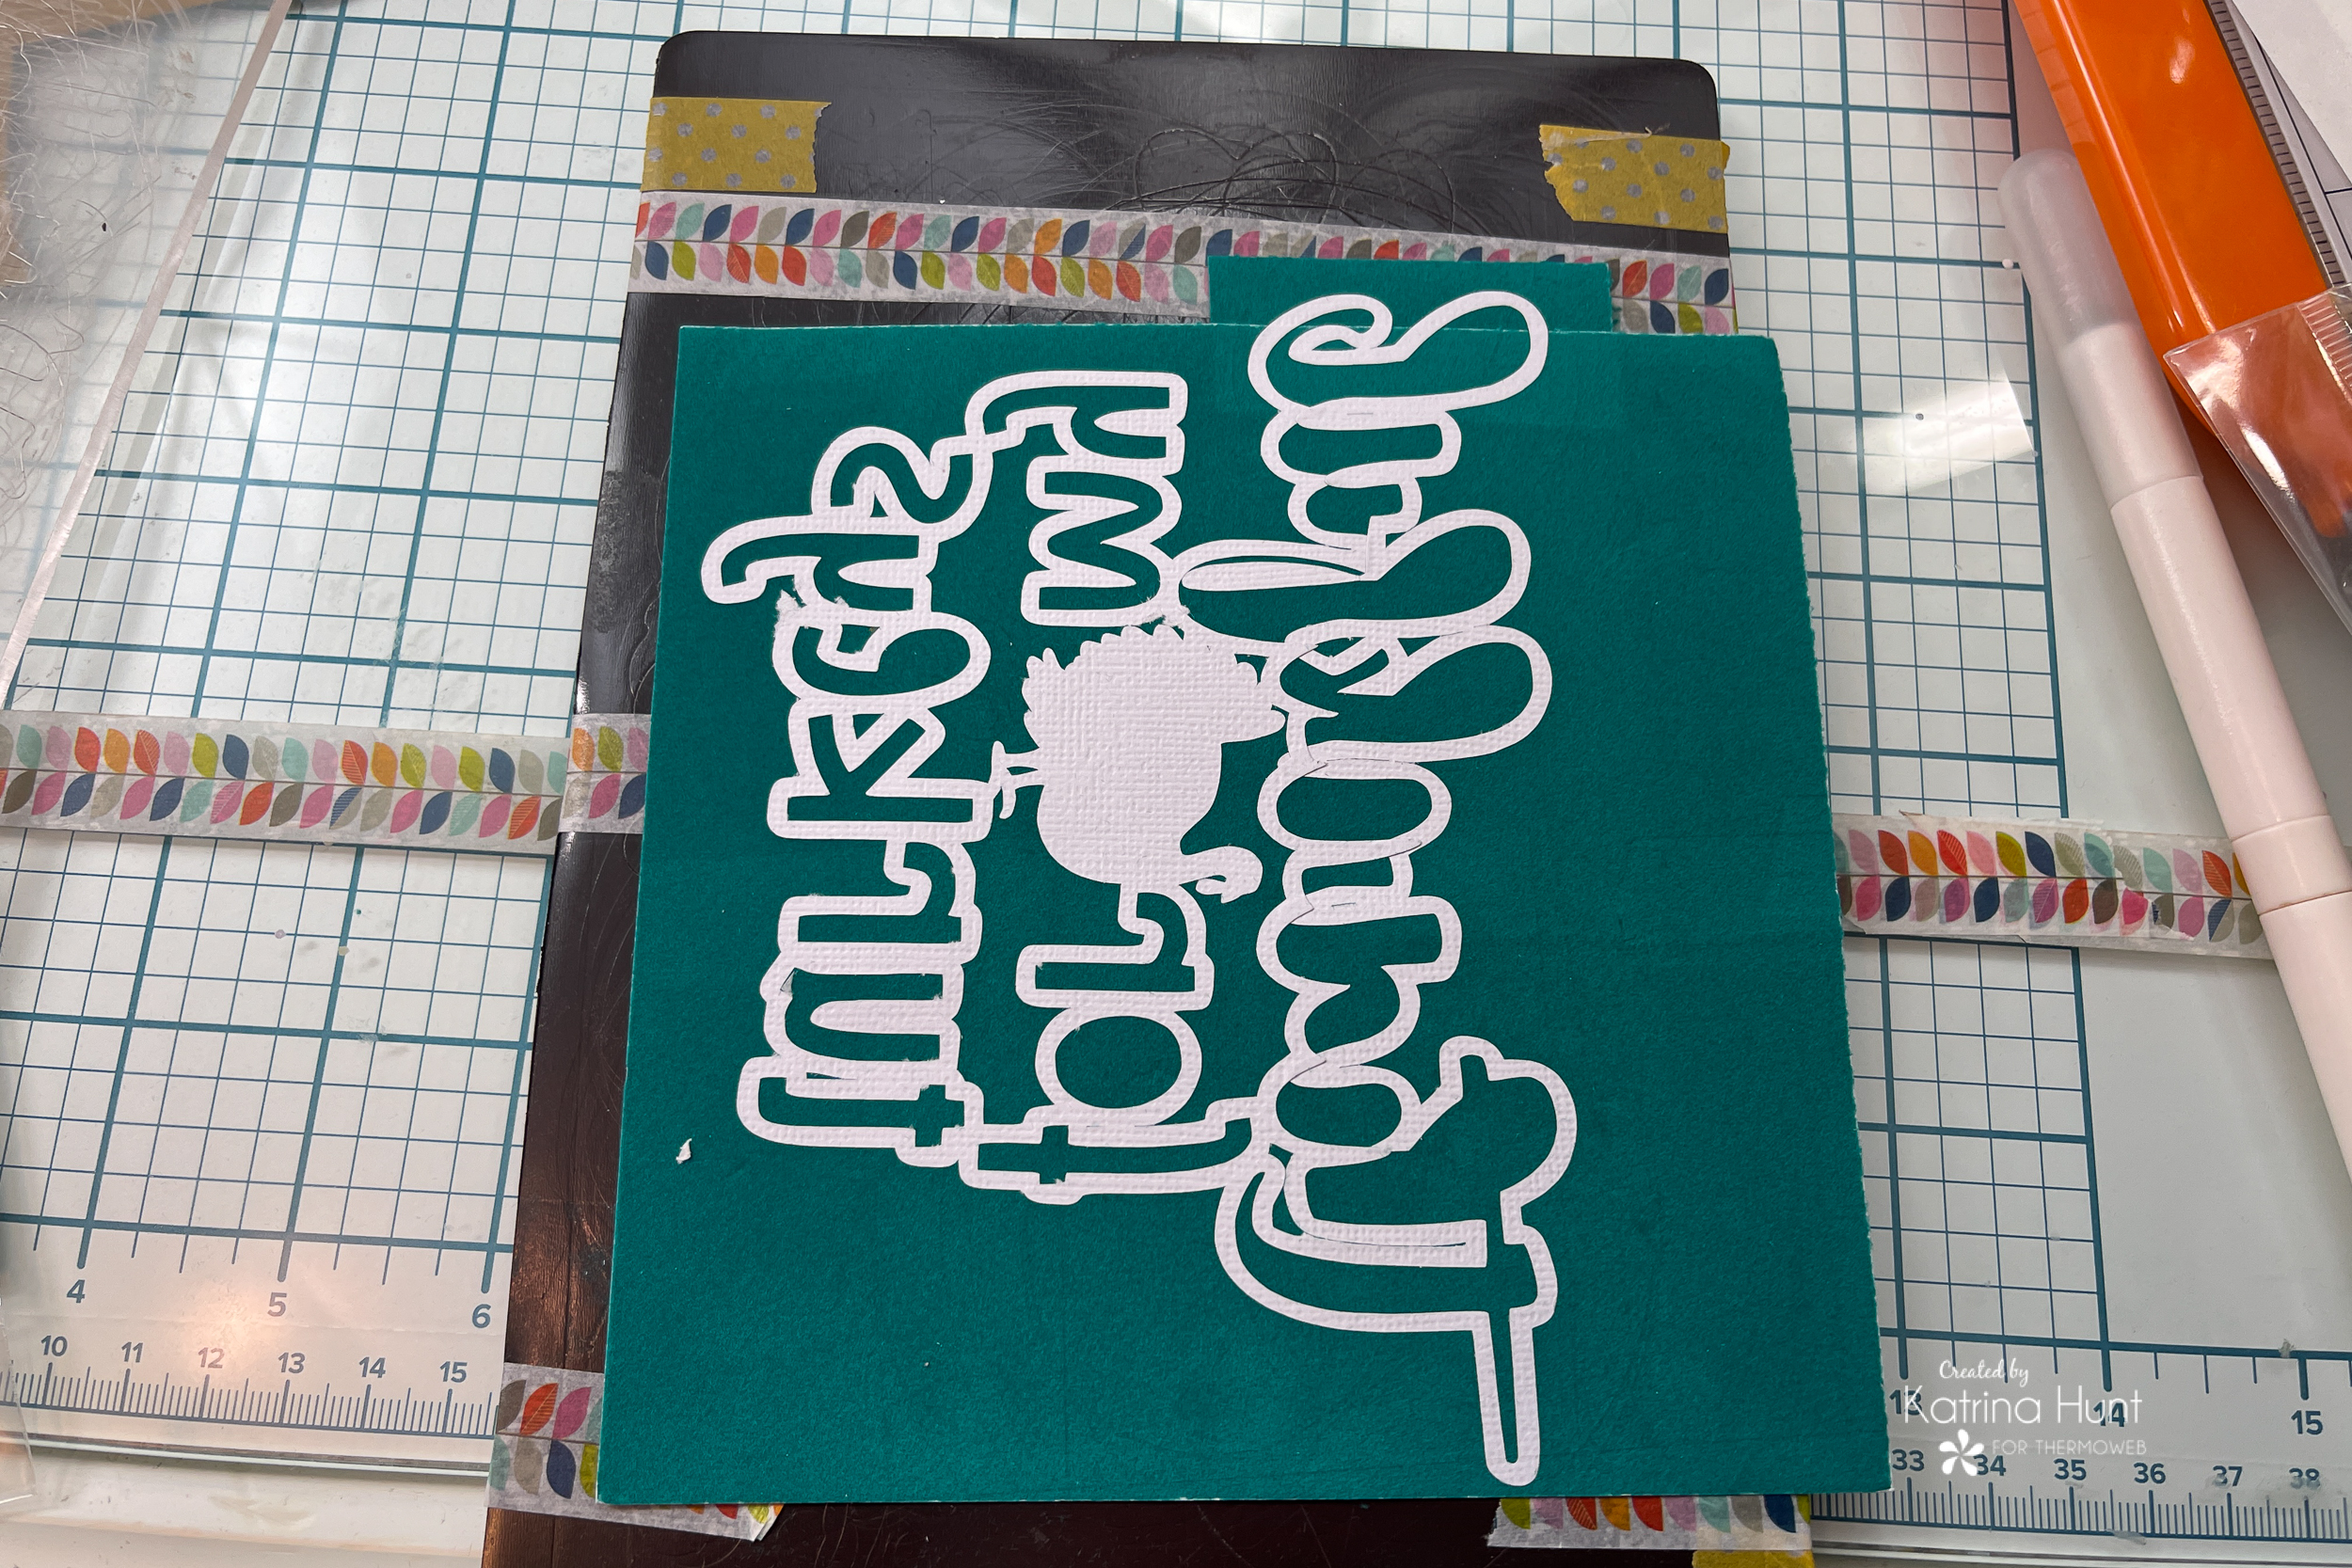
My next step was to carefully weed the cut file. The easiest way to do this is to use a small tipped tool made for weeding or piercing. This will allow you to get under the cardstock to remove it from your mat. If you look carefully at the L on the thankful, you can see the line where the two adhesive sheets matched up. The matching of the sheets doesn’t affect anything, because the cardstock is solid underneath and the flock will cover it without it being noticeable at all. I just wanted to point out that you can add to the size of the sheets by using more than one!
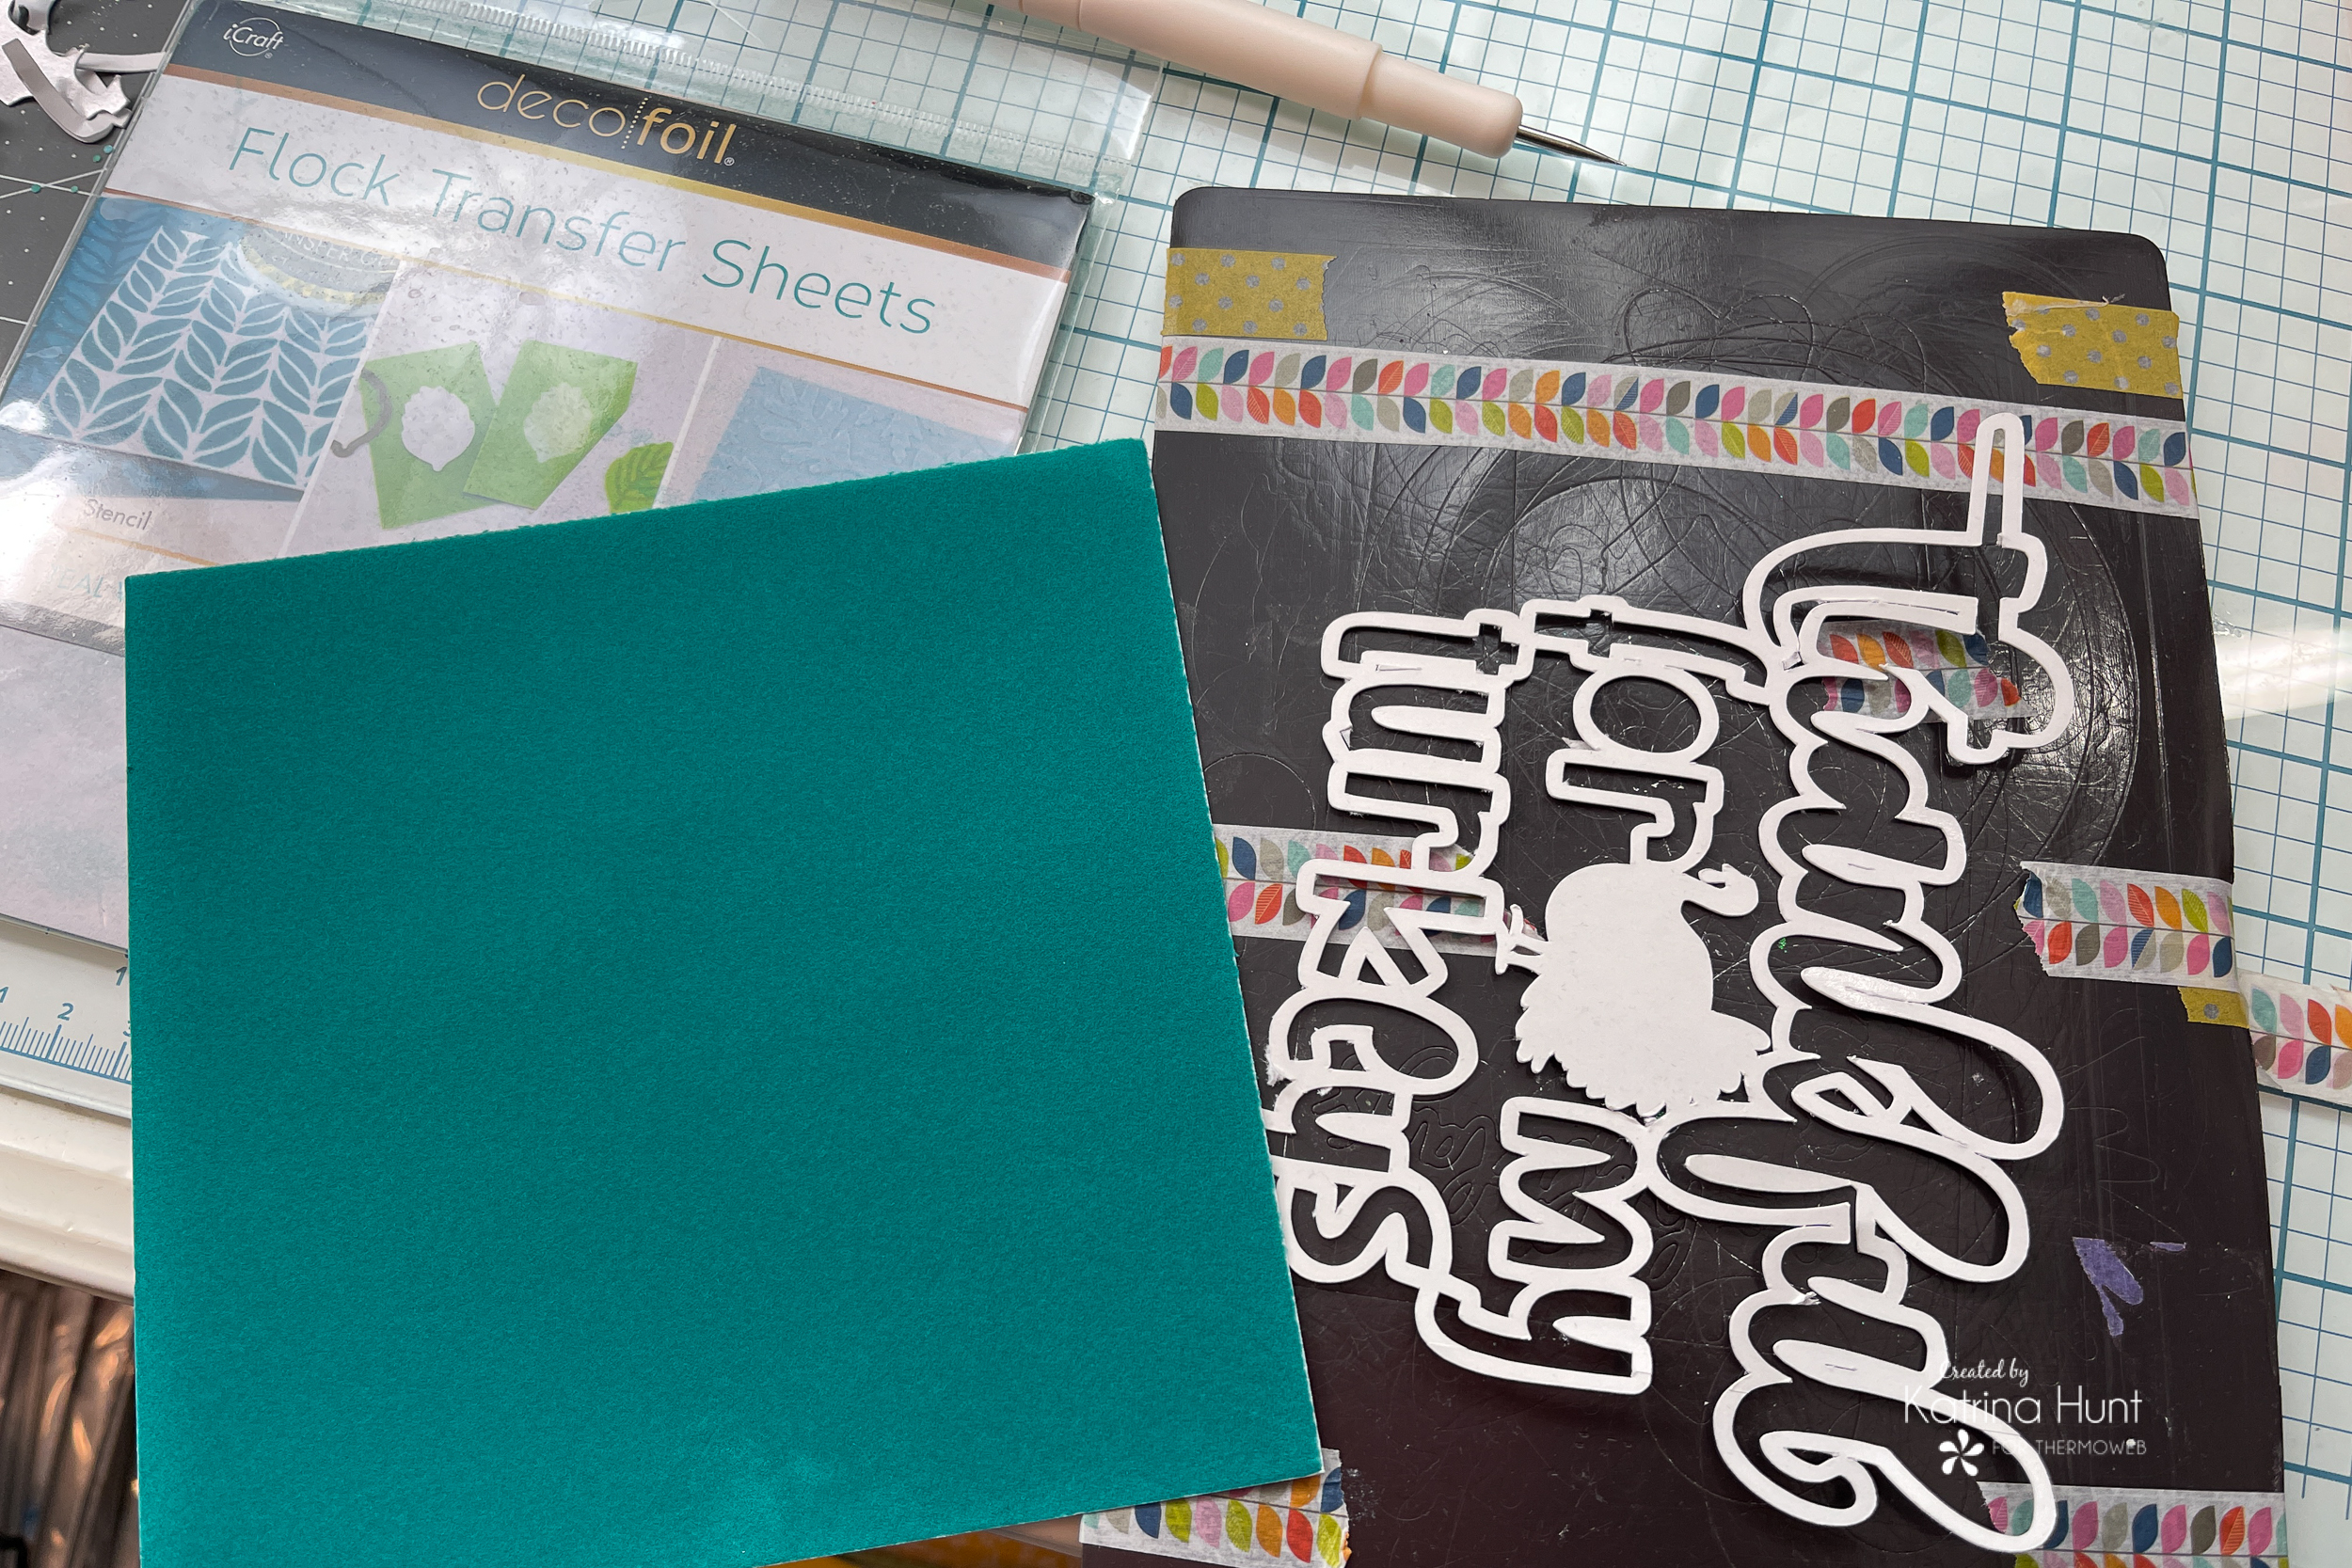
Once I had the cut file weeded from the cutting mat and the inside part of the cut file, it was time to pick a flock color. I settled on the Teal Waters color because it went beautifully with the paper collection and I wanted a color other than brown or orange.
Now it was time to flock the cut file. You need to carefully remove the protective adhesive covering. The weeding tool or piercing tool will come in very handy for this.
Because this cut file was pretty fragile (the lines are pretty thin), I had to determine the best place to start. Since the bottom was pretty sturdy, I chose to start there, carefully working my way across and then up in stages. In the picture below, I am about half done. I also cut off the covering I was peeling, so that it wasn’t in my way as I was working.
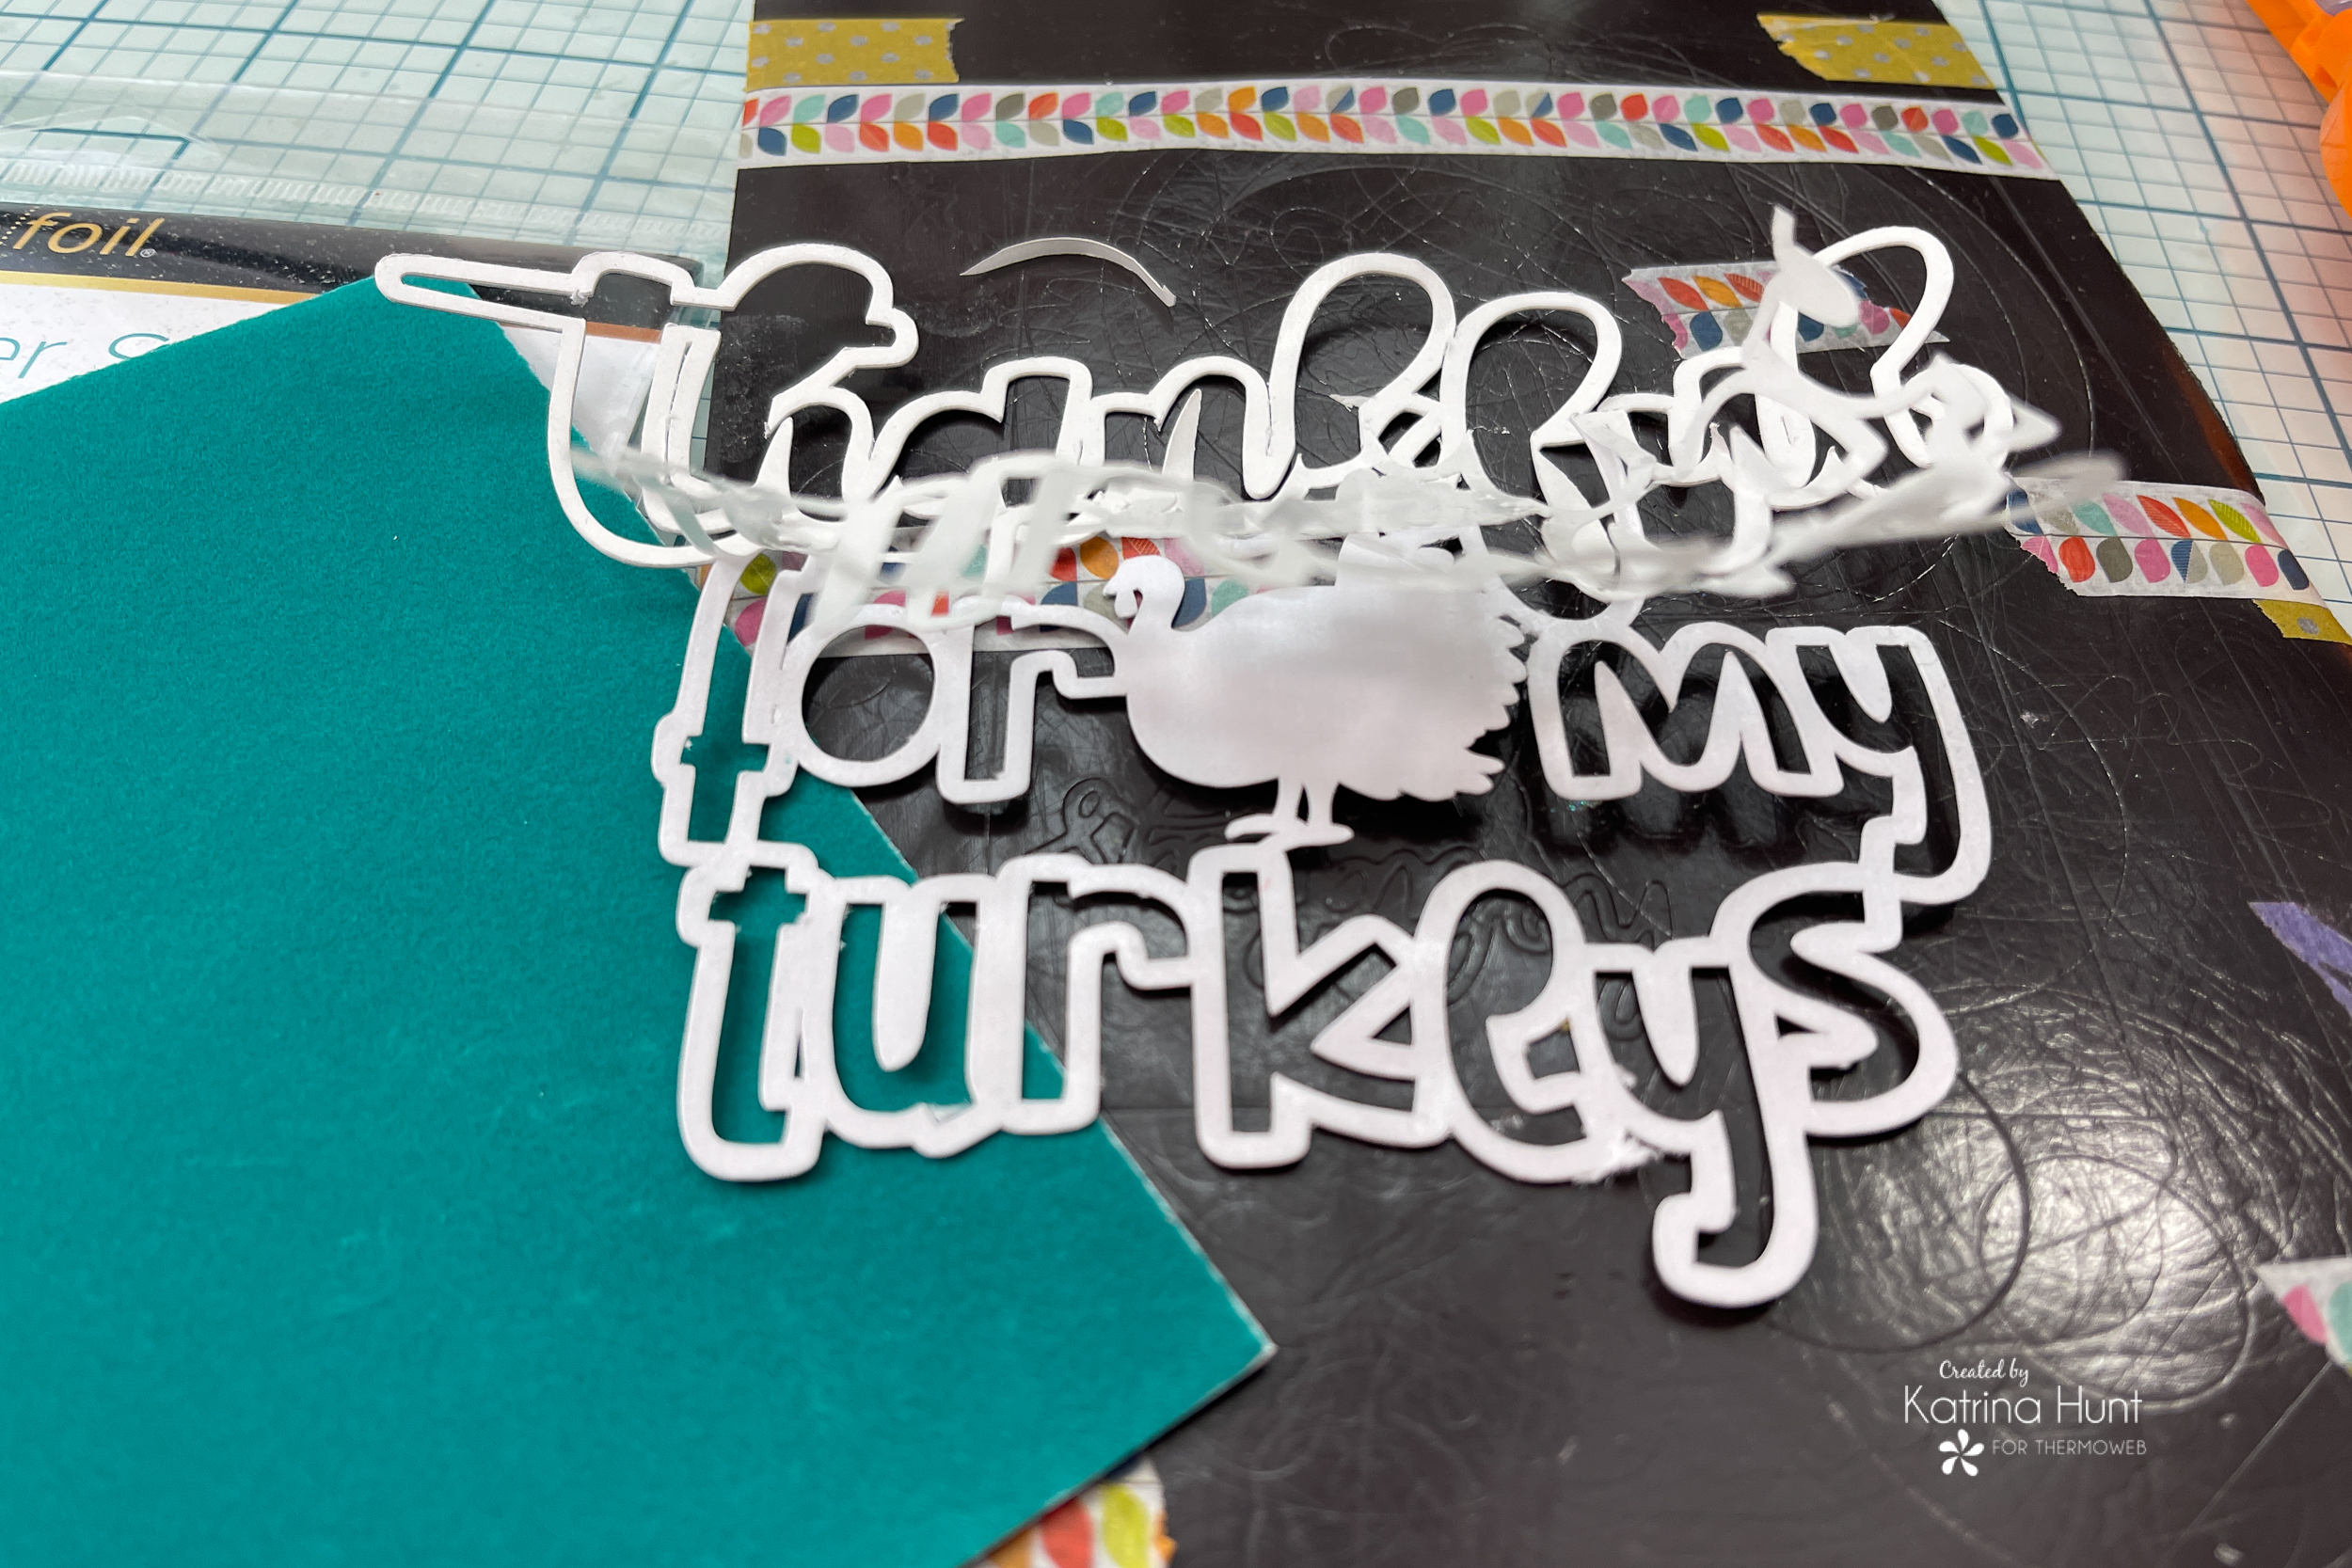
After the protective covering is completely off, carefully place the cut file face down onto the flocked sheet. Once that is done, run the flock with the cut file, thru my Gemini Jr. to transfer the flock to the cut file. Once the flock has been transferred remove the cut file from the flock transfer sheet carefully by peeling the flock away from the cut file. This process is done similar to how I removed the protective covering above, but just pulling the flock away from the cut file with my fingers.
After flocking the cut file, it was time to back it with several different colors of paper. I used the Ultra Bond Adhesive Glue Pen to adhere my backing papers. After getting the backing papers on, I decided the turkey looked fun in the flock. And who doesn’t love a fun teal flocked turkey?! Not me!
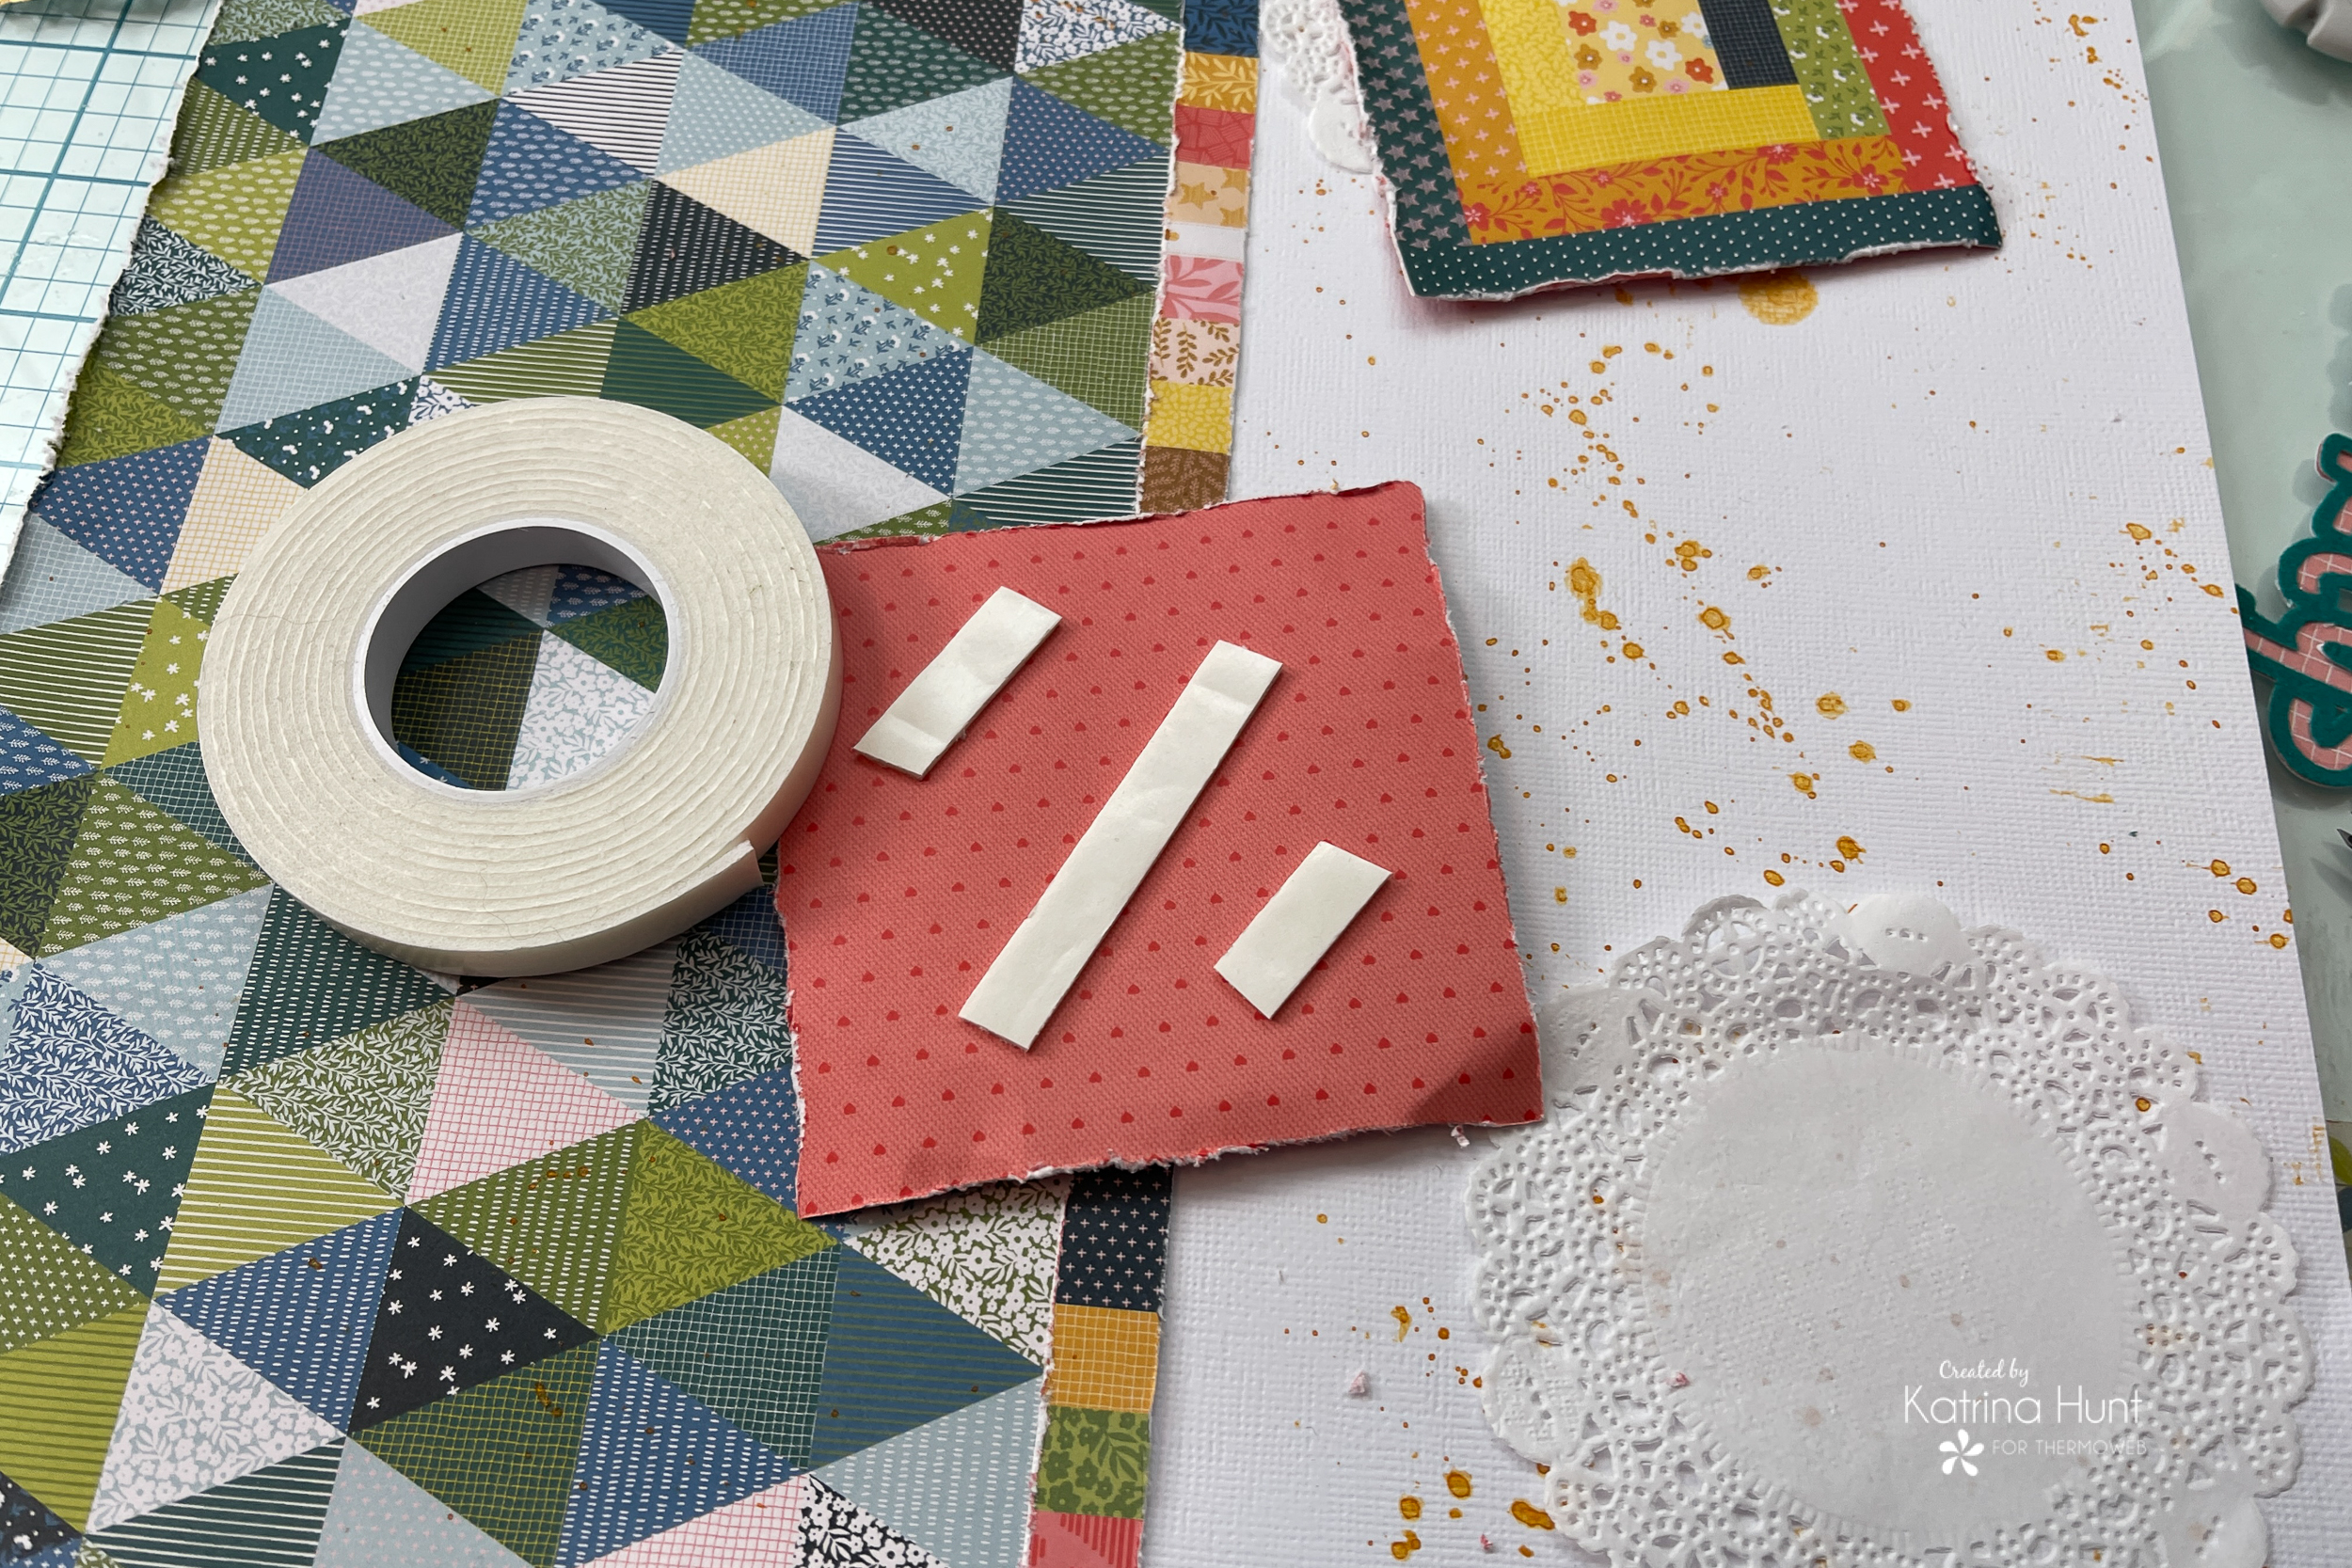
Now it’s time to start working on the main layout page. Cut pattern paper at 6×12 and using the iCraft Easy Tear Adhesive Tape, adhere onto white cardstock. The paper collection has patterned product strips and they were the right size to create a break in my page.
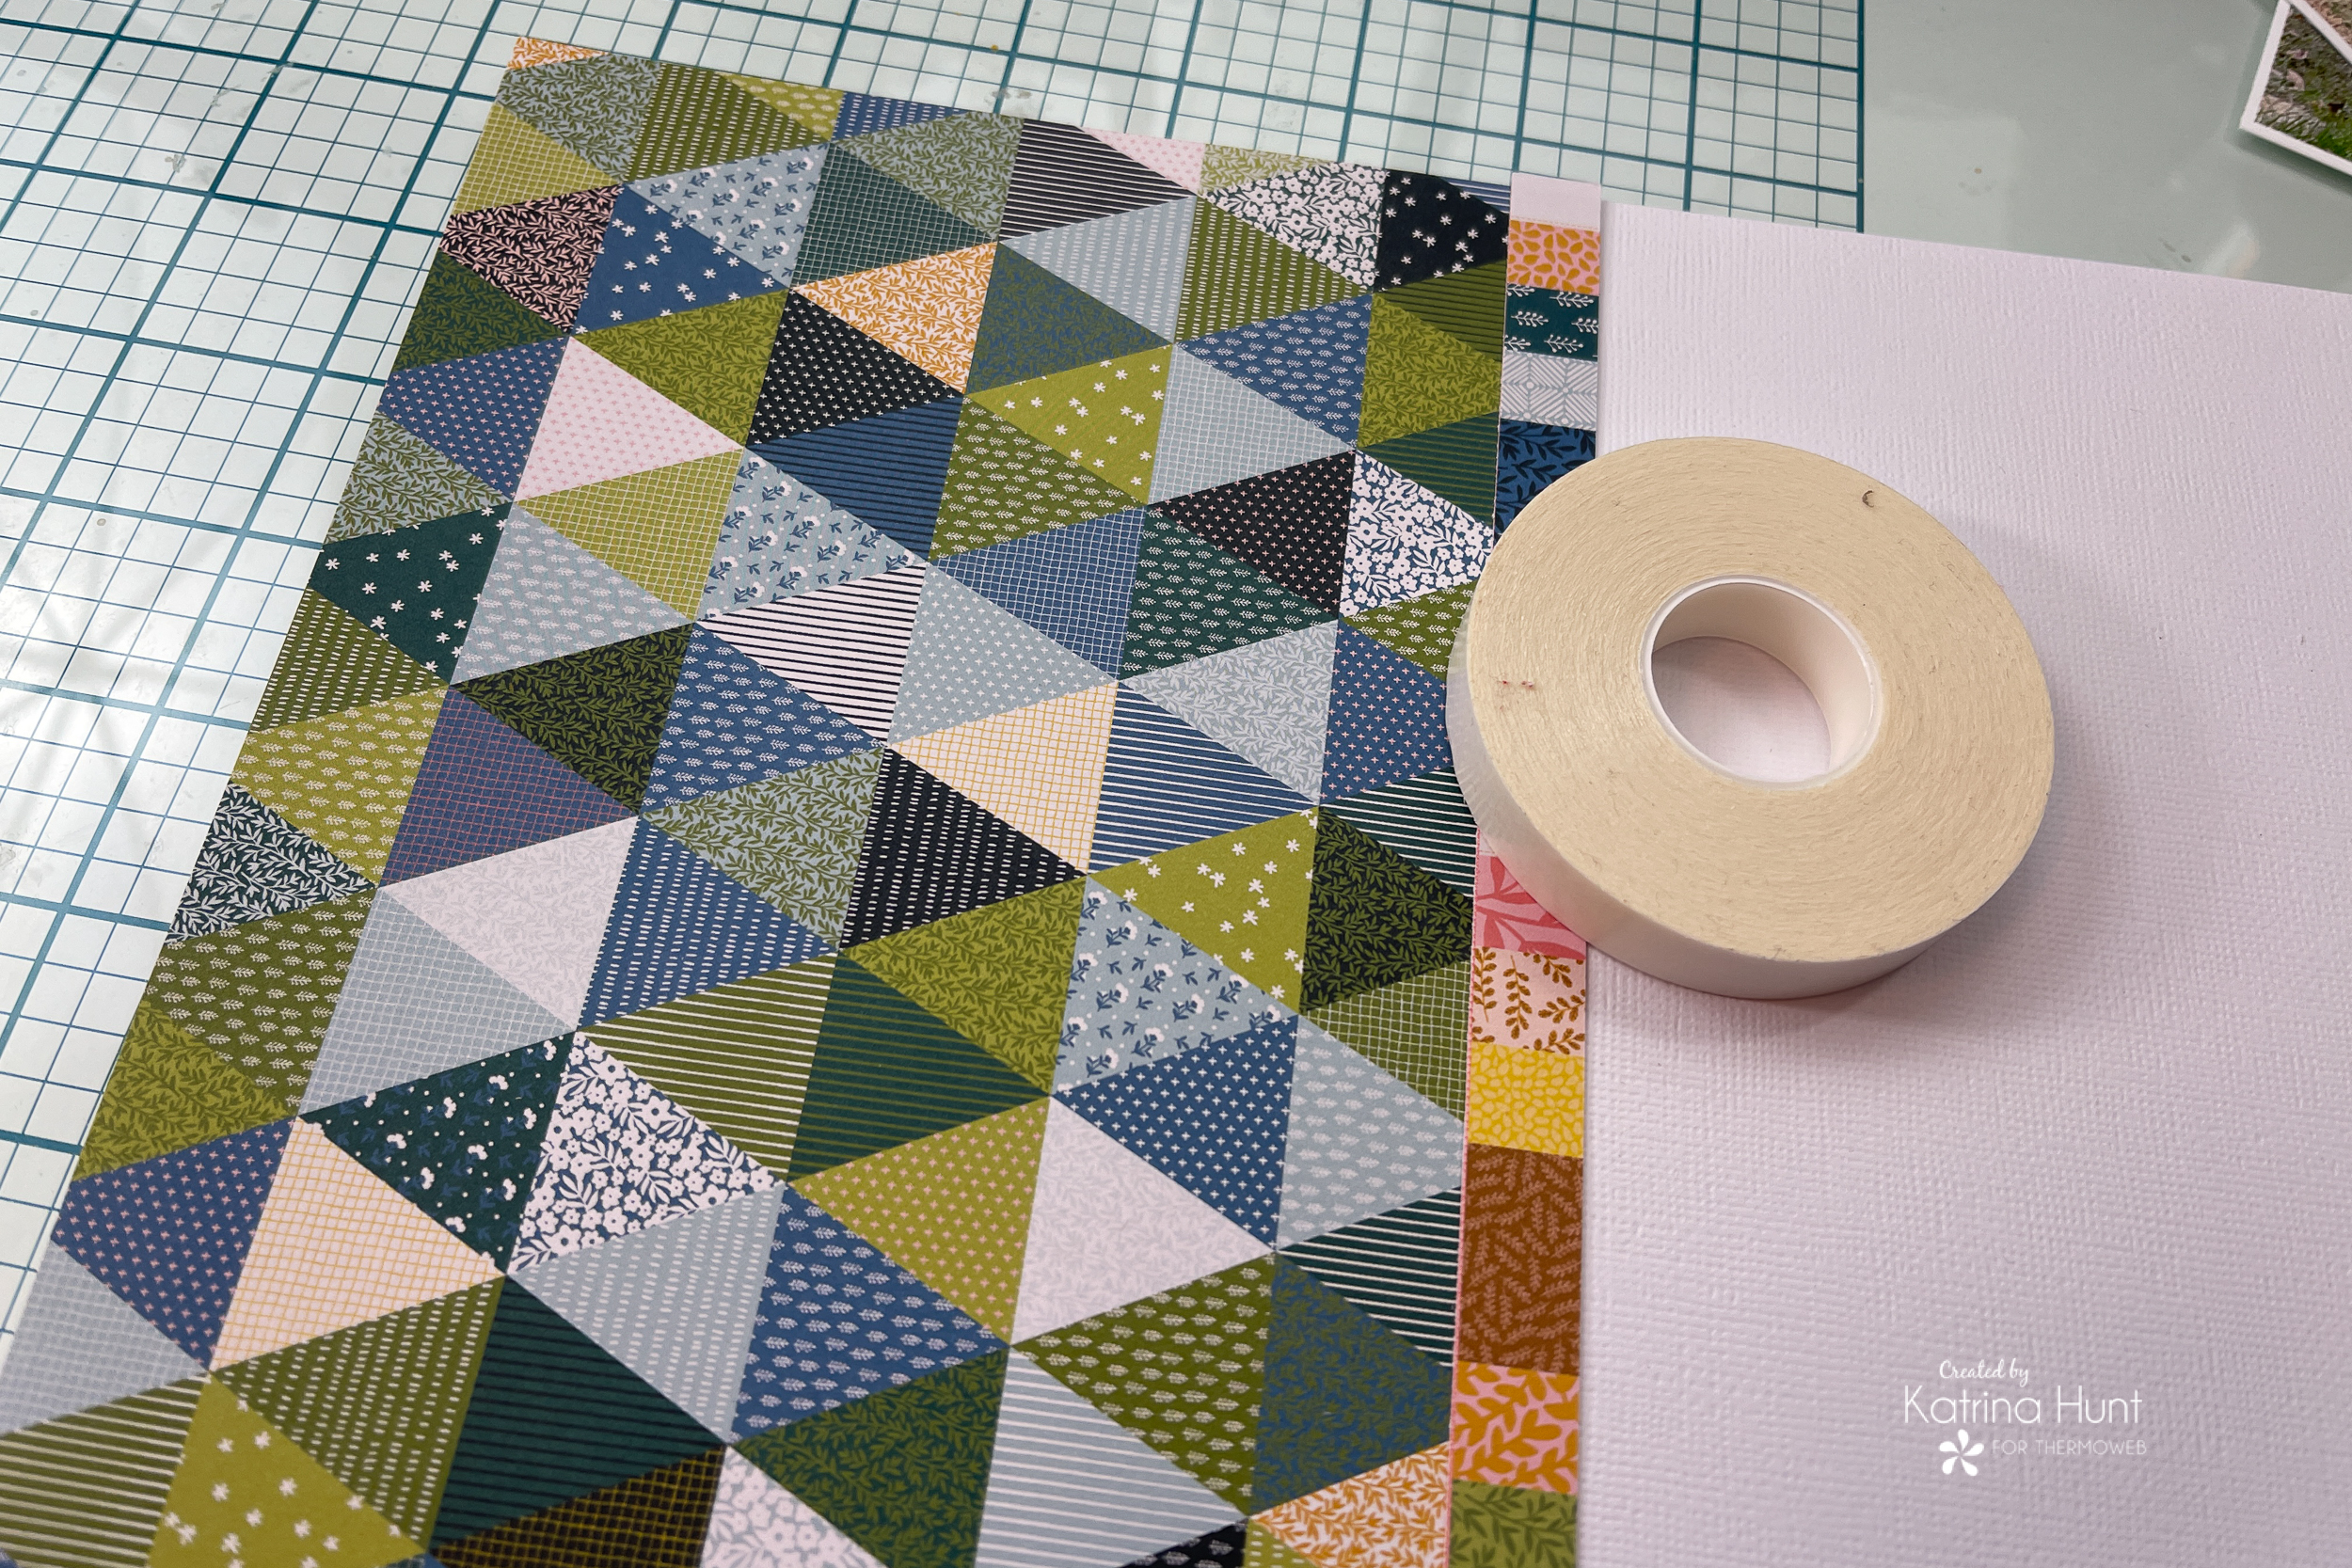
To add a little something extra, distress the three sides of the paper with a tiny distresser or your scissors. This will give the page a little more texture and interest. For fun, just do the pattern paper side and leave the other side alone!
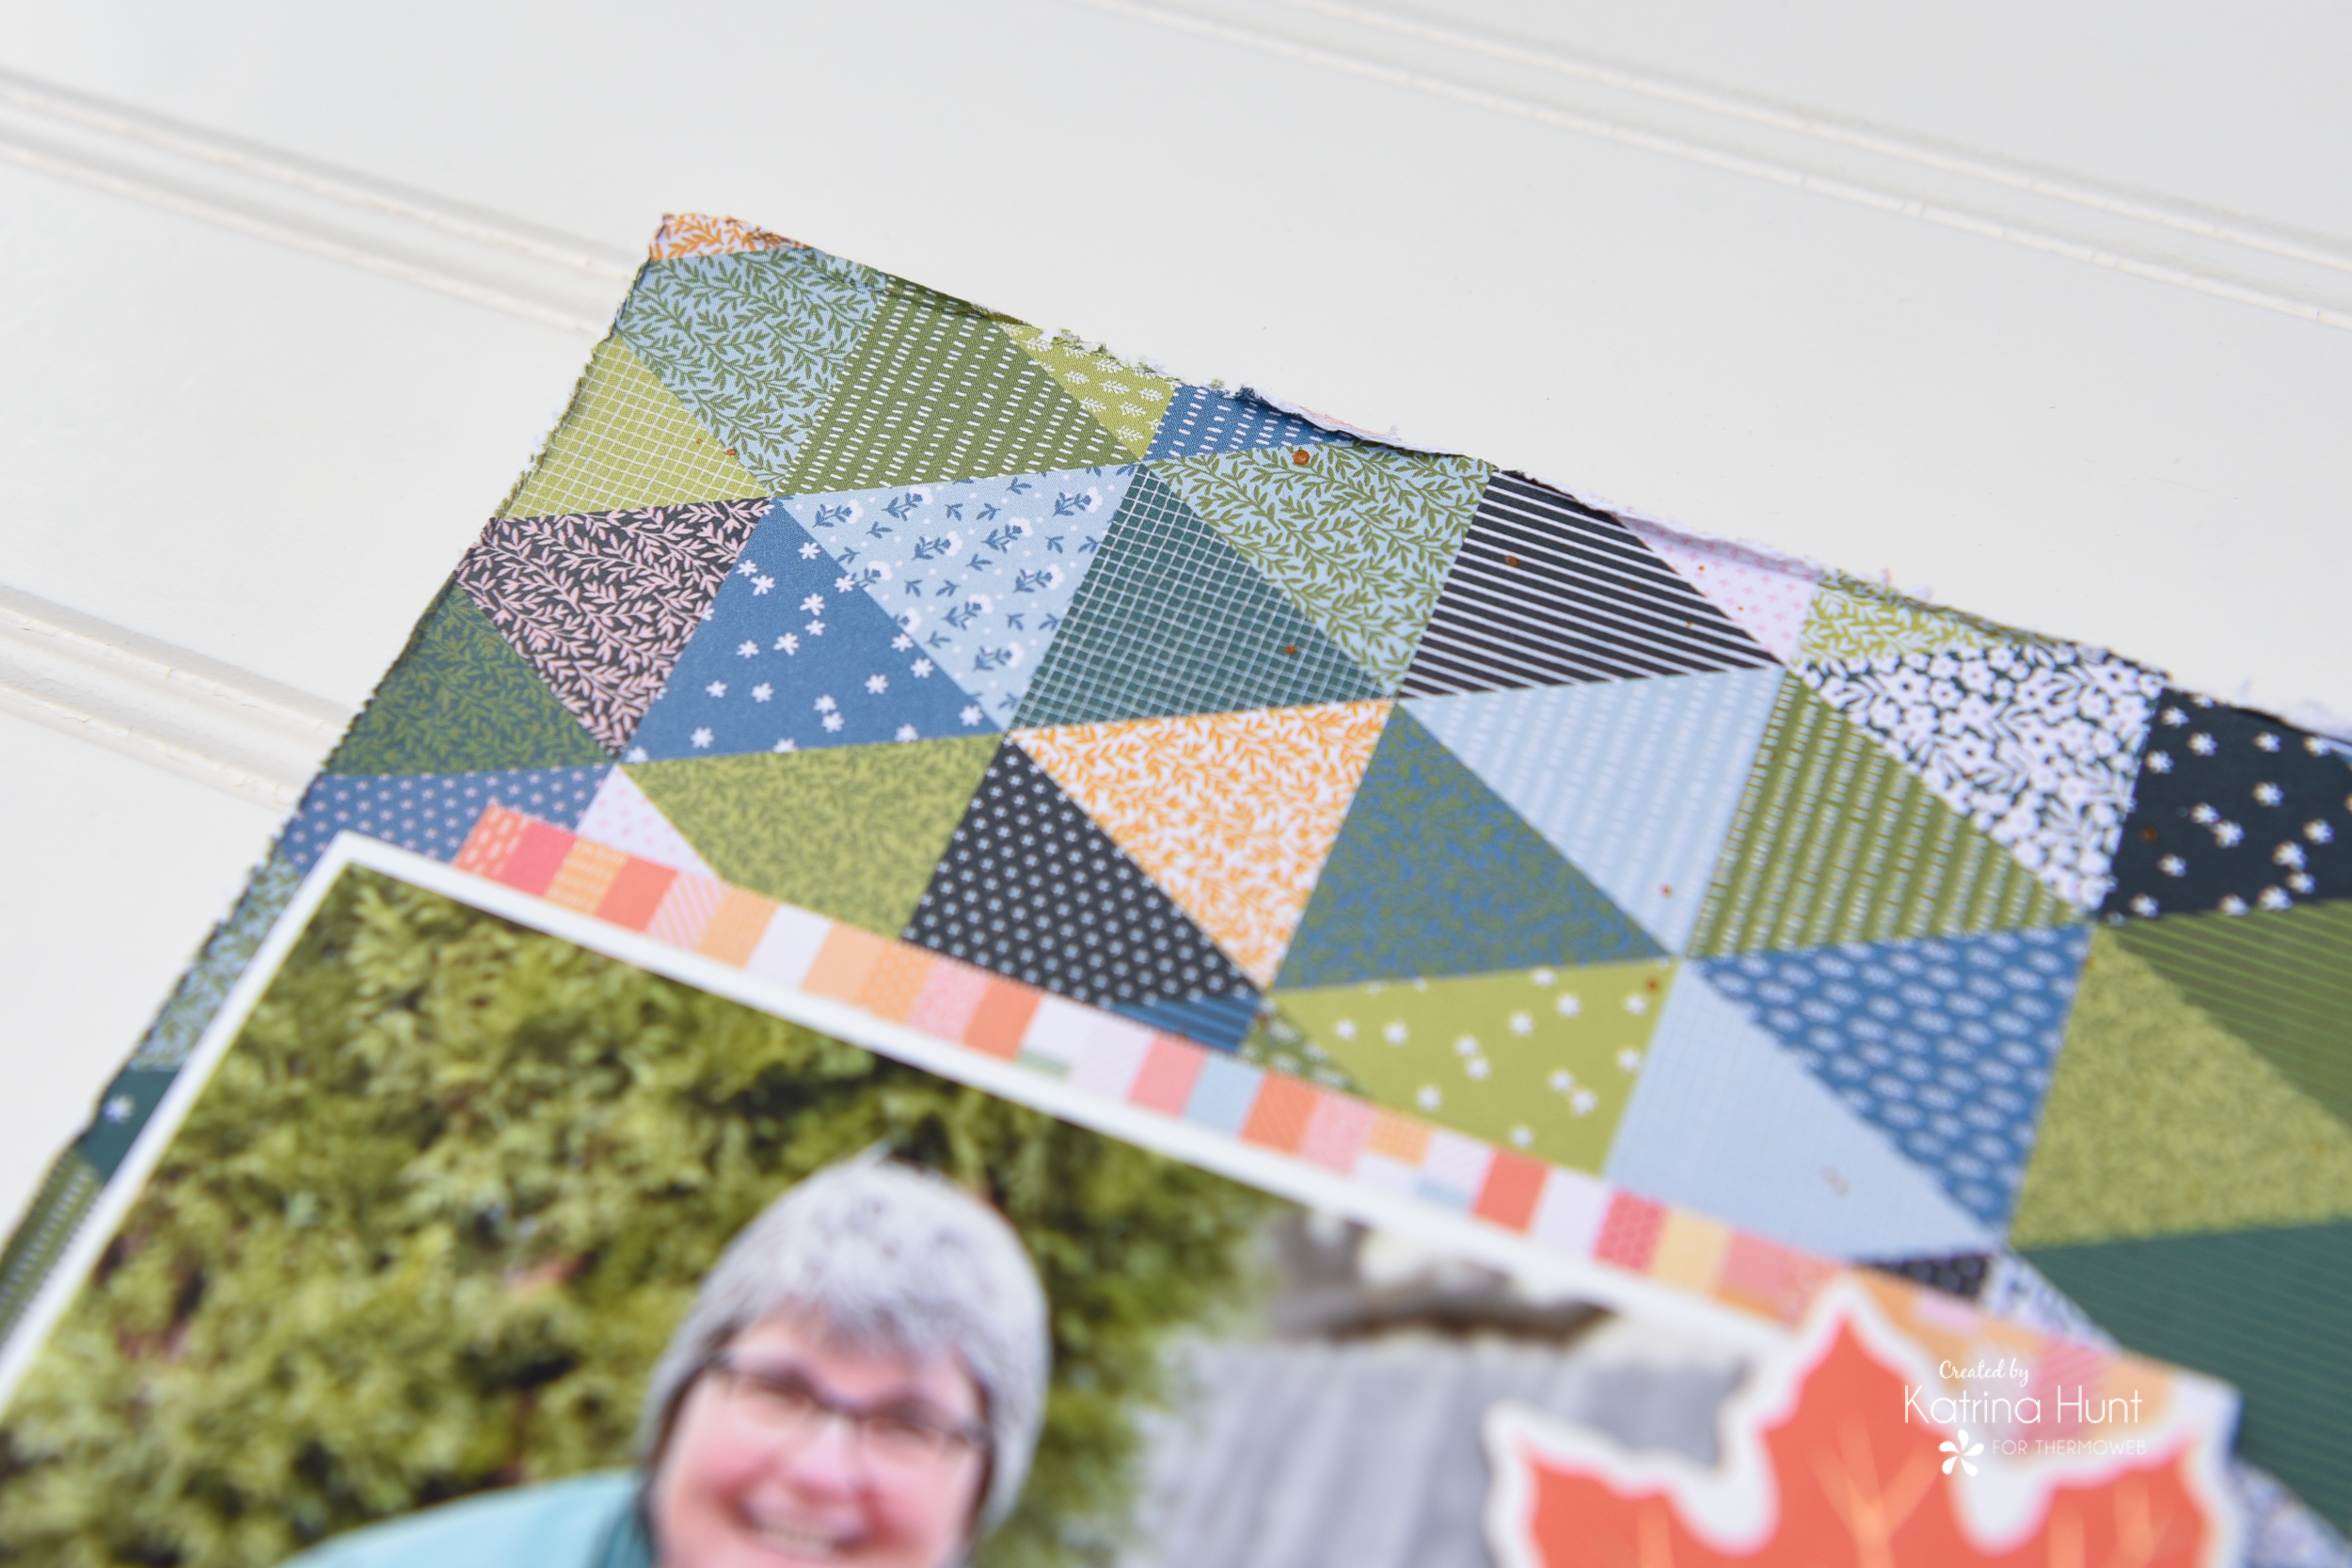
Before adding anything to the patterned side, mist the paper with some colored spray. By doing this step now, it will keep you from accidentally misting your pictures. Don’t ask me how I know this!!
I used a color called Glit, which is a golden color with a little sparkle. Whatever color you use, just match to your paper collection to make it easy!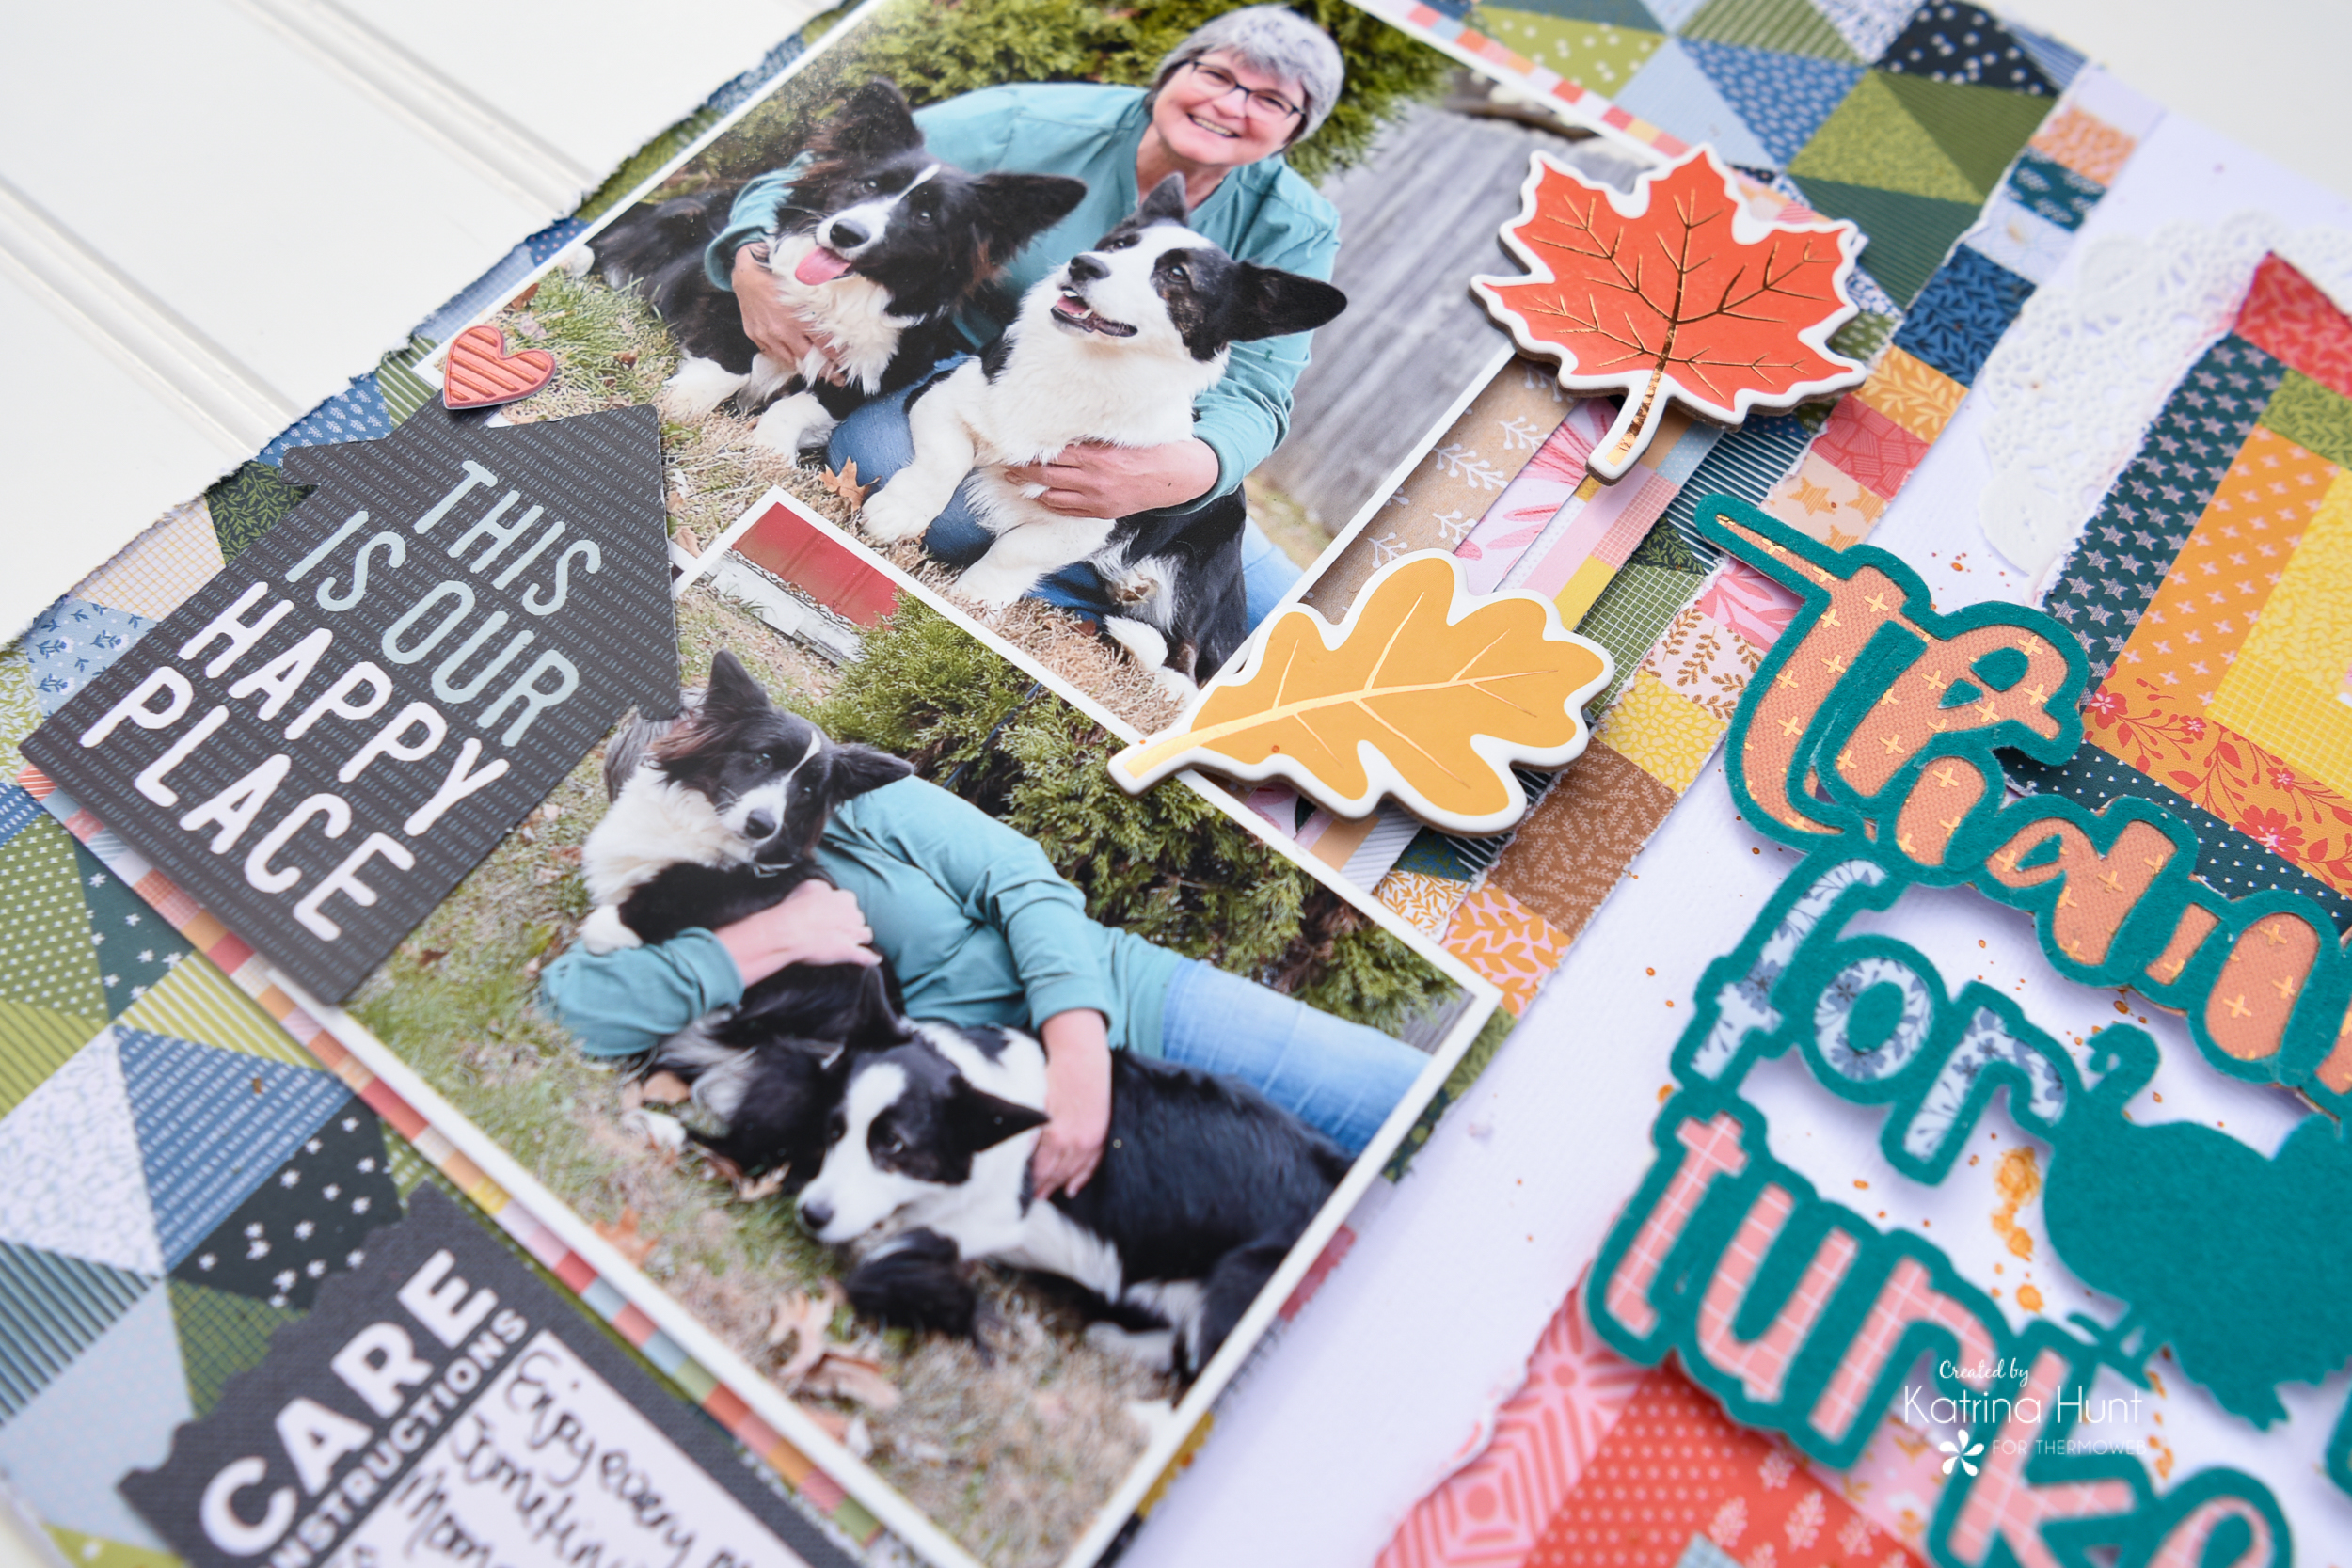
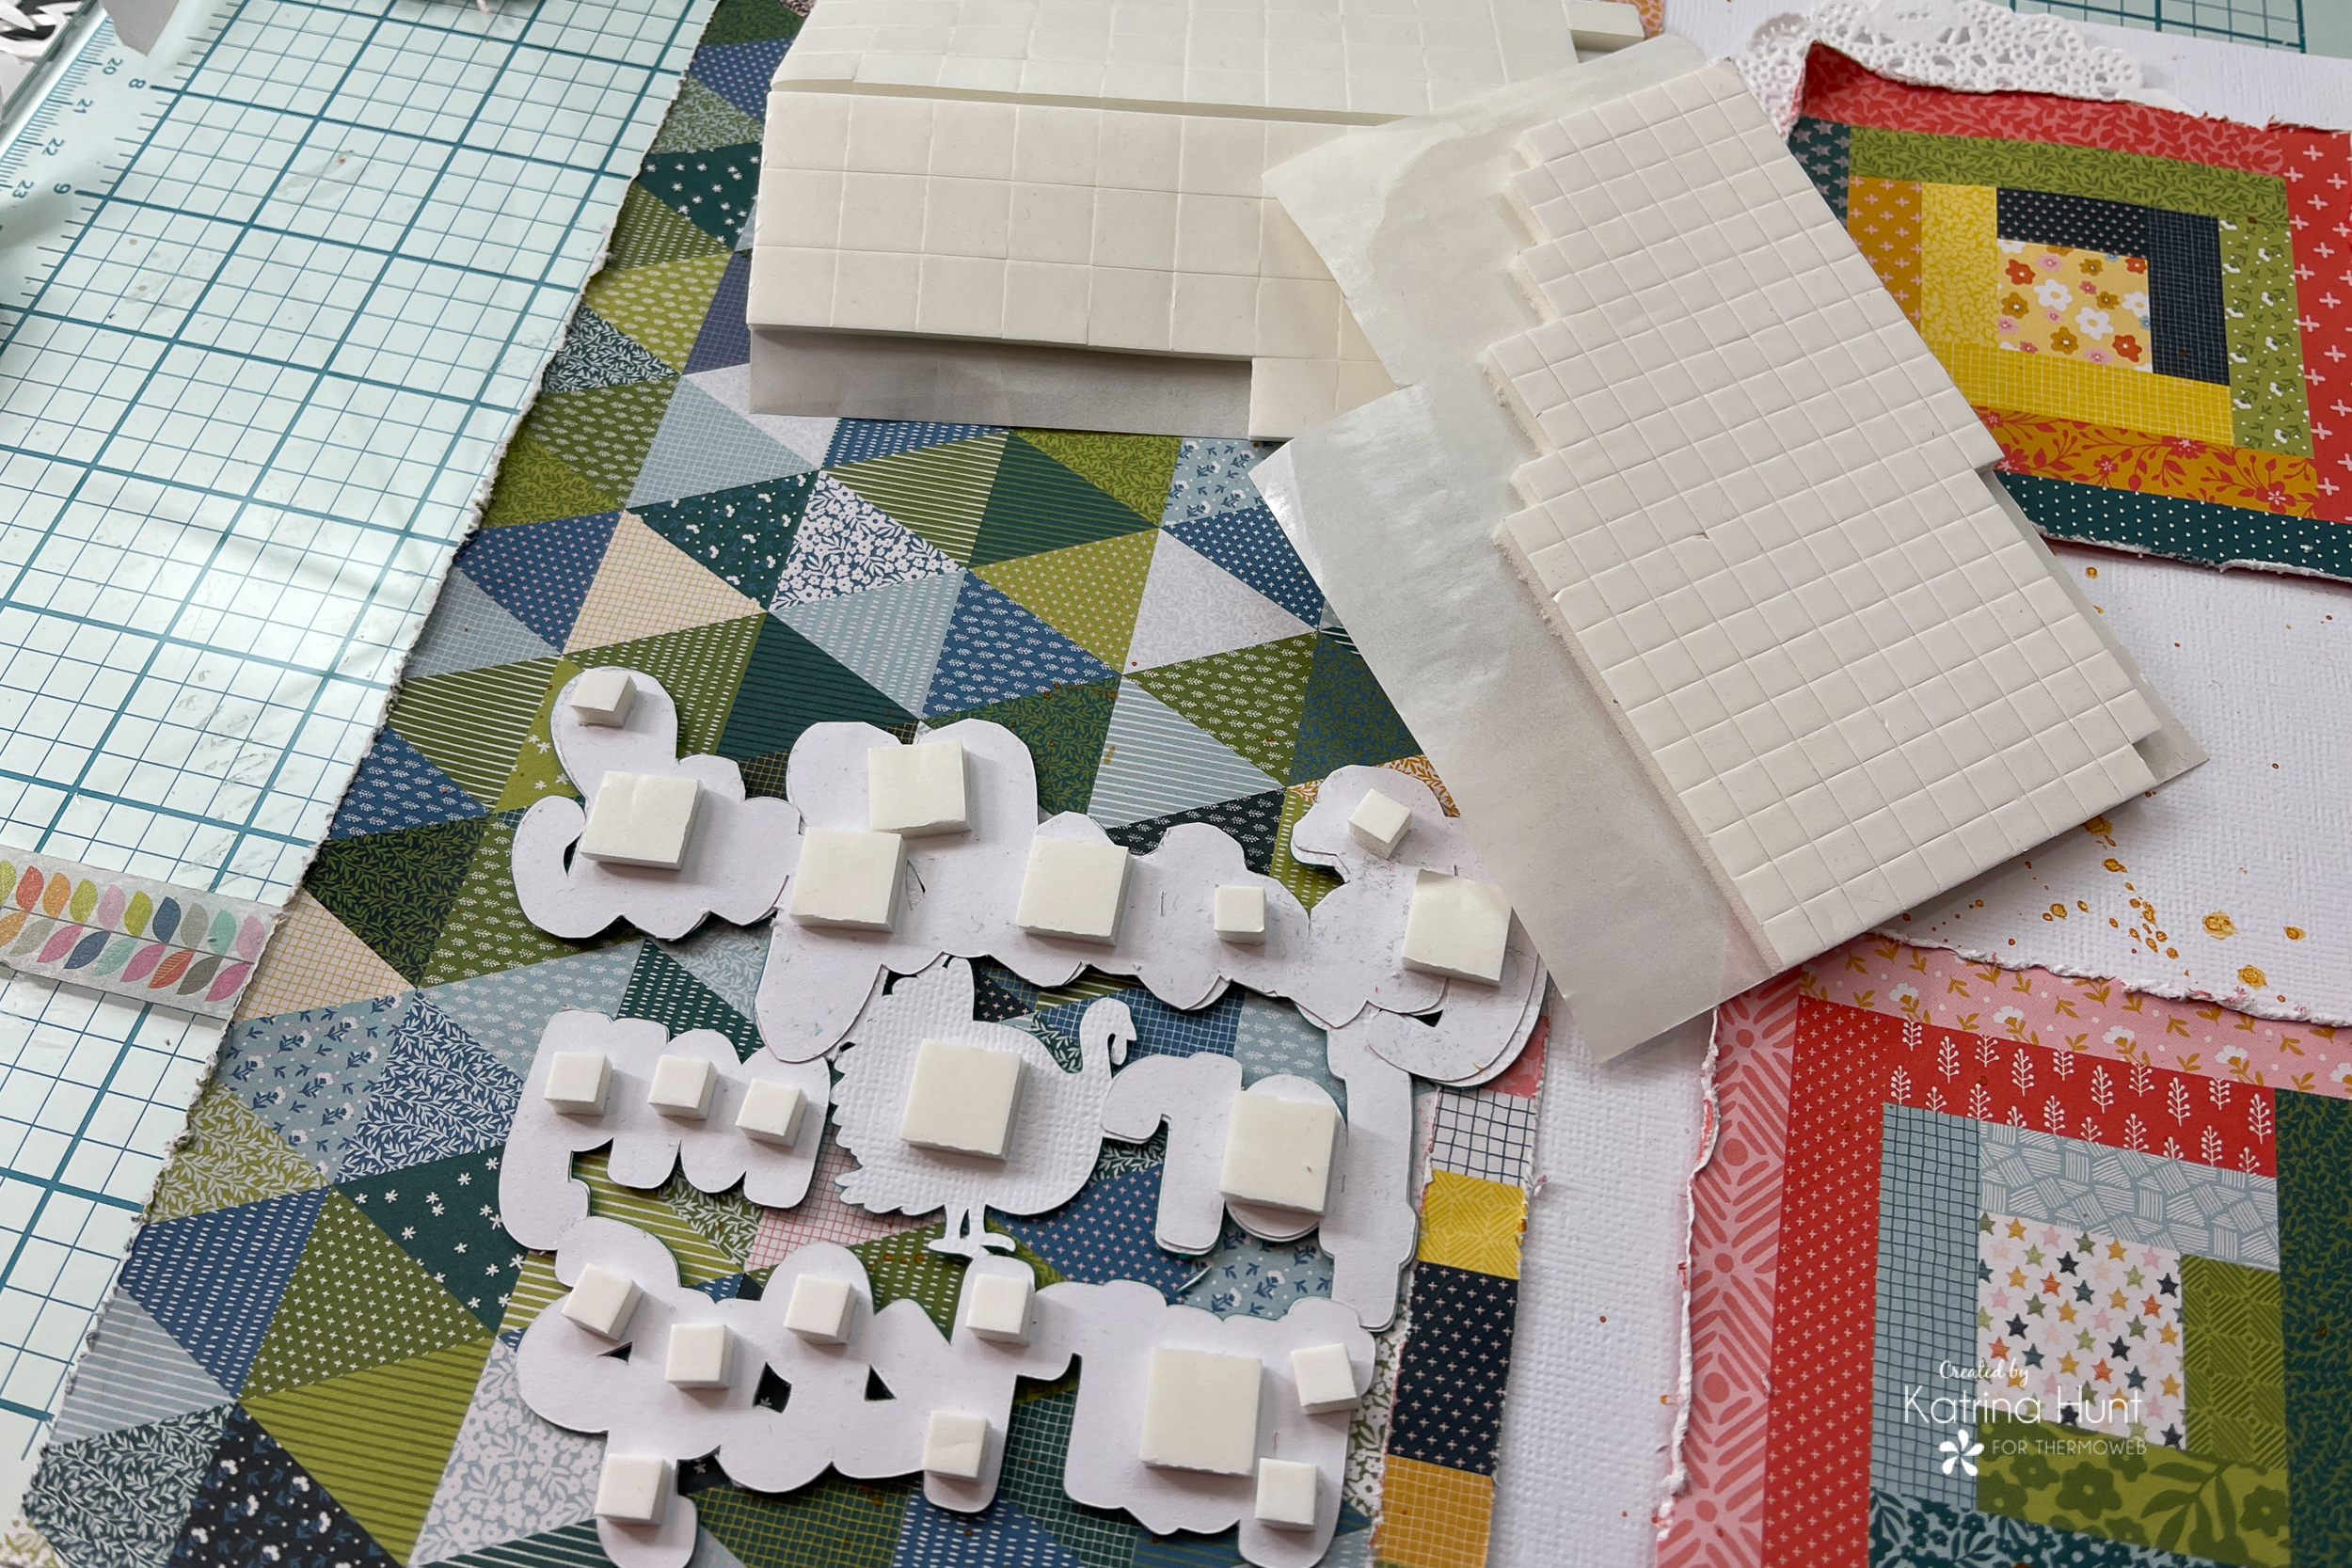
To wrap the layout up, use 3D Foam Adhesives, tape, squares, you name it!
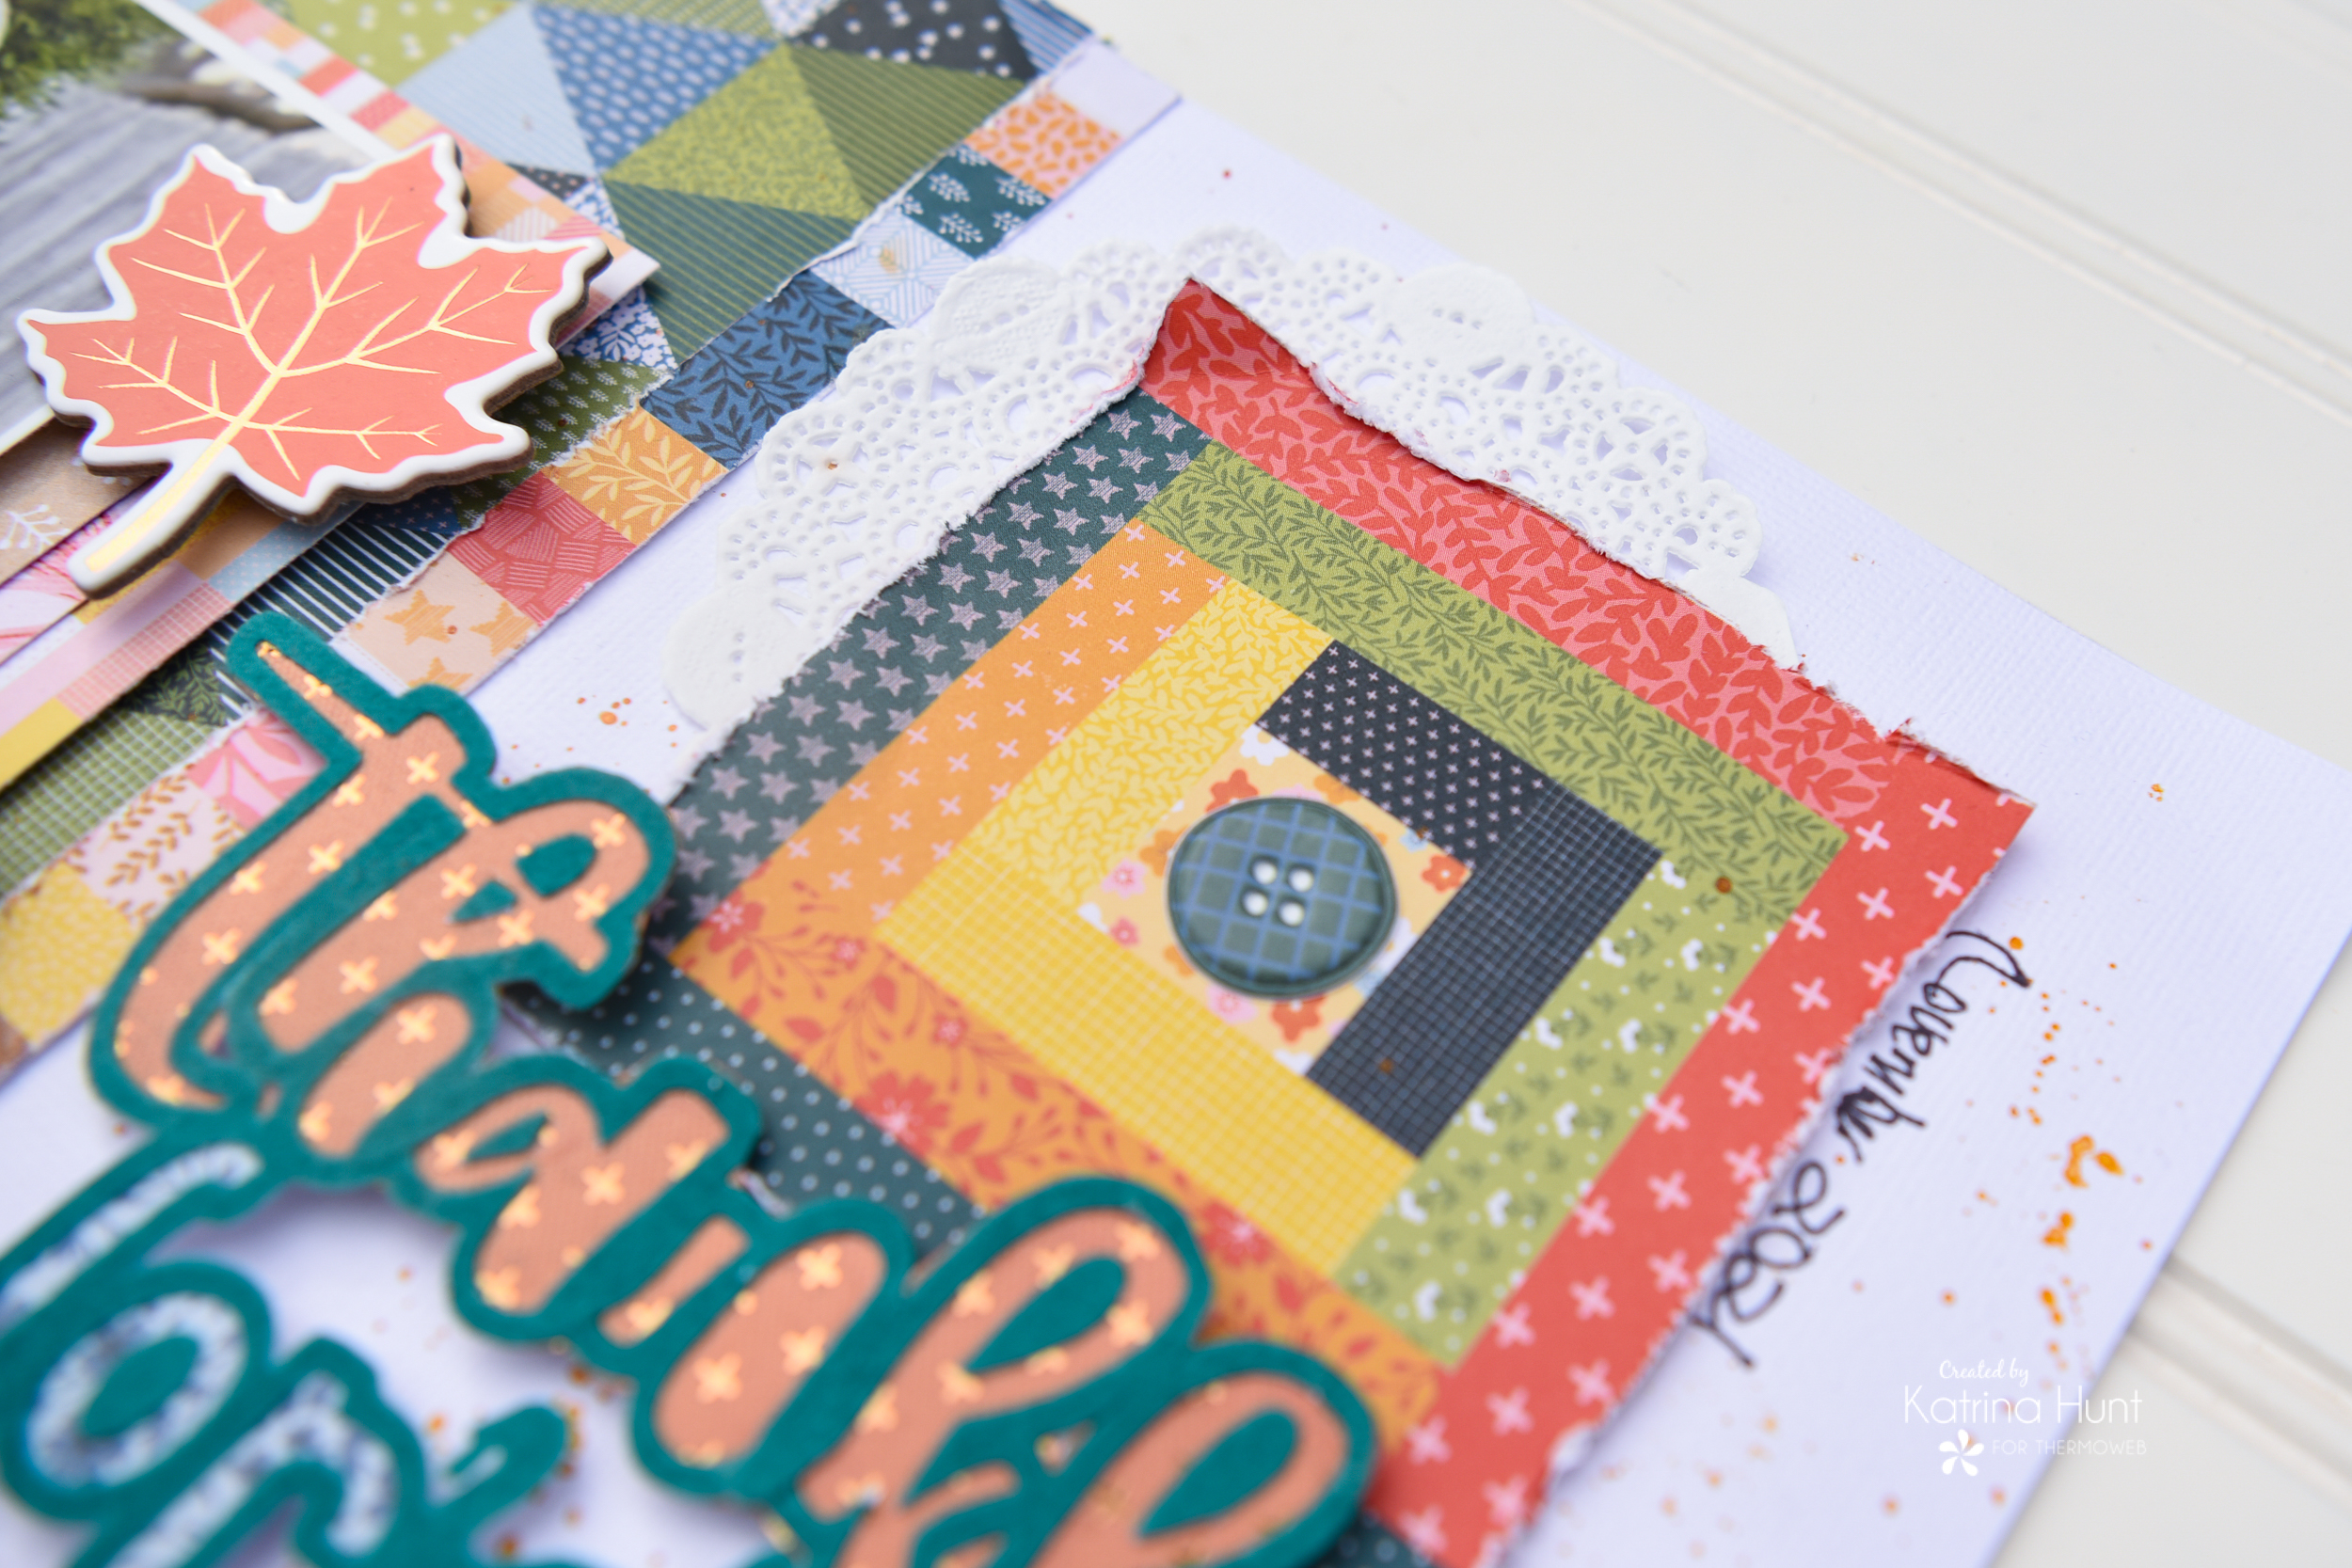
Also, add some elements above and below your cut file title to ground it and show it off! For this, I distressed the two squares, added doilies, foam tape and a couple of puffy button stickers.
And now I have a turkey layout that isn’t about food, but the turkeys that live in my house!! Hope everyone has a wonderful holiday and don’t forget to shop the sale in the store!!
This post contains affiliate links. For more information, see our disclosure HERE.
There’s a SALE!!! Shop HERE for all your Therm O Web goodies! Sale ends 11/29/21