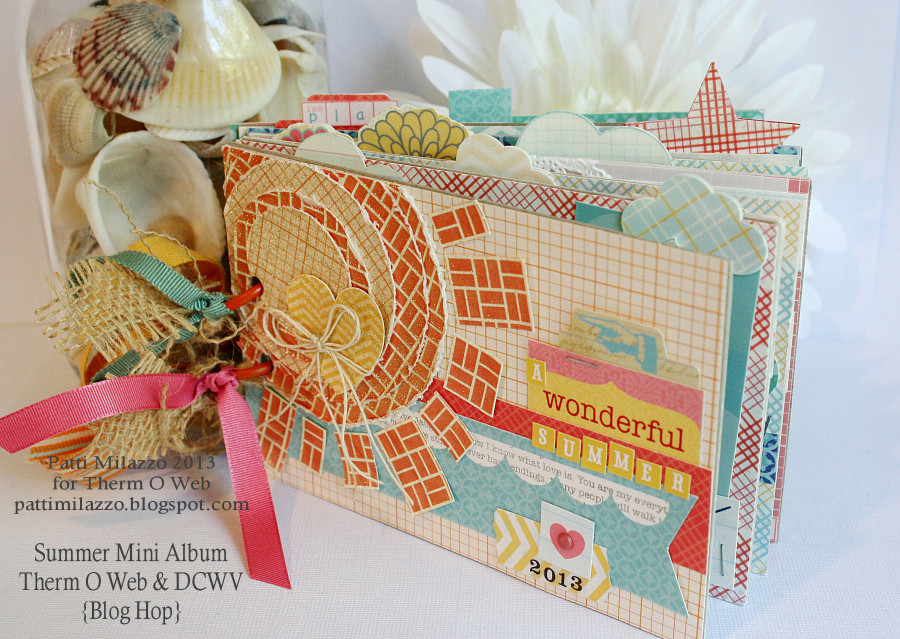
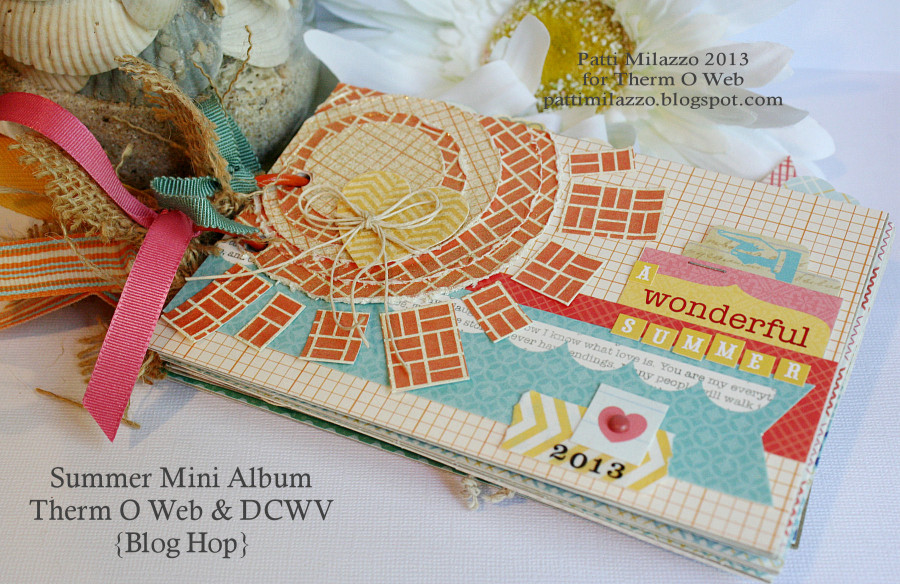
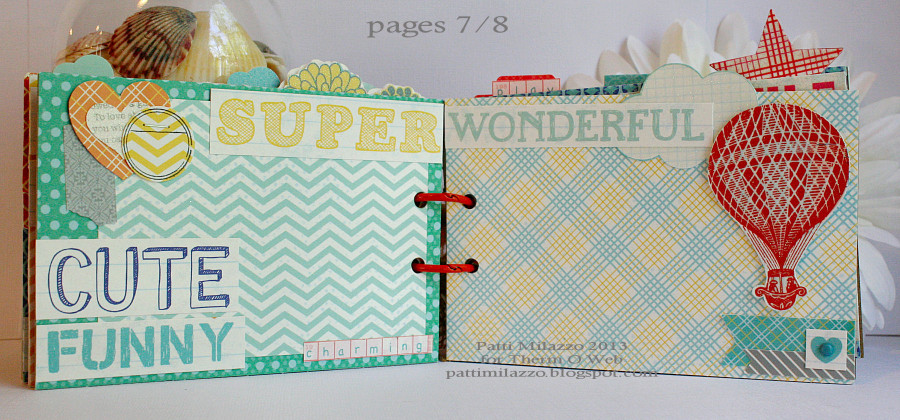
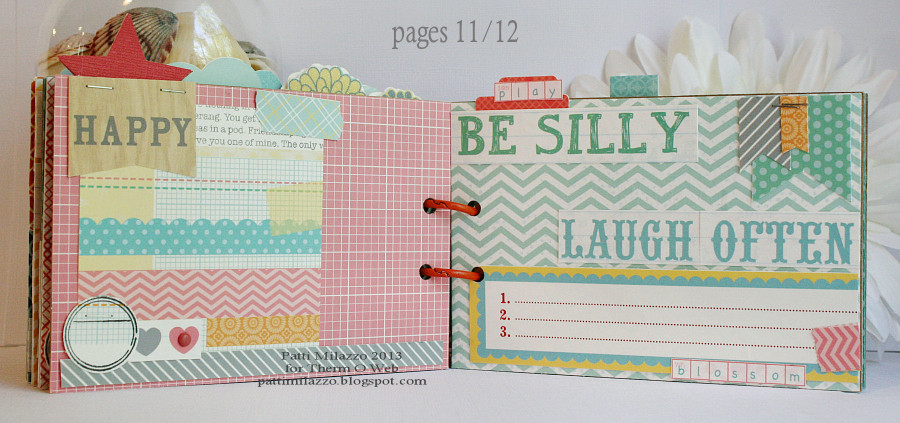
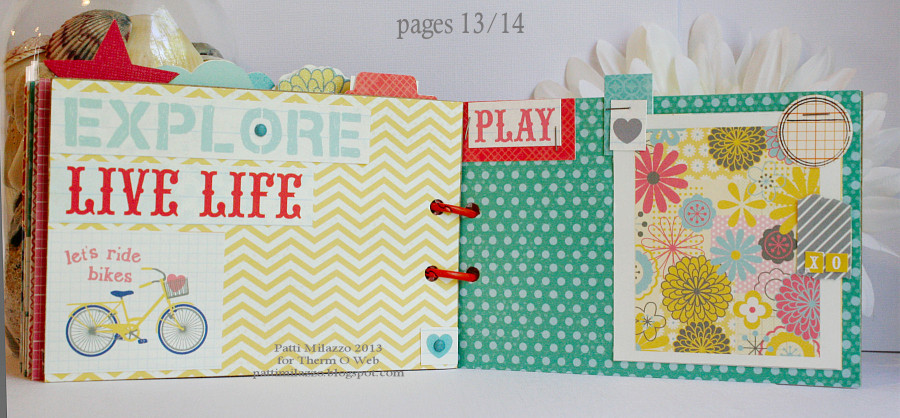
I decided to get a head start on a mini album for this summer. It will be a little easier to have some pre-made pages where I can just add photos when I’m ready. Aside from all the fantastic patterns in the Sunday Afternoon stack, there’s a cut-out sheet and word/phrase sheet that really made it easy to embellish each page. And, of course, I used an assortment of Therm O Web’s adhesives – iCraft Adhesive Tape to secure my finished pages to the chipboard pieces; 3D Zots to add just a bit of dimension to my embellishments; and even Glitter Dust Spray (one of my favorite products) to add a bit of sparkle to accent pieces.
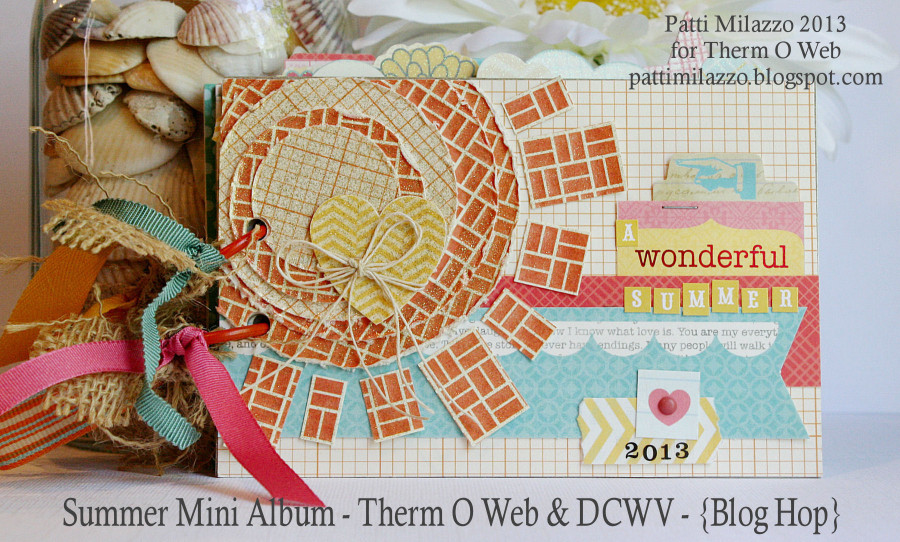
A Wonderful Summer {Mini Album} by Patti Milazzo
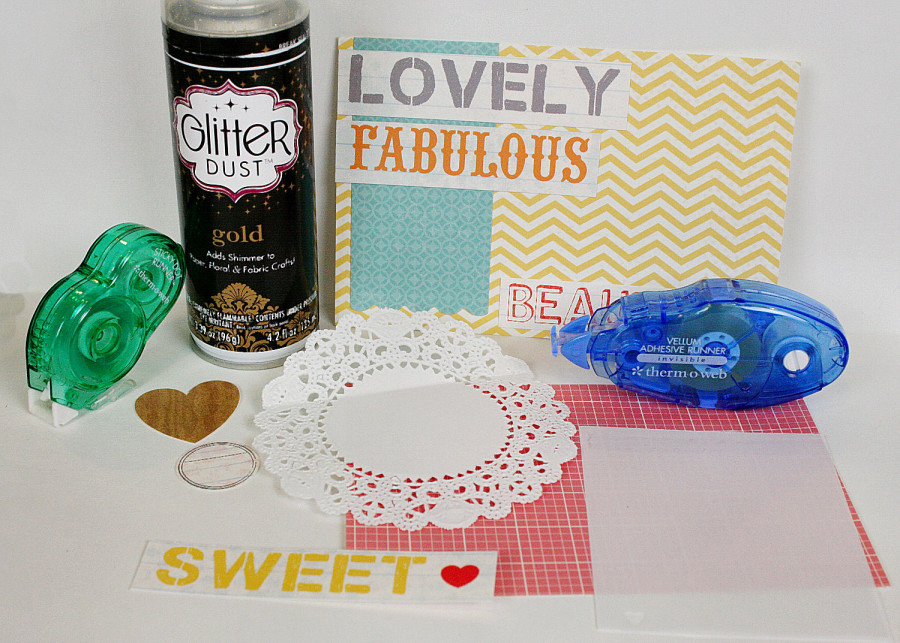
Therm O Web Supplies:
Therm O Web Mini Runner – Sticky Dot (green)
Therm O Web Zots – Small
Therm O Web Zots – Medium
Therm O Web Zots – 3D
Therm O Web Glitter Dust – Gold
Therm O Web Glitter Dust – Silver
Therm O Web iCraft Adhesive Tape ¼”
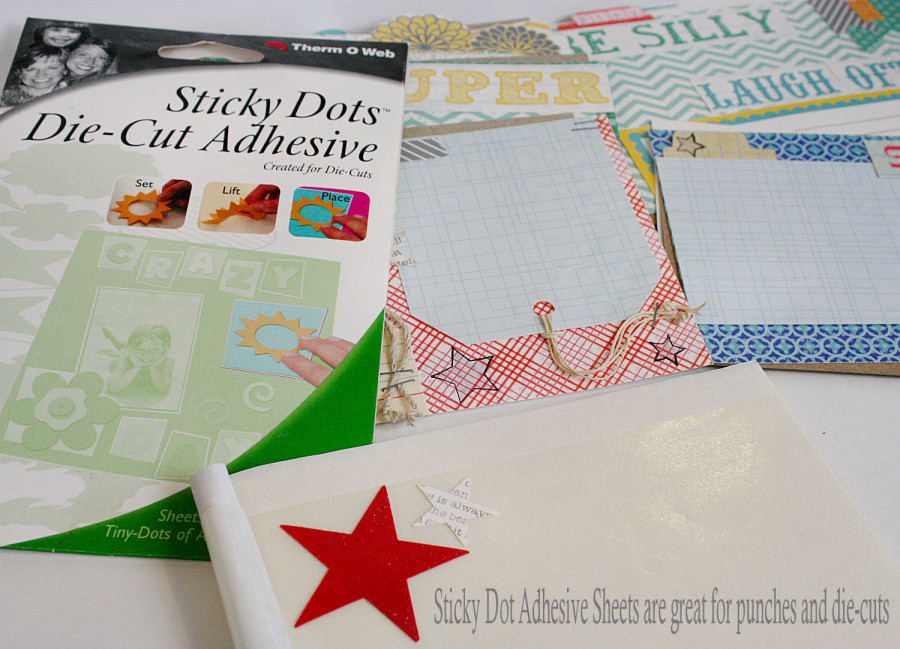
Therm O Web Sticky Dots Diecut Adhesive Sheets
Therm O Web Vellum Adhesive Runner
Other Supplies:
DCWV Sunday Afternoon Paper Stack
DCWV Letterpress Paper Stack (for the orange sun)
chipboard, hemp, mini brads, paper doily, staples
Instructions:
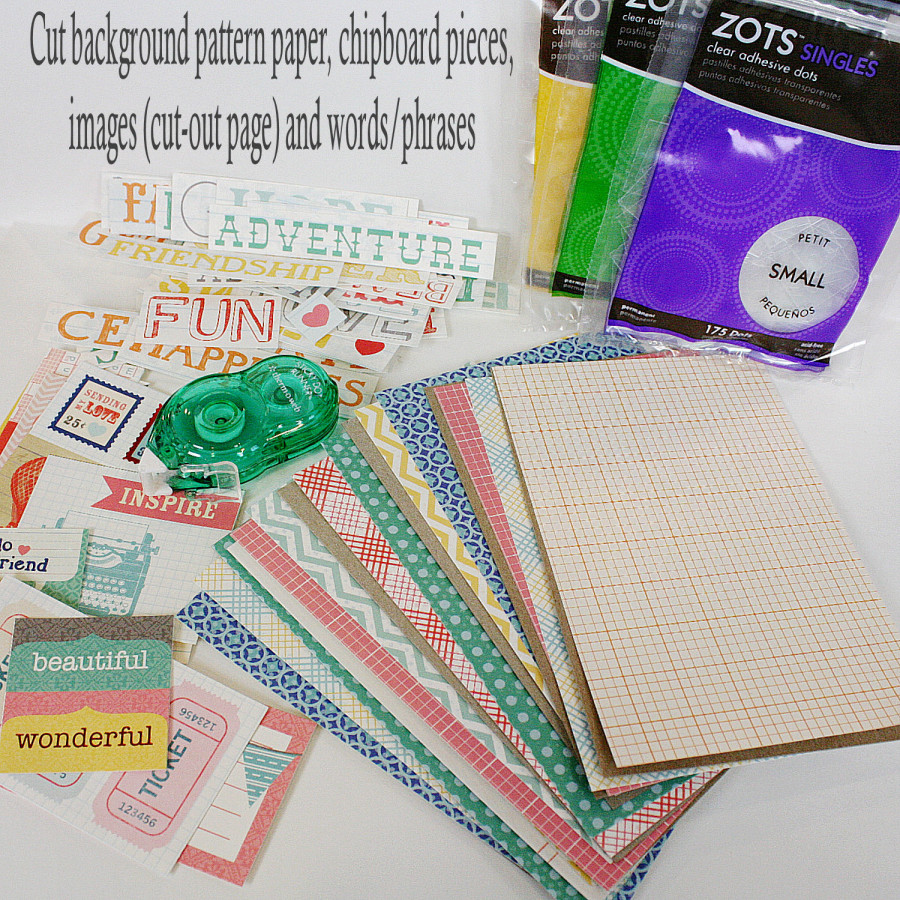
Start with cutting thin chipboard pieces to the page size of the mini album. This mini is 4”x6”, but any size – depending on the photo size you plan to use – is fine. Cut patterned paper or cardstock (mixed or matched 2 page spread) for front and back of each piece of chipboard, including pieces for front and back cover. Cut the Sunday Afternoon Cut-Out paper and the word/phrase paper and set them aside to pick and choose from later. Grab a Therm O Web Mini Runner and assorted Zots to adhere it all together.
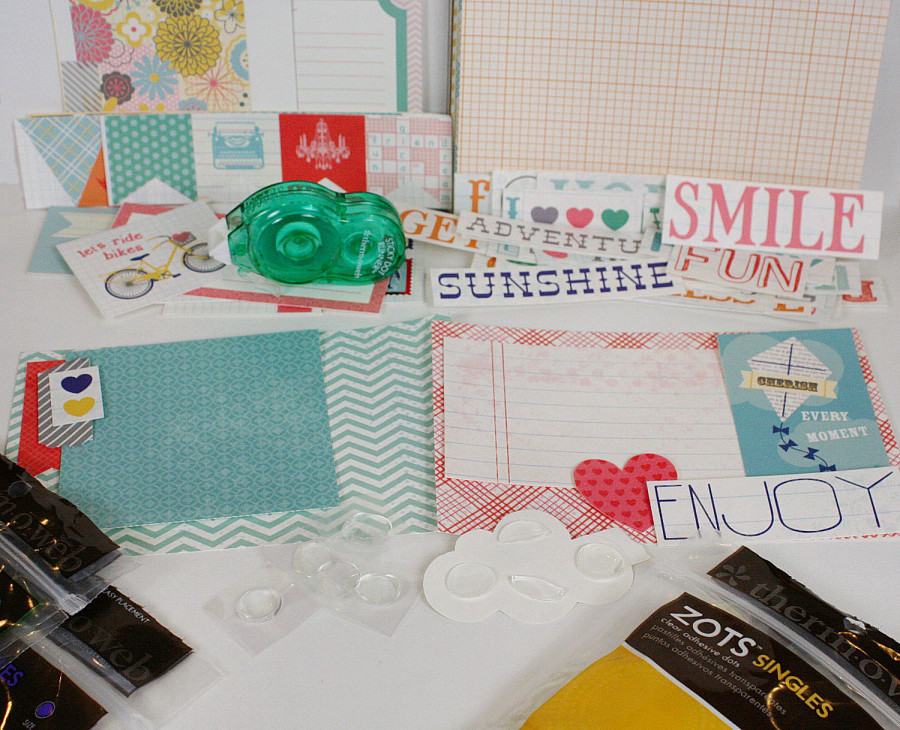
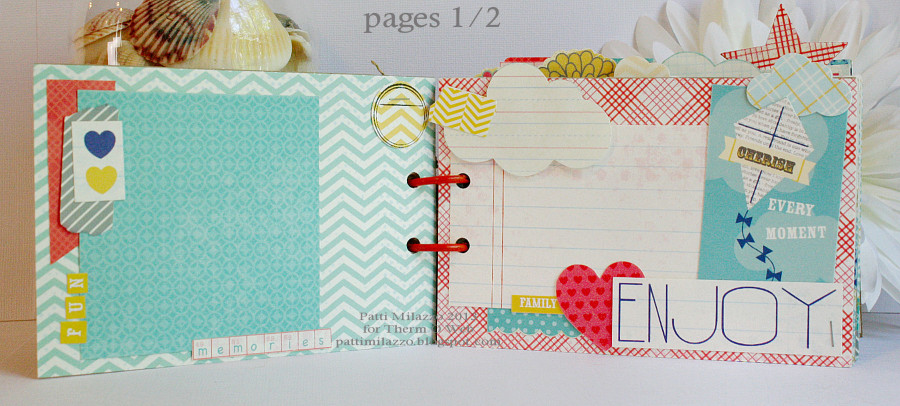
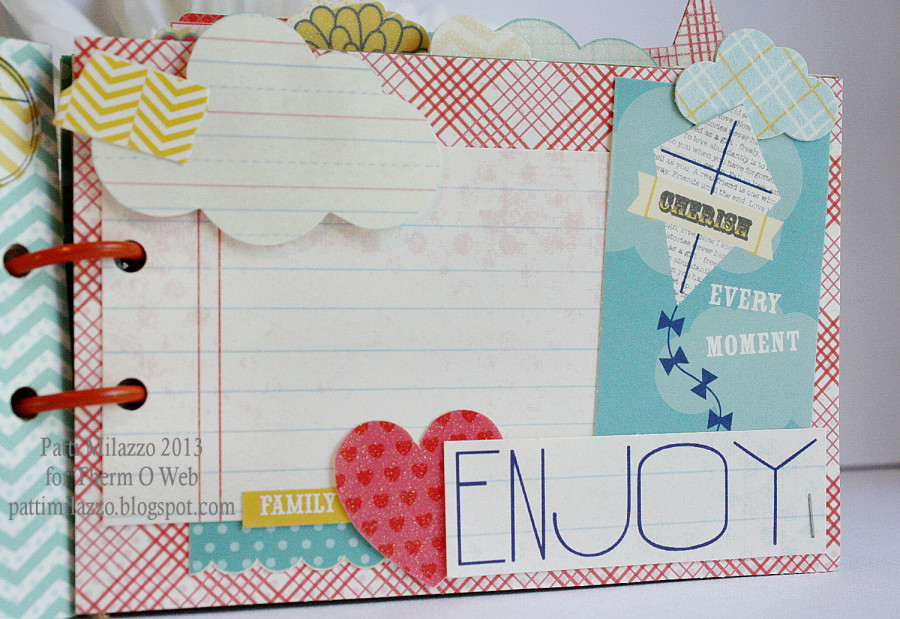
Design layouts with blocks of pattern paper for photo matting and journaling along with the Cut-Out images and words/phrases. Create paper ribbons and paper “washi” tape from strips of pattern paper. Cut out other shapes from the paper stack (like the cloud) to use as additional accents and apply 3D Zots on the back to add just a bit of dimension.
Use cut out words from the crossword pattern paper. Punch/die cut a small circle and adhere to each page to use to the record the date.
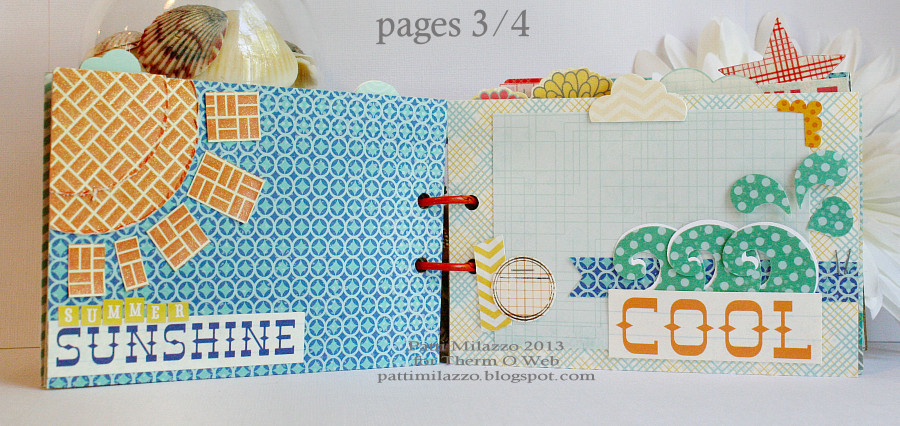
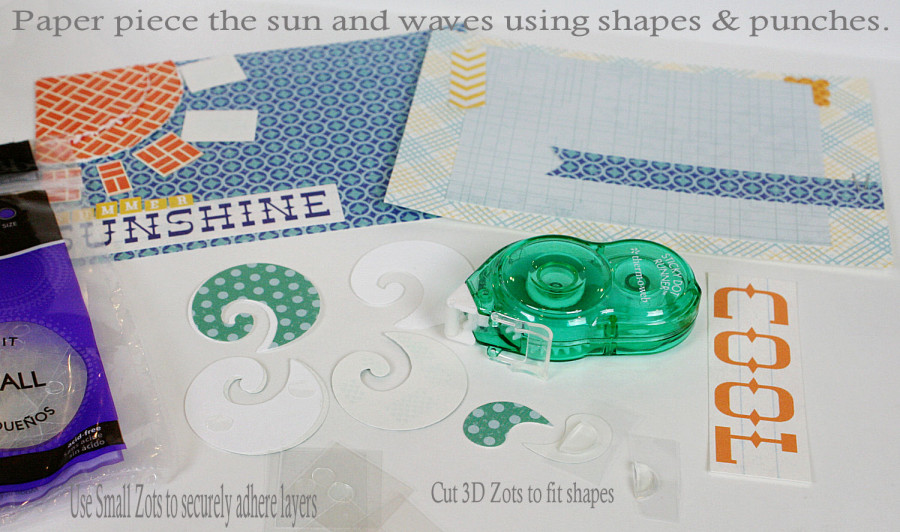
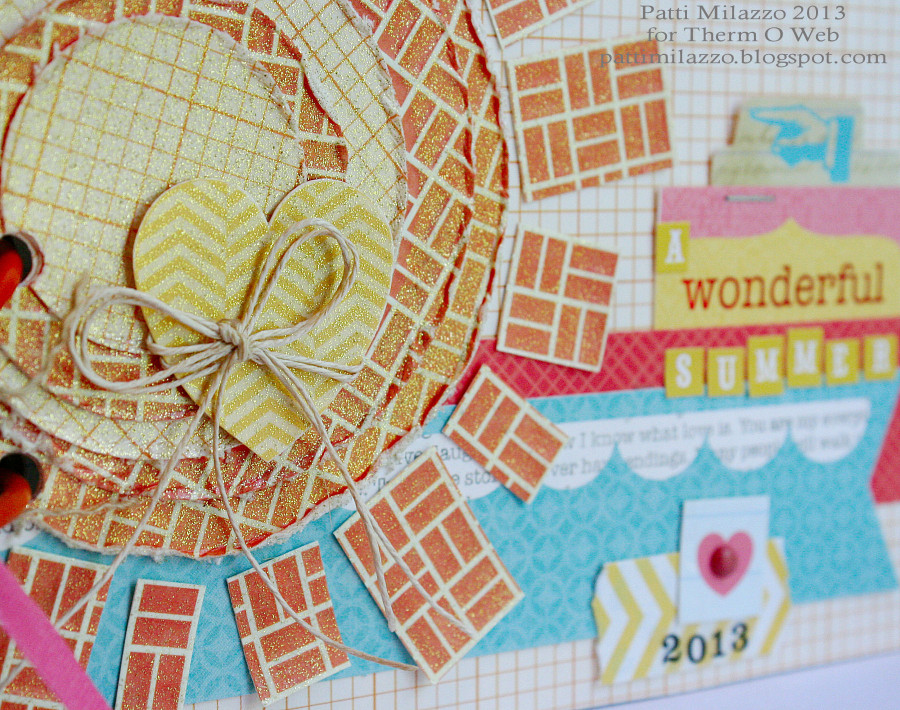
To create the sun: cut out concentric sized circles, distress the edges with a craft knife (be careful!) or other paper distressing tool and spray with Therm O Web Gold Glitter Dust. Let dry thoroughly and adhere together. Next, adhere the circle with iCraft Adhesive Tape to the top left corner of the page. Trim off the excess that hangs over the page. Cut out small rectangles, spray with Gold Glitter Dust and adhere around the sun.
TIP: Add a little bit of Mini Runner Adhesive to the back of each paper strip before spraying. Since these pieces are small, they tend to blow away as the spray is applied. Adding a touch of adhesive to the back and pressing them to the surface used to spray (old piece of cardstock or cardboard spray box) prevents the pieces from scattering and becoming a mess. 🙂
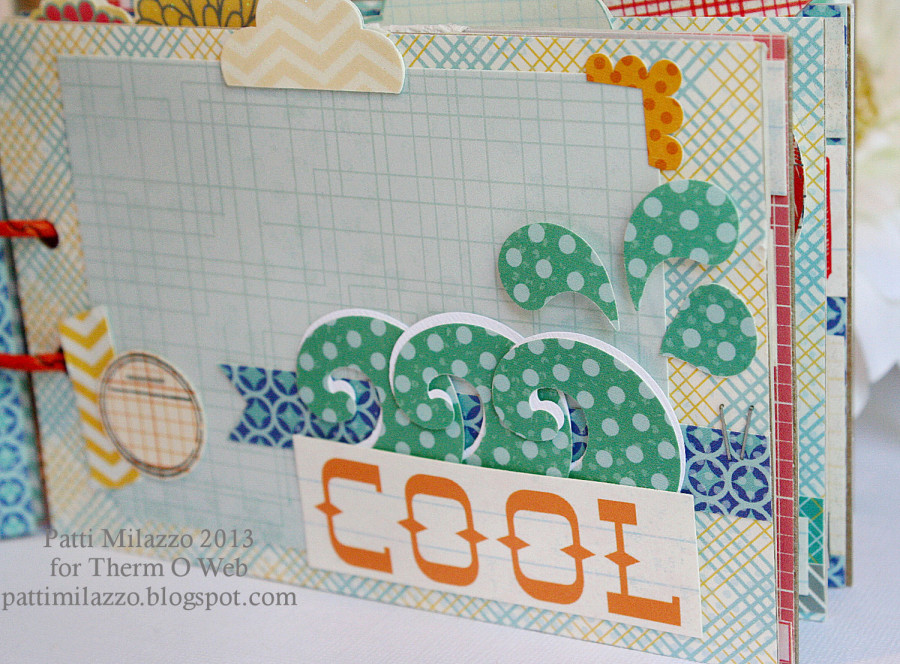
The waves and splashes were created with several punches that were layered together with Small Zots. Then 3D Zots were used to adhere them to the page and give them some dimension. If the punches/shapes are small, cut Zots in half or to the sized neede while the protective plastic sheets are still together.
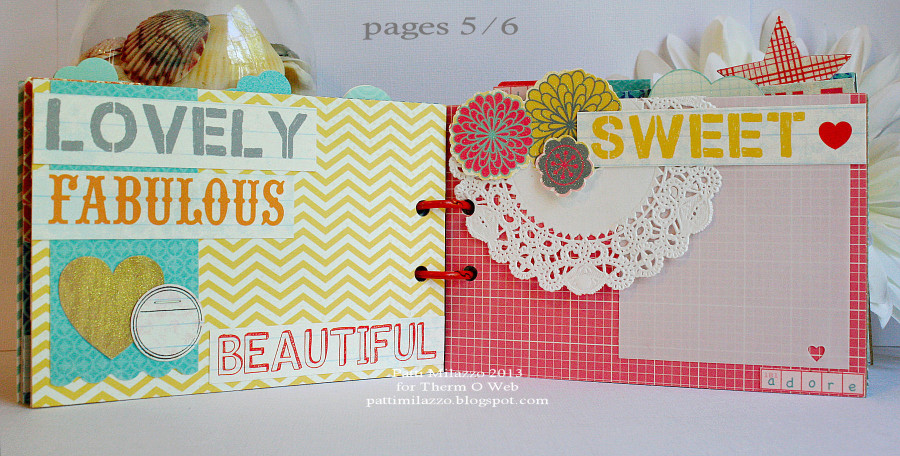
Use the Gold Glitter Dust on more accents, like the wood grain heart. Therm O Web’s Vellum Adhesive Runner won’t show through on the vellum square used here as a photo mat.
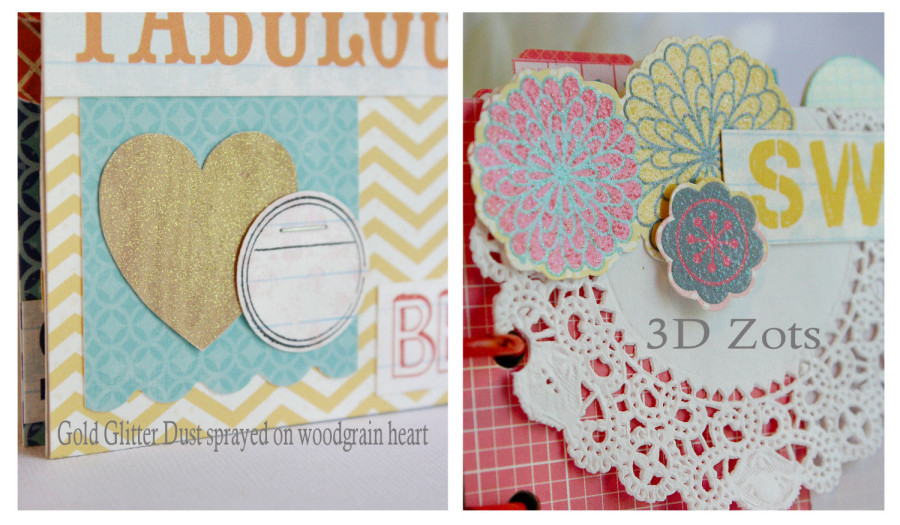 Create more pages adhering words and cut-out images to embellish the pages.
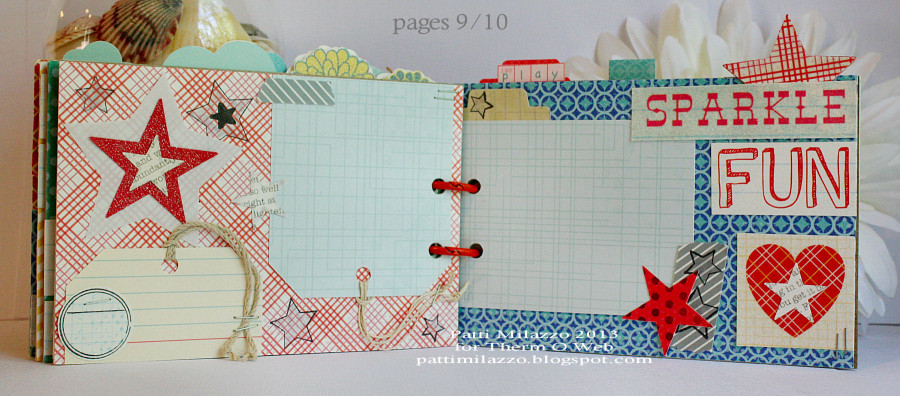
Create a Fourth of July themed page from the same stack of pattern paper. Punch/die-cut stars and spray them with Silver Glitter Dust for sparkle.
Use Therm O Web Sticky Dot Adhesive Sheets to apply adhesive easily to the back of small die-cuts and punches. Simply place the shapes on the sheet with light pressure and peel off.
Use small shapes to create tabs (file tab) at the top or side of the page.
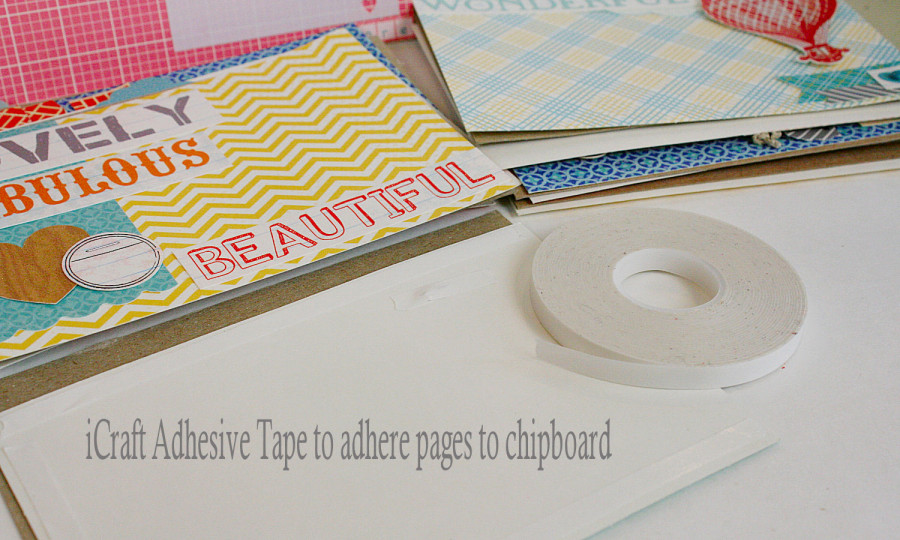
Explore is the last layout of this mini album for now. Once you have a good head start on your summer mini album with several pages created, begin adhering them to the chipboard pieces with iCraft Adhesive Tape.
The tape is easy to tear and creates a strong hold to prevent pages from peeling/curling off the chipboard. Use small pieces to cover up staples or mini brad prongs.
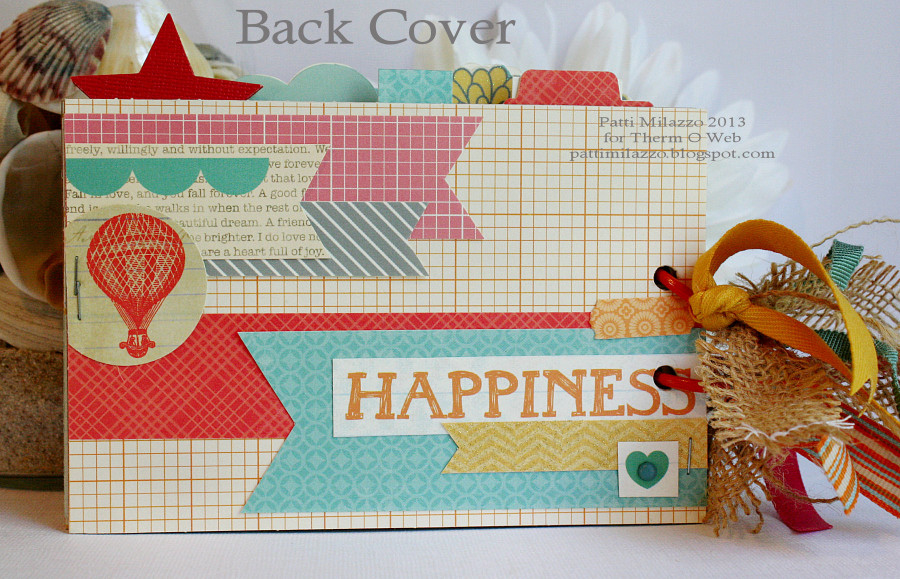
To complete the mini, I created the front and back cover last. You can do this at any time, but I prefer to save it for the end.
Create another sun for the front cover – spraying the pieces with Gold Glitter Dust. Add a title and other embellished accents
Adhere these pages to the chipboard as well using iCraft Adhesive Tape.
Once all the pages are complete, punch the binder ring holes. A ¼” circle hand punch was used for this mini album as most of the pages weren’t too thick. For the cover, punch the holes in layers as you create it. Add binder rings and tie ribbon to them to finish the project.
I hope you’ve been inspired with this mini album tutorial! More pages can be added as needed, but it’s great to have it set up where photos and journaling can simply be added over the weeks to come this summer without too much fuss.
Enjoy the Blog Hop!
~Patti
We’d like for you to have a chance to create with some of the same products our Designers used for our hop! So we’re going to give you a chance to win not only this prize as shown…but an entire adhesive pack from us too!
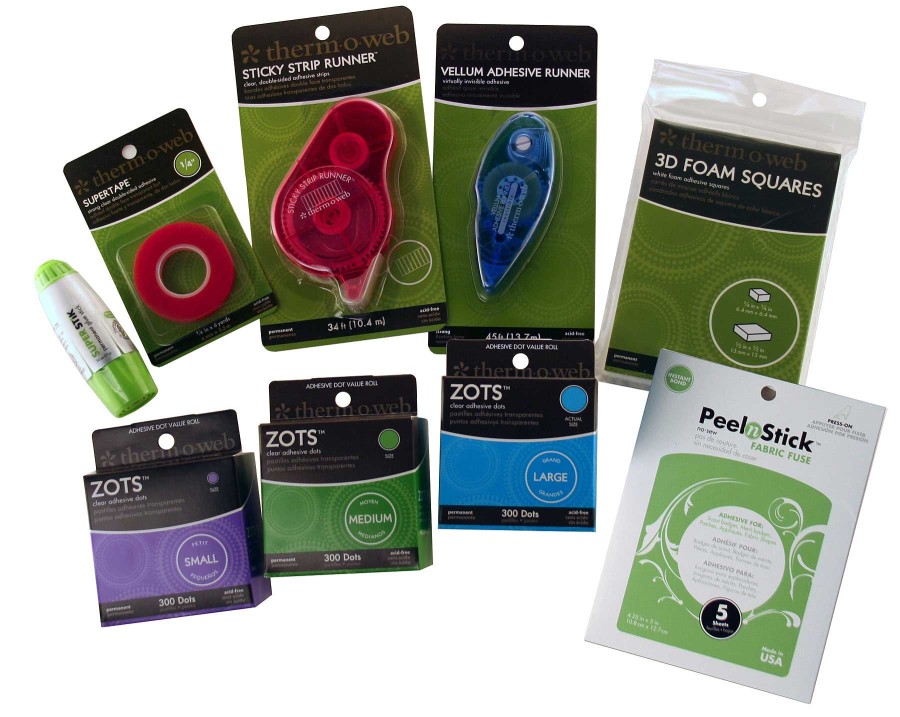
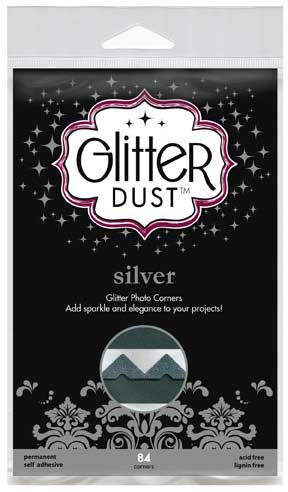
And we’ll also include our new Glitter Dust Photo Corners too!
Enjoy the HOP!!

COLLEEN
May 30, 2013 at 3:50 am (12 years ago)ABSOLUTELY WONDERFUL!!!!!!!!!! I ADORE THIS 🙂