


 Hello Crafty Friends!!
Larissa here today to share several ideas on ways you can Customize your Deco Foil Toner Card Front Backgrounds!! We’re collaborating with Heffy Doodle this Week, so please join us ALL WEEK for LOTS of AMAZING Inspiration and chances to WIN!!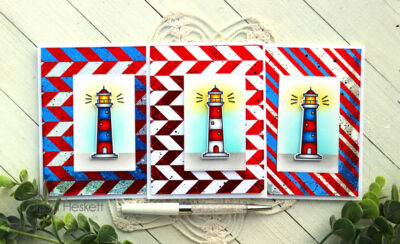
Customize Your Cards with Deco Foil and Heffy Doodle
There are SO MANY ways you can use them, including using the Negatives to create customized Deco Foiled colored backgrounds!! SQUEAL!! It’s probably one of my FAVORITE techniques and it’s SO EASY!! So today I’m going to share Step by Step different ways you can Customize them!! Let’s get started!!
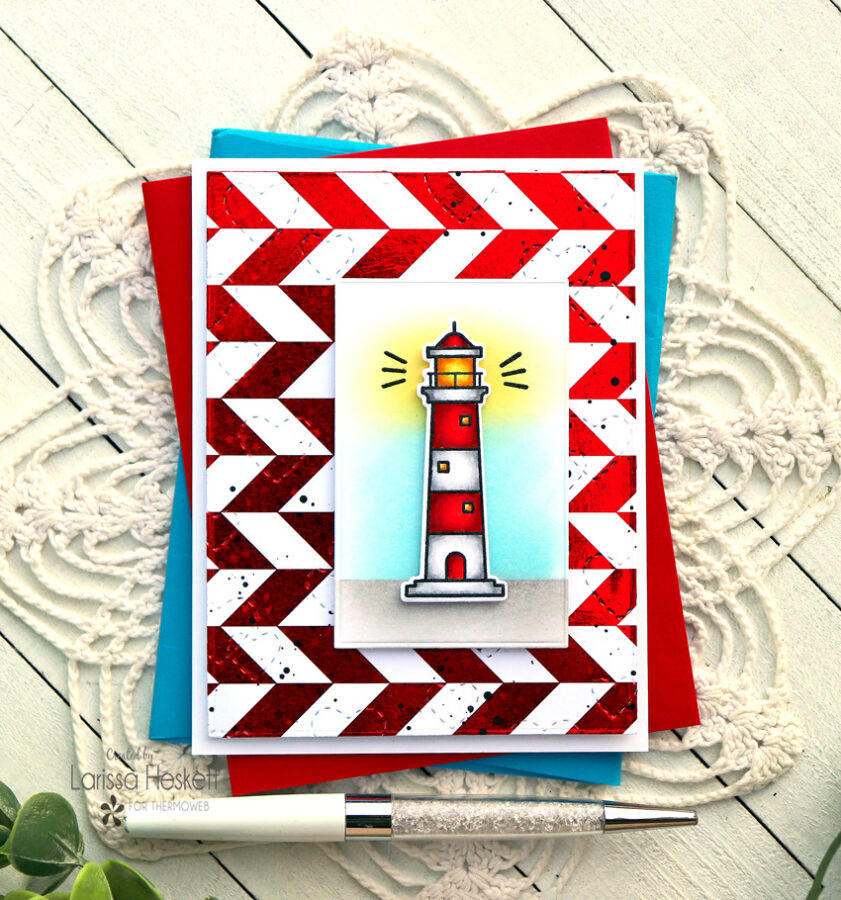
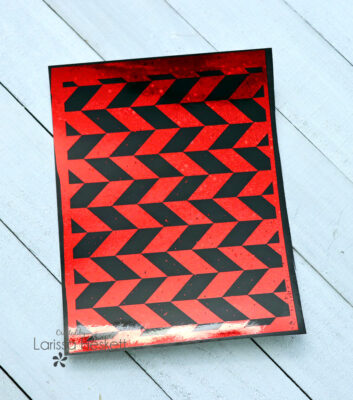
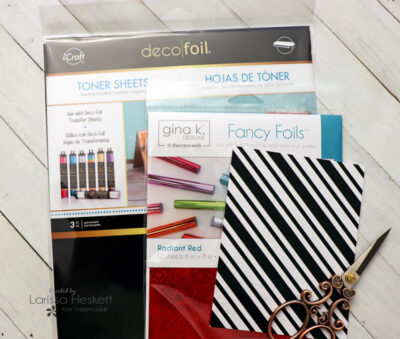
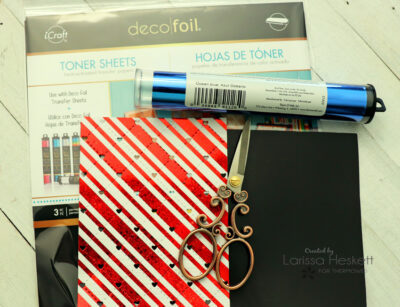
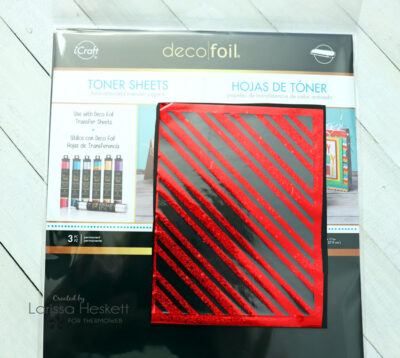
For this first card we’re going to use the Deco Foil Toner Card Front how it was originally intended, to Foil with your FAVORITE Deco Foil or Fancy Foils!! I’ve chosen to use the Radiant Red Fancy Foil!!
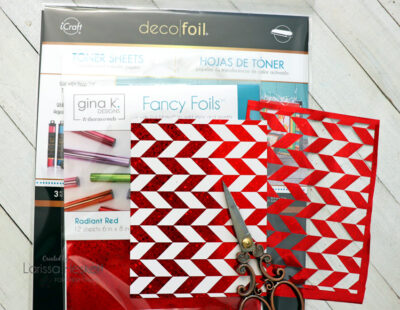
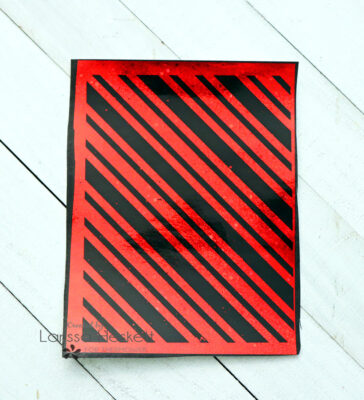
I Cut a Large enough piece of the Gina K Designs Radiant Red Fancy Foil in order to cover the entire A2 Deco Foil Toner Card Front in Chic Chevron!! Then I placed the Foil Color Side up over the Toner Card Front and ran it through my Laminating Machine!! SWOON!! So BEAUTIFUL right!!
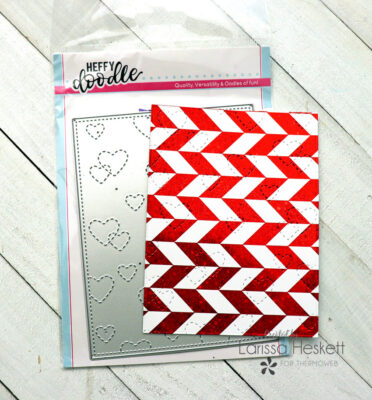
Next, I Die Cut the Panel using the Heffy Doodle Stitched Heart Background Die!! I LOVE the Stitched Heart Detail!! Then I added some Black Soot Distress Paint Splatters to add some Texture!!
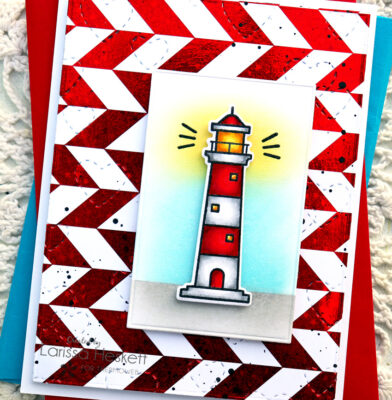
I Stamped and Embossed the Heffy Doodle Lil’ Lighthouse Image and Colored it with Copic Markers!!
Red: R14, R37 & R39 White: N0, N3 & 0 Yellow: Y11, Y15 & YR23
Then I created the Background Panel using Distress Oxide Inks in Hickory Smoke for the Ground, Tumbled Glass for the Sky and Fossilized Amber for the Light, using Purple Tape to Mask and Blender Brushes!!
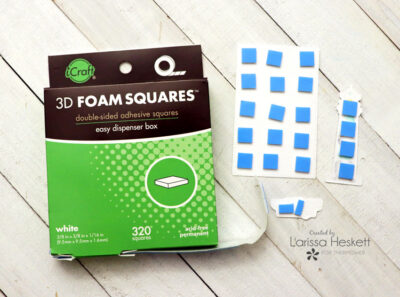
Next, I added some of the iCraft Foam Squares onto the Backside of the Rectangle Panel, the Lil Lighthouse!! Then I added them to the Deco Foiled Toner Card Front!! I LOVE the Dimension it adds!!
So here’s another look at the Finished Card, using the Deco Foil Toner Card Front!!
Now let’s STEP it up for the 2nd Card by using the Negative Foil we Saved from foiling this Deco Foil Toner Card Front in Chic Chevron!!

I cut a piece of Deco Foil Toner Sheet large enough for the Negative Foil Piece to fit on and ran it through the Laminating Machine Color side up!!
Don’t forget to REMOVE the Clear Film that is left after Foiling or the next Step WON’T Work!!
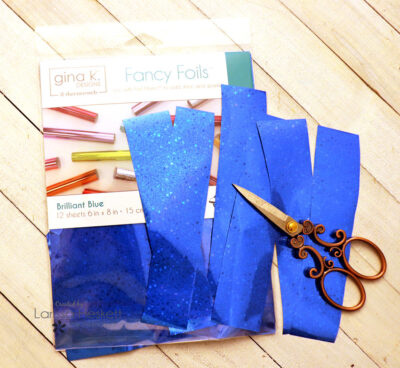
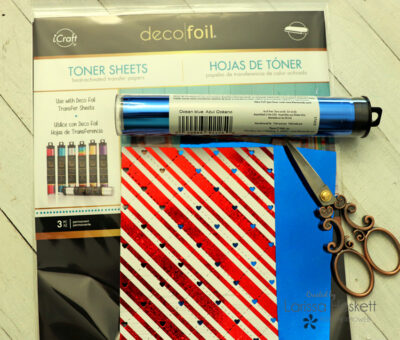
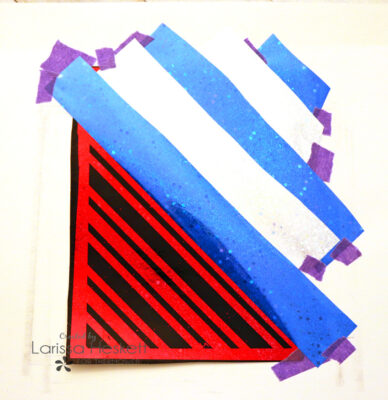
I Cut Strips of the Gina K Designs Brilliant Blue Fancy Foil and Set them Aside!!
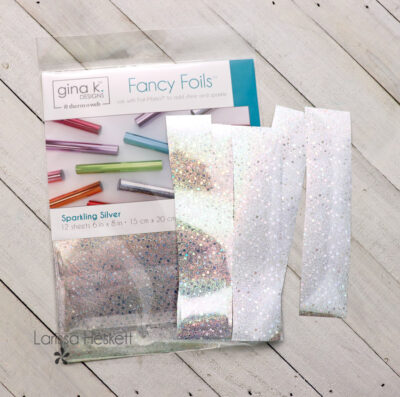
I Cut Strips of the Gina K Designs Sparkling Silver Fancy Foil and Set them Aside!!
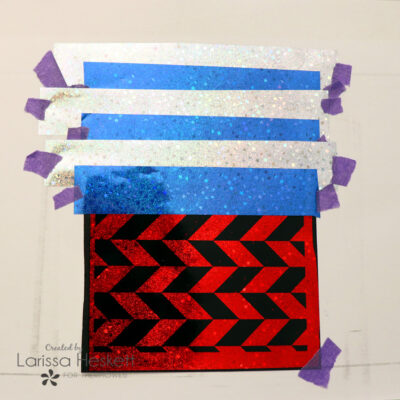
Then I Started Layering them over the Foiled Toner Sheet using Purple Tape the hold the edges in place!!
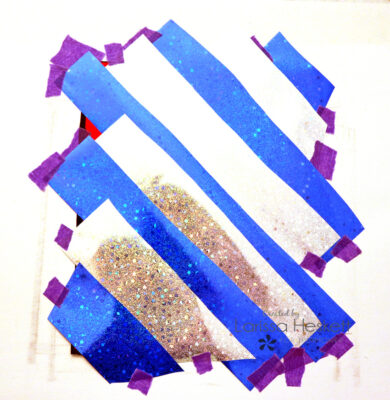
I continued this process until the entire Toner Sheet was covered and then I ran it through my Laminating Machine!!
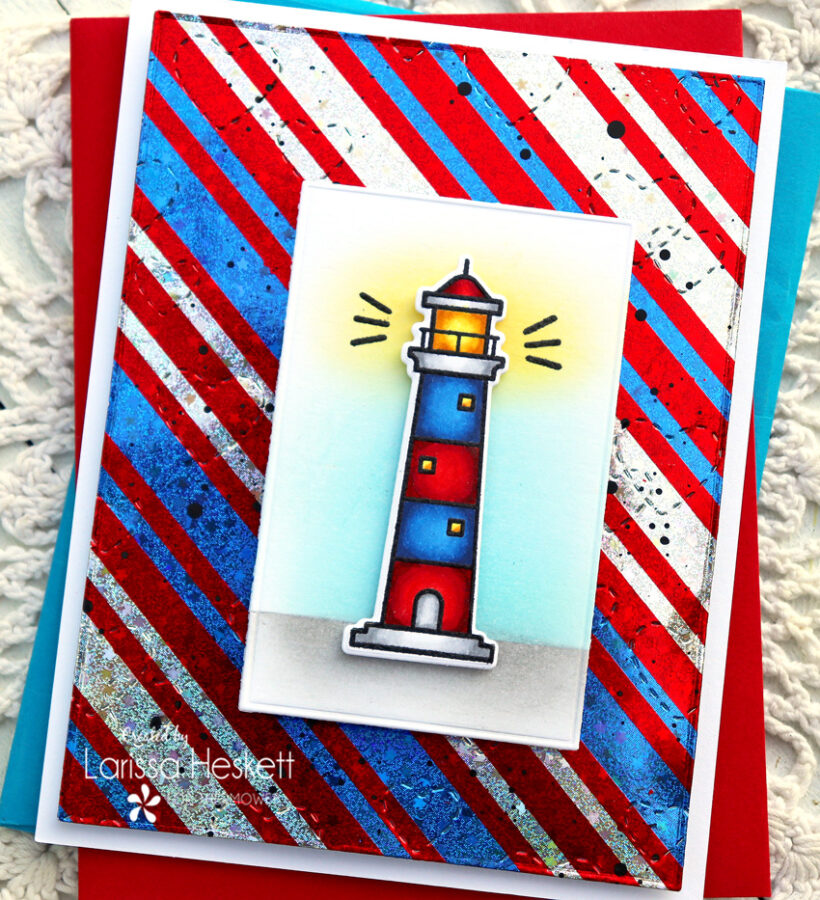
Once Laminated this is how it looks!! I removed the Negative Strips and was left with a STUNNING Customized Background and I LOVE the way it turned out!! Just imagine ALL of the Color possibilities and the BONUS, you used the Negative Foil so there’s NO Waste either!! I Cut the Panel Down and I added some Black Soot Distress Paint Splatters to add some Texture!!
I Stamped and Embossed the Heffy Doodle Lil’ Lighthouse Image and Colored it with Copic Markers!!
Red: R14, R37 & R39 Blue: B24, B18 & B39
White: N0, N3 & 0 Yellow: Y11, Y15 & YR23
Then I created the Background Panel using Distress Oxide Inks in Hickory Smoke for the Ground, Tumbled Glass for the Sky and Fossilized Amber for the Light, using Purple Tape to Mask and Blender Brushes!!
Super FUN Right!!?? Using the Negative so there’s NO WASTE and you can customize the Panel with ANY Color Combo you desire!! No two have to be alike if you LOVE being able to mix things up!!
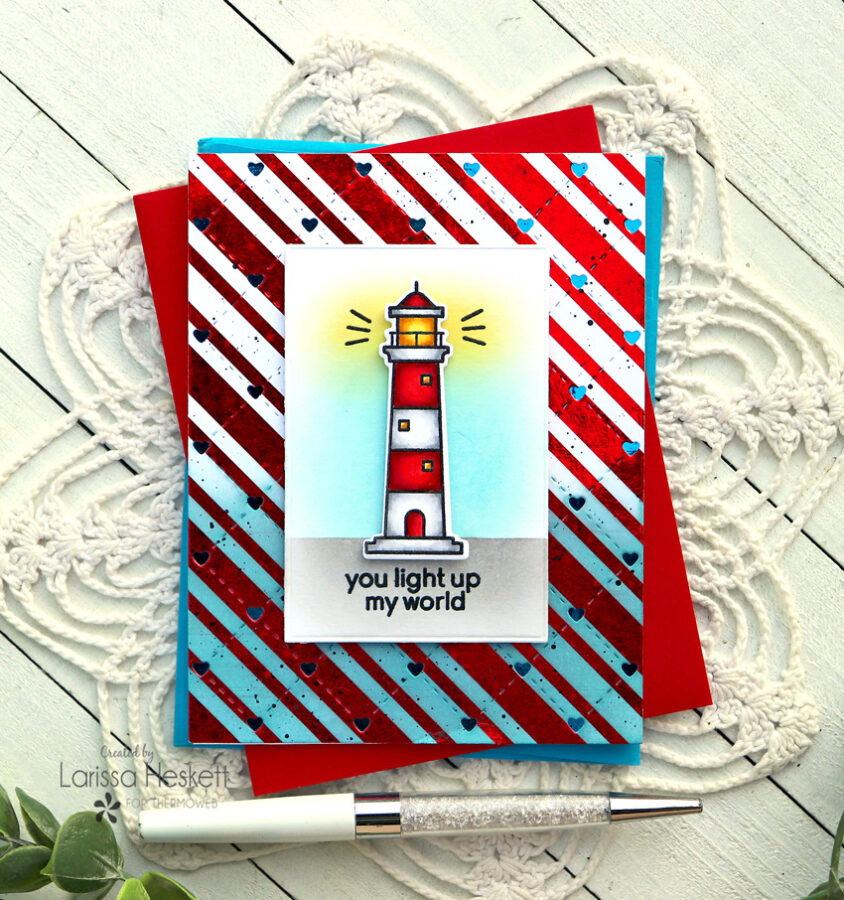
For the 3rd Card, I wanted to show how you can both Die Cut and Ink the Deco Foil Toner Card Fronts to Customize the Panel to coordinate with your Design!!
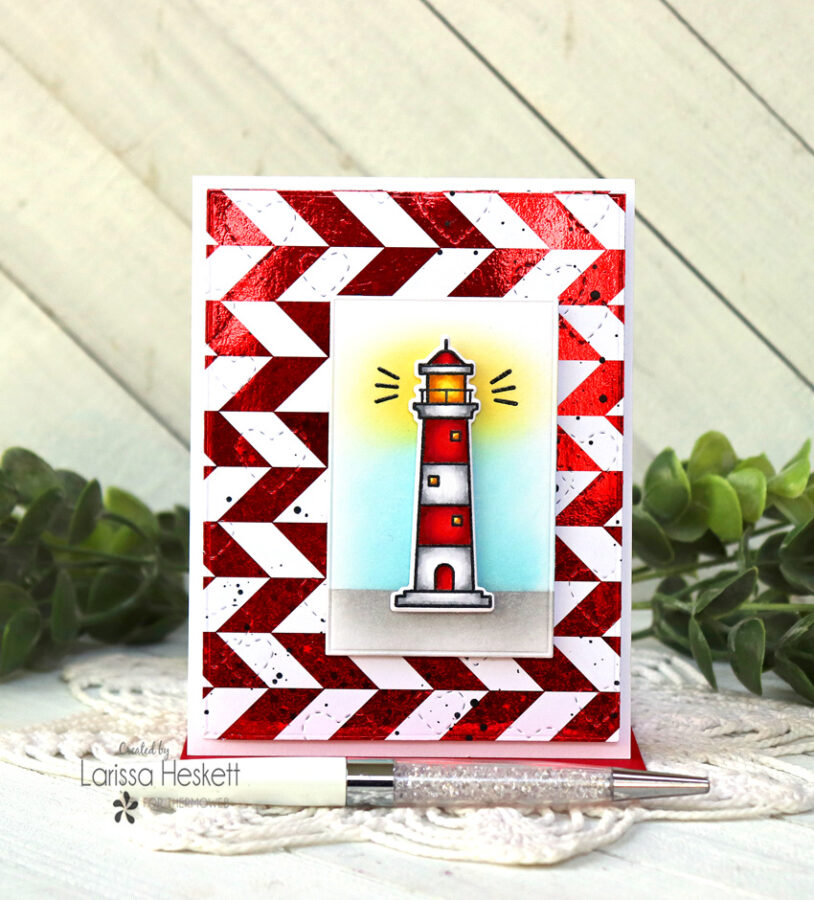
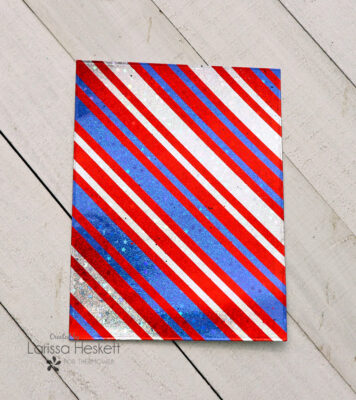
I Cut a Large enough piece of the Gina K Designs Radiant Red Fancy Foil in order to cover the entire A2 Deco Foil Toner Card Front in Candy Stripes!! Then I placed the Foil Color Side up over the Toner Card Front and ran it through my Laminating Machine!!
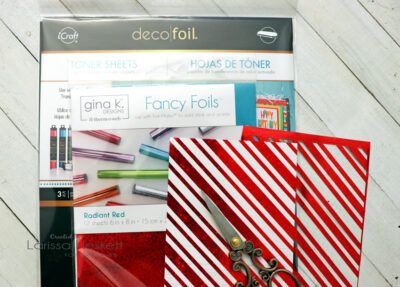
SWOON!! So BEAUTIFUL right!! Now SAVE that Negative Foil piece as we’ll use it for our next Customized Background!!
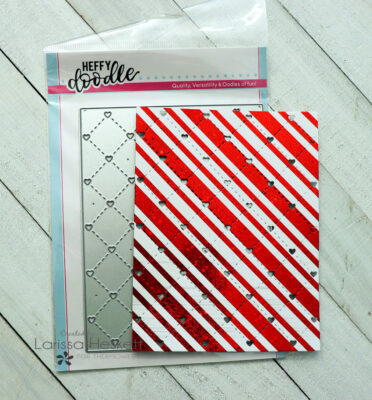
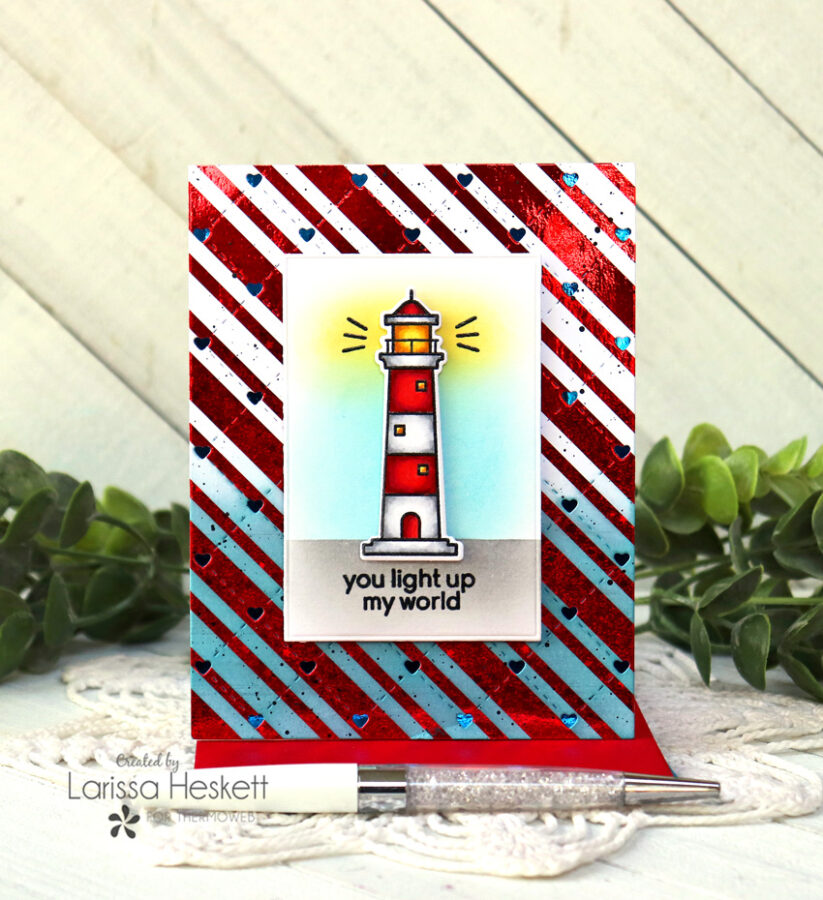
I Die Cut the Foiled Toner Card Front using the Heffy Doodle Quilted Heart Background!!
Next, I Cut a Piece of Deco Foil Toner Sheets to A2 Size and Cut a Piece of Deco Foil in Ocean Blue large enough to cover the Toner Sheet and ran it through my Laminating Machine!!
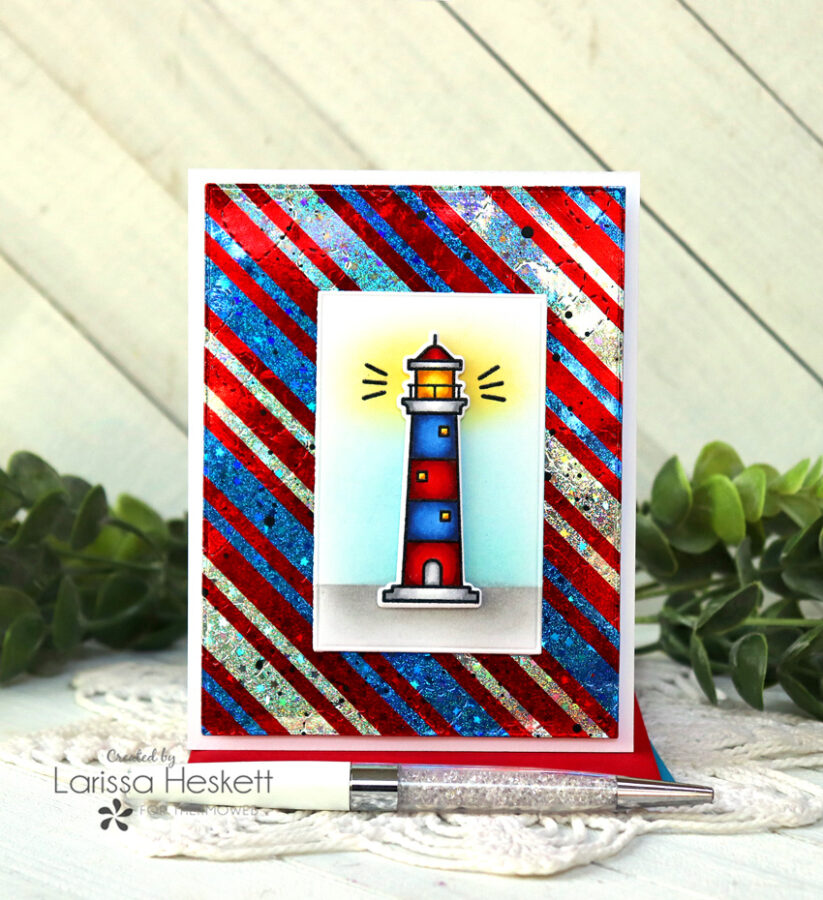
Now I have a Foiled Toner Sheet to layer behind the Die Cut Deco Foil Toner Sheet in Candy Stripes!! I LOVE the look in real Life as its just STUNNING when moved in the Light!! I Inked the bottom of the Panel with Faded Jeans and added some Black Soot Distress Paint Splatters!!
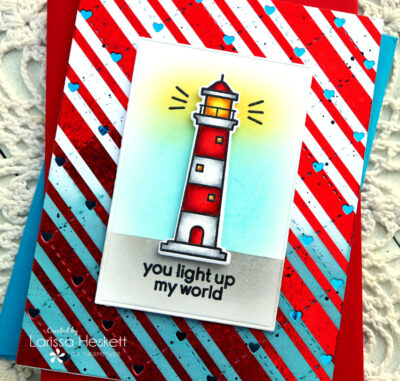
I Stamped and Embossed the Heffy Doodle Lil’ Lighthouse Image and Colored with Copic Markers!!
Red: R14, R37 & R39 White: N0, N3 & 0 Yellow: Y11, Y15 & YR23
Then I created the Background Panel using Distress Oxide Inks in Hickory Smoke for the Ground, Tumbled Glass for the Sky and Fossilized Amber for the Light, using Purple Tape to Mask and Blender Brushes!! I Stamped and Embossed the Sentiment!!
Next I added some of the iCraft Foam Squares onto the Backside of the Rectangle Panel, the Lil Lighthouse!! Then I added them to the Deco Foiled Toner Card Front!! I LOVE the Dimension it adds!!
So FUN right!!?? You can Die Cut the Panels and add another Deco Foil Color behind by using the AWESOME Toner Sheets!! Then by simply adding some Ink, you can even more to your Background!!

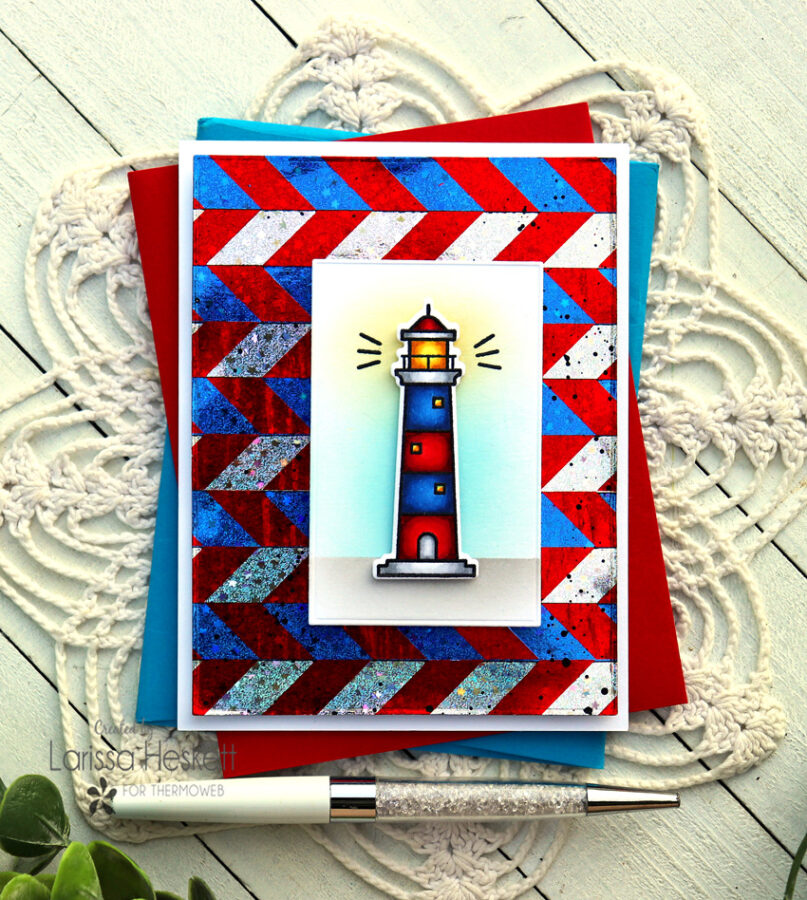
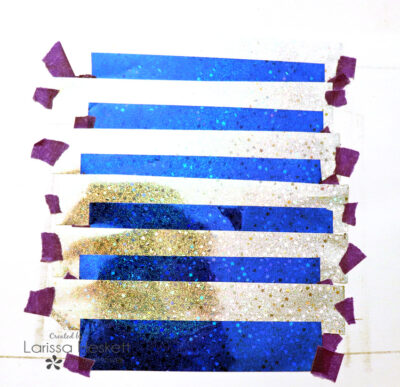
For the 4th Card we’re going to using the Negative Foil Sheet again to create another Customized Background!!
I cut a piece of Deco Foil Toner Sheet large enough for the Negative Foil Piece to fit on and ran it through the Laminating Machine Color side up!!
Don’t forget to REMOVE the Clear Film that is left after Foiling or the next Step WON’T Work!!
I Cut Strips of the Gina K Designs Brilliant Blue Fancy Foil and Set them Aside!!
I Cut Strips of the Gina K Designs Sparkling Silver Fancy Foil and Set them Aside!!
Then I Started Layering them over the Foiled Toner Sheet using Purple Tape the hold the edges in place!!
I continued this process until the entire Toner Sheet was covered and then I ran it through my Laminating Machine!!
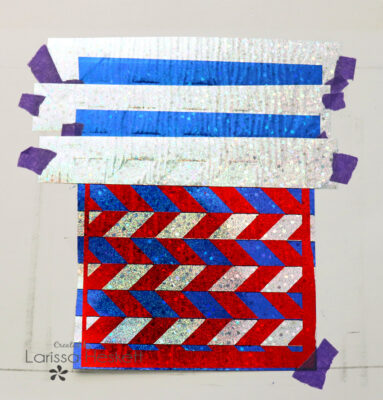
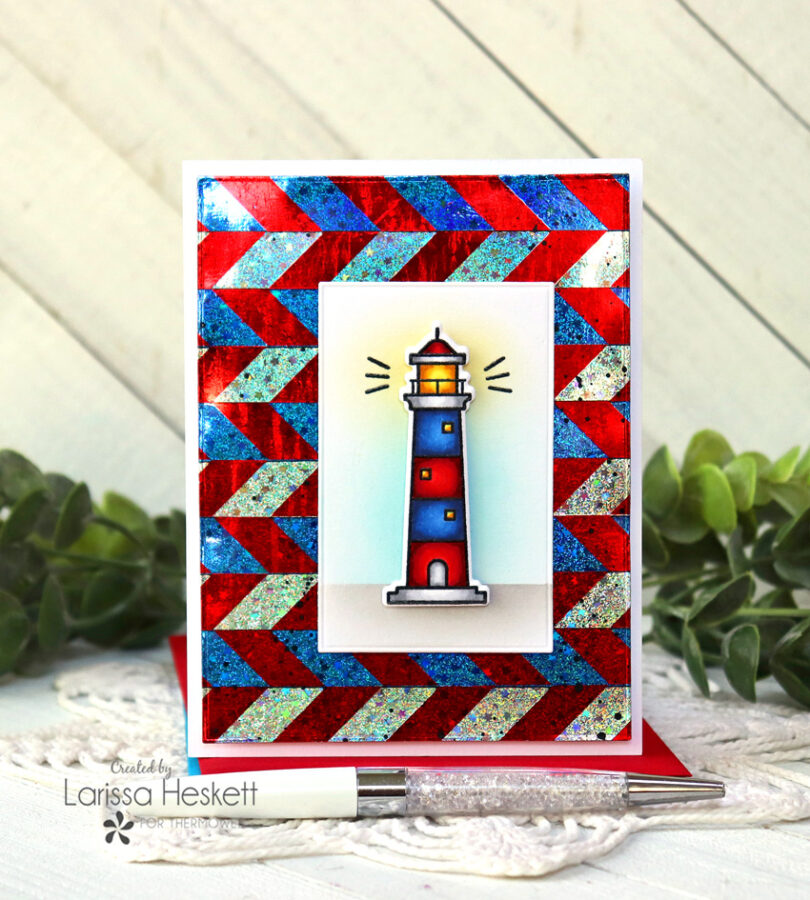
Once Laminated this is how it looks!! I removed the Negative Strips and was left with a STUNNING Customized Background and I LOVE the way it turned out!! Just imagine ALL of the Color possibilities and the BONUS, you used the Negative Foil so there’s NO Waste either!! I Cut the Panel Down and I added some Black Soot Distress Paint Splatters to add some Texture!!
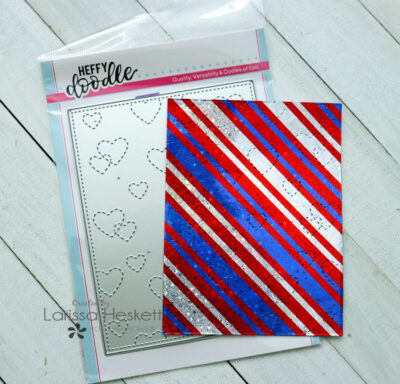
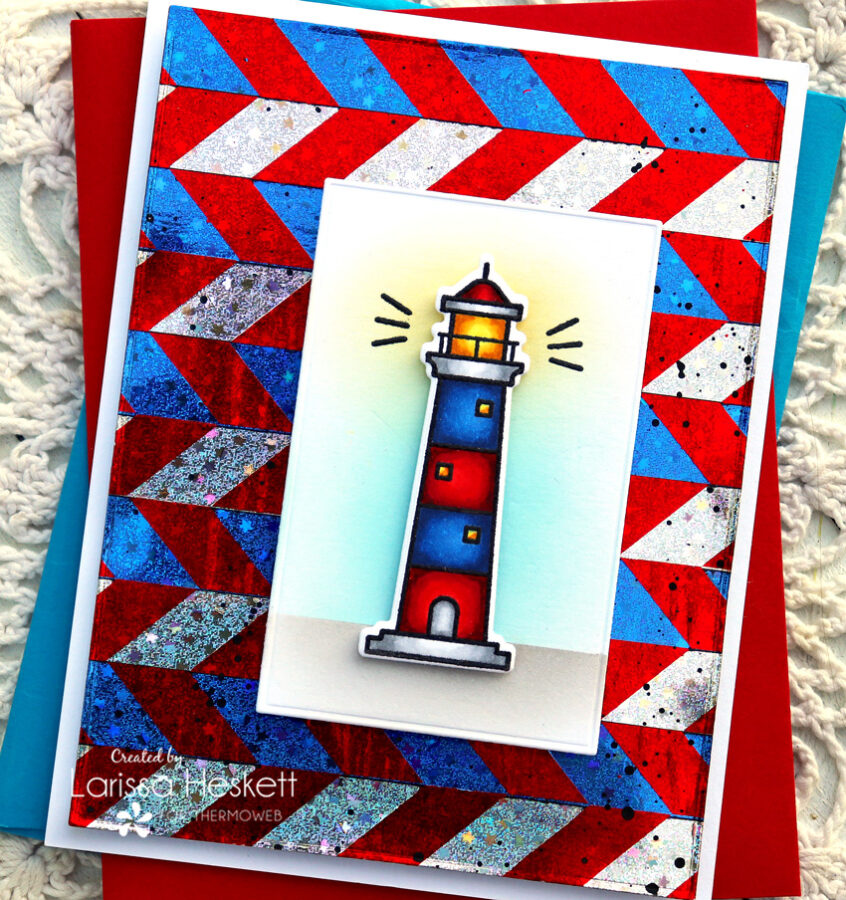
Next, I Die Cut the Panel using the Heffy Doodle Stitched Heart Background Die!! I LOVE the Stitched Heart Detail!! Then I added some Black Soot Distress Paint Splatters to add some Texture!!
I Stamped and Embossed the Heffy Doodle Lil’ Lighthouse Image and Colored with Copic Markers!!
Red: R14, R37 & R39 Blue: B24, B18 & B39
White: N0, N3 & 0 Yellow: Y11, Y15 & YR23
Then I created the Background Panel using Distress Oxide Inks in Hickory Smoke for the Ground, Tumbled Glass for the Sky and Fossilized Amber for the Light, using Purple Tape to Mask and Blender Brushes!!
Next, I added some of the iCraft Foam Squares onto the Backside of the Rectangle Panel, the Lil Lighthouse!! Then I added them to the Deco Foiled Toner Card Front!! I LOVE the Dimension it adds!!
So FUN right!!?? I LOVE the addition of the Die Cut Stitched Hearts!! Such a SWEET Card to send for ANY Occasion!!
For the 5th BONUS Card I wanted to show a Different Color Combination!! I LOVE how versatile these Deco Foil Toner Card Fronts are and seriously there are ENDLESS possibilities to suit your needs!!
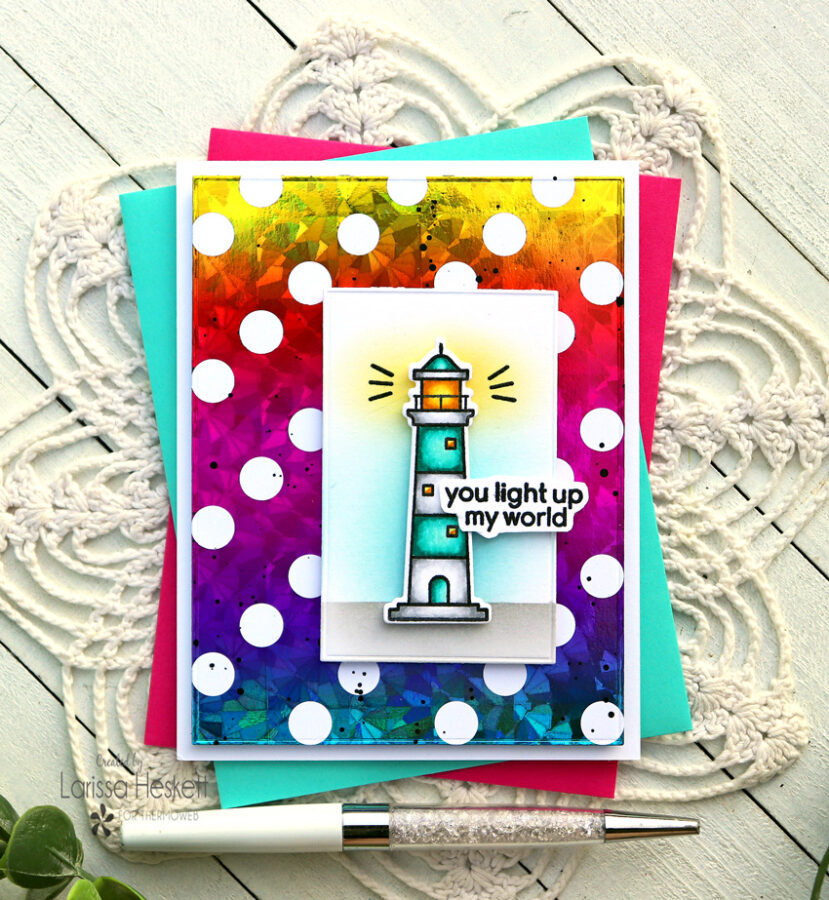
I Cut a Large enough piece of the Rainbow Shattered Glass Deco Foil in order to cover the entire A2 Deco Foil Toner Card Front in Reverse Polka!! Then I placed the Foil Color Side up over the Toner Card Front and ran it through my Laminating Machine!! SWOON!! So BEAUTIFUL right!! It’s one of my FAVORITE Deco Foil Colors!!
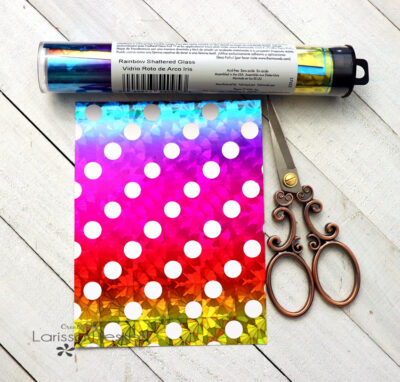
This is what the Deco Foil Toner Card Front looks like once Foiled!!
I Cut the Panel Down and added some Black Soot Distress Paint Splatters to add some Texture!!

I Stamped and Embossed the Heffy Doodle Lil’ Lighthouse Image and Colored with Copic Markers!!
Turquoise: BG10, BG45 & BG49 White: N0, N3 & 0 Yellow: Y11, Y15 & YR23
Then I created the Background Panel using Distress Oxide Inks in Hickory Smoke for the Ground, Tumbled Glass for the Sky and Fossilized Amber for the Light, using Purple Tape to Mask and Blender Brushes!! Then I Stamped and Embossed the Sentiment and Fussy Cut it out!!
Next I added some of the iCraft Foam Squares onto the Backside of the Rectangle Panel, the Lil Lighthouse and the Sentiment!! Then I added them to the Deco Foiled Toner Card Front!! I LOVE the Dimension it adds!!
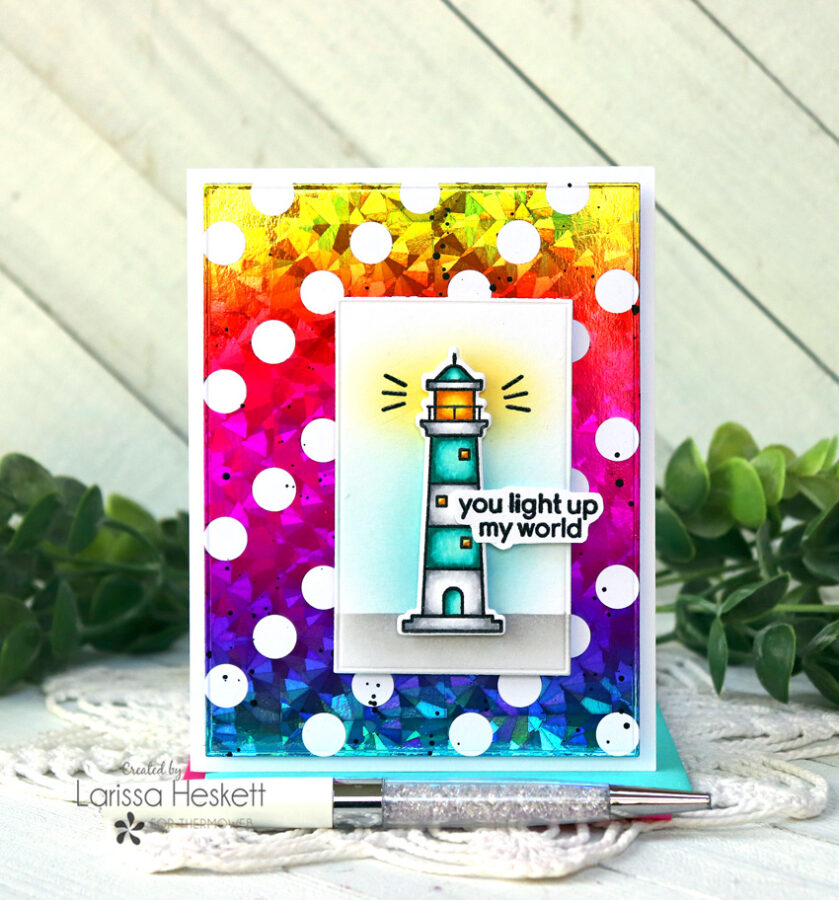
I LOVE the Rainbow Colors and the way it catches the light it’s just STUNNING!!
I hope I’ve given you some INSPIRATION today on ways to Customize your Background!! The possibilities are ENDLESS!! Especially when you consider there are over 60 Different Colors to choose from!! Don’t forget to come back ALL Week as we share even more AMAZING Inspiration during the Heffy Doodle Collaboration Week!!
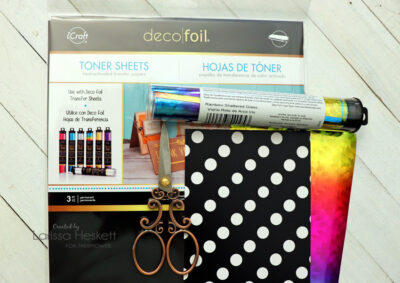
Products Used
Therm O Web:
Deco Foil Toner Card Fronts ~ Chic Chevron, Candy Strips & Reverse Polka
Deco Foil ~ Ocean Blue & Rainbow Shattered Glass
Gina K Designs Fancy Foils in ~ Radiant Red, Sparkling Silver & Brilliant Blue
Deco Foil Toner Sheets
iCraft 3D Foam Squares
Purple Tape
Other:
Heffy Doodle Lil’ Lighthouse Stamp Set
Heffy Doodle Lil’ Lighthouse Die Set
Heffy Doodle Quilted Heart Background Die
Heffy Doodle Stitched Heart Background Die
Distress Oxide Inks ~ Tumbled Glass, Fossilized Amber & Hickory Smoke
Distress Paint ~ Black Soot
WoW Clear Gloss Embossing Powder
Copic Markers
Link for all Products used HERE!!
Plus there’s a SALE Going on now too, so you can STOCK up on some of these AMAZING Toner Card Fronts and Toner Sheets to give these Techniques a try!!
I promise you’ll LOVE the results as much as I do!!
If you create something please tag us on Social Media using the Hashtags #thermoweb #decofoil #tonercardfronts as we LOVE to see what you’re creating!! Also, JOIN us for even more FUN and INSPIRATION on our FB Page: Therm O Web Craft Room!!
THANKS SO MUCH for stopping by today and for your comments, they mean more than you know and I read every one of them!! Hope you have a FABULOUS WEEK!!
Larissa Heskett
 So good right! Well love joining in collaborations and seeing all the creativity between the teams and designers. And that means we also want to give YOU a chance to win some must-have goodies in the form of a gift card!! A $35 Gift Card! And shhh….we have a surprise! We’re offering TWO chances to win. First…leave us a comment on THIS blog post and then for a bonus chance…step through our giveaway to add more chances to win! We’ll pick TWO winners!
Meghan Kennihan
July 22, 2021 at 9:19 am (3 years ago)SO many amazing backgrounds! LOVE these lighthouses!
Denise Bryant
July 22, 2021 at 2:38 pm (3 years ago)I love the background designs and the lighthouse image! Awesome cards!
Jeanne Beam
July 22, 2021 at 2:50 pm (3 years ago)Such gorgeous colors! Love the lighthouses.
Thanks for sharing…
Sue D
July 23, 2021 at 7:59 pm (3 years ago)Great backgrounds for these lighthouses.