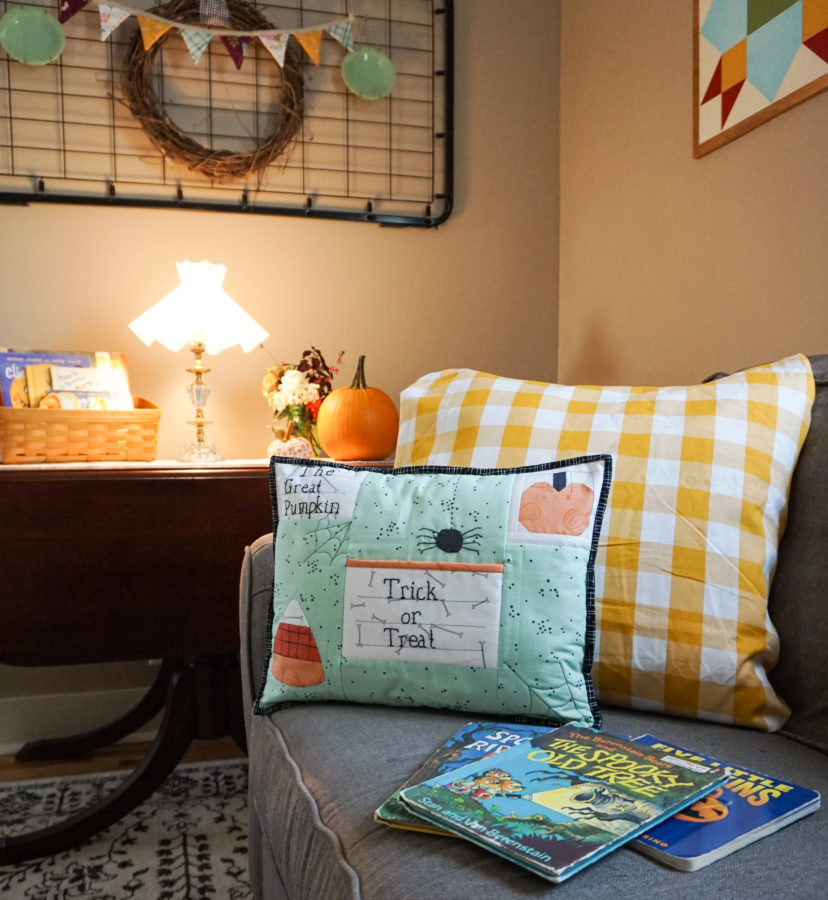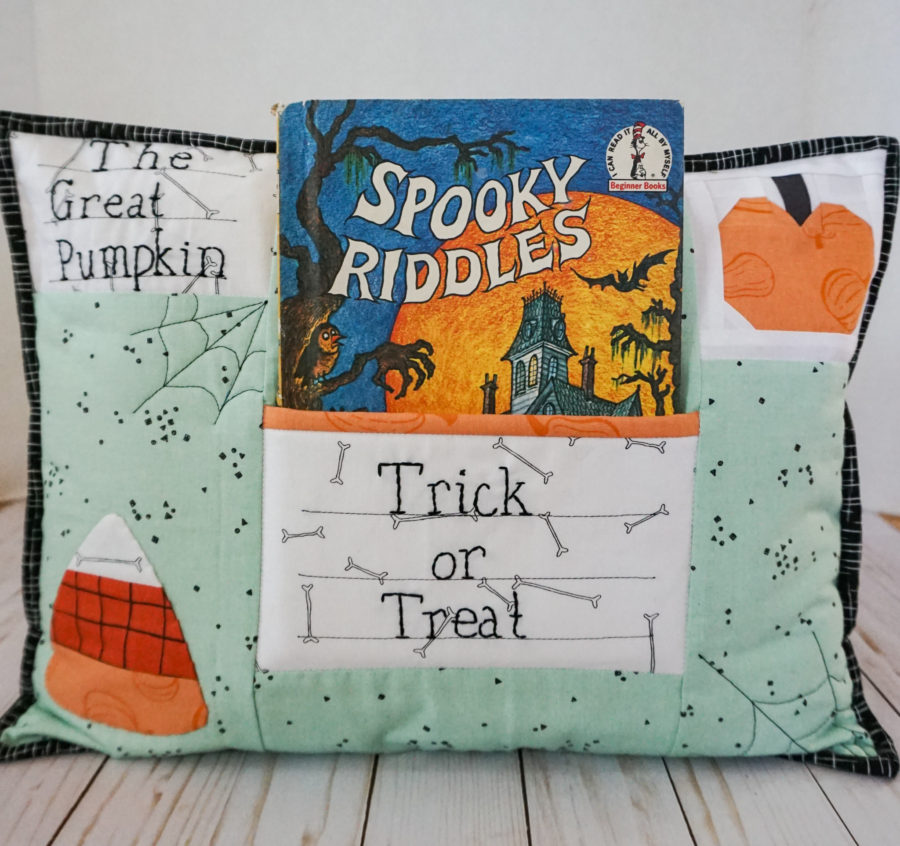
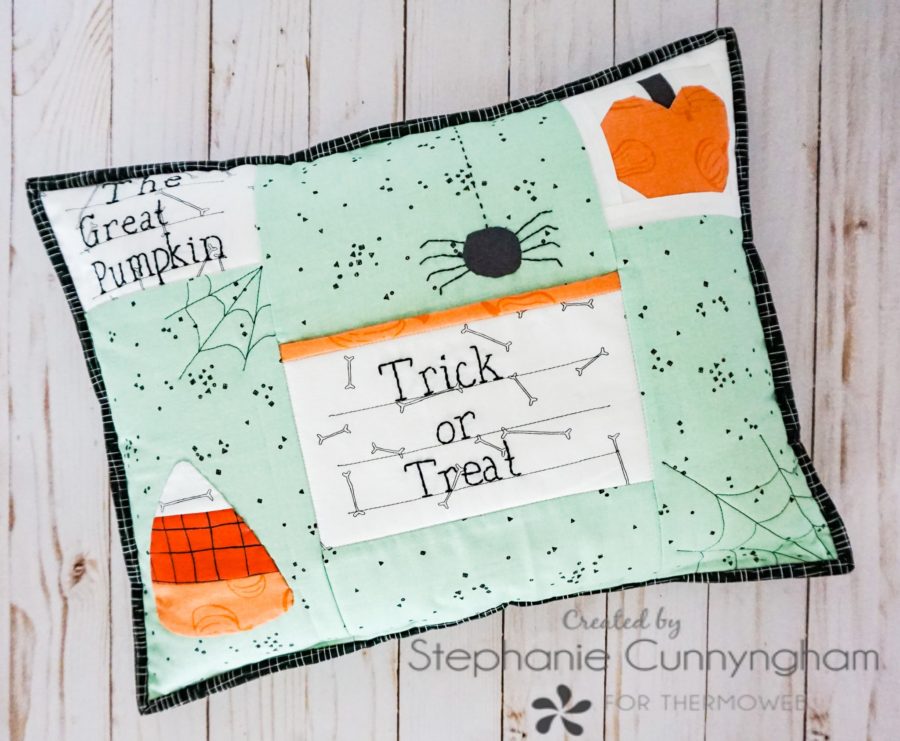
Last year I published my first pattern, a pillow that looks like an envelope, complete with a pocket for letters and a postage stamp! Easy to customize and perfect for any occasion, it’s lots of fun to make! When Riley Blake sent me a fat quarter bundle of Scaredy Cat fabric, I knew I wanted to make a Halloween version. And I’m so glad I did! If you want to make one too, grab the pattern and keep reading for some free and fun add-ons that you can use to make your own scary Lovely Letters Pillow too!
Halloween Lovely Letters Pillow
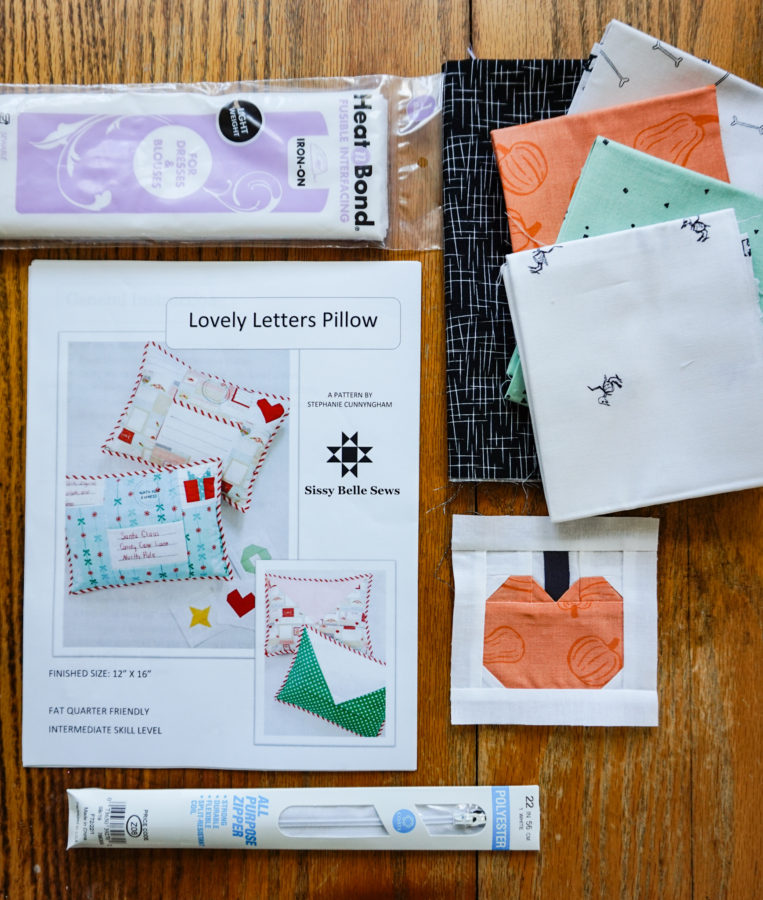
Supplies Needed
- Lovely Letters Pillow Pattern and all listed supplies
- I used Scaredy Cat fabric from Riley Blake Designs
- Pumpkin Stamp Block
- Candy Corn Template
- Scraps of fabric in Halloween colors for the candy corn and spider applique, as well as the contrasting binding for the pocket
- Black embroidery thread
- 1 package HeatnBond Light Fusible Interfacing
- 1 can of SpraynBond Quilt Basting Spray
Candy Corn and Spider Applique
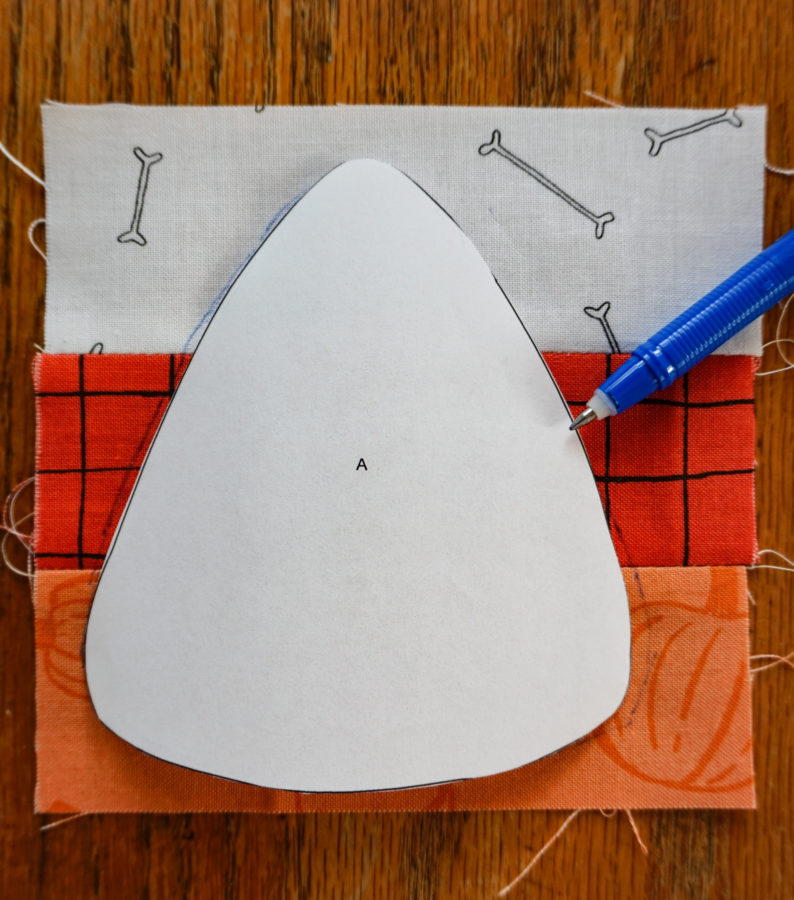
- Cut a 2″ x 5″ strip of three different fabrics. Sew strips together, and press seams open.
- Cut out the candy corn template and trace it onto the fabric strips you just sewed together. Cut out the candy corn shape from the fabric.
- Trace and cut out candy corn shape from interfacing.
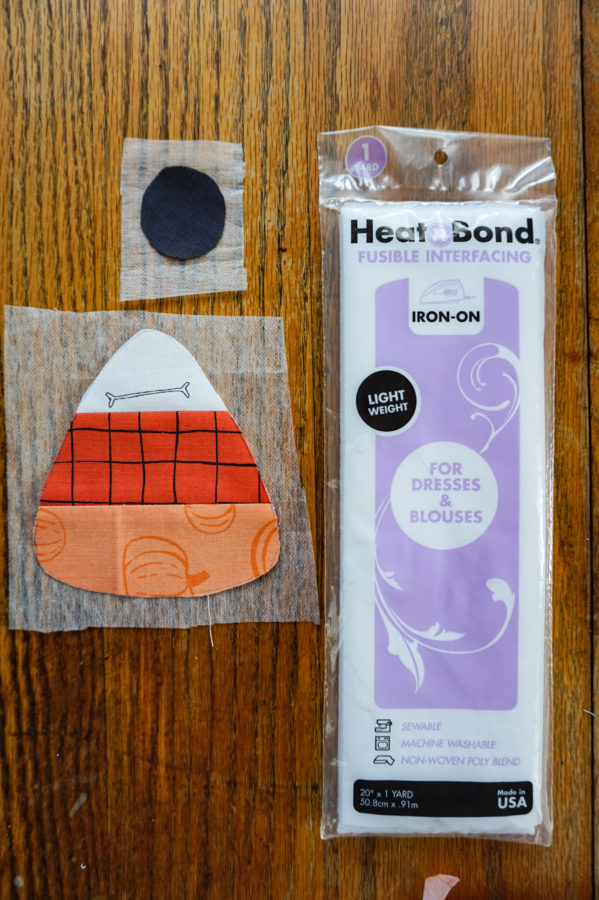
- Sew the fabric candy corn piece to the interfacing, bumpy side of interfacing to the right side of the fabric.
- Cut a small opening in the back of the interfacing, and turn the shape out through the opening.
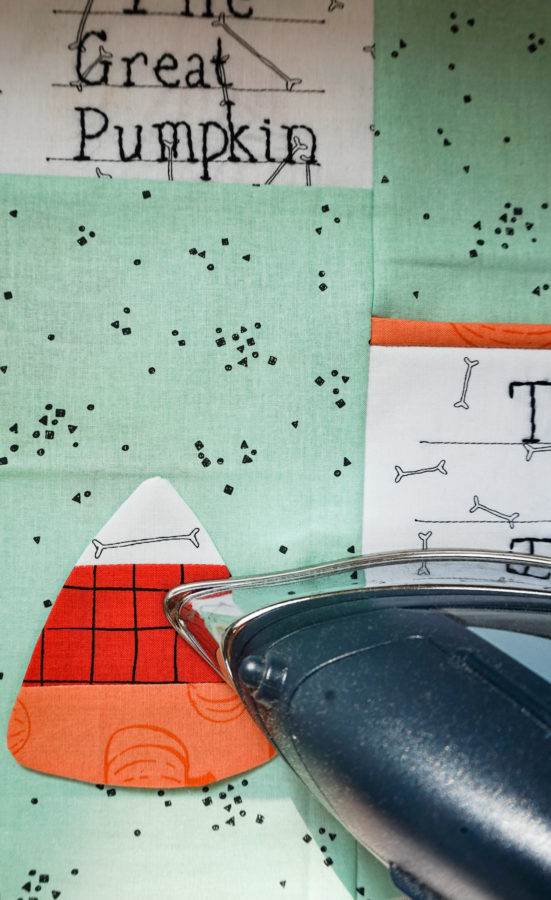
- Place on your pillow and fuse in place. Stitch in place by hand or machine for extra security.
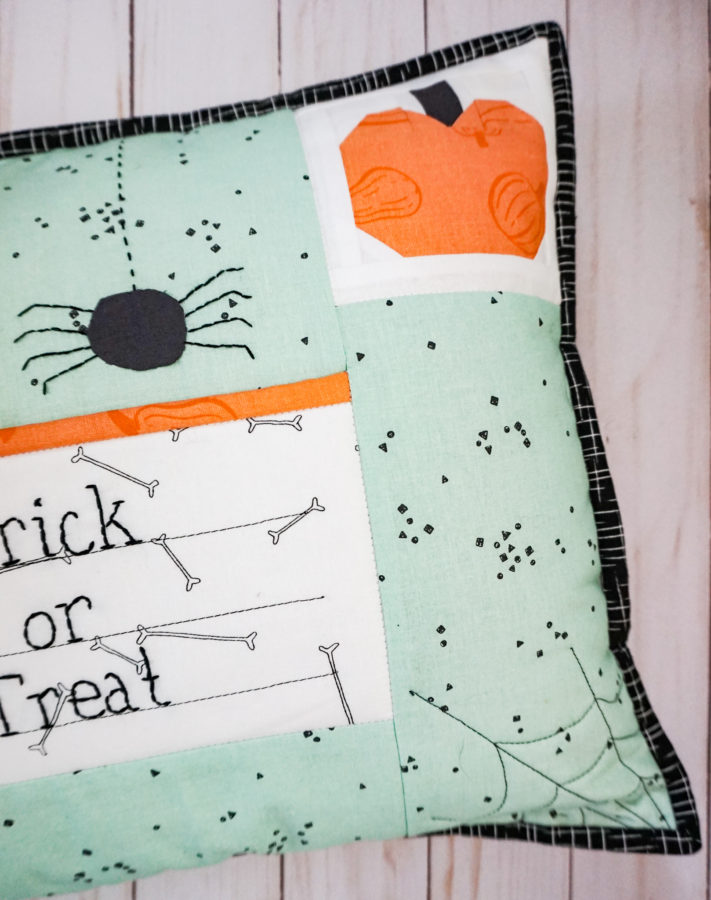
- For the spider, trace and cut out the spider body onto black fabric and interfacing. Sew spider body to interfacing, cut a small opening in the interfacing, and turn right side out through the opening.
- Fuse in place where desired. Using black embroidery thread, stitch a web for your spider to dangle from.
Pocket Binding
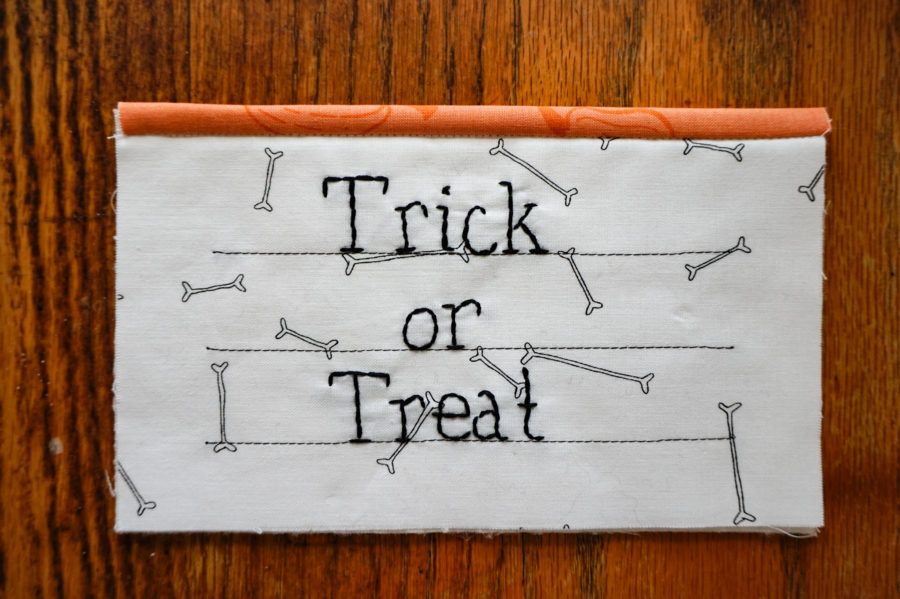
The original Lovely Letters Pillow pattern does not include instructions for putting the binding on the pocket. The pocket is finished a different way. However, sometimes it’s fun to add a little extra pop of color, so I’m including instructions for how to do that if you want to try it too!
- Cut a piece of fabric 2.25″ x 7.5″.
- Fold the fabric in half, wrong sides together.
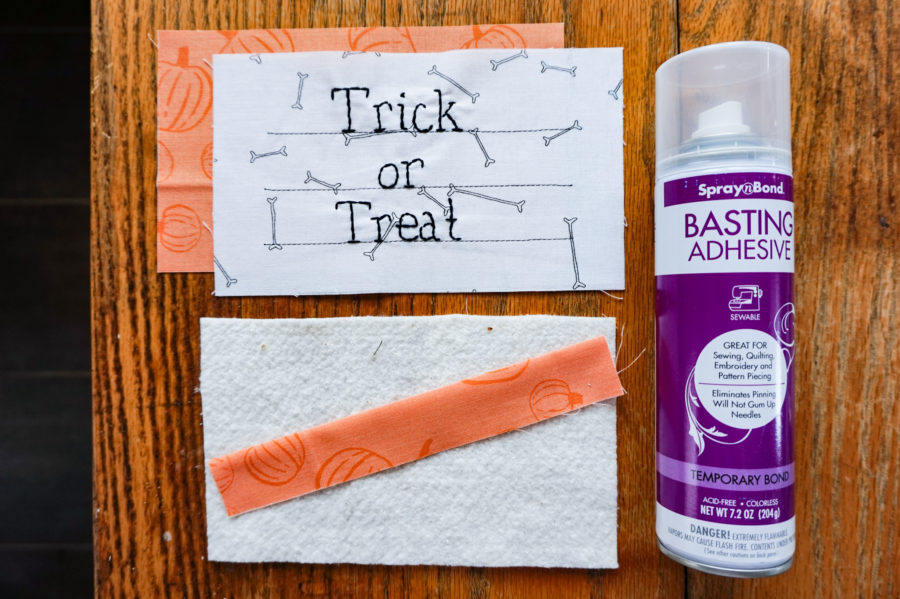
- Using spray baste, secure the pocket lining, batting, and front.
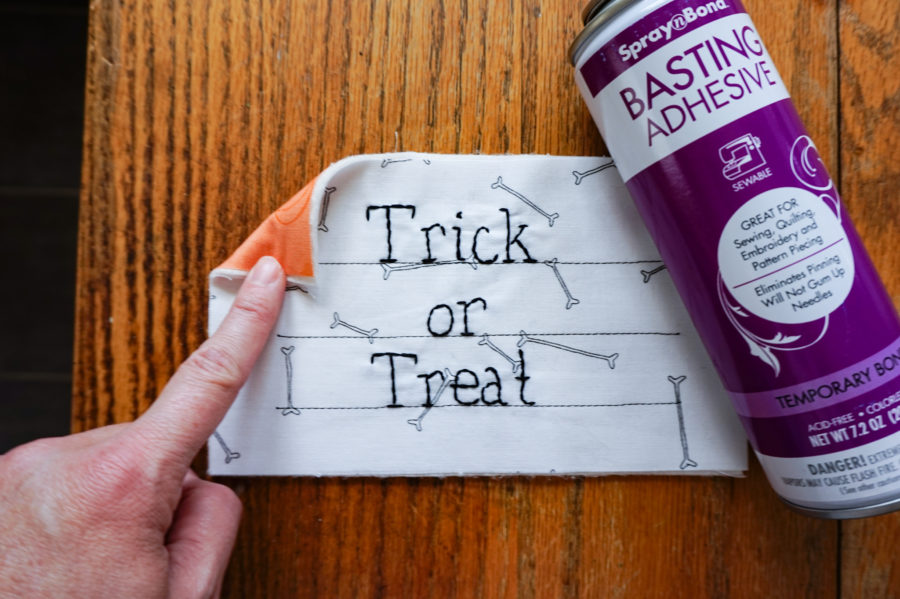
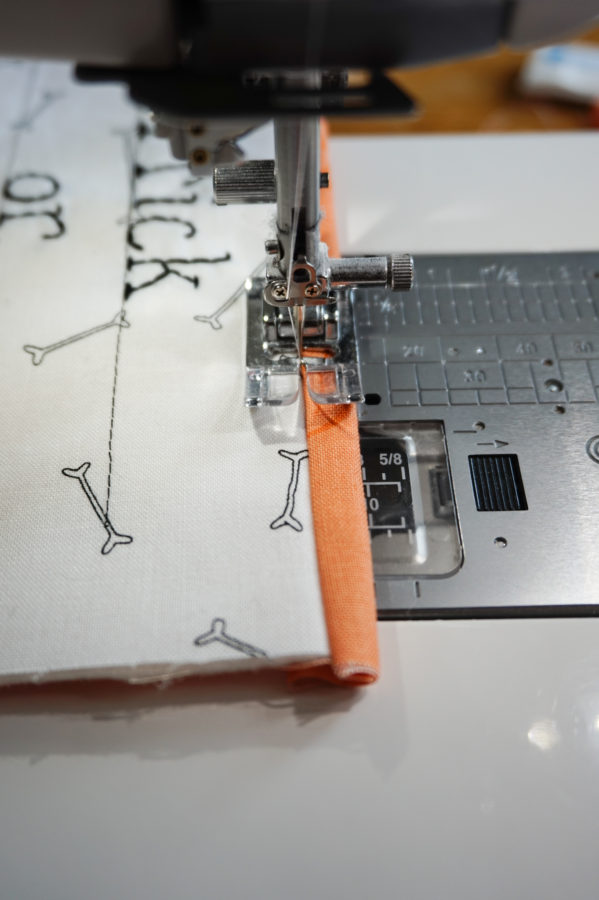
- Sew the raw edge of your binding strip to the top edge of the pocket.
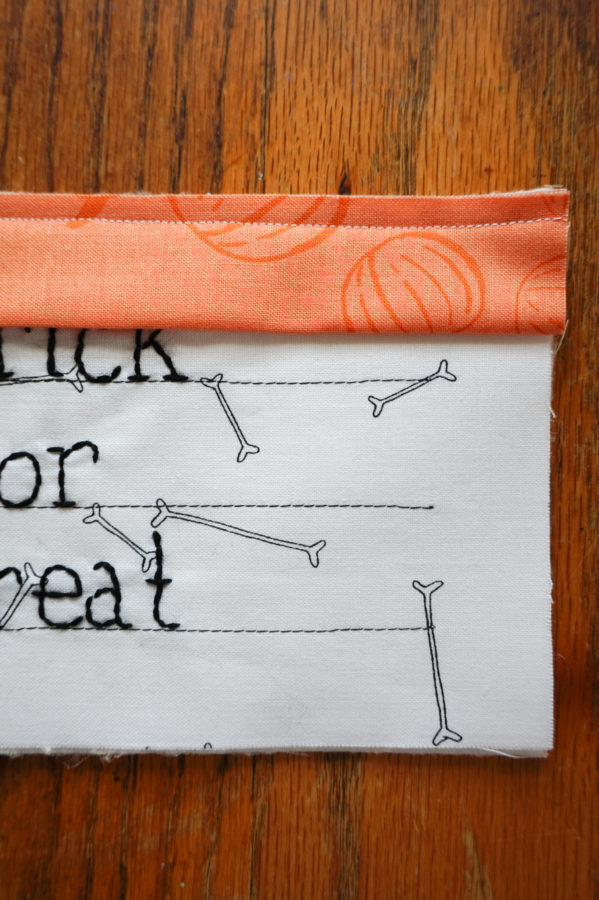
- Fold the binding strip to the pocket inside, then machine stitch-in-the-ditch to secure the binding on the other side.
I hope you enjoyed these ideas for how to make your Lovely Letters Pillow a little more festive for Halloween! Make one for yourself, or make one to gift to your favorite Trick-or-Treater. Happy Halloween!!
