We’re back with more of our favorite things from this past year! Today we have a bit of this and a bit of that!
Designer Alice Golden has an amazing idea for how to make elegant flowers on a dime..or hey a penny! Designer Debbie Sherman’s painter’s tray caught our eye and Designer Jen Cowles daughter made a top over the summer we knew we had to share as well!
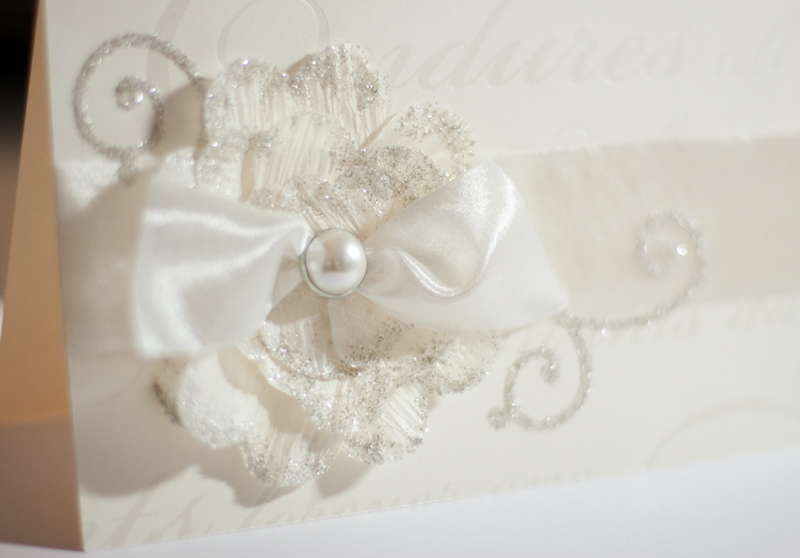
Hi there, Alice with you today to walk you through how I created an elegant flower embellishment for pennies. This would be perfect on a wedding or shower card, but the technique is easy to adapt to any theme or occasion.
It starts with a roll of crepe paper streamers which you can find at any craft or party store for less than $1. You can probably even find these at most grocery stores.
 Fold the streamer back and forth several times to die cut several petals at once. I used a heart shape die, but other shapes would work just as well… or try free hand cutting a petal shape.
In no time at all you will have a big pile of petals. For each flower, I used 9 larger shapes and 5 smaller ones.
Next comes the glitter. I splurged for this gorgeous vintage silver glass glitter… I think the glass makes such a difference… but it is still relatively inexpensive as a little goes a long way. Take care not to cut your fingers by pressing them into the glitter.
I wanted a thin sprinkling of glitter on each petal so I swiped my SuperStik glue stick along the edge of each which creates a nice thin coating.
For this project I just wanted a thin coat of glitter, but you could use a liquid glue if you wanted a more distinct line of glitter on the edge.
 But I really preferred the more subtle effect I got with my SuperStik… I hope you can get a feeling for how it created just a shimmer of sparkle on the edge.
 and before you know it, you’ll have all your petals ready to go.
 Now they are ready to be assembled. Start with a large iCraft dot
and place 5 large petals on top.
 and then place another large iCraft dot on top of the petals
 and then add 4 large petals on top of that, pinching them a bit so they sit closer to the center of the flower (don’t worry if the center looks a bit messy at this point, we’ll cover it up later).
 and then add a smaller iCraft dot on top of this layer and finish it off with 5 of the smaller sized petals.
 at this point you have created a flower sticker that is ready to go on your project – simply peel off the backing sheet of the iCraft dot you used as the base and you’re all set.
 I used mine on a wedding card, but felt like it was still missing something. I die cut a few flourishes out of a sheet of iCraft adhesive
 peeled off the backing sheet and adhered it to my card and then peeled off the protective sheet on the front and added a bit more glitter… I like that better, don’t you?
 I hope you enjoyed this tutorial and have fun trying this technique yourself.
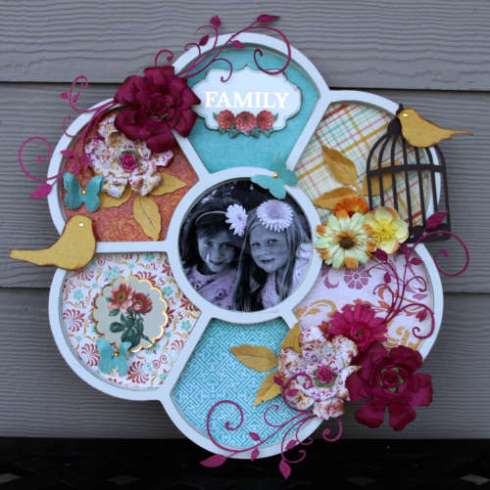
Debbie with you today and I have a fun project to share with you. I made this painters tray for my daughter in law a while back and of course it’s all held together with my favorite Therm O Web adhesives!! I adhered the patterned paper with the new iCraft Adhesive Sheets. They are so fabulous for projects like this! You don’t have to wait for it dry to finish your project!!
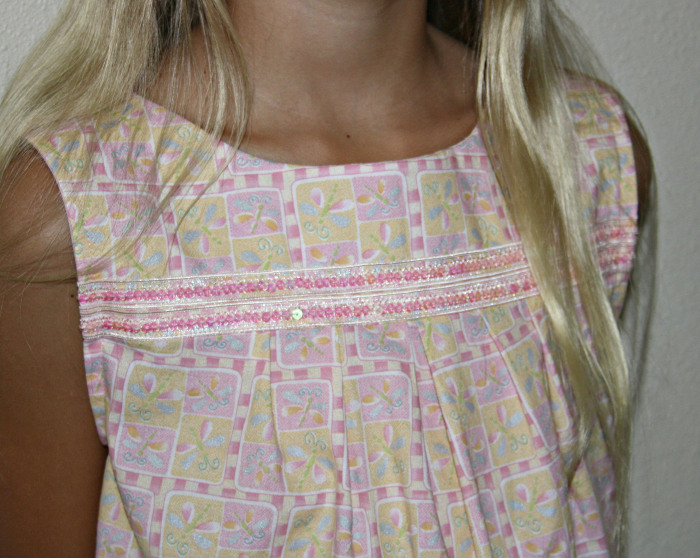
My daughter is 10 and this past weekend I decided that it was time to teach her how to sew. We picked a super easy pattern (Simplicity 1817). I found that it was easier if we both made one at the same time that way I wasn’t taking over ![]() For this pattern we used HeatnBond Featherweight, it made her top still nice and light but giving it the little bit of support that it needed. As you can see she is very proud of her new top that she made by herself, I could barely get her to take it off to wash it.
For this pattern we used HeatnBond Featherweight, it made her top still nice and light but giving it the little bit of support that it needed. As you can see she is very proud of her new top that she made by herself, I could barely get her to take it off to wash it.
We even added a couple of rows of sequins ribbons to jazz it up a bit.
Take some time to share something you love to do with someone you love. It can be very rewarding:) We already have our next sewing project planned and ready to go.
A little bit of fabric, a little bit of HeatnBond, ribbon, and tread=quality time with a loved one=Priceless life long memories and skills.
 We’re all gearing up for the Winter 2013 Craft and Hobby Show held in Anaheim, California this January 12th through the 15th!
We have a new item we’ll be debuting there…until then..it’s mum’s the word!
Be sure to plan to visit our booth…see what’s new and join us for a bit of winter fun!


Smokie
January 4, 2013 at 9:10 pm (12 years ago)I just found two rolls of crepe paper and didn’t know what to do with it. Your flowers are a good idea, thank you.
Erika O.
January 5, 2013 at 9:20 am (12 years ago)Ohhhhh pretty!!! I have some crepe paper in my Craft Cave and will be trying this awesome flower myself! TFS