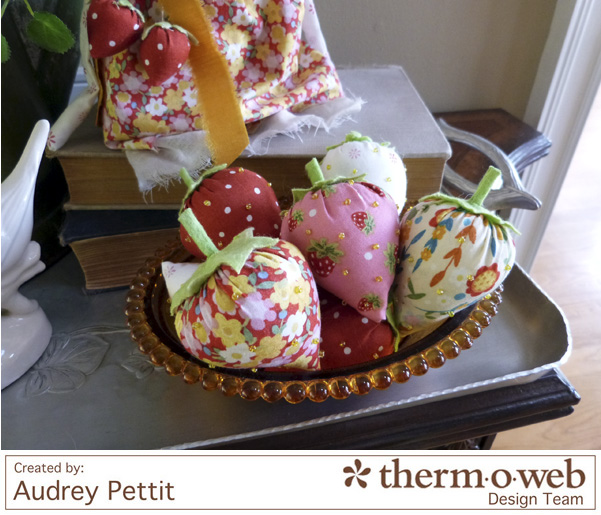
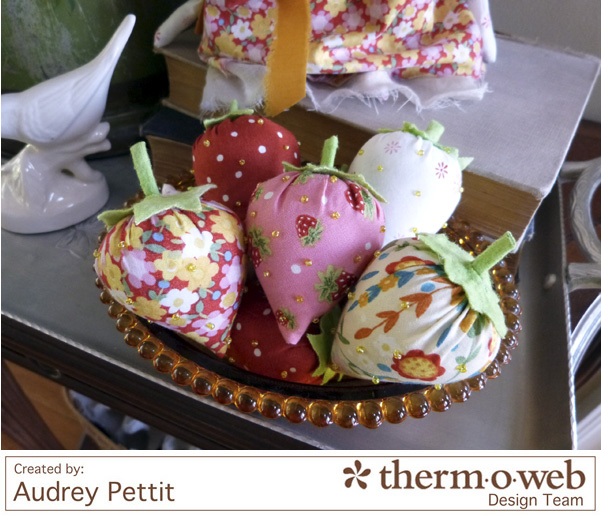
Strawberry season is upon us, so what better time to create a few shabby sweet strawberry bowl fillers using Jennifer Heynen’s adorable Strawberry Festival fabric collection? These fun strawberries are so easy to create, even for beginner sewers. And they look as great tucked into a bowl for some quick and easy seasonal home decor as they are functional as a pin cushion in the craft room. I’ve got a step by step tutorial for putting together these strawberries, so let’s take a closer look.
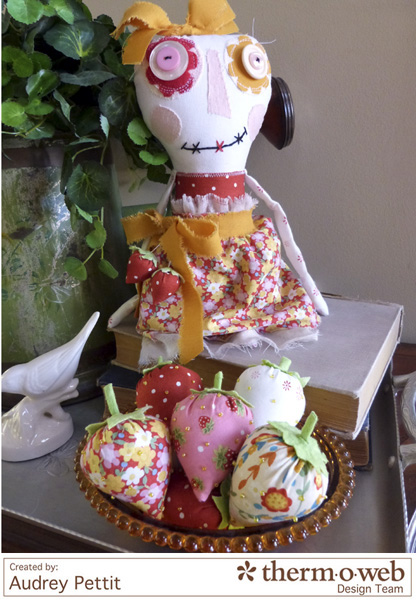
Susie Strawberry and her Strawberry Prims by Designer Audrey Pettit
Project Supplies:
Therm O Web Fabric Fuse™ Liquid Adhesive
Strawberry Festival Fabric Collection by Jennifer Jangles
Seed Beads: 28 Lilac Lane collection by May Flaum for Buttons Galore & More- Hello Sunshine Embellishment Bottle
Floss: DMC
Other: craft felt, solid cotton fabric, cotton flannel (hand dyed), voile, buttons, polyfill fiber stuffing
Project Instructions:
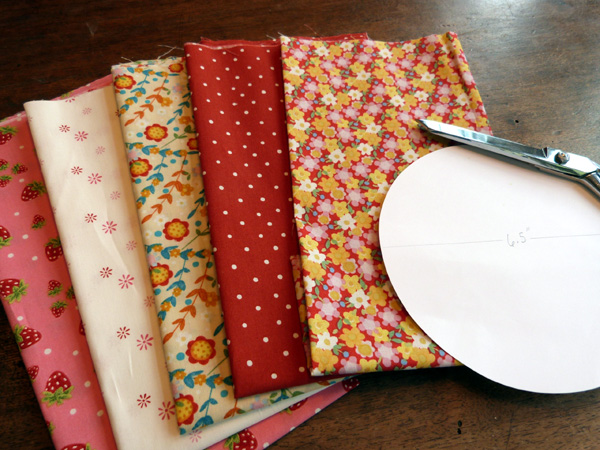
One of the fun things about these strawberries is that they truly can be made in almost any size, from great big strawberry plushies, to teeny tiny accent berries. And they all work the same way. All you need is a circle pattern. For my berries, I traced around a small plate on a piece of scrap paper to create a pattern that is approximately 6 1/2″ in diameter.
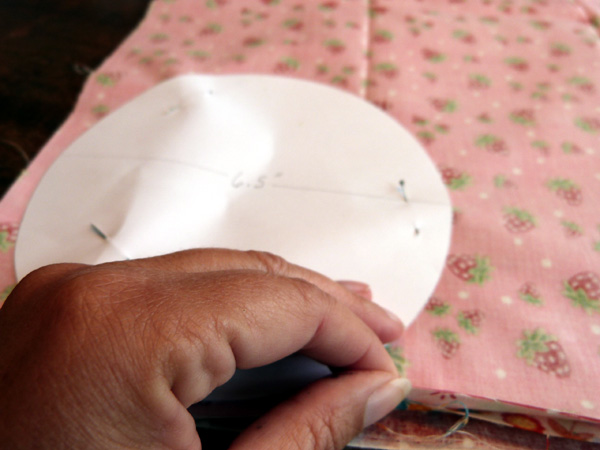
If you are planning on making a bunch of strawberries at one time, here’s a time-saving tip for you. Simply stack your fabrics one on top of the other, and pin your circle pattern onto the top of the stack.
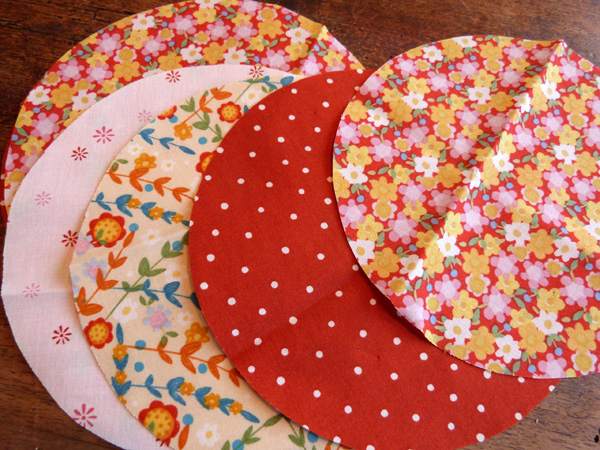 Trim around the pattern, and you end up with lots of circles cut in one go. Repeat the process as necessary until you have as many pieces as you wish. And keep in mind that you will end up with two strawberries for every circle cut.
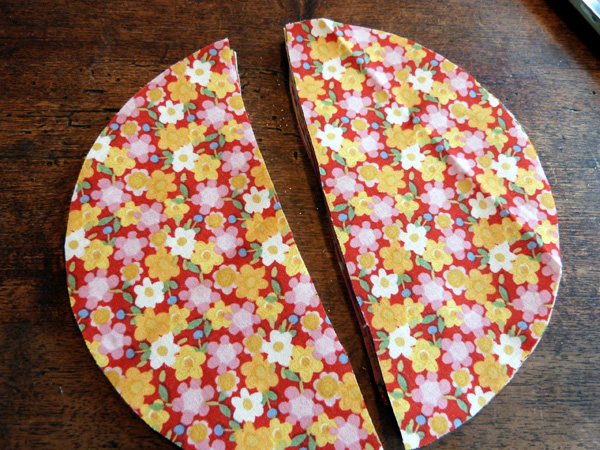 Cut the circles in half. Once again, I stacked all my fabric pieces together, and cut them in one pass. As you can see, you don’t even need to be very precise with this step.
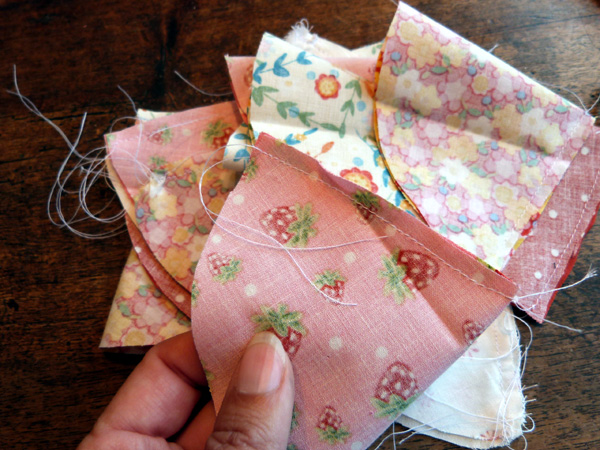 Fold the fabric together, with right sides facing, and stitch down the open side.
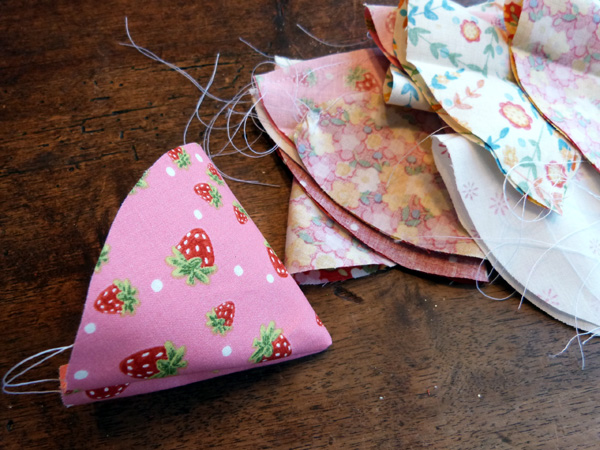 Turn the cones right side out.
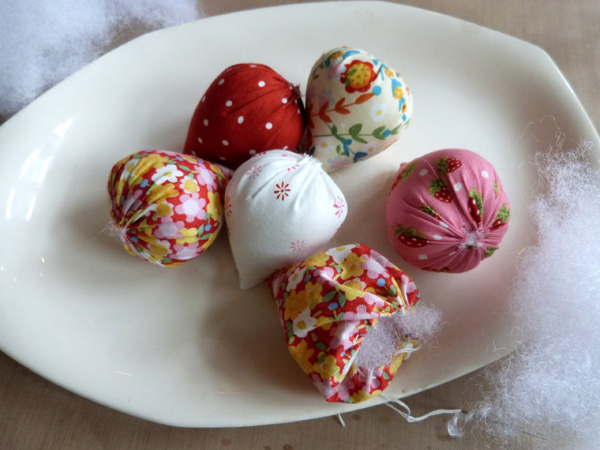 Stitch a loose gathering stitch around the top of the cone, leaving the thread and needle attached. Stuff the berry with polyfill fiber, and then pull the gathering stitch tight to close. Knot the thread to secure the top.
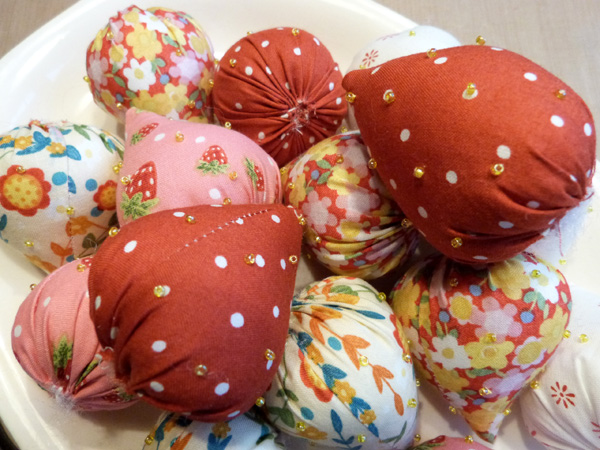 The berries look cute as is, but for a bit of extra detail, hand stitch seed beads to each berry. To hide the knots of the thread, I started at the top of the berry and worked my way down. To secure the end of the thread, I brought the needle back up to the top and knotted it there. All those ugly knots will be hid by the berry petals.
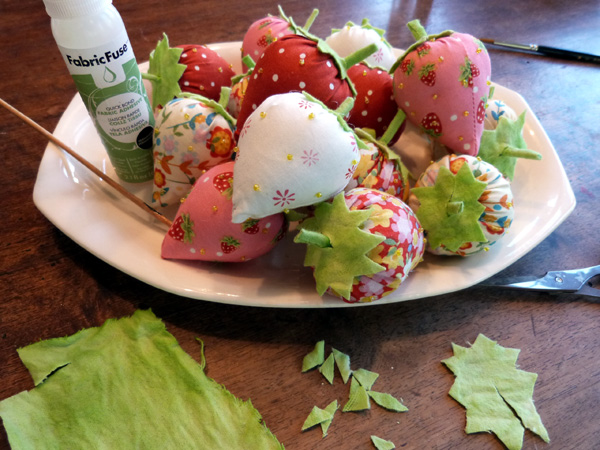 To create the top and stems of the berries, start by cutting an oval or circle from green fabric. I didn’t measure anything, nor did I use any type of pattern, as I wanted to keep an organic, natural look to my project. Snip a zig-zag edge around the tops using fabric scissors. Then cut a slit from one end up to the center. Cut another strip of green fabric that is approximately 1/2″ wide. Spread Therm O Web Fabric Fuse™ Liquid Adhesive down the edges of the fabric strip, and then roll the strip up into a tube. Snip the tube apart into little pieces. These are the stems of the berries. Apply more Fabric Fuse adhesive to the top of each berry, and then add a stem. Apply more adhesive to the back of the fabric petals, and adhere to the top of the berry, wrapping the slit around the berry stem.
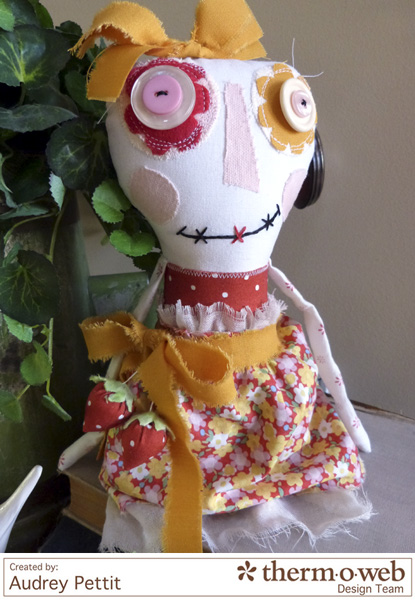
There you have it! Super easy, super sweet Strawberry Bowl Fillers! And since I had so much fun with this adorable Strawberry Festival fabric, I couldn’t resist creating a matching strawberry girl dolly, which I will leave you with!

Gerry F
May 24, 2016 at 10:24 am (9 years ago)Great ideas especially with the seed beads.