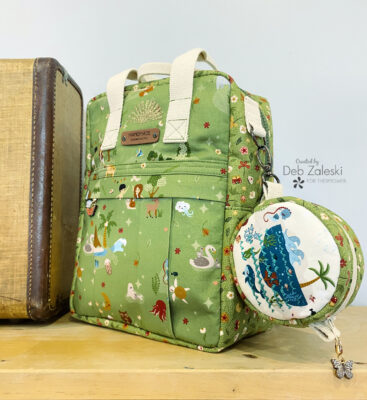
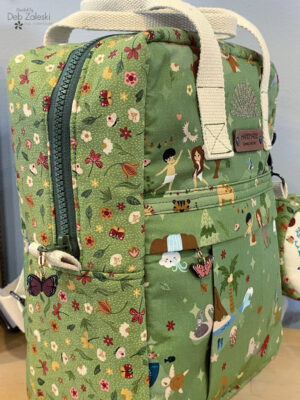
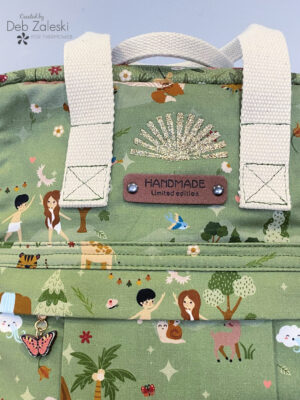
Once again, I have the pleasure of working with fabrics designed by Jennifer Long for Riley Blake Designs. This collection, Created with Love, is perfect for storytelling and imaginative play for little ones! This backpack was created with love in more ways than one.
It’s time to get creative so gather your supplies and tools! Be sure to download the PDF for the Mini Pouch, You can find it here (TOW mini pouch)
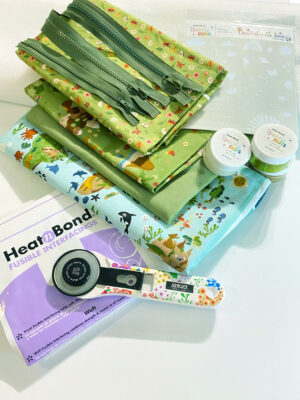
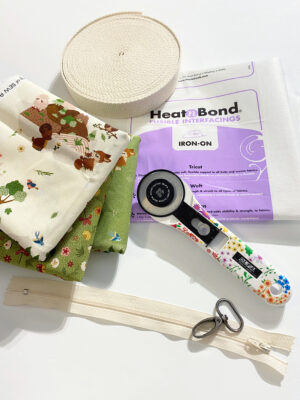
GENERAL SUPPLIES:
- HeatNbond Fusible Fleece
- HeatNbond Craft Firm non-woven interfacing
- Sparkle Paste – Gold and Teal
- Pixie Tape
- Thread
- Noodlehead Making Backpack Pattern – See list of supplies required to make the backpack in the pattern instructions!
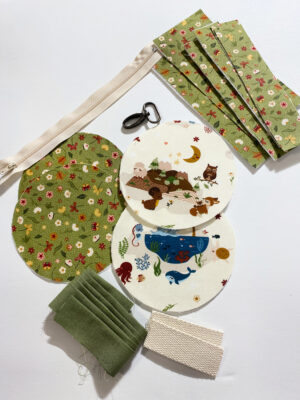
SUPPLIES FOR THE MINI POUCH:
- TOW mini pouch PDF
- 5″ of 1″ wide webbing
- 7″ zipper
- Small amounts of HeatNbond Craft Firm non-woven interfacing
- Small amounts of HeatNbond Fusible Fleece
- Zipper charm
- 1″ wide swivel clip
- 1.5 yards of premade bias – You can also make your own bias!
TOOLS:
- Oliso Mini Project Iron & ironing board
- Sewing machine
- Scissors
- Olfa Rotary cutter and self-healing mat
- Handsewing needle
- Water-soluble fabric pen
- Created with Love Sparkle Paste Template
- Small spatula
GETTING STARTED:
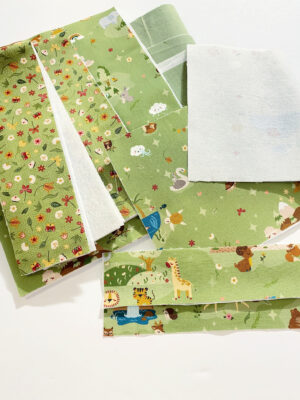
1. Cut out all of the pieces of fabric as indicated in the Noodlehead Making Backpack pattern. I changed it up a bit and used a different material than the pattern calls for. Fuse interfacings according to manufactuer’s directions. I used fusible fleece on the exterior main panel and gusset pieces and craft firm non-woven interfacing on the front pocket and all lining fabrics to give the bag shape and body.
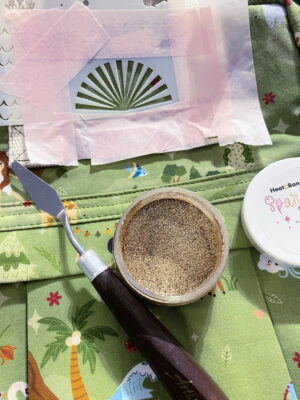
2. Once the front panel is assembled, you can embellish it with sparkle paste, patches, and so on.

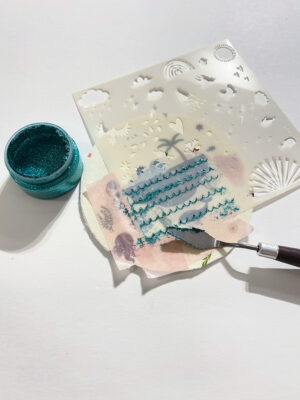
I’m obsessed with Sparkle Paste because it’s so easy to use! I use Pixie Tape to hold the template in place, and an artist’s spatula works perfectly for applying the paste to your project.
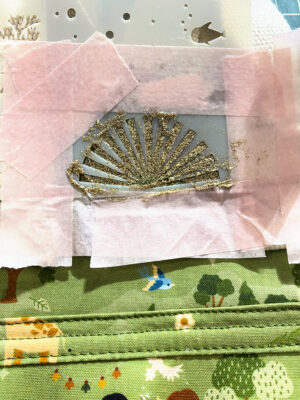
3. Remove the template and wash all tools in warm, soapy water right away. Let the Sparkle Paste dry, then use your iron to cure it.

4. Finish sewing the backpack as indicated in the instructions!
MAKING THE MINI POUCH:
1. Download and print the template. Print actual size – DO NOT “fit to page” or “shrink to fit.” Check the Test Square to make sure it meausres 1″ by 1″.
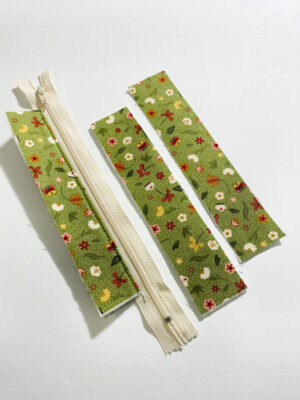
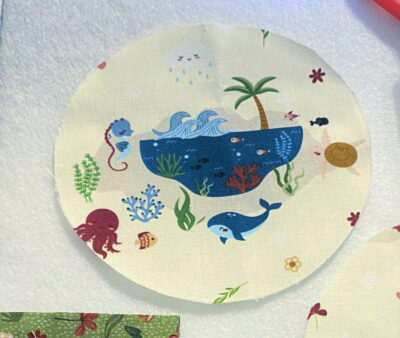
2. Cut out all the pieces indicated in each pattern template. Fuse the HeatNBond Fusible Fleece to all exterior fabrics. Fuse HeatNBond Craft Firm Interfacing to all lining fabrics. Transfer all markings to the fabric to easily line up the pattern pieces. This fabric presents the perfect opportunity for fussy cutting! Place the template over the desired area and trace it with a water-soluble fabric pen. Cut the piece of webbing in half lenthwise.
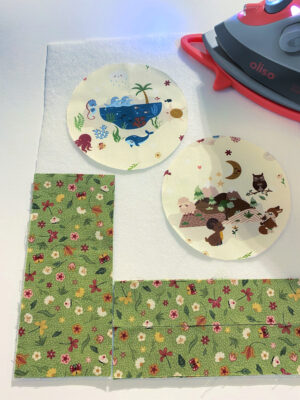
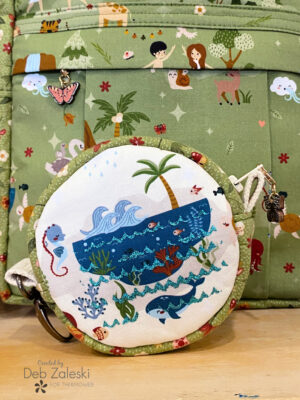
3. Now is the time to add a little Sparkle Paste to the mini pouch if you wish. I thought using the teal paste to create waves over the little island would look nice. Set aside while the paste dries and move on to the next step.
WAITING FOR THE SPARKLE PASTE TO DRY:
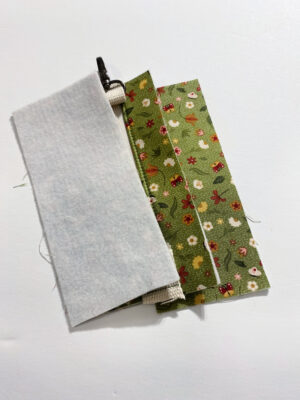
4.Create a zipper sandwich with one top gusset main and one top gusset lining with RST (right sides together). Topstitch the edge of the fabric closest to the zipper tape. Repeat with the other set of top gussets.
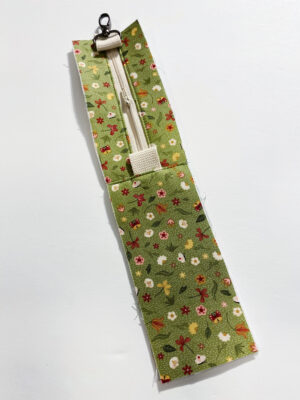
5. Fold each piece of webbing in half lengthwise, lining up the raw edges of the top gusset with the raw edges of the webbing along the side of the zipper tape. Baste in place. Thread the swivel clip with the second piece of webbing. Fold it in half lengthwise, lining up the raw edges of the top gusset with the raw edges of the webbing along the side of the zipper tape. Baste it in place.

6. Place the bottom gusset exterior right side up. Align the top gusset right side down and the bottom gusset lining right side down. Stitch along the short edge.
7. Open the seam and topstitch 1/8″ from the edge of the seam on the side of the bottom gusset. Repeat these steps on the other side to form a loop.
8. Baste the main panel exterior to the main panel lining to create two main panel units.
FINAL ASSEMBLING STEPS:
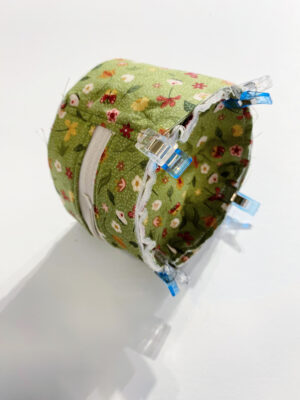
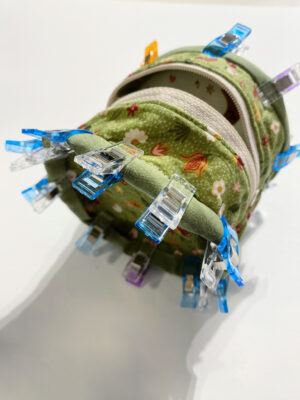
9. Line up the markings from your gusset loop with the main panels, right sides together (RST). Clip or pin in place. Slowly stitch in place. Repeat with the other main panel unit.
10. Line the bias tape’s raw edge up with the raw edge of the seam allowance. It may be easier to stitch it in place if you align the bias on the gusset side. Stitch in place. Repeat with the other side. Trim down the seam allowance to about 1/4″ to reduce bulk. Flip the bias tape over to cover the seam allowance.
11.Using a ladder stitch, hand-stitch the other side of the bias tape in place.

12. Turn your work right side out and clip it to your backpack!

Thanks for joining me and I hope I’ve inspired you to to sew up a sweet project with Created with Love fabrics by Jennifer Long or use this pattern as a stash buster for your much loved leftovers form previous projects. If you liked this project, please let me know by posting a comment. And don’t forget to stop by my Instagram and say HI!