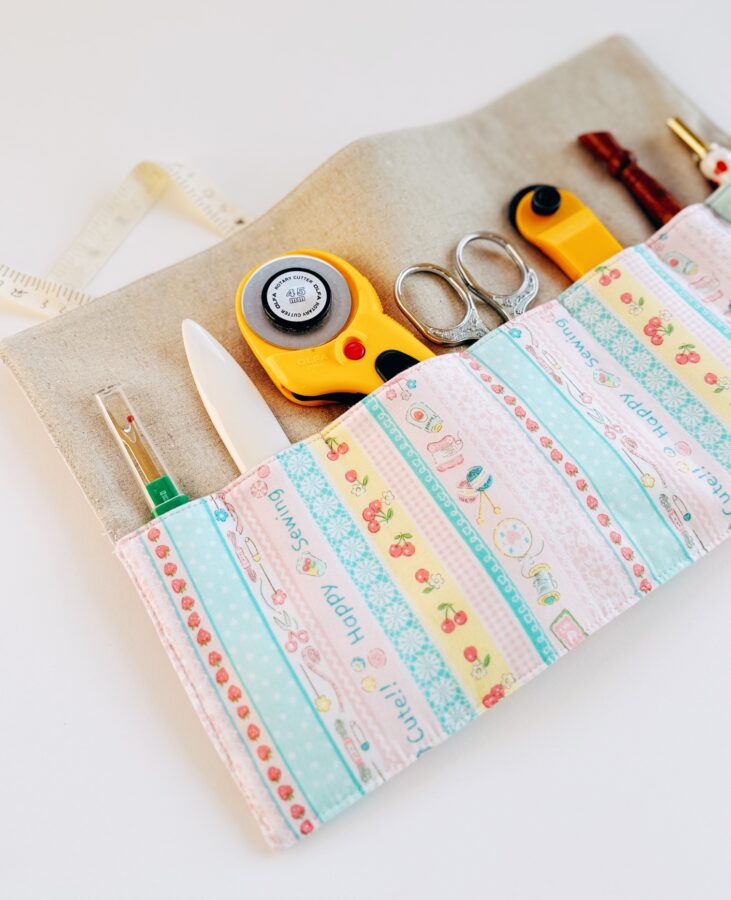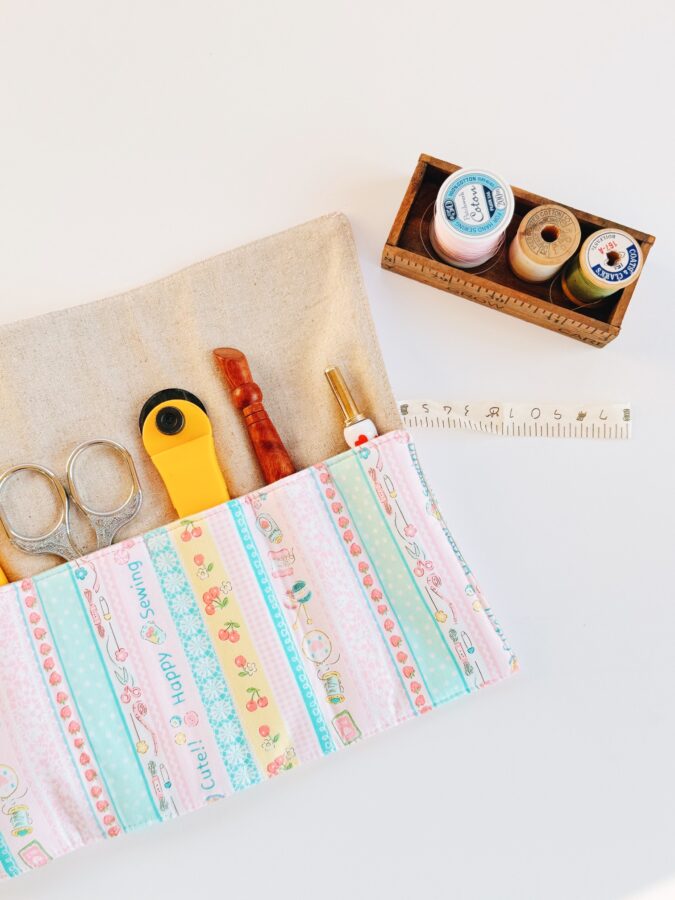
Hello and Happy Spring! Springtime for me means cleaning and organization. I love to make things that are functional and will help me in my day-to-day tasks. I sew pretty much every week and need to stay organized. This little Organizer Roll is perfect when I’m moving from different areas in my house to sew and take pictures of projects and such. You can customize each tool holder for your sewing tools. Have fun and let’s get organized!

SEWING ORGANZIER ROLL INSTRUCTIONS
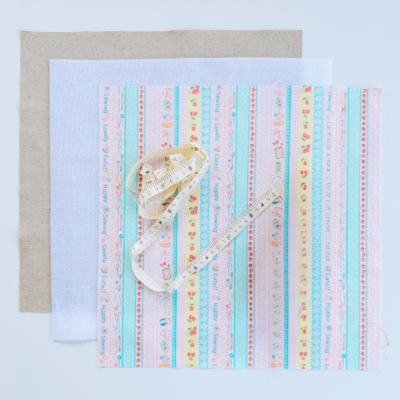
Materials Needed:
- Two cotton pieces
- Ribbon
- HeatnBond Fusible Fleece
Tools Needed:
- Sewing Machine
- Rotary Cutter and Mat
- Ruler
- Iron – I love Oliso!
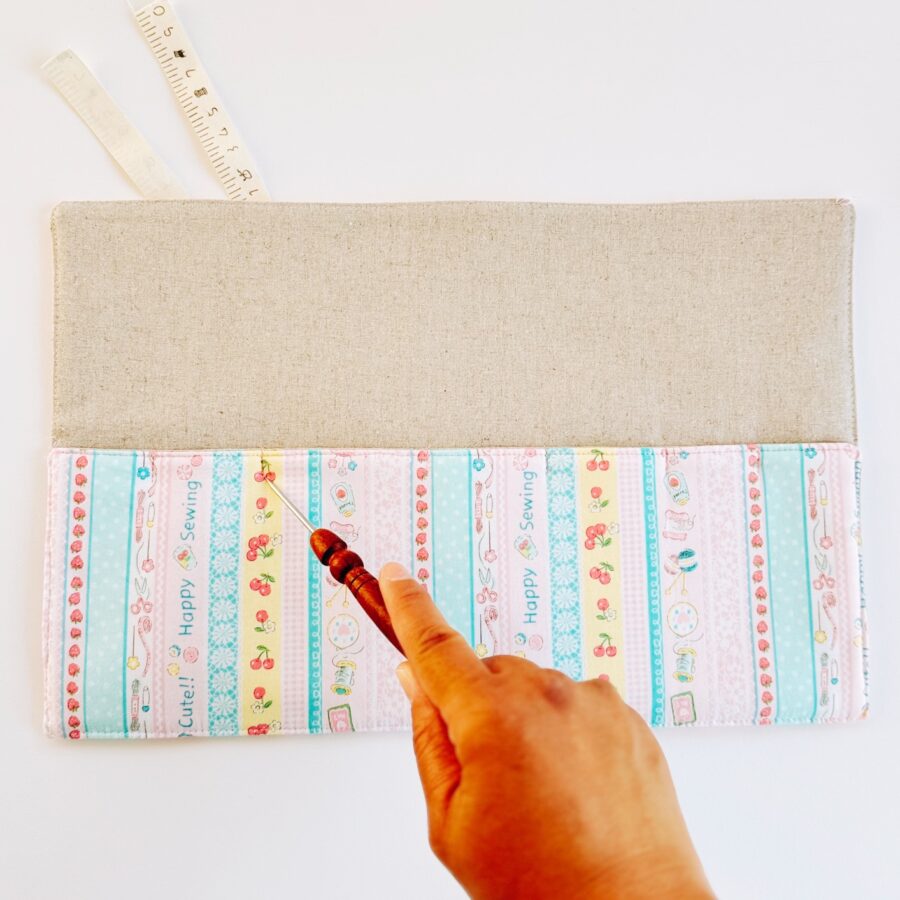
- Stiletto or chopstick – to turn out project and smooth edges
- Erasable Marking Pen
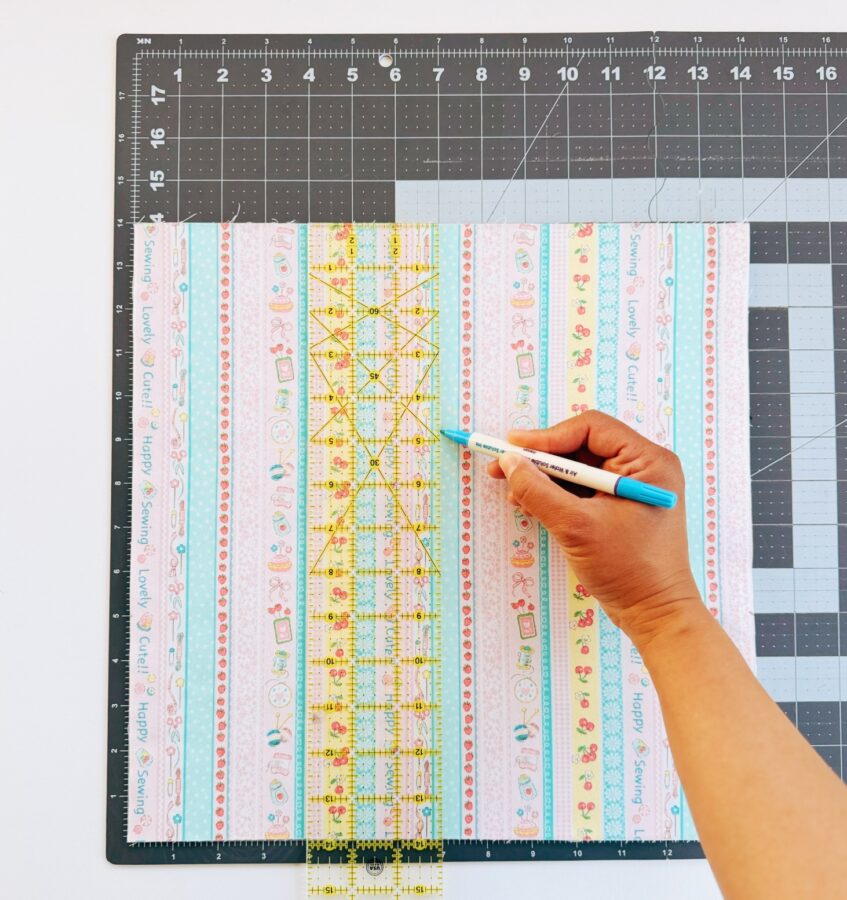
Cutting
- Cut one 14″ x 14″ cotton square – for the outer body
- Cut one 14″ x 14″ cotton square – for the lining
- Cut one 14″ x 14″ HeatnBond Fusible Fleece square
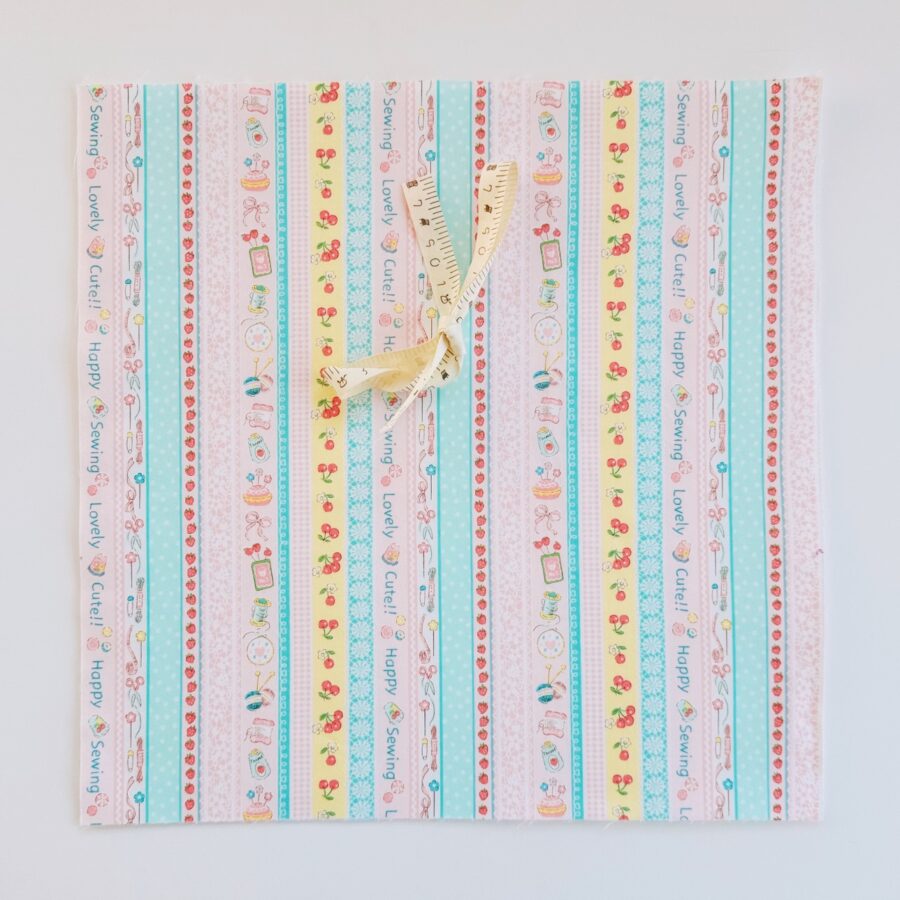
- Cut one 20″ piece of ribbon
Tips
- Use a 1/4″ seam allowance unless noted otherwise
- Follow the instructions for HeatnBond Fusible Fleece as directed
Let’s Begin!
Make the Outer Body
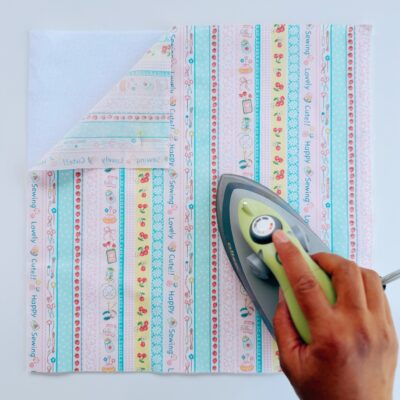
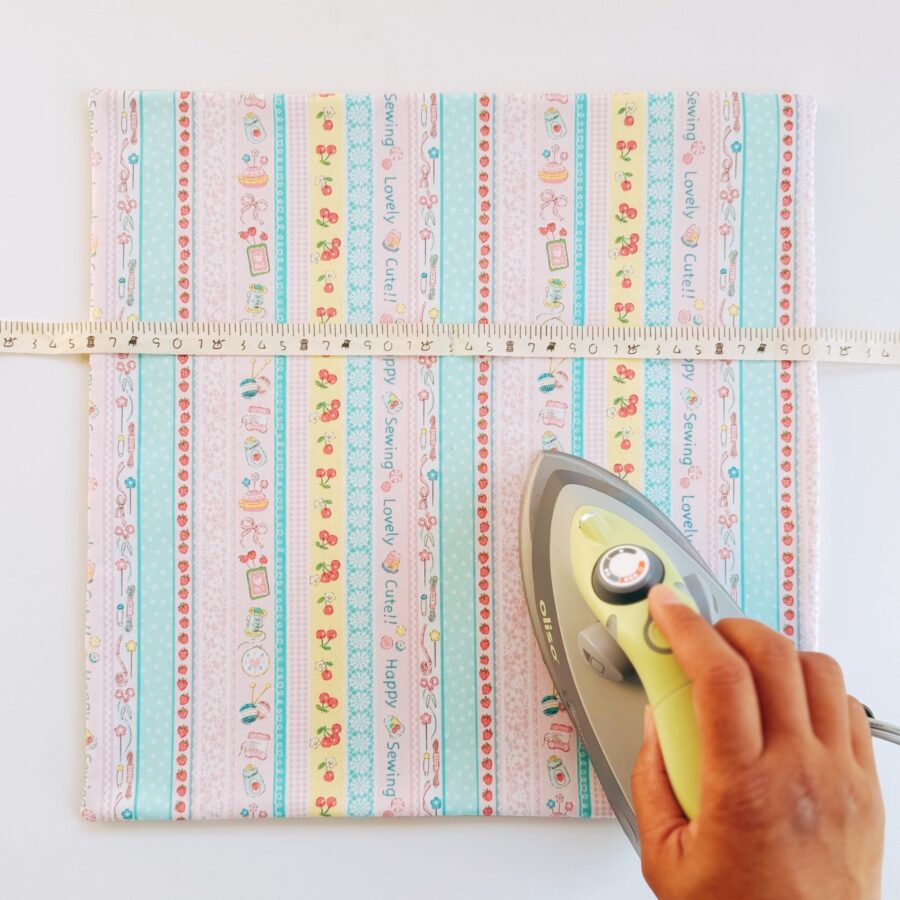
- To make the outer body, attach the wrong side of a 14″ x 14″ cotton square to a 14″ x 14″ HeatnBond Fusible Fleece square (using the instructions provided on packaging).
- On the front side of the body, find the middle area and go down 4 3/4″ from the top area. Mark with a water-soluble pen. Place the middle of the ribbon onto the mark and pin in place. Sew a seam along the middle area of the ribbon, going over a few times. Tie the ribbon here as you will be sewing all the sides in the next step.
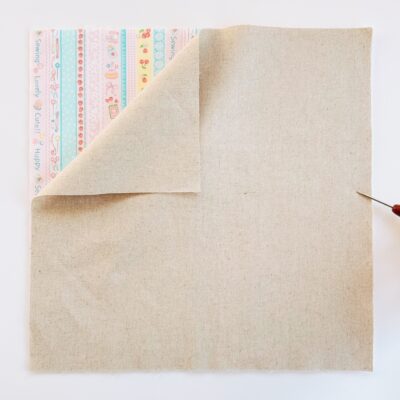
- Now, take the inner lining and lay it onto the front side of the outer body. Pin or clip in place and sew using a 1/4″ seam allowance around all sides of the square, leaving a 2 1/2″ opening on either the left or right side (this is where you will turn the piece right side out), making sure to backstitch from beginning to end.
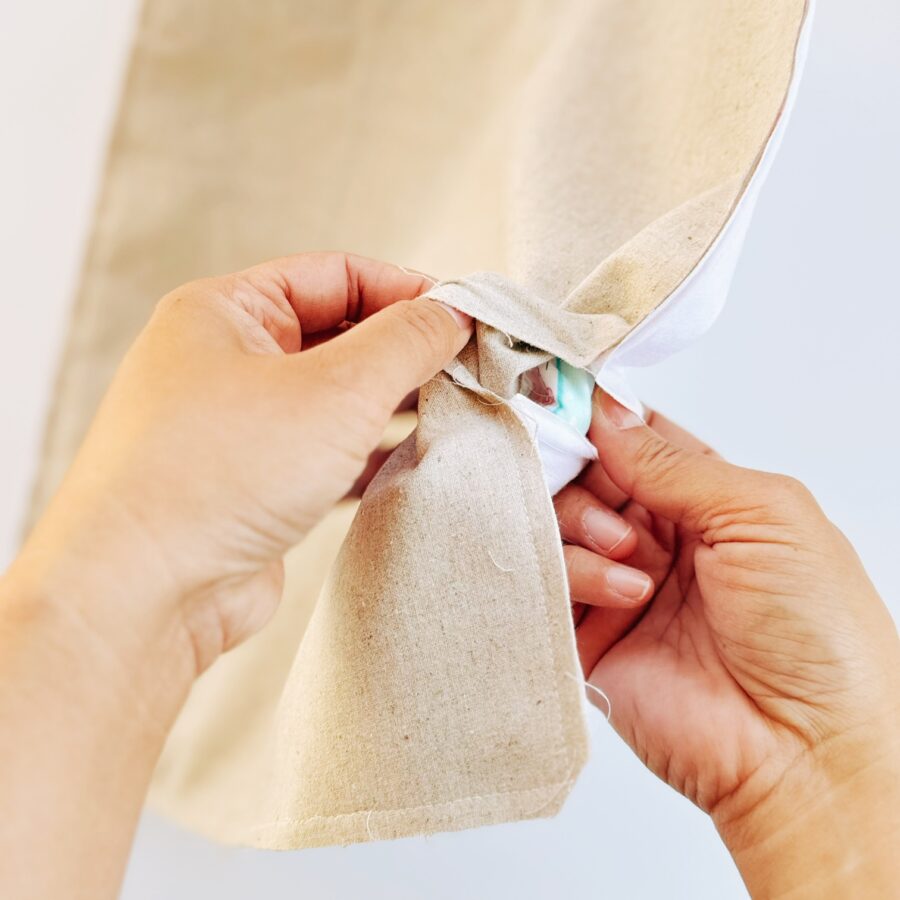
- Turn the piece right side out through the opening, smoothing out all the corners and edges with your stiletto or chopstick. Sew the opening closed. Press the piece with an iron.
- Edgestitch along the bottom area of the body.
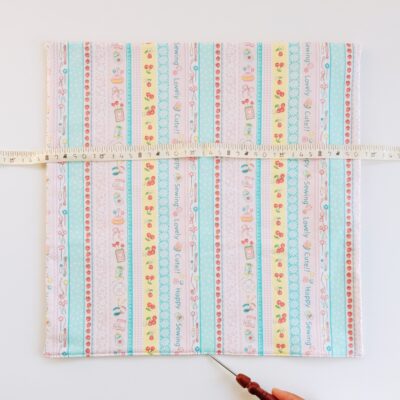
- Now, fold up the bottom edge by 5″. Clip the sides in place. Edgestitch around the entire piece on all four sides. 
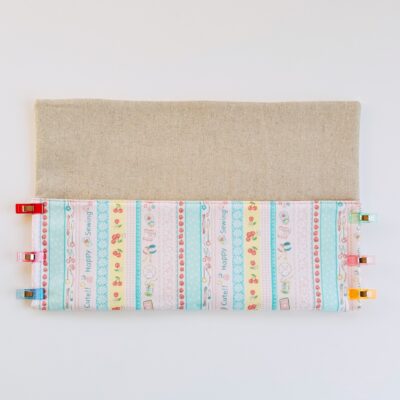
- To make the pockets for the tools, mark the area in the pocket area to desired width and size for your tools. I sew a 1/2″ seam along the top edge of the pocket for each tool pocket. You can sew from top to bottom, but I prefer a simple 1/2″ stitch to incase the tool pockets.
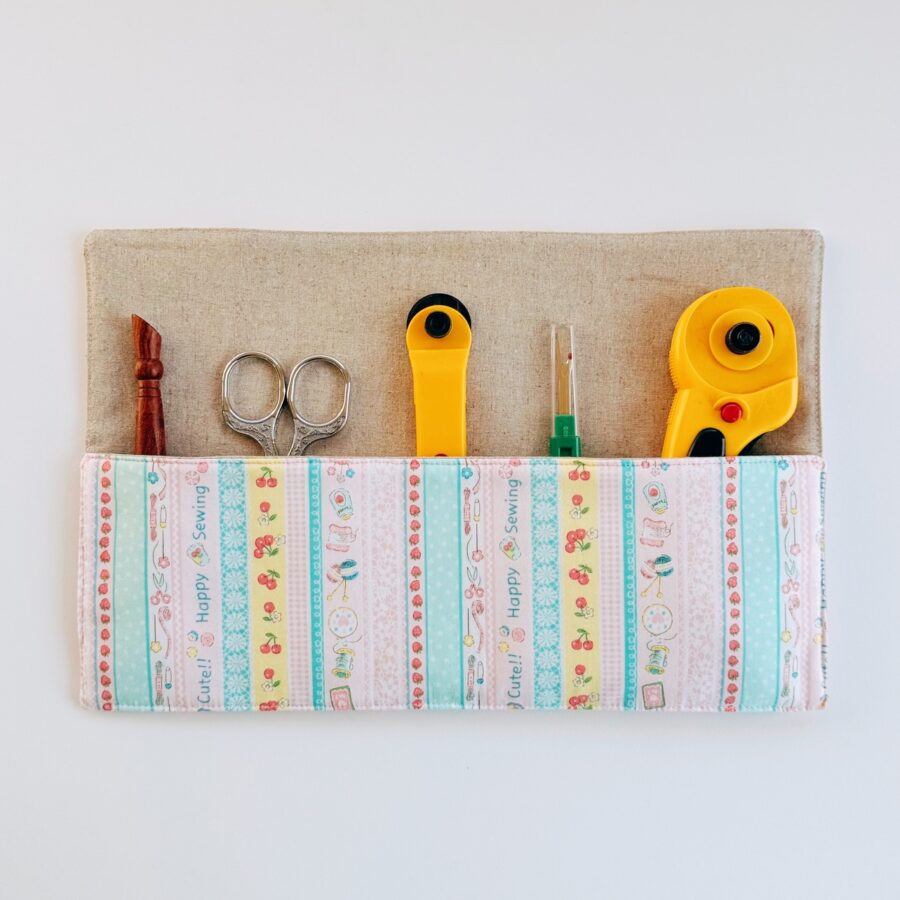
- Place your tools inside, roll the organizer and tie with the attached ribbon to keep it closed. You are now done!