Hi friends!
It’s Lisa Ruble from Quilty Zest.
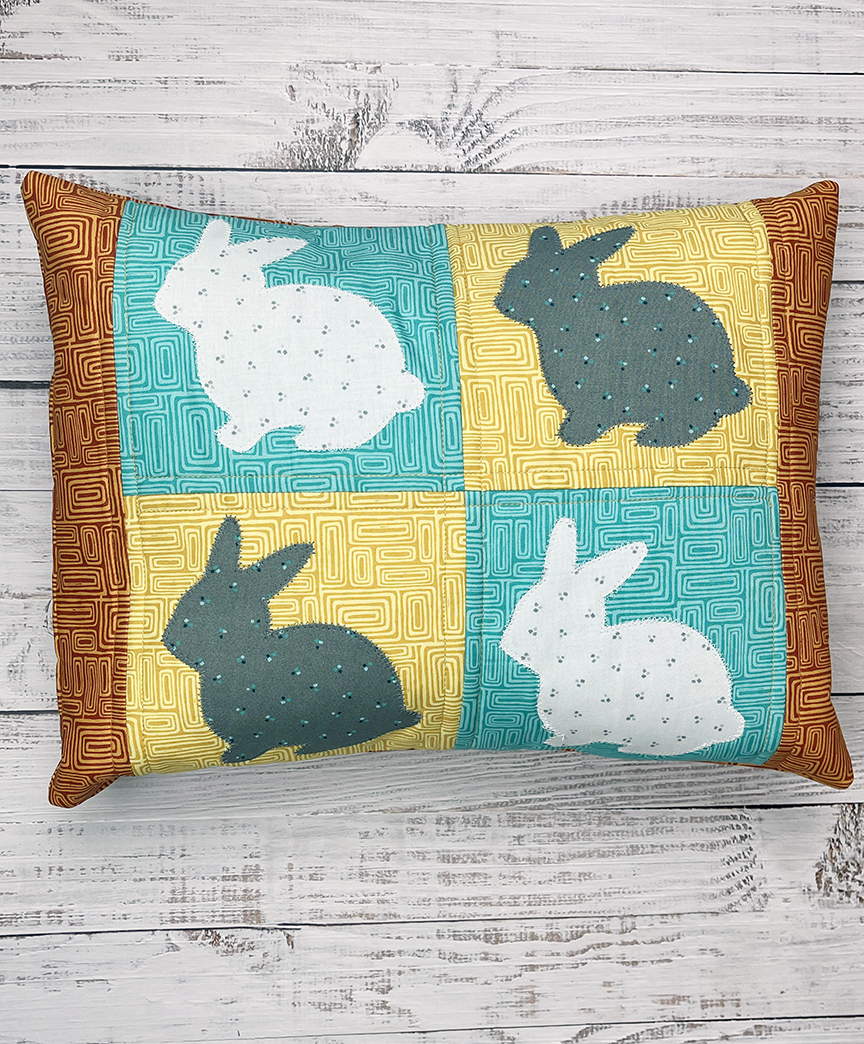
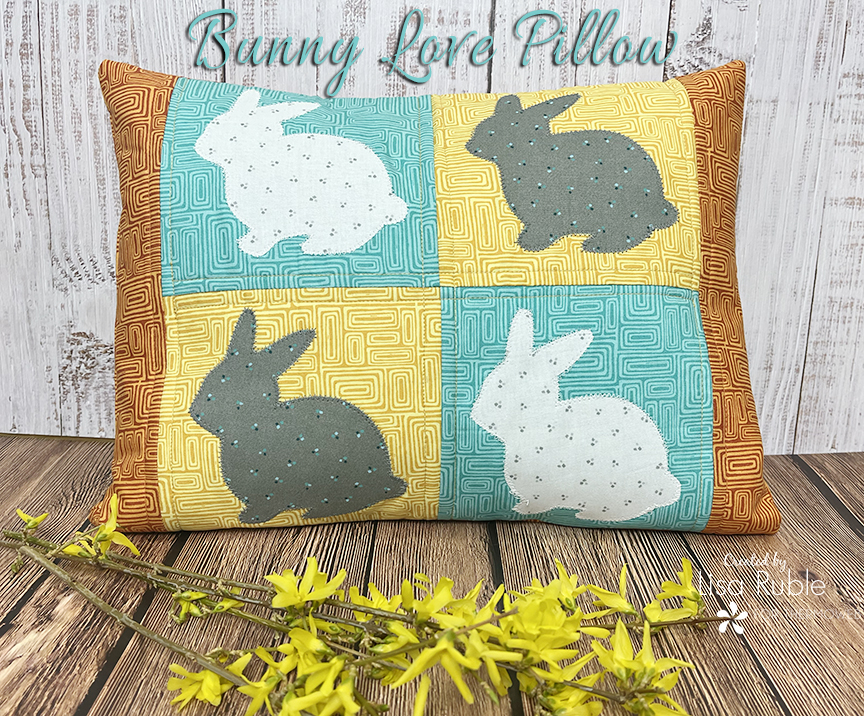
Spring has finally arrived in Michigan – we had what I can only hope is our final snow last week, and this week’s forecast is in the 60s. Spring is bunny season, so I pulled out the “springy” colors from my Find Your Way fabric collection to create a cute bunny pillow. Keep reading to learn how to make your own!
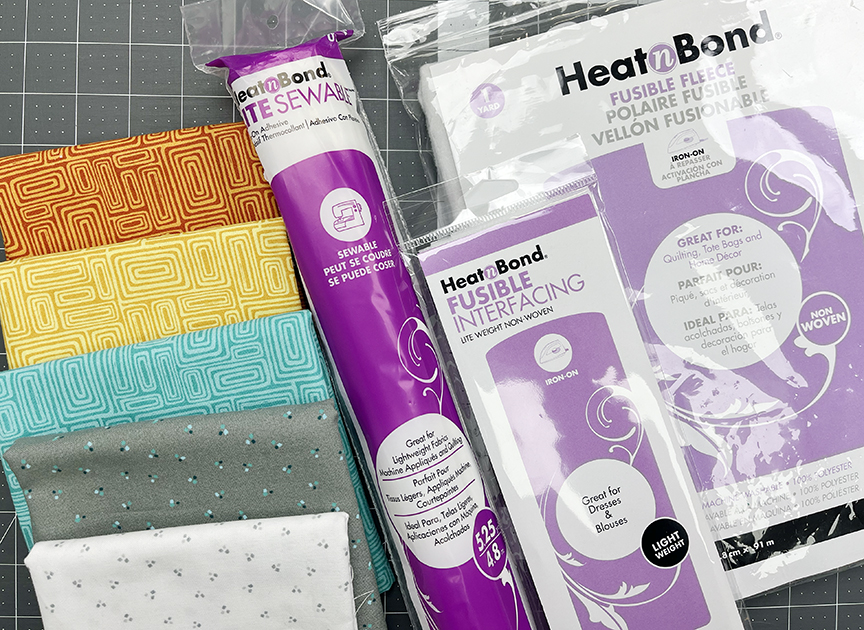
Here’s what you’ll need:
Fat eighth each of one white print, one gray print, one yellow print, and one aqua print
1/2 yard orange print (includes backing)
HeatnBond Lite Sewable Fusible Adhesive
HeatnBond Light Weight Fusible Interfacing
HeatnBond Fusible Fleece
16″ x 12″ pillow insert
Download the template here.
 Cutting:
From each of the yellow and aqua prints:
(2) 6-1/2″ squares
From each of the yellow and aqua prints:
(2) 6″ x 11-1/2″ rectangles
From the orange print:
(2) 12-1/2″ x 20″ rectangles
(2) 2-1/2″ x 12-1/2″ strips
From the Light Weight Interfacing:
(2) 5-1/2″ x 11″ pieces
(4) 5-1/2″ squares
From the Fusible Fleece:
(1) 16-1/2″ x 12-1/2″ rectangle
Making the Pillow
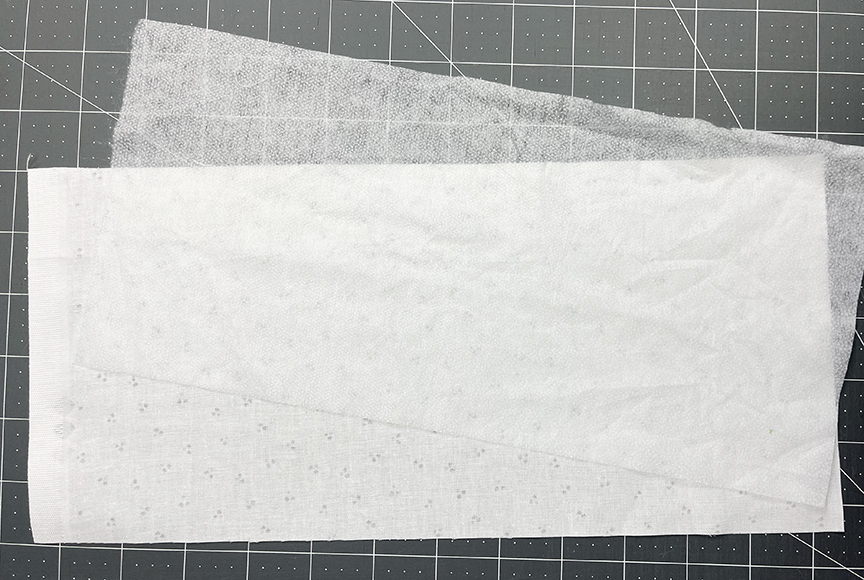
Step 1 Fuse (1) 5-1/2″ x 11″ Light Weight Fusible Interfacing to the wrong side of (1) 6″ x 11″ white print rectangle. Repeat with the 5-1/2″ x 11″ gray print rectangle.
Step 2 Trace (4) bunny shapes onto the paper side of Heatnbond Fusible Adhesive. Cut out each shape 1/4″ past the bunny shape. Fuse two bunnies to the wrong side of the white print and two bunnies to the wrong side of the gray print.

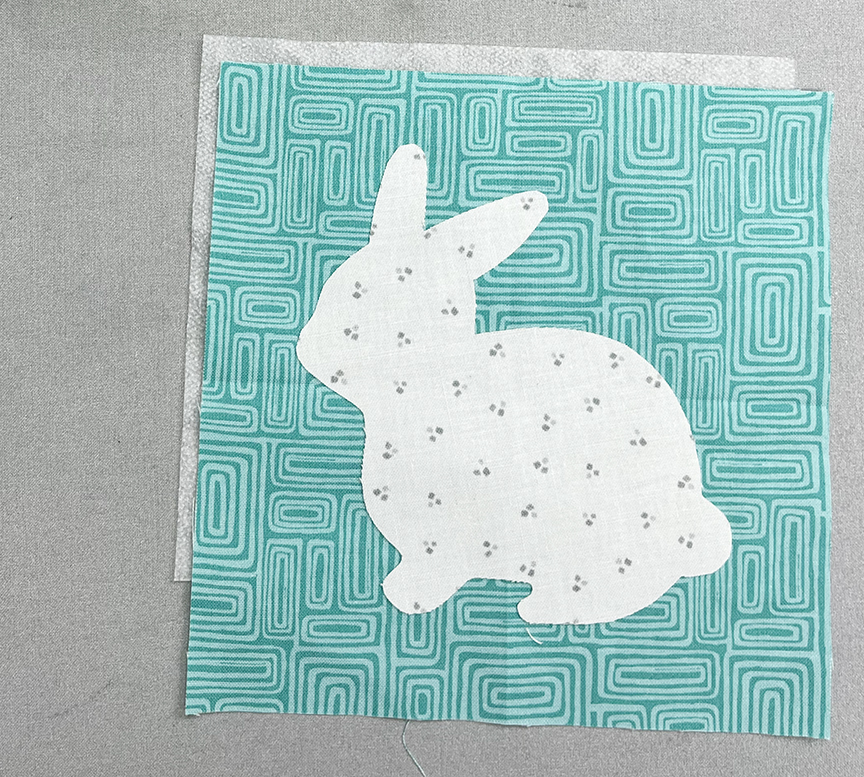
Step 3 Cut out each bunny on the drawn lines. Fuse each white bunny to (1) 6-1/2″ aqua print square. Fuse each gray bunny to (1) 6for -1/2″ yellow print square.
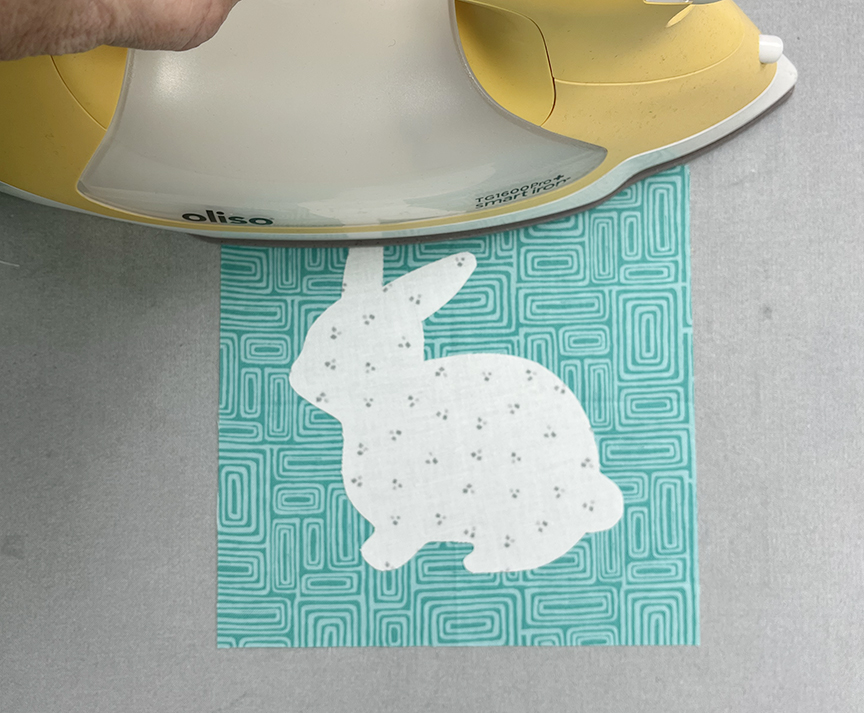
Step 4 Adhere (1) 5-1/2″ fusible interfacing square to the wrong side of each bunny square.
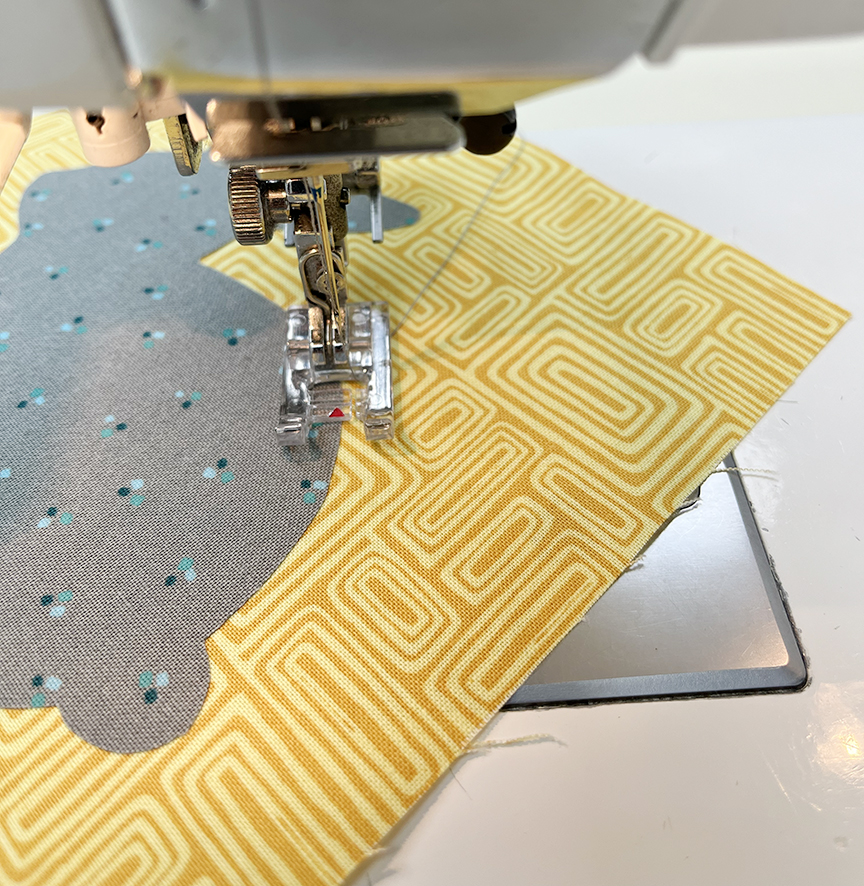
Step 5 Using matching thread, zig zag stitch around each bunny shape to secure it to the square.
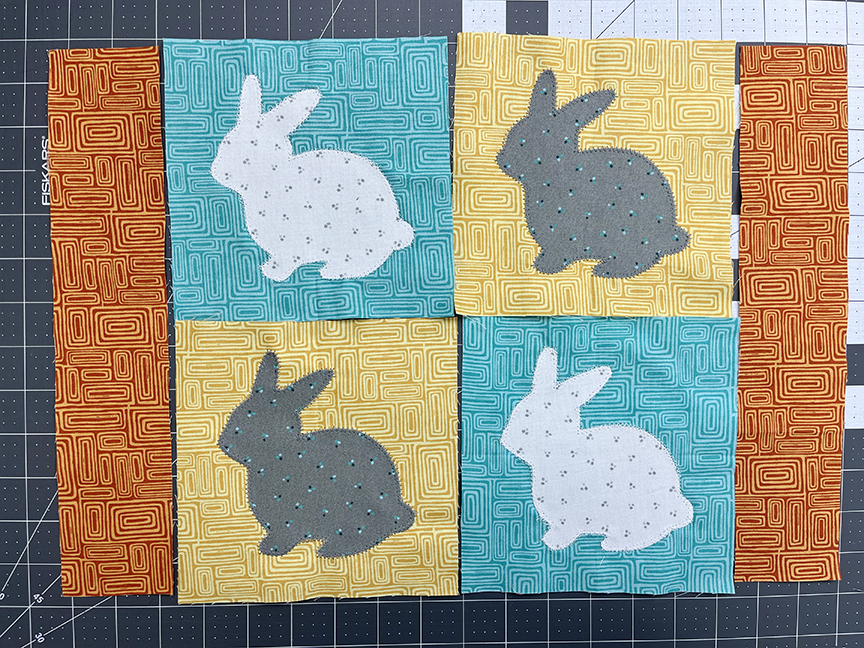
Step 6 Lay out the (4) bunny squares, alternating colors, and (2) 2-1/2″ x 12-1/2″ orange print strips. Sew the squares into rows and join the rows, and then add the strips to opposite sides to complete the pillow top.
Step 7 Adhere the 16-1/2” x 12-1/2” Fusible Fleece rectangle to the wrong side of the pillow top and quilt as desired. 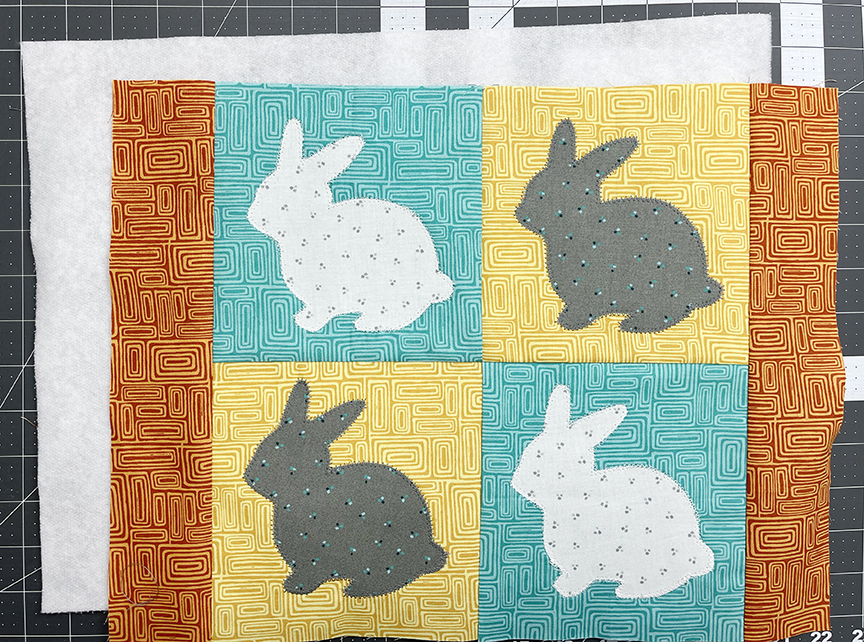
Step 8 Fold (1) 12-1/2″ x 20″ orange print rectangle together wrong sides together and press to create (1) 12-1/2″ x 10″ backing piece. Make (2). 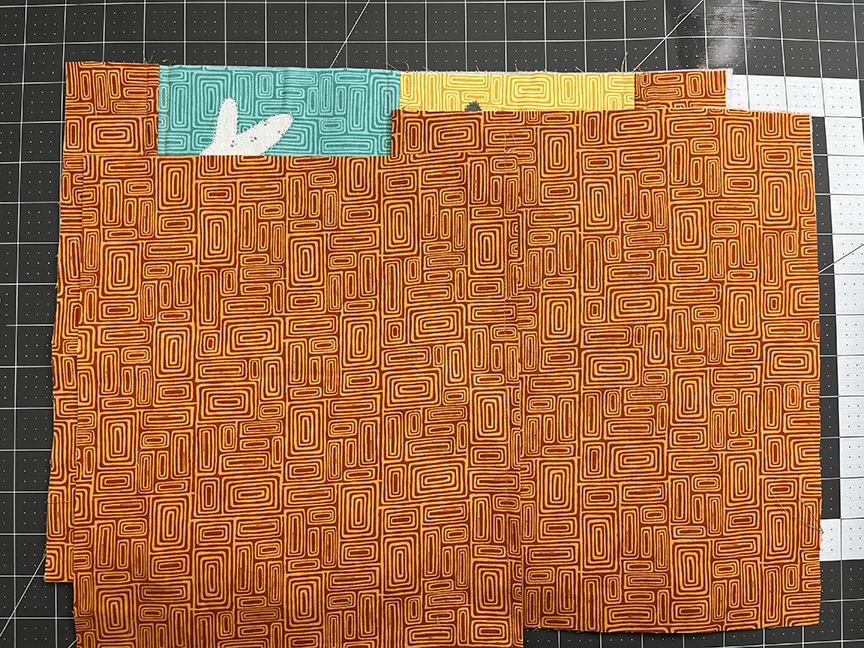
Step 9 Position (1) backing piece on the left end of the pillow front, matching raw edges. Pin in place. Position the second backing piece on the right end of the pillow front, matching raw edges. Pin in place. Stitch around the edge of the layers using a 1/4” seam allowance. Turn right side out and insert pillow.
That’s it! Your pillow is complete. 🙂