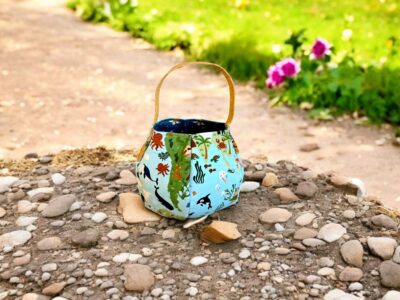
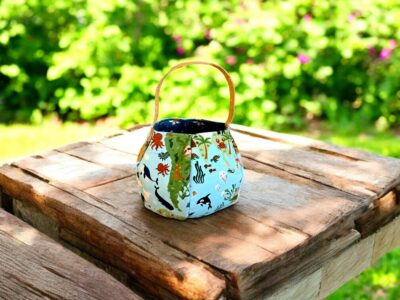
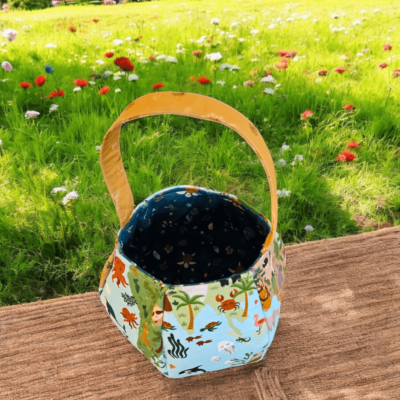
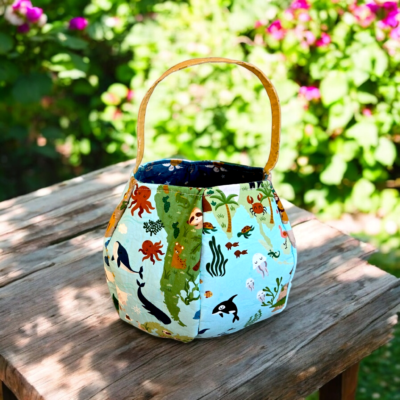
Hi friends! I’m Jennifer Long from Sew A Story, and today I’m sharing one of my most beloved (and beginner-friendly) sewing projects—the Globe Bag!
Designed to be the perfect little carry-all for kids’ treasures, toys, or mini adventures, this bag is shaped like a globe and made extra special with ThermoWeb fusible products and even a touch of Sparkle Paste.
This step-by-step tutorial will walk you through making one from start to finish. And the best part? ThermoWeb readers can enjoy a FREE month inside the Sew A Story Pattern Club, where you’ll get SVG cut files and printable templates to make construction even easier!
Materials You’ll Need
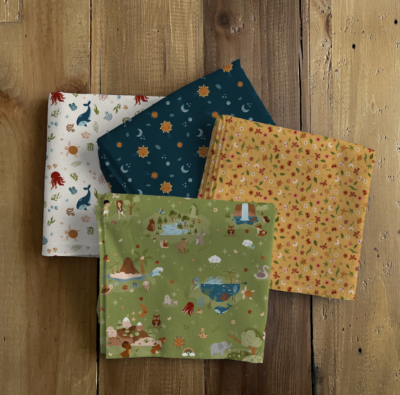
Fabric & Interfacing
-
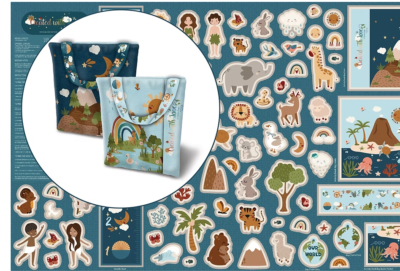
Main Bag Fabric: WB15977–SKY Map Wide Back (from the Created With Love collection)
-
Lining Fabric: C15971–OCEAN In the Sea
-
Strap Fabric: C15973–SUNSHINE Light & Dark
-
HeatnBond Fusible Fleece – Adds a soft, sturdy base for the globe shape
-
HeatnBond Craft Extra Firm Fusible – Gives crisp strength to the lining and strap
-
SpraynBond Fabric Stiffener (optional) – Great for extra support before construction
Embellishments (Optional but Fun!)
-
ThermoWeb Sparkle Paste – Add shimmer to compass stars or label details
-
Sparkle Stencils – Use to add tiny hearts, stars, or names to the bag’s exterior
- Other Supplies:
Coordinating thread
Small sharp scissors
Pins or clips
Sew A Story’s Quilty™ Hemostat (for turning and shaping)
Sewing machine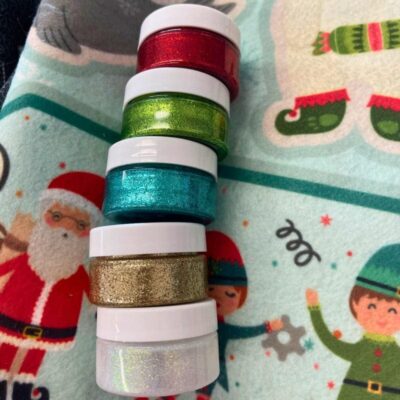
✂️ Step-by-Step Tutorial: Sew the Globe Bag
Step 1: Download Your Templates
Get the printable templates or SVG cut files with your free Pattern Club membership this month.
– Join for one month free using code: GLOBETOWEB
Print or upload to your cutting machine and prep your fabric.
Step 2: Fuse the Fabric
-Fuse the Fusible Fleece to the wrong side of the main bag fabric using your iron (follow ThermoWeb instructions).
-Fuse the Craft Extra Firm Fusible to the wrong side of your lining and strap fabric.
These fusibles work together to give the globe shape structure without making it too stiff for kids to use comfortably.
Step 3: Cut Your Globe Pieces
• Cut (6) globe side pieces and (1) globe bottom piece using your templates.
• Repeat this process for both the outer fabric (with fleece) and the lining (with firm fusible).
– Optional: Add Sparkle Paste details to your exterior pieces before construction! Stencil stars, initials, or a compass rose—let dry fully.
Step 4: Sew the Globe Shape
• With right sides together (RST), sew the globe sides into a continuous loop.
• Carefully sew the bottom panel to the sides.
• Clip the curves and turn right side out using the Quilty™ Hemostat for a smooth shape.
– Repeat this process with the lining—leave a small opening in the lining’s side seam for turning later.
Step 5: Make and Attach the Strap
• Fuse the firm fusible to your strap piece and press the sides inward.
• Fold in half lengthwise and topstitch for a clean, polished look.
• Baste the strap ends to the outer bag on opposite sides.
Step 6: Final Assembly
• Place the outer bag inside the lining with RST. Pin around the top edge.
• Stitch all the way around the top.
• Turn the bag right side out through the lining opening, then sew the opening closed with a ladder stitch.
•Topstitch around the upper edge of the bag for a finished look.
Customize & Create!
Use Sparkle Stencil and Sparkle Paste to personalize your bag with:
• A child’s name or initials
• Tiny stars around the globe
• A compass rose or map-inspired icons
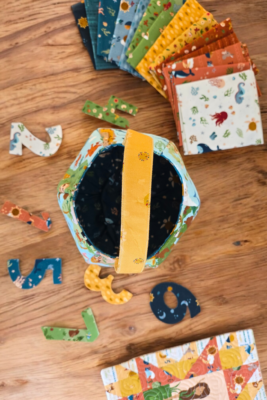
This small but mighty bag is perfect for travel play, stuffed animal adventures, or carrying mini dolls made from our Created with Love Felt Panel.
Want the Templates for Free?
We’re giving ThermoWeb readers a special invite to join the Sew A Story Pattern Club FREE for one month!
Inside the club, you’ll get:
✅ SVG + PDF templates for the Globe Bag
✅ Monthly exclusive patterns
✅ Bonus tutorials and creative guides
✅ A welcoming, inspiring community of makers
Claim your free month
Use code: GLOBETOWEB
Share Your Globe Bag With Us!
We can’t wait to see what you create!
Tag us on Instagram:
-
@sewastory_jenniferlong , @thermoweb and hashtags:
#SewAStory, #ThermoWeb, #GlobeBagPattern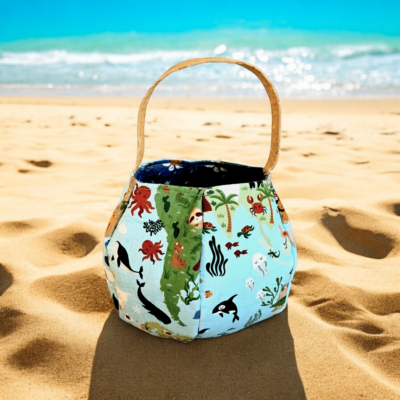
Welcome to Our Creative World
At Sew A Story, every project is designed to bring stories to life through fabric, play, and connection.
Whether you’re making a doll, a bag, or a memory, we’re here to help you create with intention and joy.
We’d love for you to join our creative community—where sewing is more than just a hobby… it’s a story waiting to be stitched.
Let’s make something meaningful—together.