SUPPLIES:
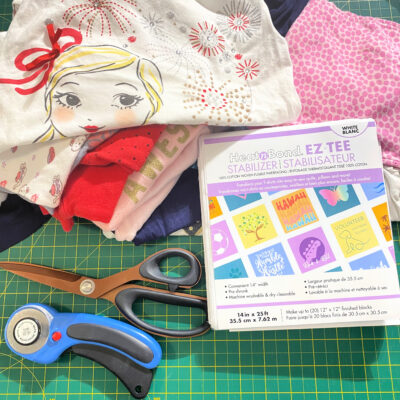
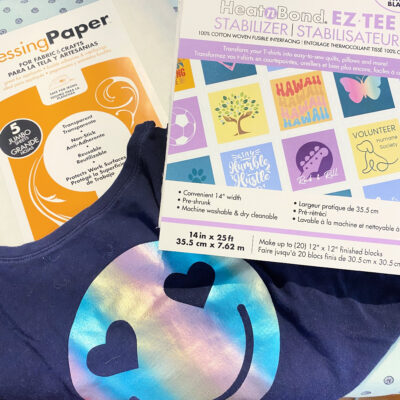
- HeatNbond EZ-TEE Quilt Stabilizer
- Pressing Paper
- A good amount of baby or toodler clothes (you can also use other keepsake fabric items)
- A soft backing such as minky or fleece.
- Thread
TOOLS:
- Iron & ironing board
- Sewing machine
- Scissors
- Rotary cutter and self-healing mat
GETTING STARTED:
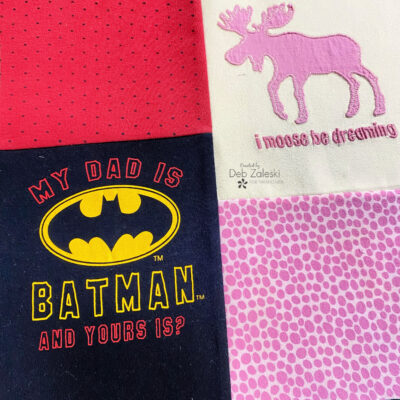
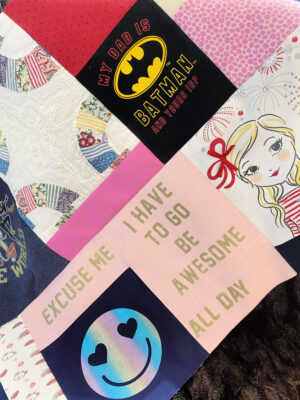
1. I like to start by arranging the items I have to get an idea of the colors and prints I have to work with. It also gives me an idea of how much area I need to cover with filler if there aren’t enough clothing items.
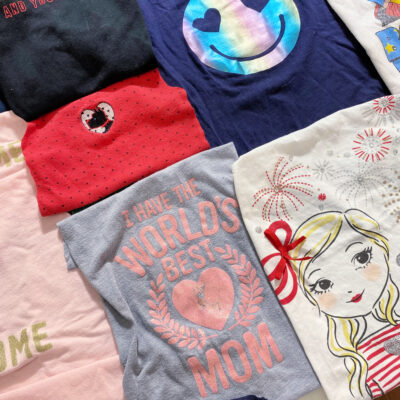
2. I cut T-shirts along the side seam, remove sleeves, hems and necklines. I then apply EZ-Tee Stabiliser to the wrong side of the T-shirt. Since I revamped my ironing station, I also use Pressing Paper, which helps keep my iron free of stabiliser glue and my ironing board clean. You can check that post out here (Ironing Station Revamp)
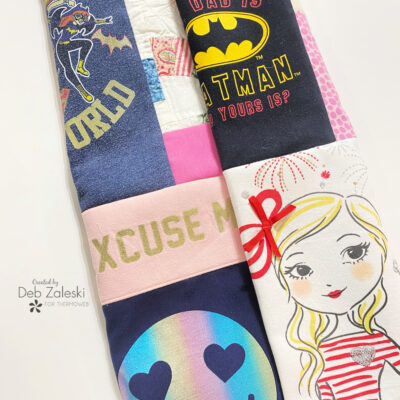
3. I organise my pieces to make rows, so it doesn’t matter how wide or narrow the pieces are. What matters is the total height of each block. You can add smaller pieces to the top or bottom of each main block to make the whole row the same height. When sewing pieces together to form blocks be sure to press your seams! 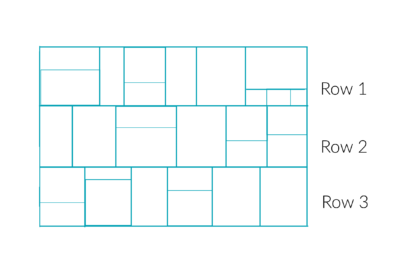
4. Sew your rows together one at a time, pressing your seams to the side.
5.When your quilt top is complete, you can make a quilt sandwich with batting and a cotton backing, or use a plush backing for extra cuddly softness. Either way, do some machine or hand stitching to hold the layers together.