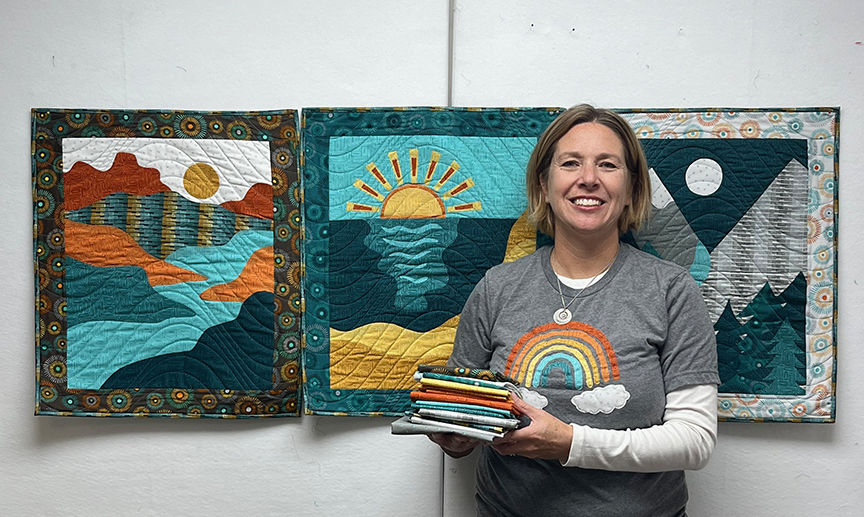
Hi! It’s Lisa from Quilty Zest and I’m so excited to be sharing a tutorial made with my first fabric line!
I first created a version of this t-shirt earlier this fall when I had only small sample pieces of my fabric line, Find Your Way (with Benartex). I love rainbows, and the color scheme worked perfectly. I knew once the fabric was in quilt shops, this would be a perfect tutorial to share here on the Thermoweb blog!
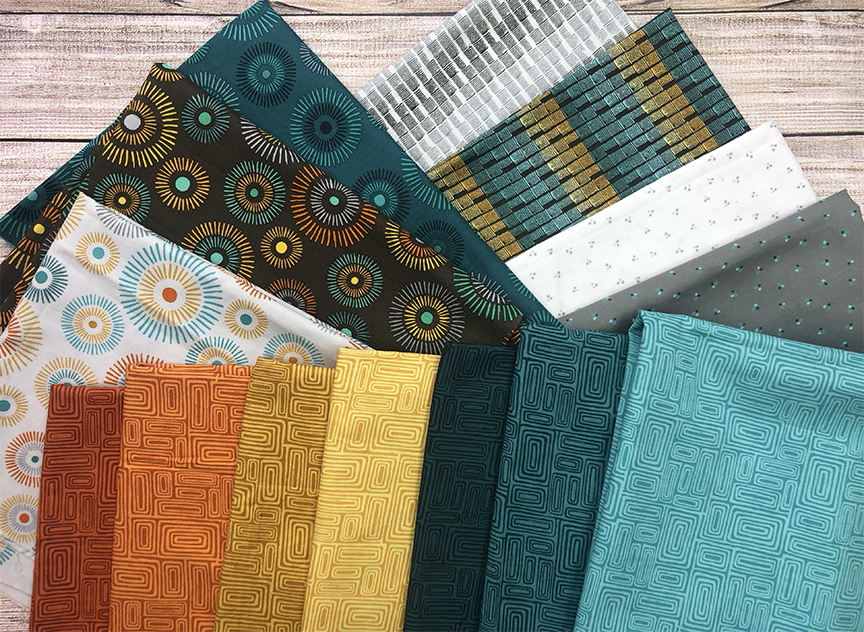
But first, here’s a peek at all the prints in Find Your Way. You can learn more about it here. (The quilt above is called Follow the Sun.)
Ok, back to the tutorial! I used scraps of my rainbow of colors – if you want to use Find Your Way as well, fat eighths will work nicely. If you’re using fabrics from your stash, scraps will work just fine.
You’ll need:
(1) t-shirt. I like the Bella + Canvas brand from Joanns
Fat eighths or scraps of 6 different fabrics in a rainbow of colors, plus white for clouds
HeatnBond Light Sewable Iron-On Adhesive
HeatnBond Lightweight Fusible Interfacing
Pressing Paper
Click here to download the template (there are two size options).
Making the Rainbow Tee:
Step 1 Trace the rainbow arcs onto the paper side of HeatnBond Fusible Adhesive. Trace templates efficiently by creating one “stack” of the even numbered arcs and one “stack” of the odd numbered arcs (see photo below). You’ll need the space between the arcs created by tracing every other arc for cutting.
Step 2 Cut out each shape approximately 1/4” past the drawn lines of each shape. Fuse each shape onto the appropriate fabric.

Step 3 Make sure your arcs are sized in rainbow order. Cut out each arc and the clouds on the drawn lines.

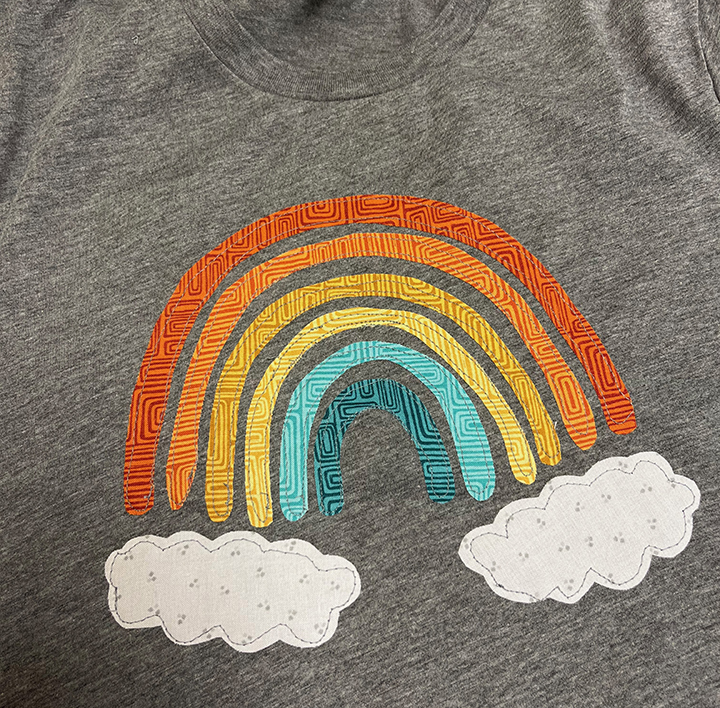
Step 4 Peel off the paper and position the arcs on the t-shirt. Tip: To help center everything, fold the t-shirt in half and press to mark the center line. Fold each arc in half and finger press to mark the center. Position the arcs on the t-shirt, matching up the center lines. My top arc starts about 3” down from the bottom of the collar. Add the clouds at the bottom. 
Your rainbow should look like this:
Step 5 Fuse the shapes in place. Use Pressing Paper on top of your appliqués (I didn’t in this picture because I liked how pretty the rainbow looked with my yellow Oliso iron!) 
Step 6 Cut out a piece of Fusible Interfacing slightly larger than the rainbow. Turn the shirt inside out and fuse the interfacing to the back side of the shirt front. Make sure it covers the entire area of the rainbow applique (you can feel the pieces through the t-shirt). 
Step 7 Don’t forget to use Pressing Paper! 
Step 8 Turn the shirt right side out and use a straight or decorative stitch to secure appliqués to the shirt. Tip: I chose a light gray thread that blended with all the colors. I also used a straight stitch and a free-motion foot to secure mine. Zig zag or buttonhole work great too! 


