Sparkling Sunflowers Mini Quilt
Greetings friends! It’s Belinda Karls-Nace from Blue Ribbon Designs, here today with a brand new project tutorial featuring HeatnBond Sparkle Paste by Jennifer Long of Sew a Story. Today, I am excited to share my Sparkling Sunflowers Mini Quilt with you.
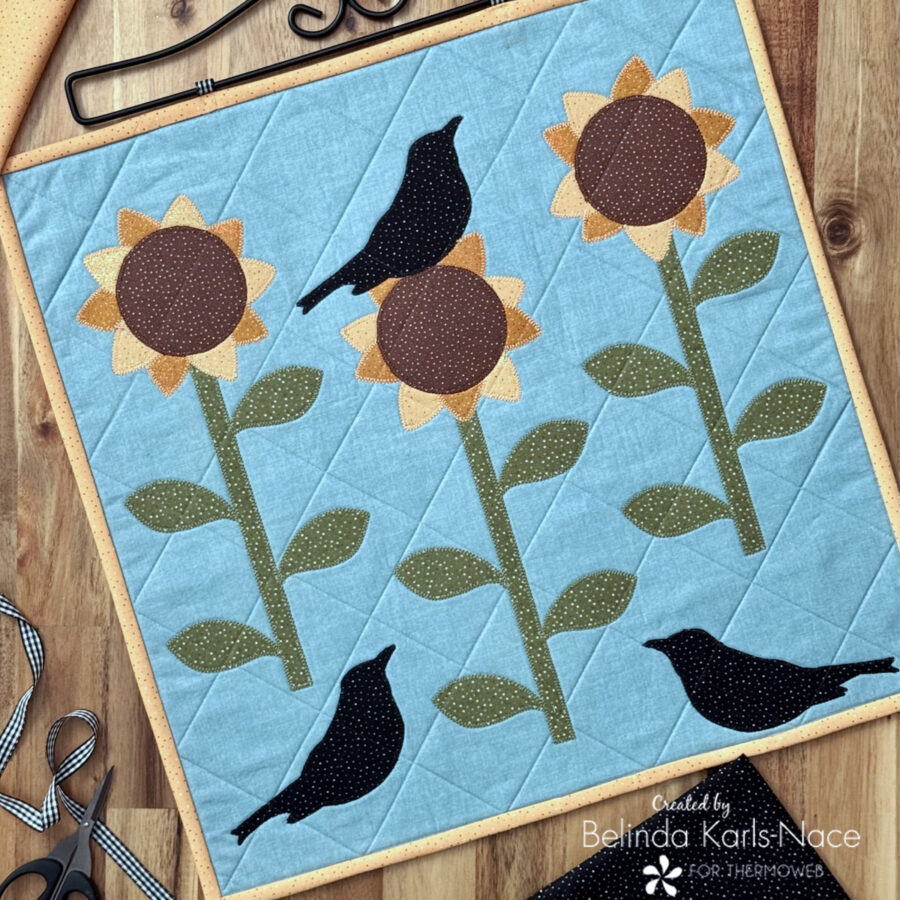 What a fun project I have for you today! I am not normally a “sparkly” fabric girl, but the new HeatnBond Sparkle Paste has changed my mind. This magic paste can be applied with a paintbrush or a palette knife to add sparkle and shine to any fabric…and after curing, it holds up and won’t flake off. When I say I *need* sparkle paste in all 14 colors, I mean it. I love the ease of application and the control of how much sparkle/shine can be added. Today’s project will show you just how easy it is to add a touch of shimmer to your next project.
Let’s get creative! Simply gather the materials/supplies listed below, then download the pattern with PDF templates and quilt layout.
*NOTE*: This tutorial requires basic machine appliqué and quilting knowledge. If you need additional assistance for this project, search/visit the Internet, take a class, or look at a basic quilting book to learn the fundamentals.
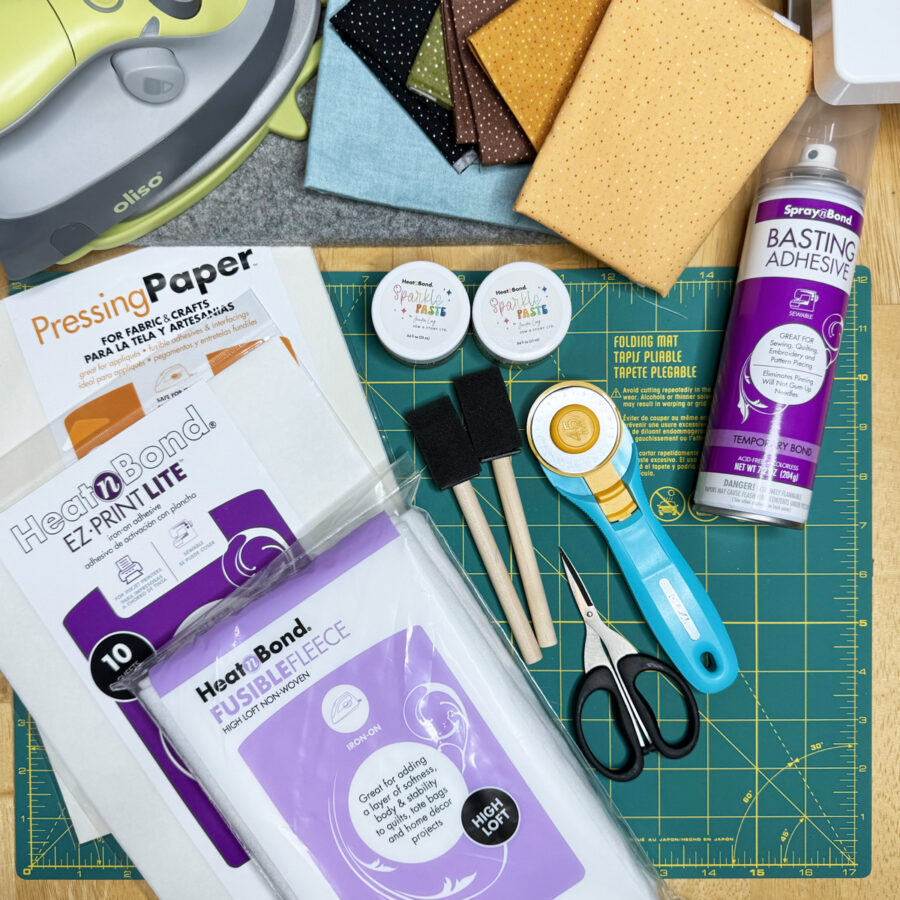
What you need:
- HeatnBond Sparkle Paste by Jennifer Long of Sew a Story
- 19155 Pumpkin
- 19156 Sunshine
- HeatnBond Pressing Paper Fabric and Craft Sheets
- HeatnBond Lite EZ-Print Iron-On Adhesive Sheets, 8.5 in x 11 in
- 5 sheets
- HeatnBond Fusible Fleece
- 1 – 18.5” x 18.5”
- SpraynBond Basting Adhesive Fabric Spray
- Cotton Fabrics: model uses Country Confetti in various colors by Poppie Cotton for the appliqué and Linen Texture cotton fabric by Makower UK (1473 Sapphire) for the background – I encourage you to use fabric in your stash or scrap bin.
- 1 – 18½” square of teal blue fabric (background)
- 3 – 5½” squares of dark gold fabric (appliqué flower petals)
- 3 – 5½” squares of light gold fabric (appliqué flower petals)
- 3 – 3½” squares of brown fabric (appliqué flower centers)
- 3 – 6¼” x 4” rectangles of black fabric (appliqué blackbirds)
- 1 – 8” x 10” rectangle of green fabric (appliqué stems and leaves)
- 1 – 18½” square of backing fabric
- 2 – 2½” WOF strips for binding
- Optional, if Hanging: Twill Tape or Ribbon
- 2 – 3” pieces (hanging tabs)
- Optional, if Hanging: Quilt Hanger (model used a wrought iron flag hanger)
- Oliso Iron
- Olfa Cutting Tools (cutting mat, rotary cutter)
- Sewing Machine
- Basic Sewing Supplies/Tools (small sharp scissors, rulers, sewing thread, pencil, pins, etc.)
How to make a Sparkling Sunflowers Mini Quilt (18” x 18”)
1. Download and print the Sparkling Sunflowers Mini Quilt PDF
Sparkling Sunflowers Mini Quilt – A Project for the Therm O Web Blog
- Print actual size – do NOT “fit to page” or “shrink to fit.”
- Print page 1 (cover/quilt layout) on regular printer paper.
- Print pages 2 – 6 (appliqué templates) on HeatnBond Lite EZ-Print Iron-On Adhesive
2. Add Sparkle to Sunflower Petal Fabrics
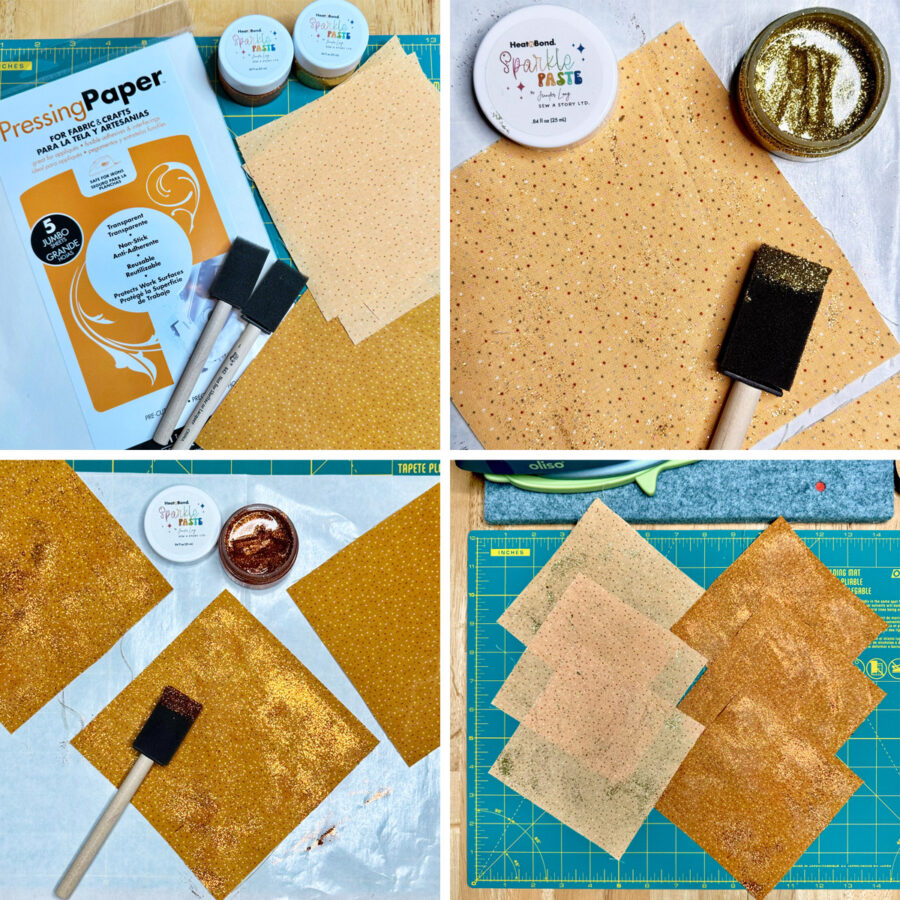
Apply HeatnBond Pumpkin Sparkle Paste to dark gold fabric squares. Apply HeatnBond Sunshine Sparkle Paste to light gold fabric squares. I used a 1” foam brush and applied roughly for a more natural look. Play with the sparkle paste to get your desired results.
-
- Protect work surface with HeatnBond Pressing Paper.
- Apply the desired amount of Sparkle Paste to fabrics with a brush or palette knife. Wash the tools immediately afterward in warm, soapy water.
- Let dry 1 hour.
- Preheat dry iron to cotton setting (high heat), no steam. Cover design with HeatnBond Pressing Paper and press with medium firm pressure for 60 seconds.
- Let Sparkle Paste cure for 24 hours. Sparkle Paste will now be permanent and machine washable.
- The durable glittery finish won’t flake off and will stand up to frequent use and handling. Machine wash gentle cycle cold/cool, lay flat to dry.
3. Prepare Background Fabric
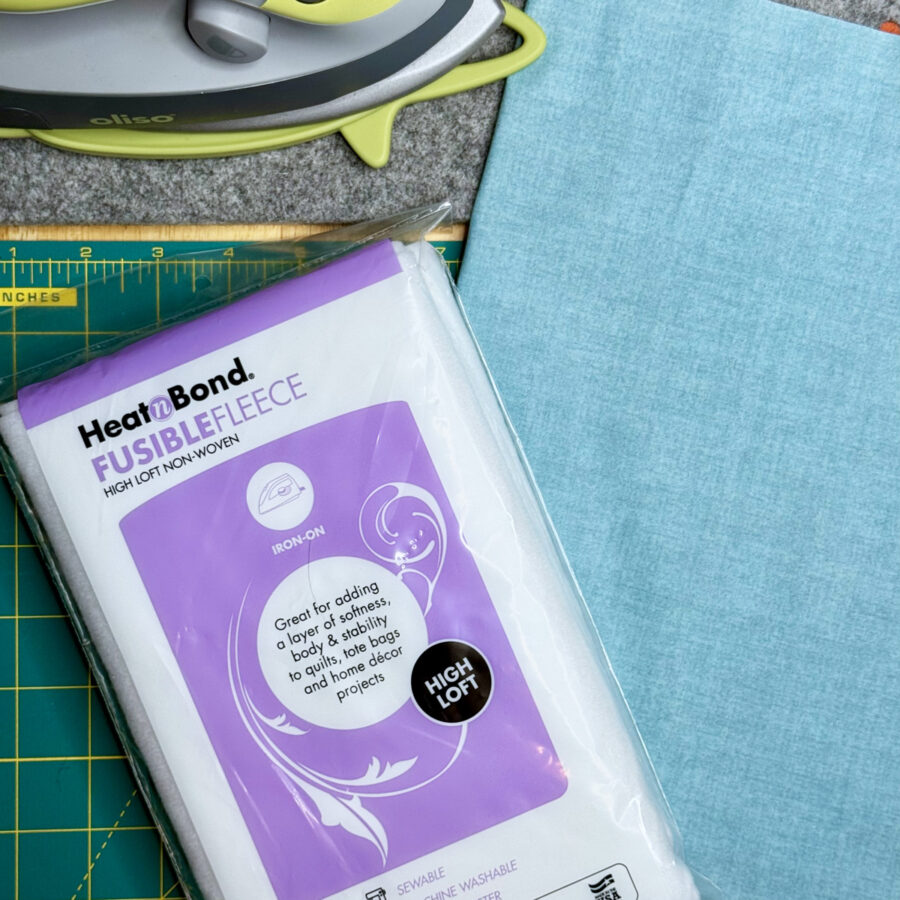
Center and fuse the 18½” x 18½” piece of HeatnBond Fusible Fleece to the wrong side of the 18½” square of teal blue fabric (background), following the package instructions.
-
- Pre-heat iron to a medium setting, no steam.
- Place the rough side of the Fusible Fleece on the wrong side of the backing fabric unit.
- Cover with a lightweight, dry pressing cloth.
- Press and hold iron with medium pressure for 10-15 seconds. Repeat by lifting iron to new area, slightly overlapping previous area until the entire surface is bonded.
- Allow it to cool.
4. Create Appliqué
Loosely cut out the appliqué template(s) printed on HeatnBond Lite EZ-Print Iron-On Adhesive and apply to the backs of coordinating fabrics following the package instructions.
-
- Loosely cut out all template shapes, leaving the paper in place.
- Pre-heat iron to medium heat, no steam.
- Place loosely cut apart shapes on the wrong side of fabrics (printed paper, smooth side, should be face up).
- Place and hold the iron on the paper for 2-3 seconds. Repeat, overlapping slightly, until entire surface is bonded.
- Allow shapes to cool.
- Cut or trim the piece(s) on the solid lines printed on the paper to create the desired shape. Leave paper in place until ready to fuse in place.
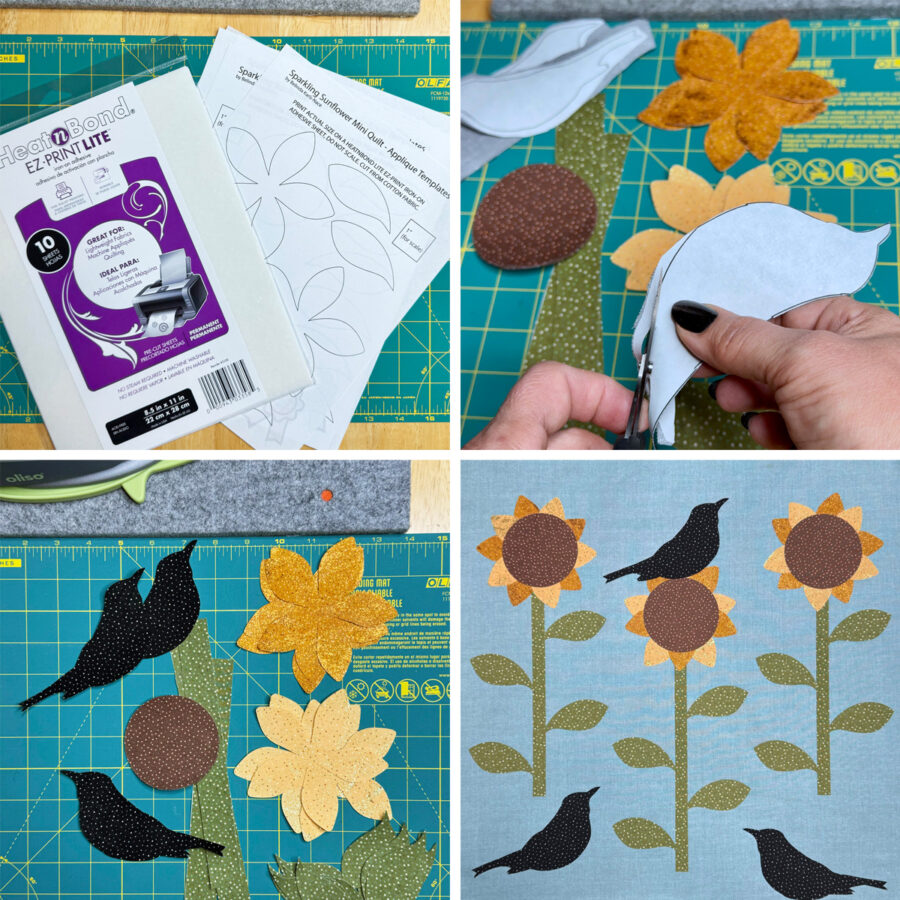
Following the pattern cover layout, fuse template shapes into place on prepared background fabric. Follow the package instructions.
-
- Pre-heat iron to medium heat, no steam.
- Peel off paper.
- Place shapes, adhesive side down on top of the prepared background fabric.
- Press and hold iron for 6 seconds on each section, overlapping slightly, until the pieces are bonded.
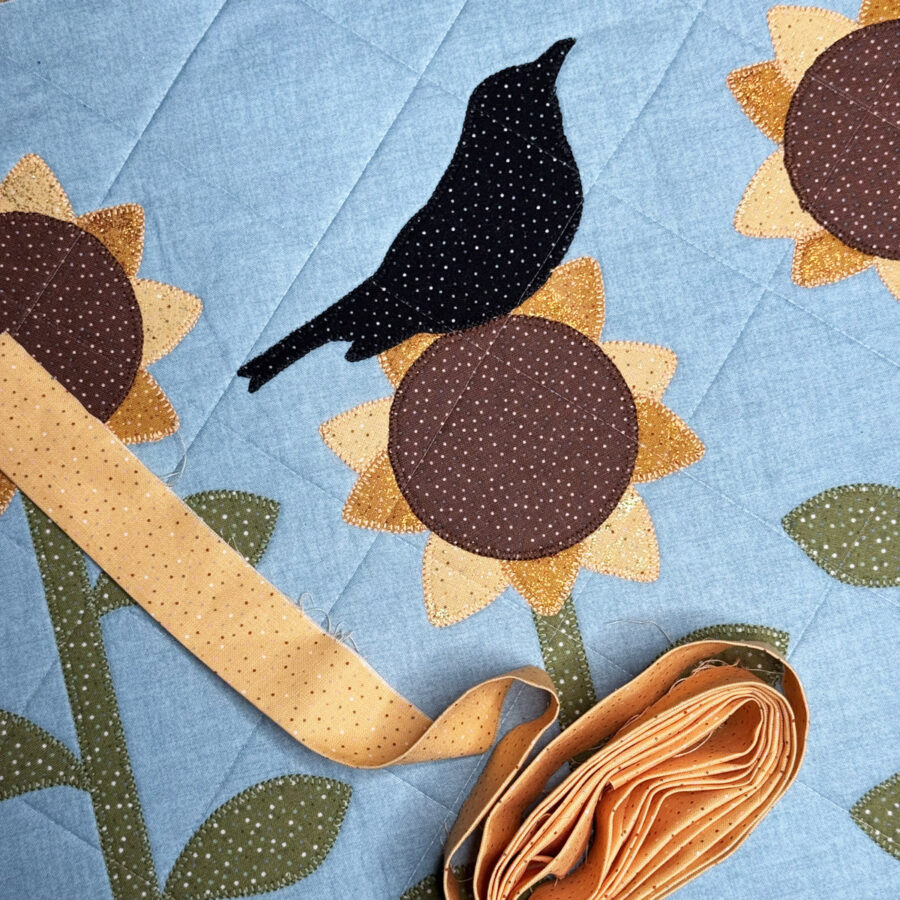
Here is a close-up image to see the shimmer and shine.

Using your favorite appliqué stitch (machine or hand) and coordinating sewing thread, sew the pieces in place. I chose to use a machine blanket stitch.
5. Finish Quilt Top
Apply the backing fabric to the back of the quilt top unit using SpraynBond Basting Adhesive Fabric Spray
-
-
- Shake well. (Ensure that your work surface and project are protected.)
- Hold can upright, 12 inches from fusible fleece. Press nozzle and apply adhesive from the center outward.
- Wait 30 seconds, then place the quilt back on the fusible fleece and smooth. Reposition as needed.
-

Quilt as desired.
Add binding. If hanging, fold each 3” piece of twill tape/ribbon in half and baste into place on the top edge of the quilt before adding the binding. Match the raw edges of the twill tape/ribbon with the raw edge of the quilt. The binding will hold the tabs in place. After binding has been added, tack the tabs upward for hanging.
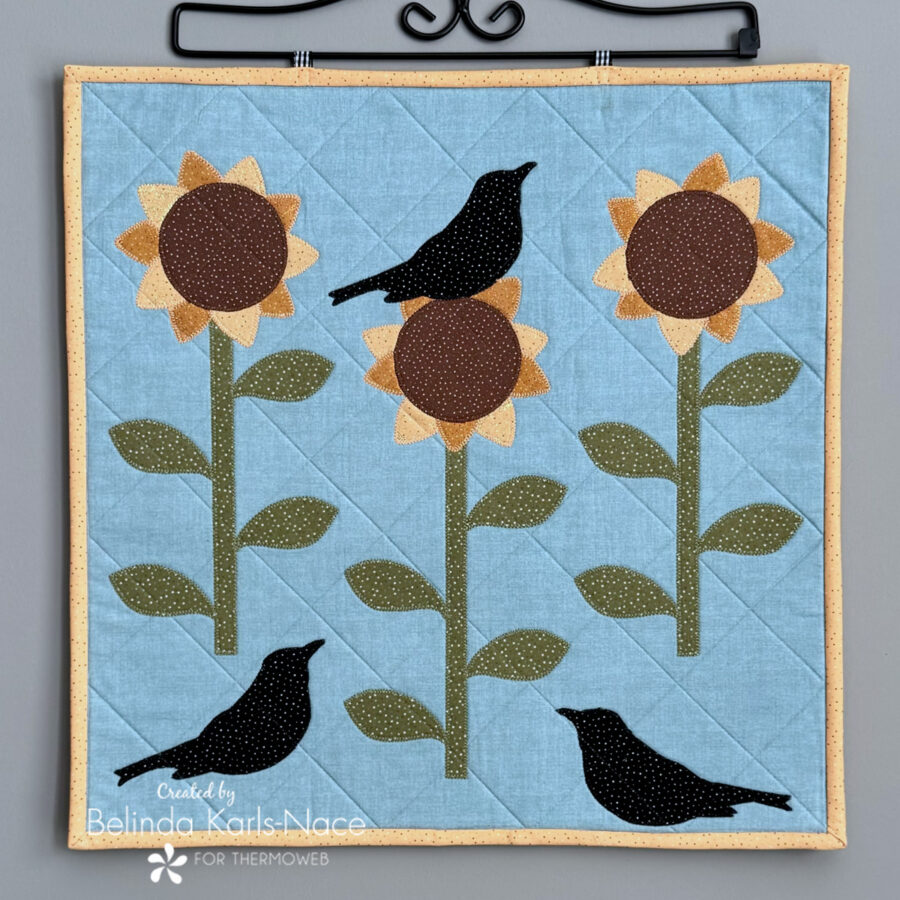
Your Sparkling Sunflowers mini quilt is complete. Doesn’t the HeatnBond Sparkle Paste add the perfect glimmer and shine to the sunflowers?! Place on a hanger to display or use as a table topper.
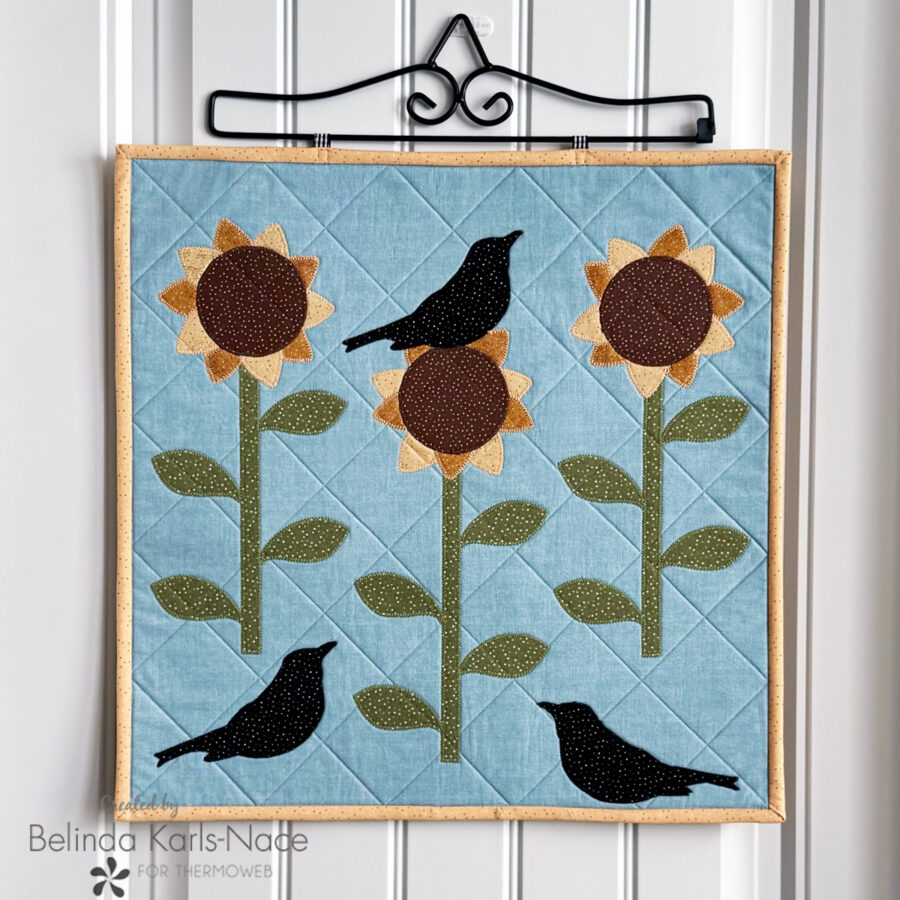
Thank you for joining me today for my Therm O Web blog tutorial. I hope this post inspires you to create a Sparkling Sunflowers Mini Quilt, using your favorite fabrics. To see more of my projects and patterns, stop by my blog, website, and/or Instagram – I would love to visit with you and see what you create!
