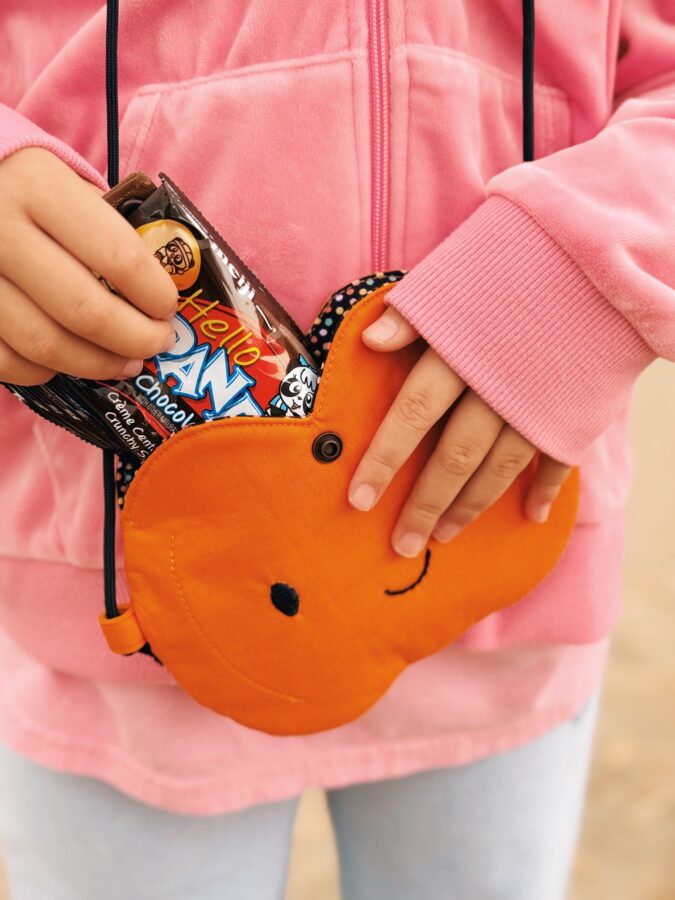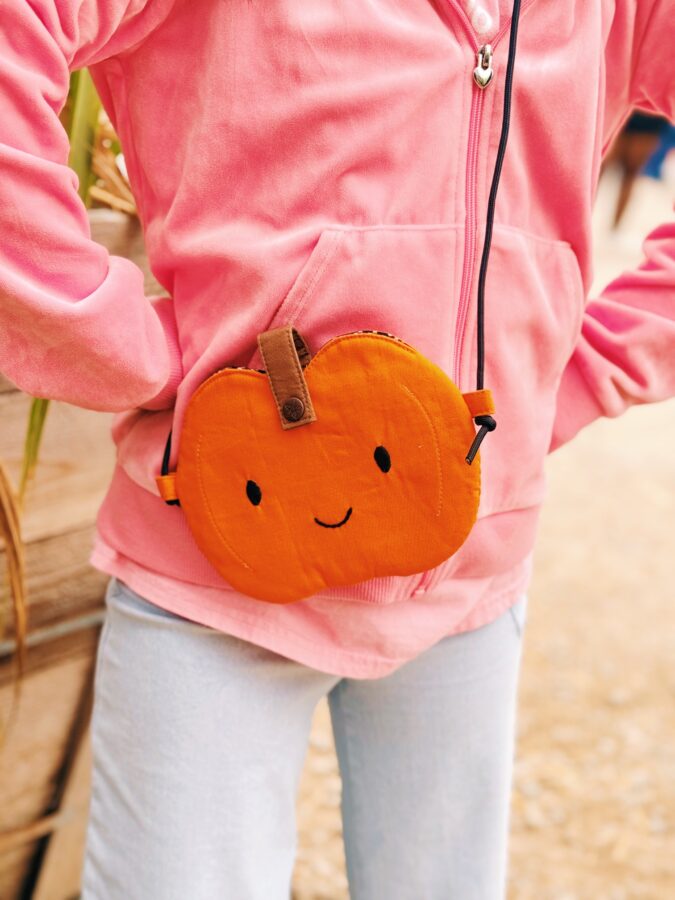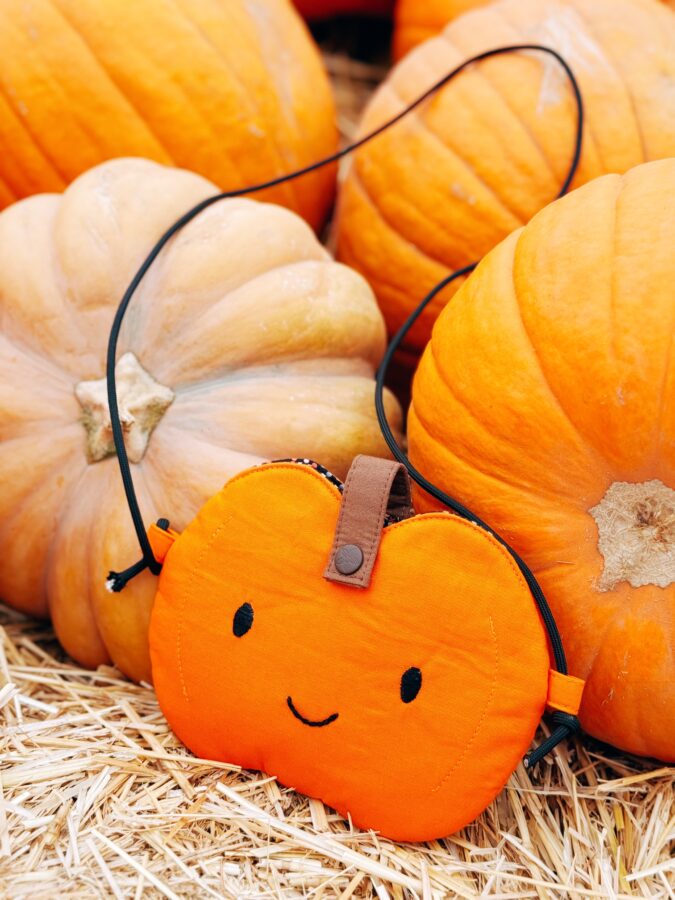
Hello! It’s officially pumpkin season! I recently took my kids on a field trip to a Pumpkin Patch farm. To go with the theme, I made a Pumpkin Pouch for my daughter to store a few snacks i just in case she would get hungry. This pumpkin pouch purse is the sweetest little pouch I’ve ever made! It has a cute little stem that doubles as the button closure. It uses two fat quarters or larger scraps if you have those handy, HeatnBond Fusible Fleece and Interfacing, and a few other things that you may have on hand. I free-styled the eyes and mouth, so you can draw up your own face of your liking. Let’s make this pouch!
Pumpkin Pouch Instructions
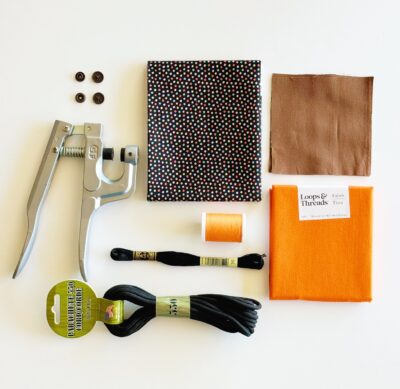
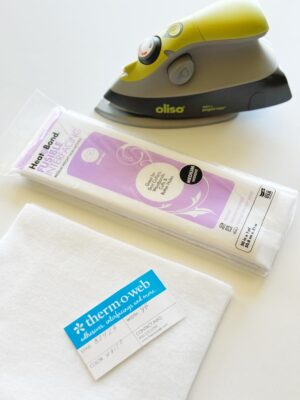
Materials Needed:
- Orange Fat Quarter – for the outer body
- Contrasting Fat Quarter – for the inner body
- Brown scrap fabric – for the stem
- HeatnBond Fusible Fleece – for the body
- HeatnBond Heavyweight Fusible Interfacing – for the stem
- Black embroidery thread – for the face
- Cam button set – for the stem closure
- Black Parachute Cording – for the handle
- Copy of pumpkin template – print onto cardstock CLICK HERE TO PRINT
Tools Needed:
- Cam Button Pliers – For the button closure
- Embroidery thread and needle – For the face
- Water soluble pen – To mark the face and to trace the pattern
- Stiletto or chopstick – To turn the pieces right side out
- Iron – I love Oliso!
- Sewing Machine
Cutting:
- Cut two 8” x 8” orange cotton squares – for the outer body pieces
- Cut two 8” x 8” HeatnBond Fusible Fleece squares – for the outer body pieces
- Cut two 8” x 8” contrasting cotton squares – for the inner body pieces
- Cut two 8″ x 8″ HeatnBond Mediumweight Fusible Interfacing – for the inner body pieces
- Cut one 4” x 3” brown cotton rectangle – for the stem piece
- Cut one 4” x 3” HeatnBond Medium Weight Fusible Interfacing – for the stem piece
- Cut two 2” x 1 3/4” orange rectangles – for the tab pieces
- Cut two 2” x 1 3/4” HeatnBond Mediumweight Fusible Interfacing – for the tab pieces
- Cut desired length for parachute cording for the strap
Tips
- Use a 1/4″ seam allowance unless noted otherwise
- Follow the instructions for HeatnBond Fusible Fleece and Interfacing as directed on the package
Let’s Begin!
Make the Stem and Tabs
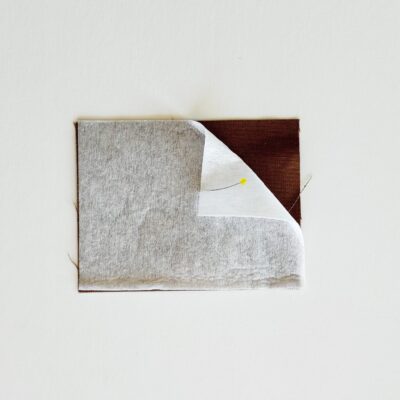
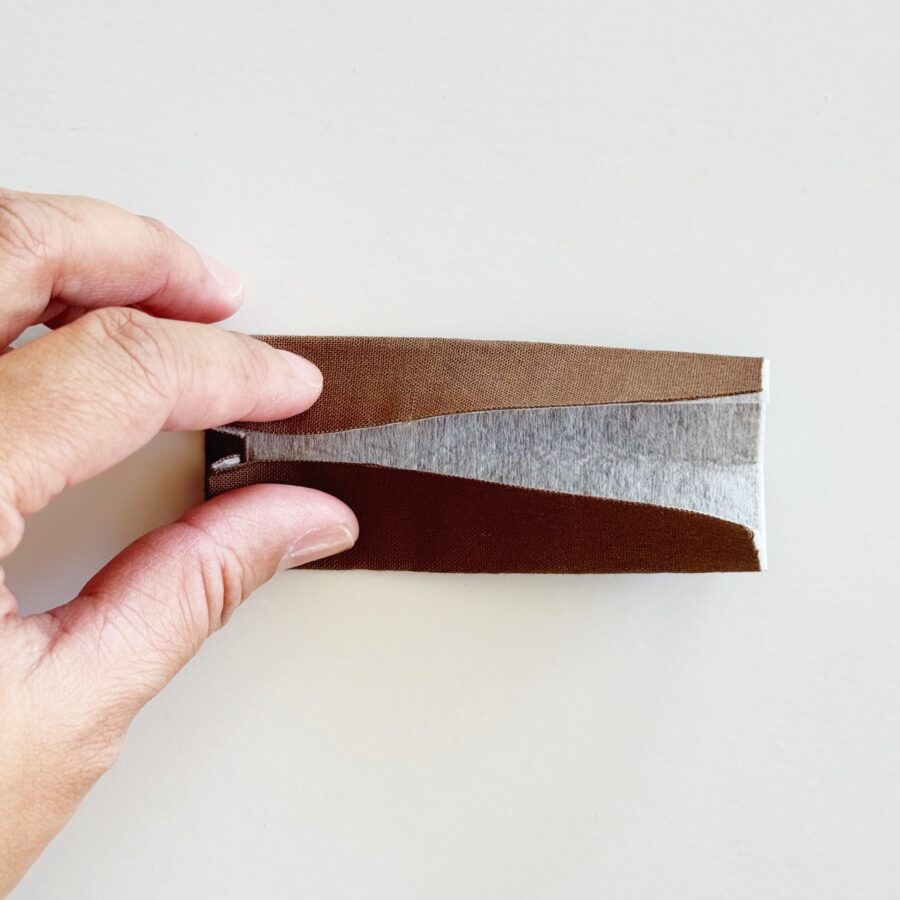
- To make the stem, attach the 4” x 3” HeatnBond fusible interfacing rectangle to the 4” x 3” brown rectangle.
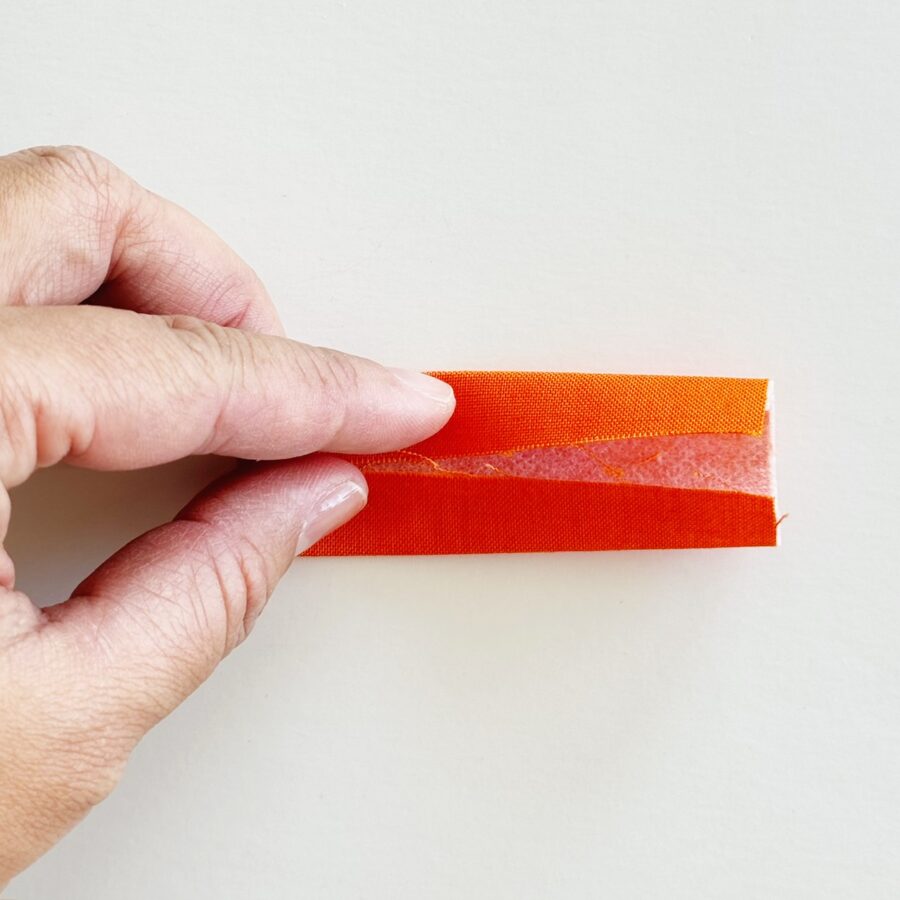
 Fold one end in by 1/4” to the wrong side and press.
 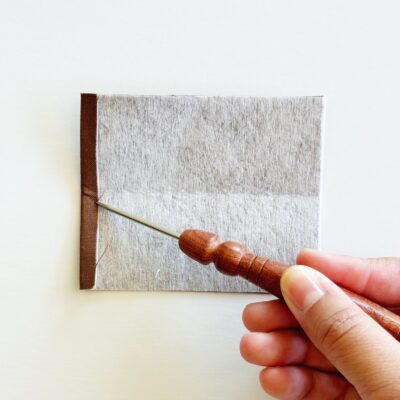 Now, fold the piece in half lengthwise to mark the middle. Fold in the bottom and top sides into the middle fold.
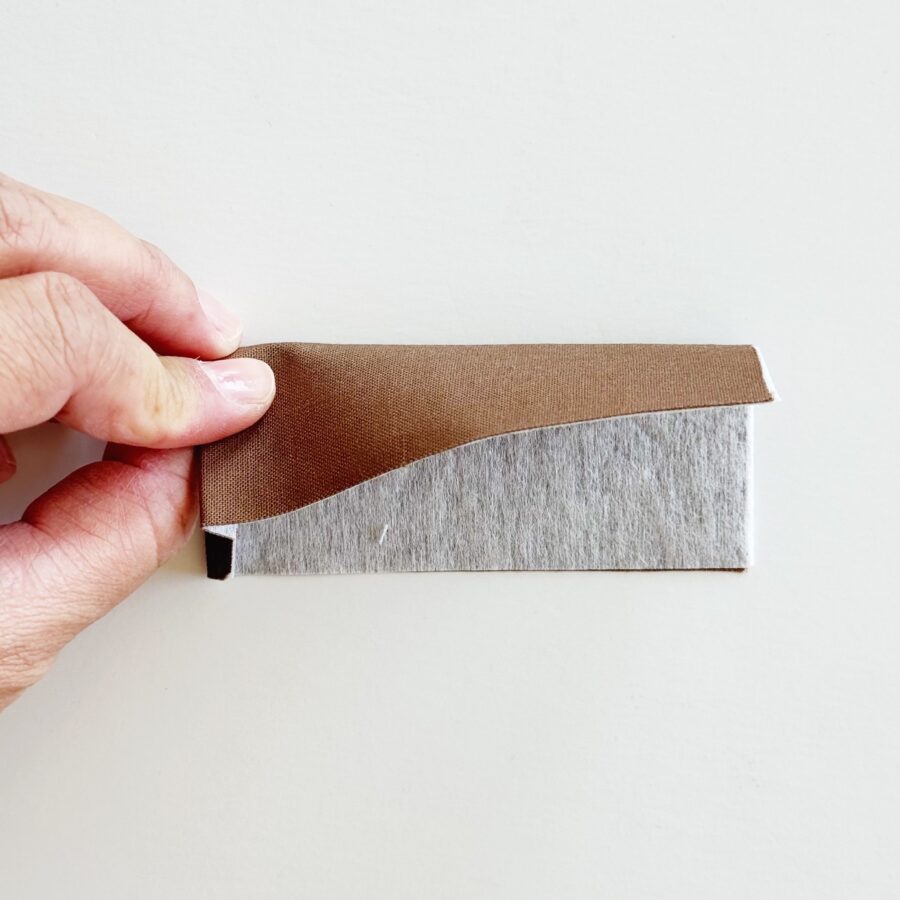
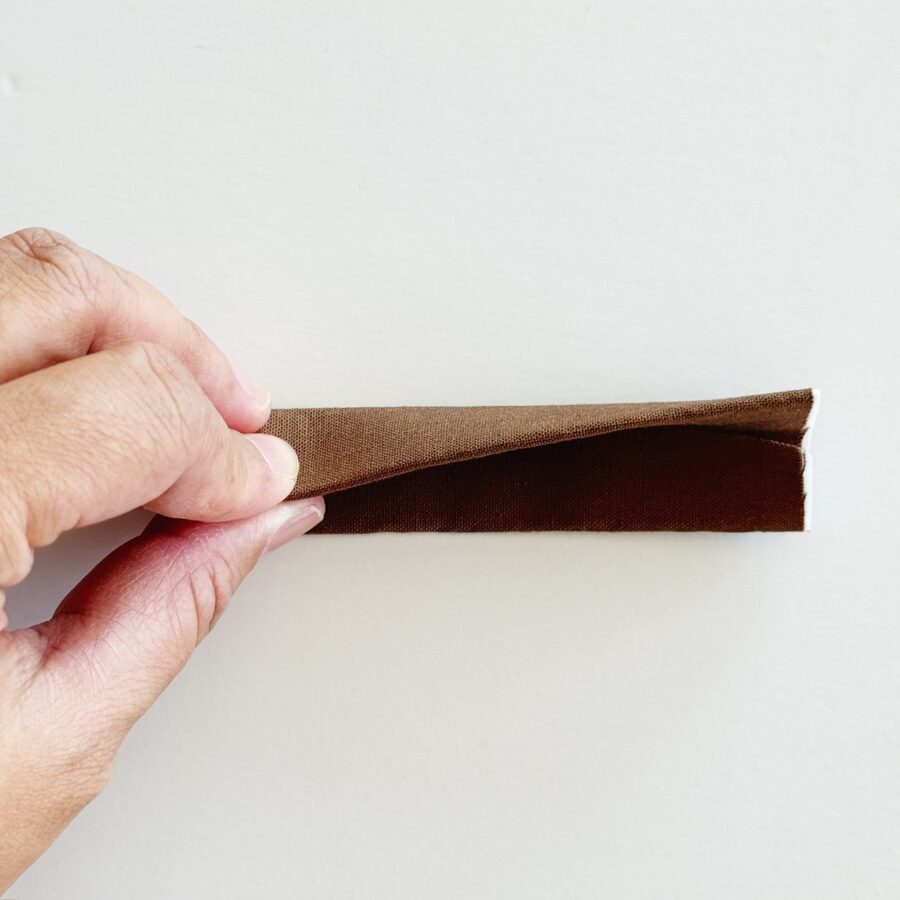
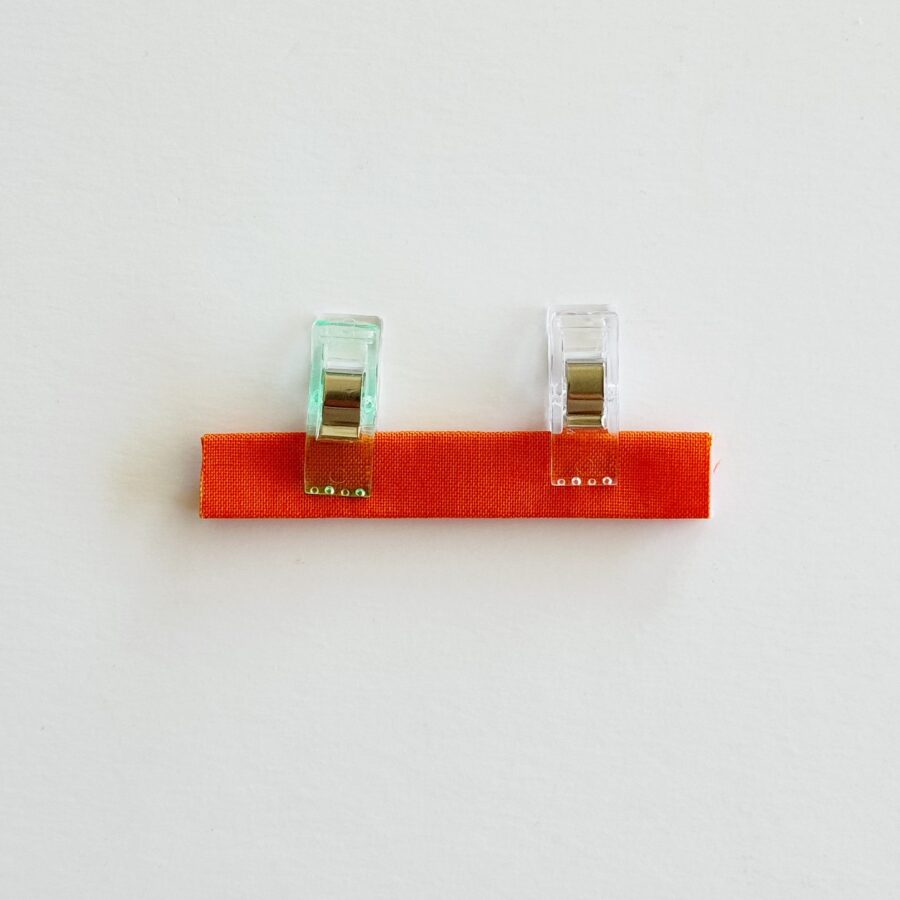
Sew around all the edges (Note: one side will have raw edges. This is ok as it will be hidden when placed onto the pumpkins body). Set aside and make the tabs for the strap.
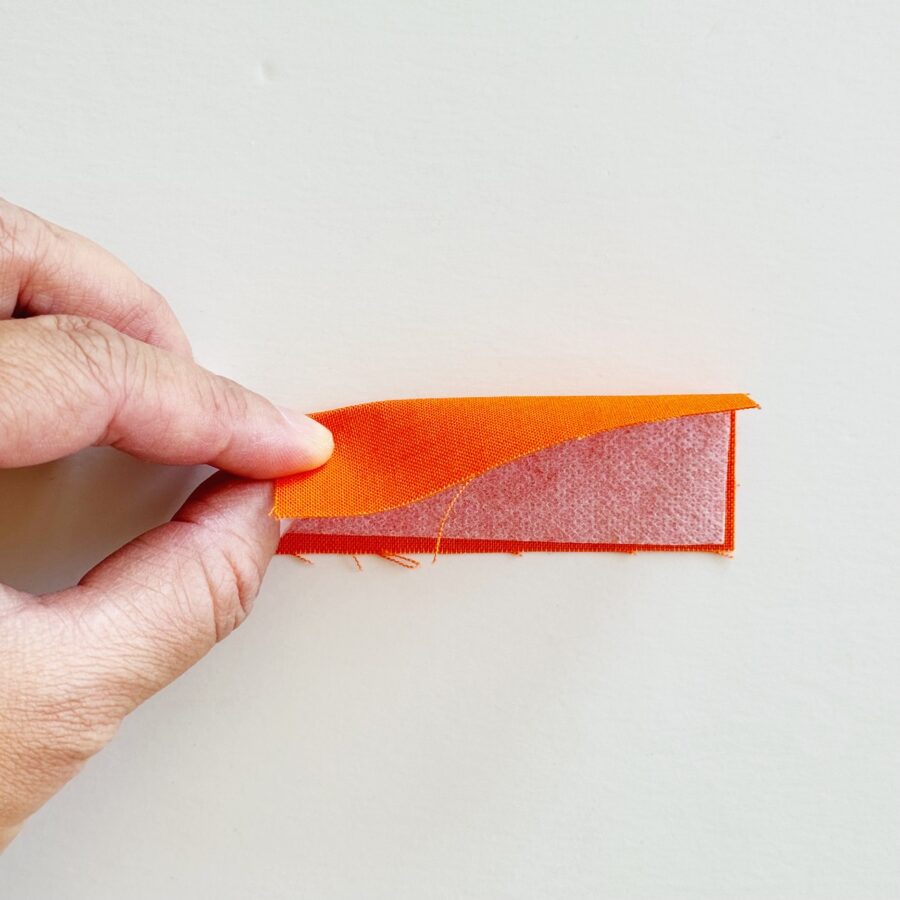
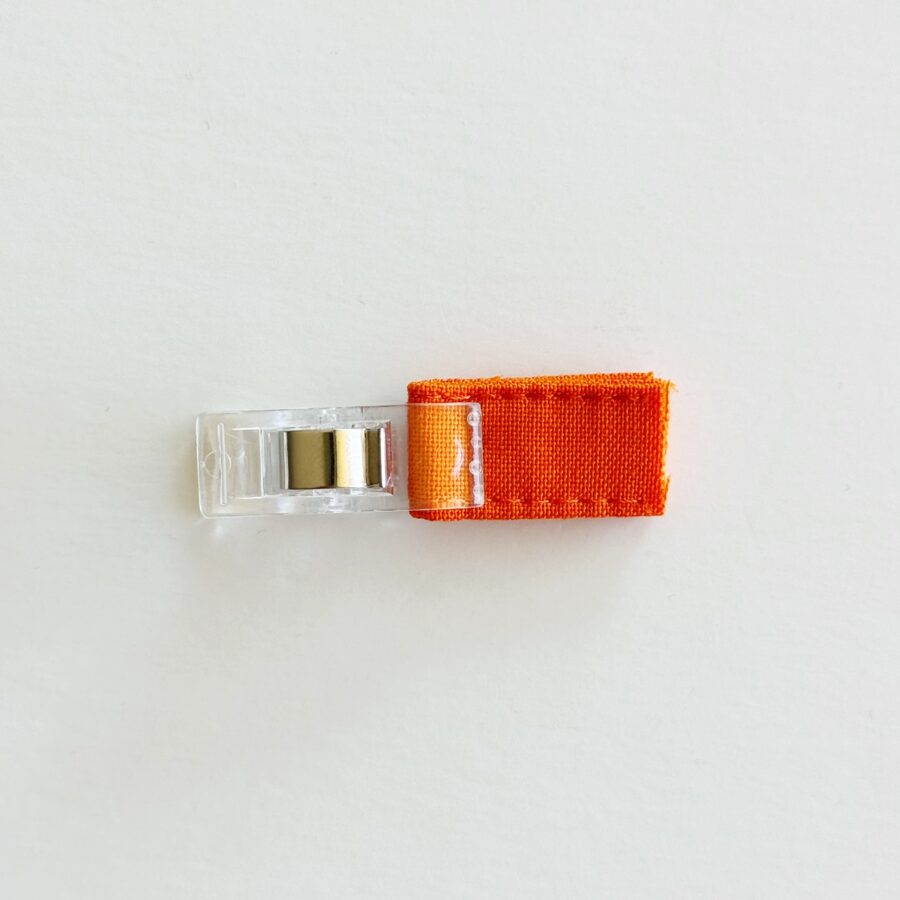
- To make the tabs for the straps, repeat the same steps for each of the 2” x 1 3/4” cotton pieces, minus folding in one end by 1/4”. You can leave both ends with a raw edge. Fold in half, meeting the raw ends together and baste. Set the tabs aside and proceed to making the pumpkin body.

Make the Pumpkin Body
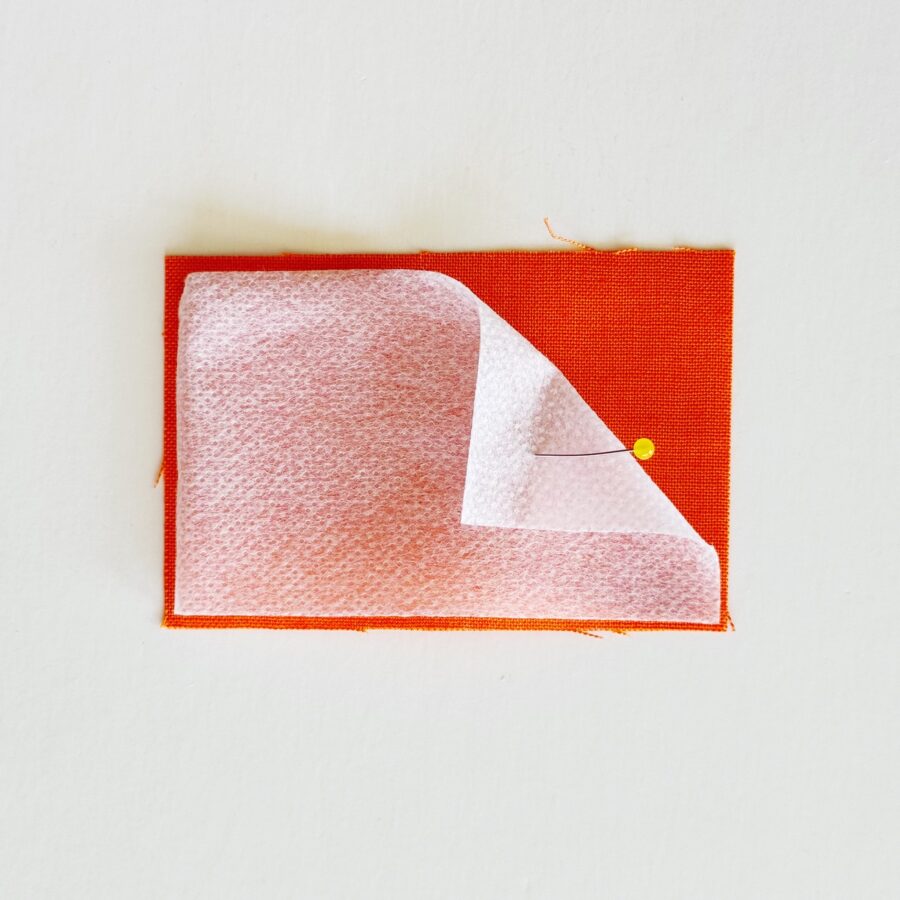
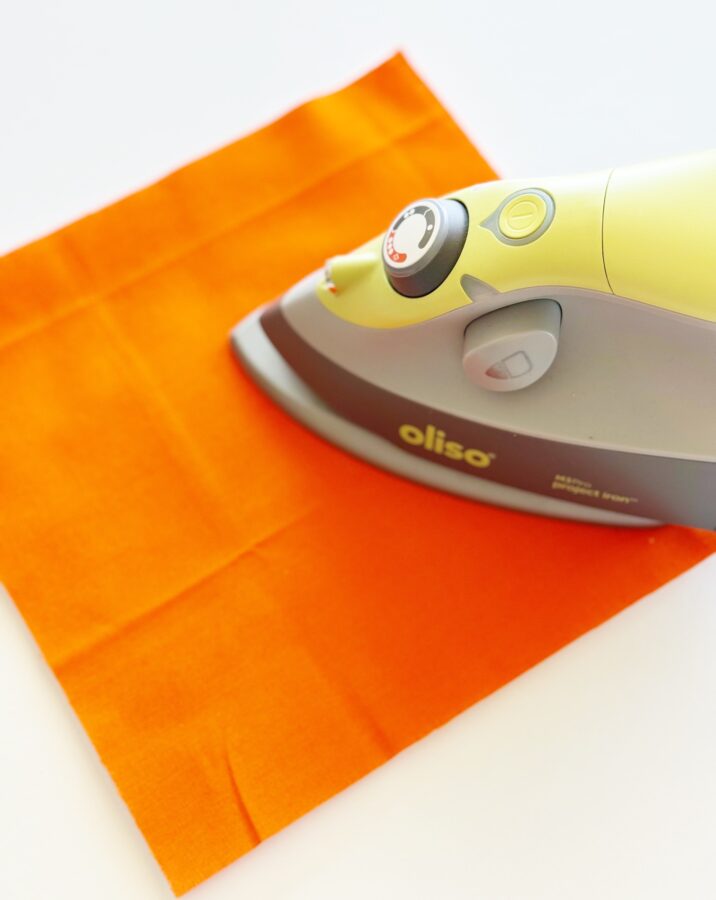
- To make the front side of the pumpkin body, attach an 8” x 8” HeatnBond Fusible Fleece square to the wrong side of an 8” x 8” orange fabric square.
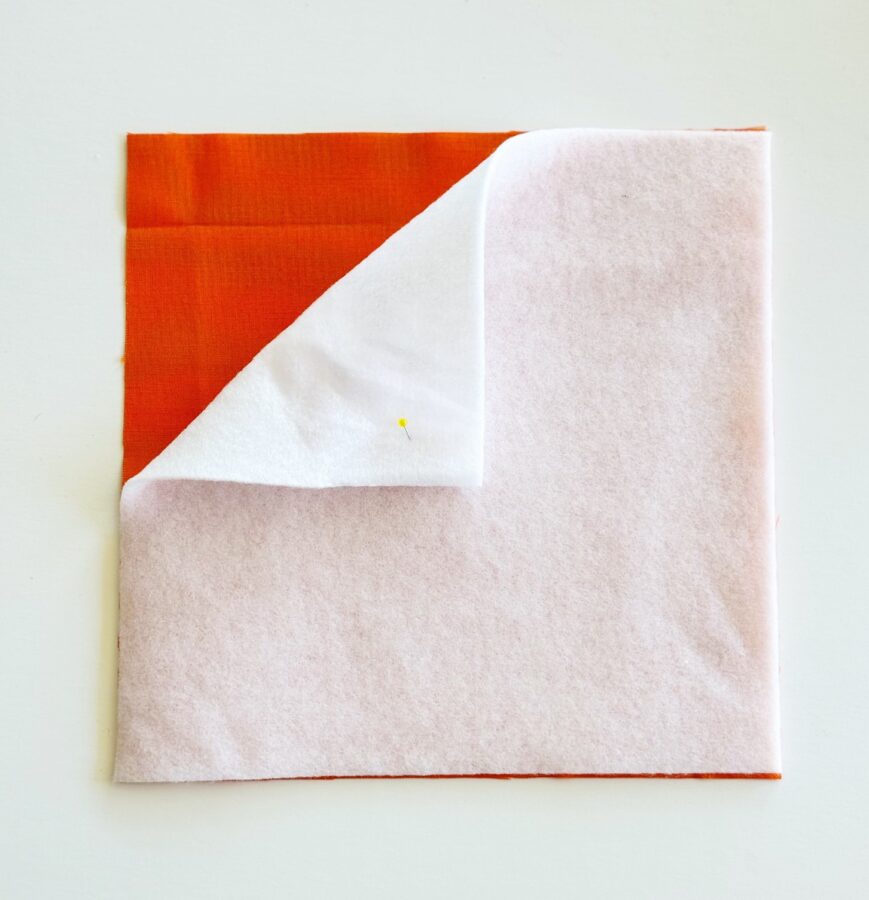
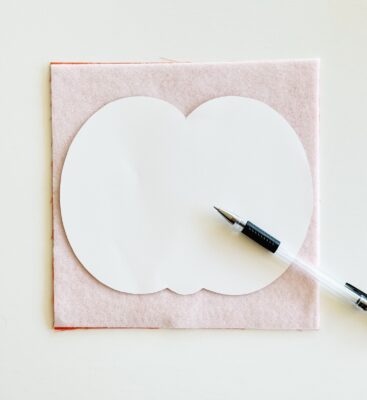
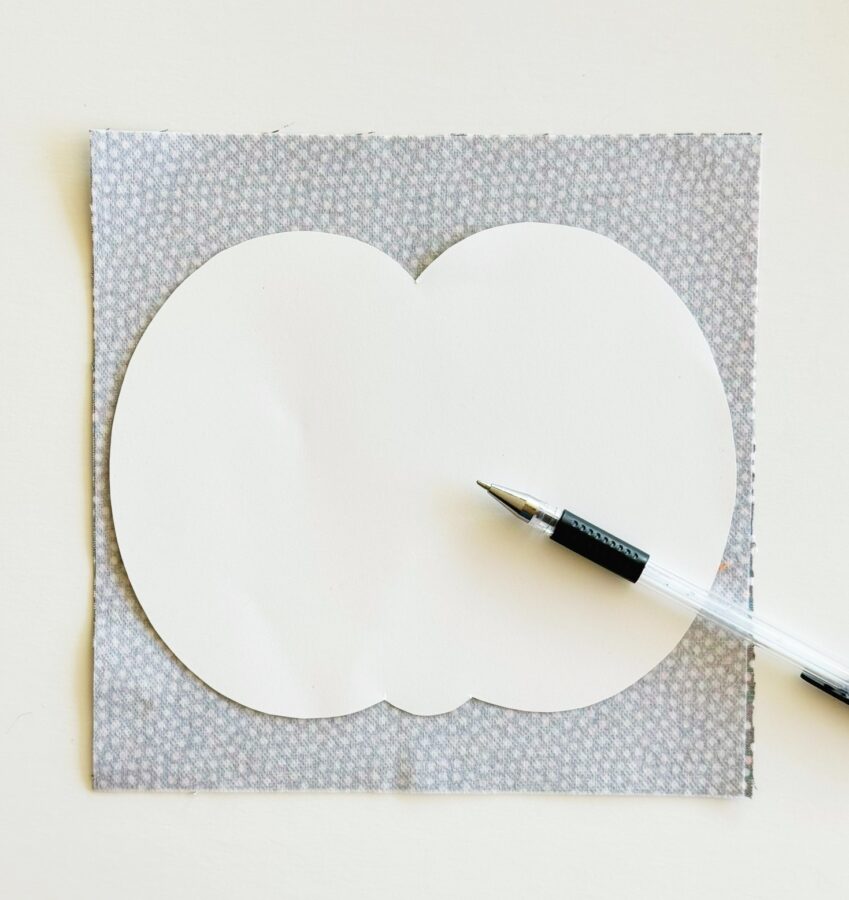
Take the pumpkin template and place onto the fusible side (wrong side), centering it and trace the shape using a water soluble pen. Used the marked guides on the template to mark the opening (this is where you turn the body right side out). Cut the pumpkin shape out.
 Now, attach a 8″ x 8″ HeatnBond Mediumweight Fusible Interfacing square to a 8” x 8” contrasting cotton square. Using the pumpkin template, trace the pumpkin onto the fusible side of the lining (wrong side). Note: you do not need to make any guided marks for the inner lining. Cut out the pumpkin shape.
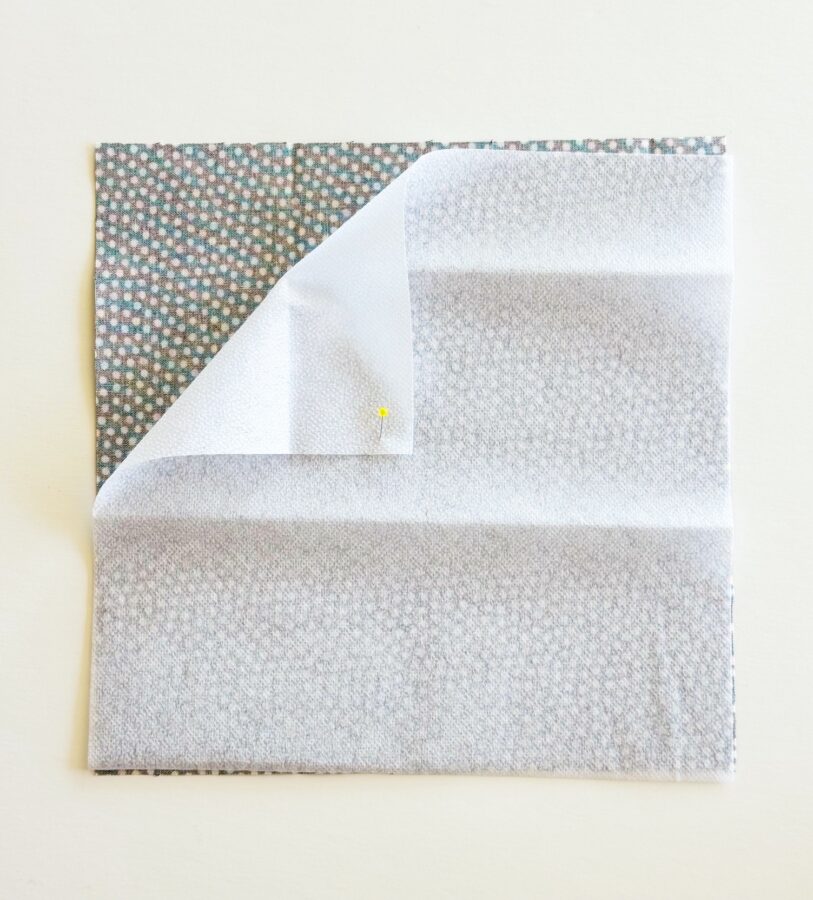
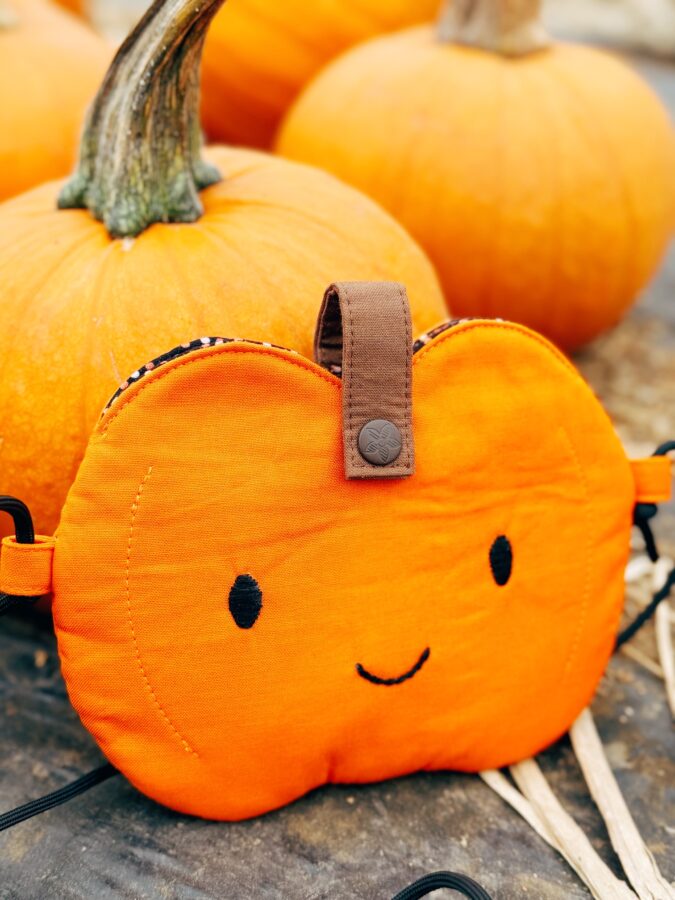
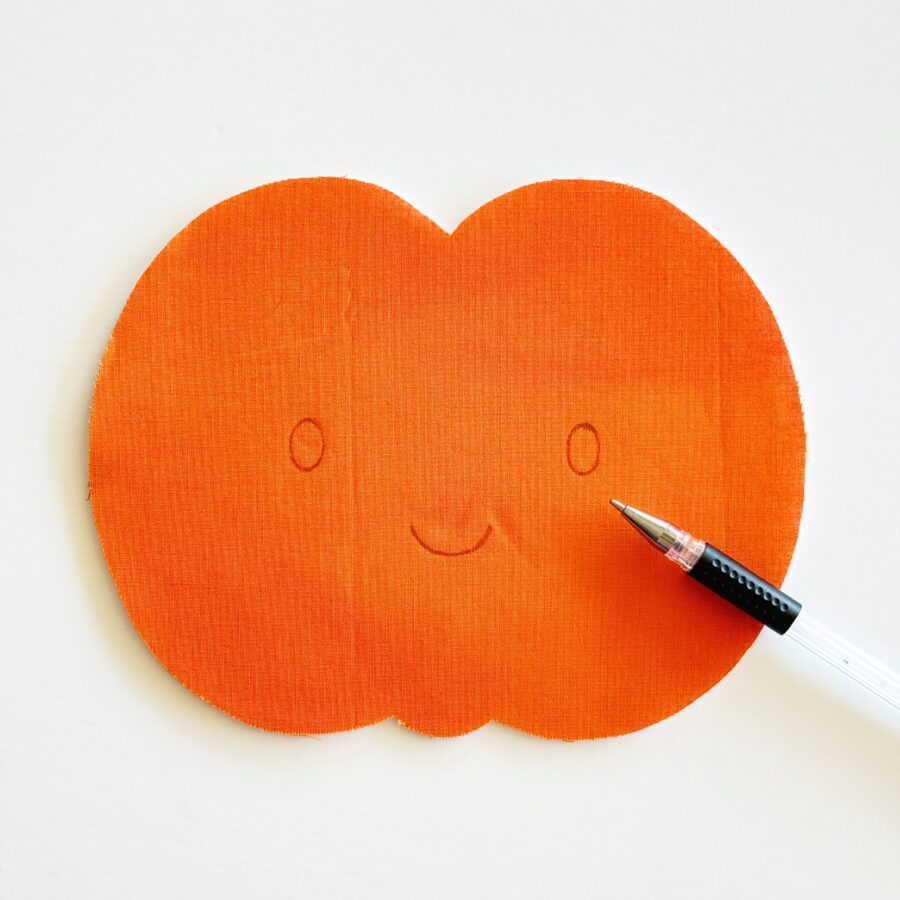
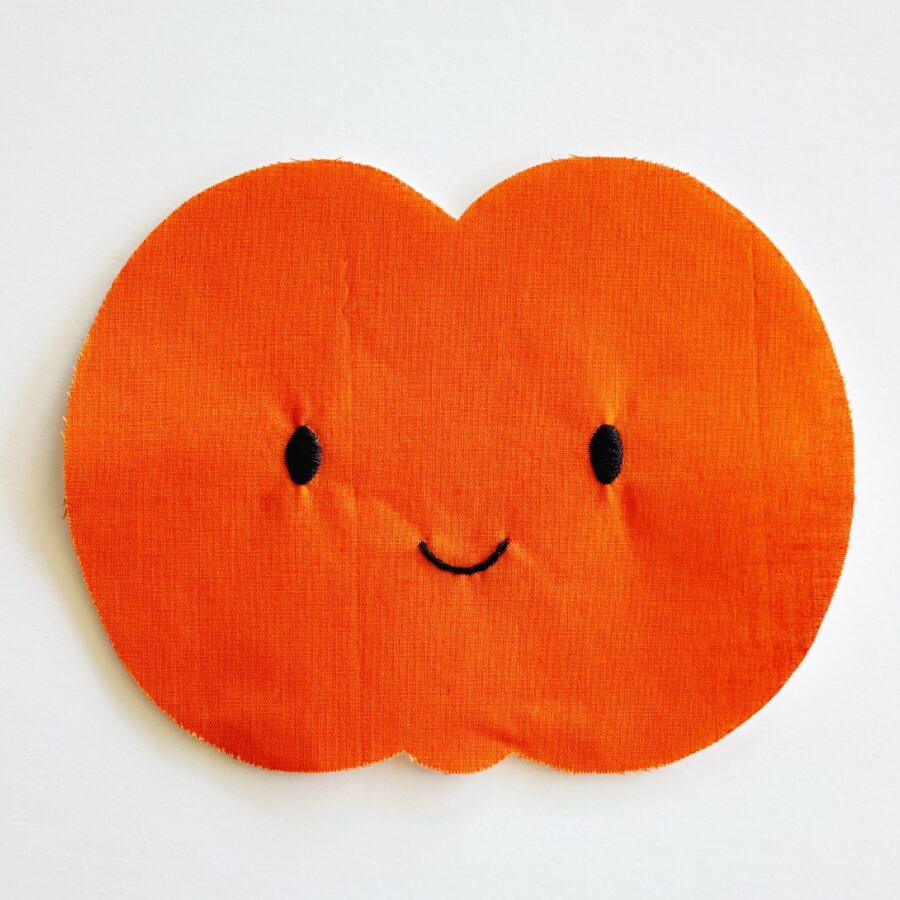
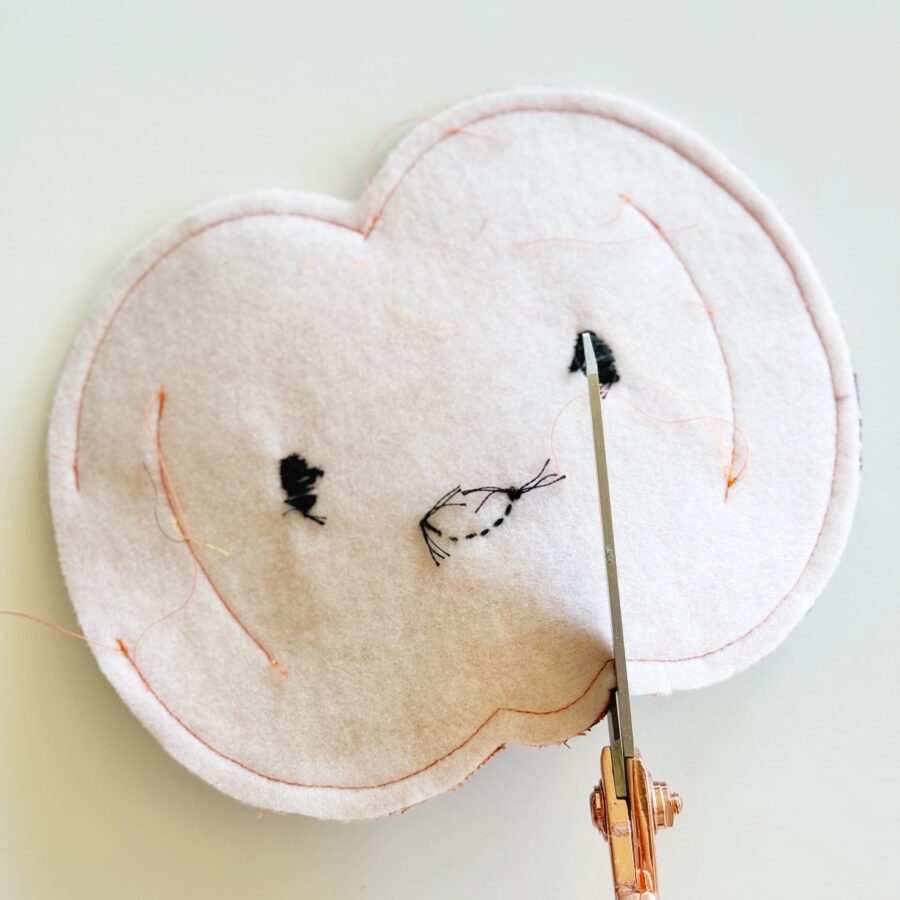
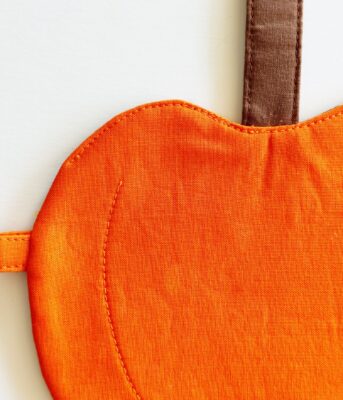
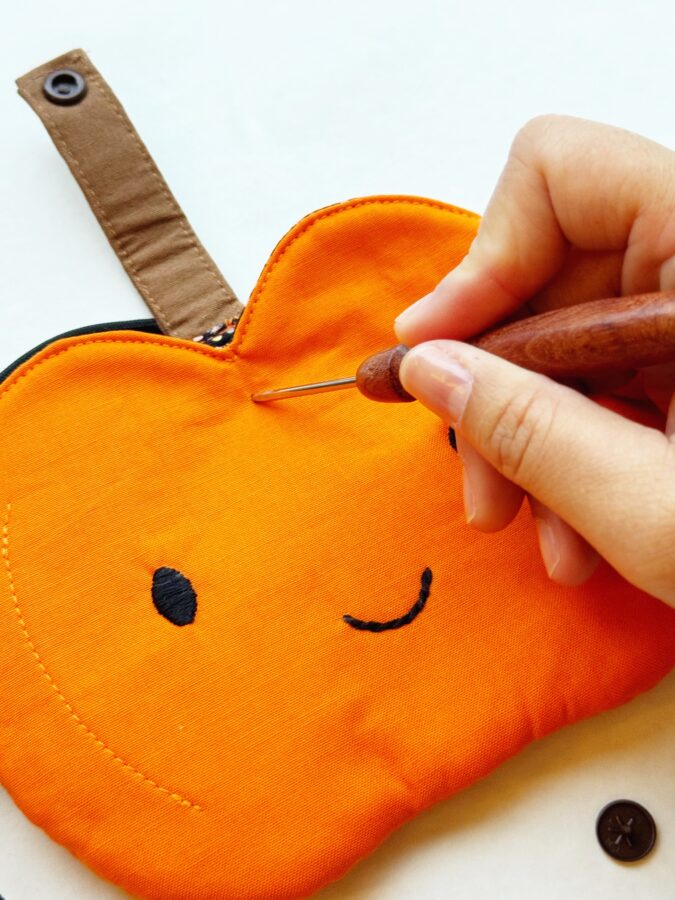
At this point, you can draw and embroider your pumpkin face to the pumpkins front body piece (the orange piece, not the inner lining). This is optional but it does give the pouch added cuteness! I also quilt lines along the sides to give the pumpkin a little dimension, but again optional.
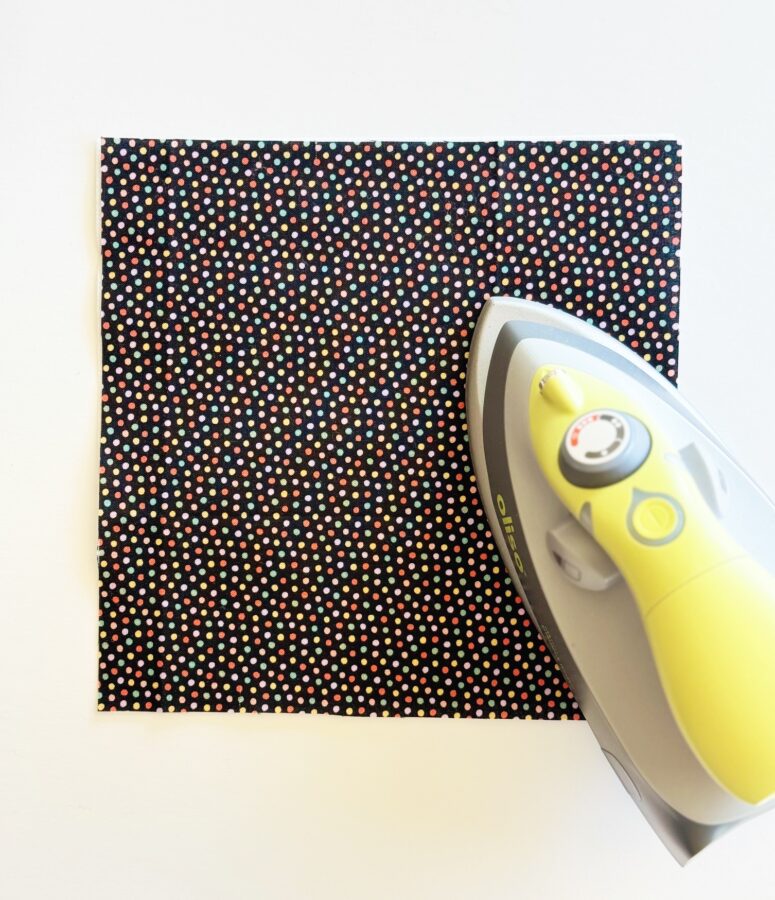
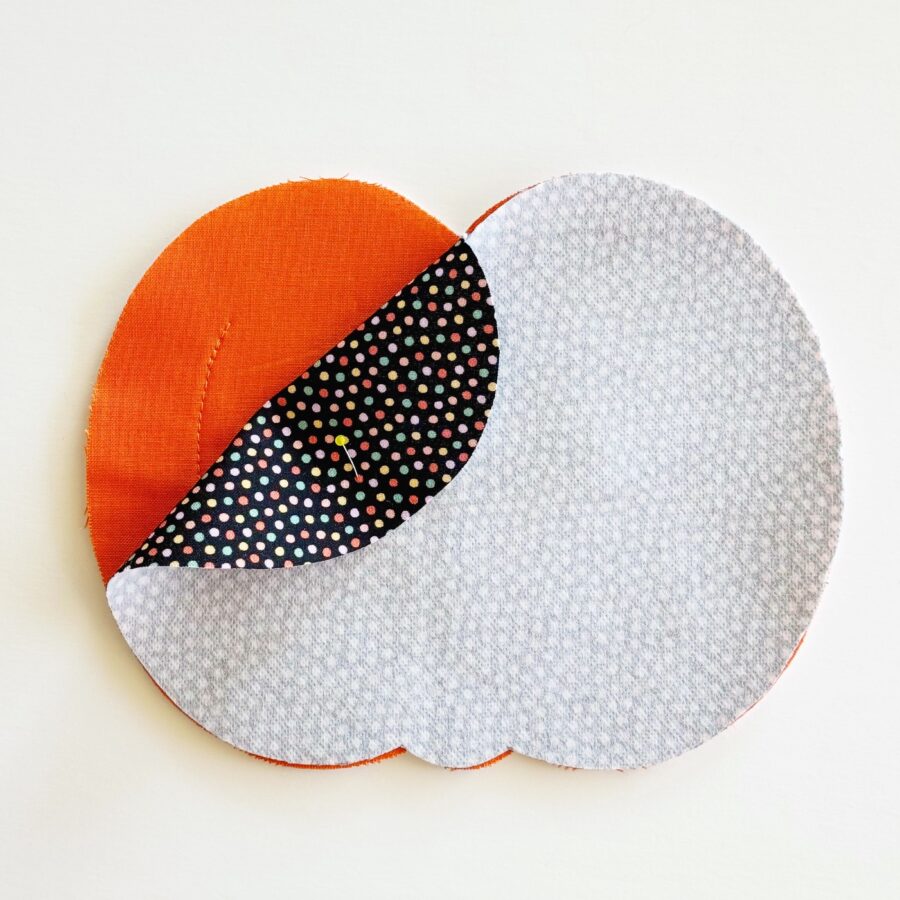
Once you are finished adding the face, assemble the front body, by laying both pumpkin pieces on top of each other with right sides facing in (wrong sides facing out). Pin in place and sew using a 1/4″ seam allowance starting at the marked opening and ending at the other side of the marked opening area, making sure to backstitch from beginning and at the end (this is the opening where you turn it right side out). Clip slightly around the curved seams. Turn the piece right side out and using your stiletto or chopstick, smoothing out the edges and curves. Turn the open area into the wrong side by 1/4″ and hand sew in place. Press the body with your iron. OPTIONAL – Sew a seam along the top marked open area guidelines. Using the template, mark where you sew the pumpkins in place (start sewing here, stop sewing here). Set aside and make the back body.
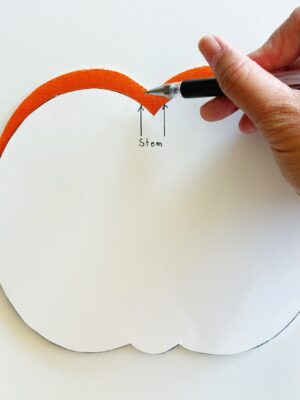
- To make the back of the pumpkin, you will repeat the same steps from number one, except when marking the guided placement lines onto the front of the back orange piece, mark the stem and tab placements, and the opening.
 To attach the stem, take the prepped stem and place the raw edge to the top of the marked stem area with the sewn edge facing down. Add the tabs with the raw edges facing along the edges of the pumpkin in the marked areas. Clip and baste the stem and tabs in place.
 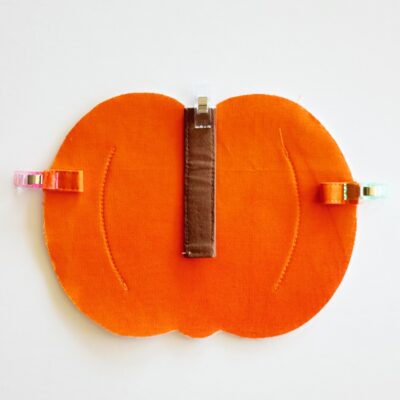 Once the stem is basted, you can clip a small triangle where the top curve of the pumpkin and stem area. This will make it easier to pop out when you turn it right side out.
 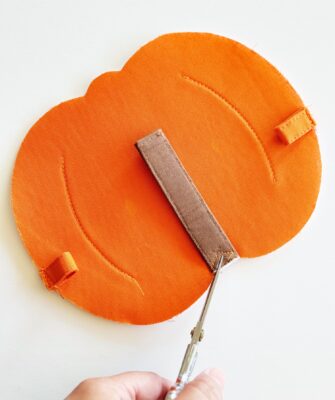 Now, attach a 8″ x 8″ HeatnBond Mediumweight Fusible Interfacing square to a 8” x 8” contrasting cotton square. Using the pumpkin template, trace the pumpkin onto the fusible side of the lining (wrong side). Note: you do not need to make any guided marks for the inner lining. Cut out the pumpkin shape.
 - To assemble the back body, lay both pumpkin pieces on top of each other with right sides facing in (wrong sides facing out). Pin in place and sew using a 1/4″ seam allowance starting at the marked opening and ending at the other side of the marked opening area, making sure to backstitch from beginning and at the end (this is the opening where you turn it right side out). Clip slightly around the curved seams. Turn the piece right side out and using your stiletto or chopstick, smoothing out the edges and curves, and popping out the tabs and stem. Turn the open area into the wrong side by 1/4″ and hand sew in place. Press the piece. OPTIONAL: Sew a seam along the top marked sewing guidelines.
Assemble the Bag
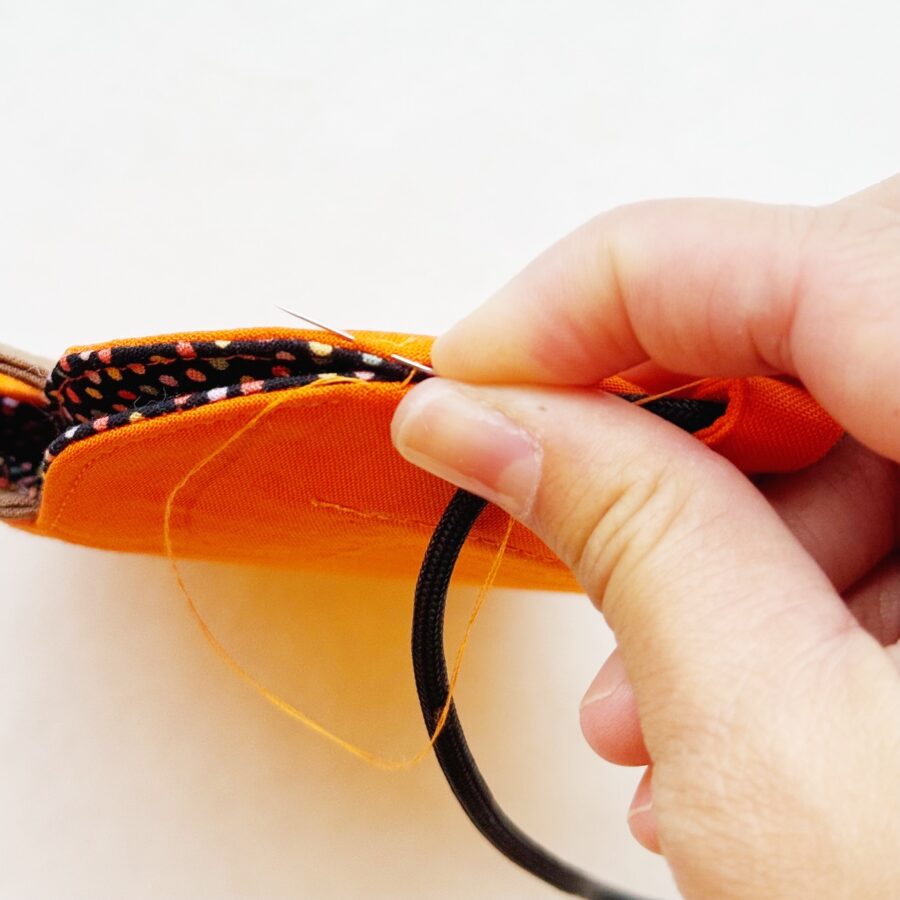
- To assemble the pouch, lay the front body piece on top of the back body piece with right sides facing out (inner lining facing in). Pin in place and mark where the opening will be on both sides. You can either hand sew or machine sew in place. I hand sew my pouch because I prefer this look, using a ladder stitch (invisible stitch). Sew starting at one marked place (making sure to backstitch if machine sewing) all the way to the other marked place (backstitching here also).

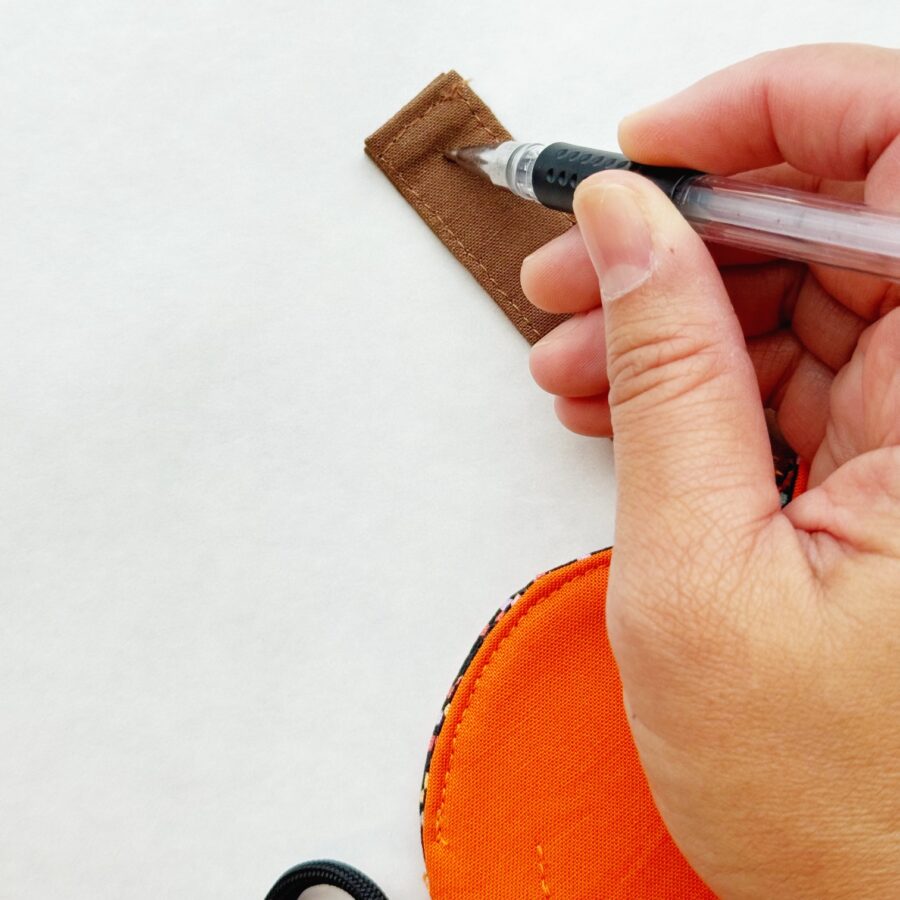
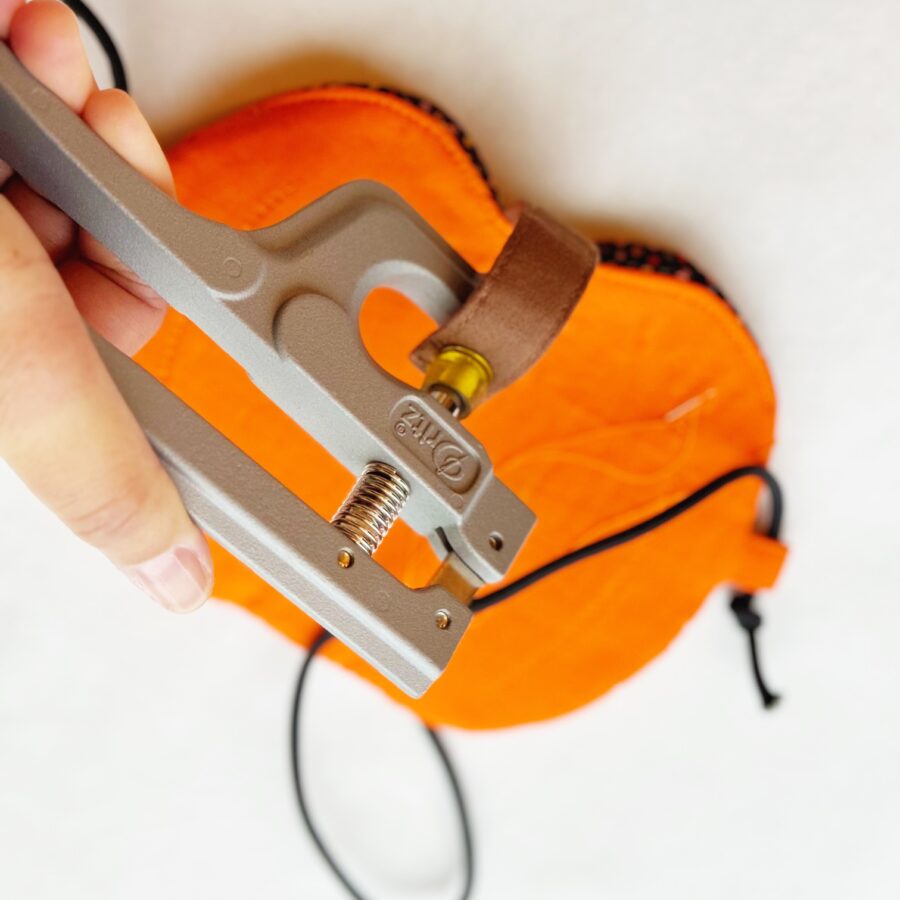
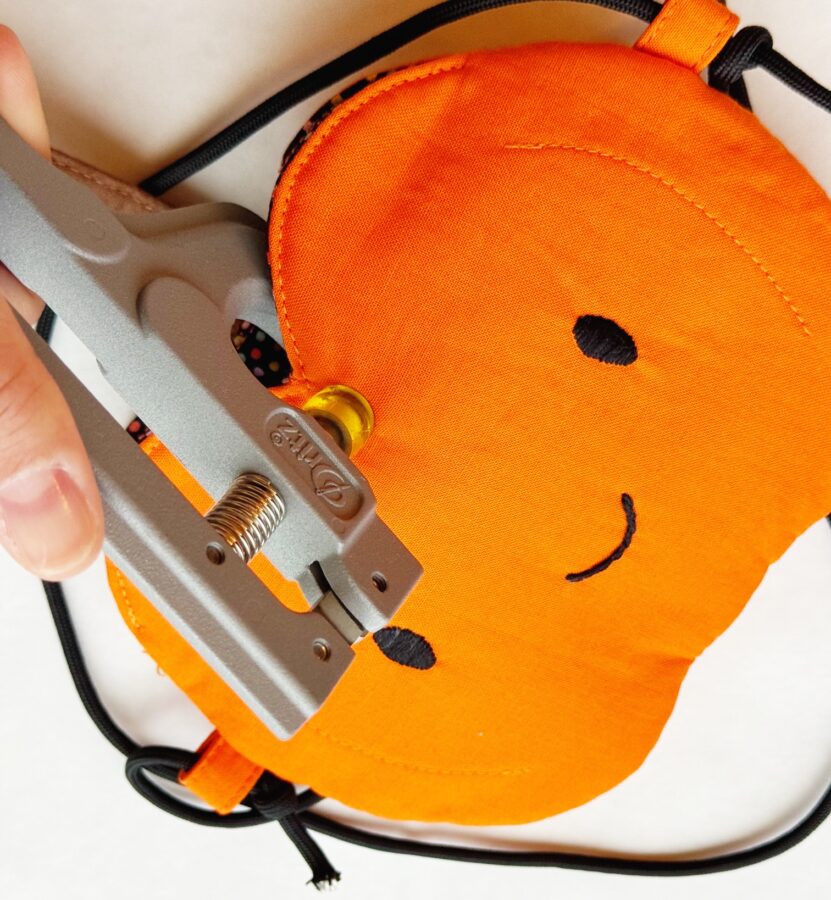
- To add the cam button, mark where you want to add the buttons. Using your cam pliers, attach one side of the button to the top of the stem. Mark and attach the other side to the front of the top edge of the pumpkin face side.
- Insert the cording to both tabs, knotting each end to secure into place. You are now done! Enjoy your Pumpkin Pouch!