![]()
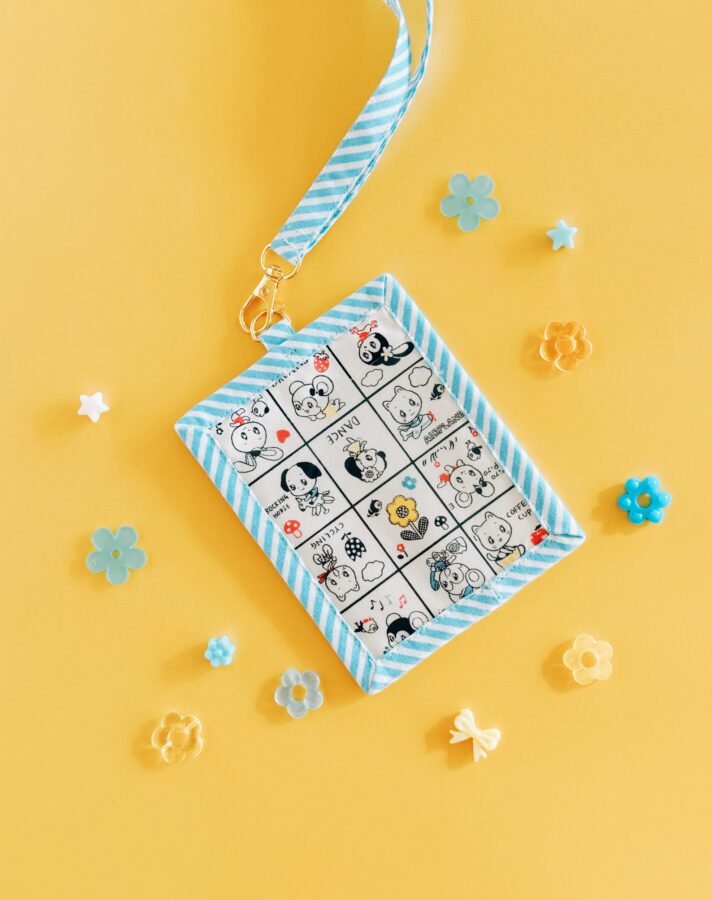
Hello! The kids are back in school and I have a cute and fairly easy project for your kids or as a teachers gift a – Badge Holder. This is a great scrap buster project, and you can make many of them in one day!
Badge Holder Instructions
Materials Needed:
- Scraps of fabric and pieces long enough for binding and lanyard
- Scrap pieces of clear vinyl
- HeatnBond Craft Extra Firm Non-Woven Fusible Interfacing
- One 1/2″ D-Ring and one 1/2″ Swivel Clasp
- Iron – I love Oliso!
- Sewing Machine
- Rotary Cutter and Mat
- Ruler
- Erasable Marking Pen
![]()
Cutting:
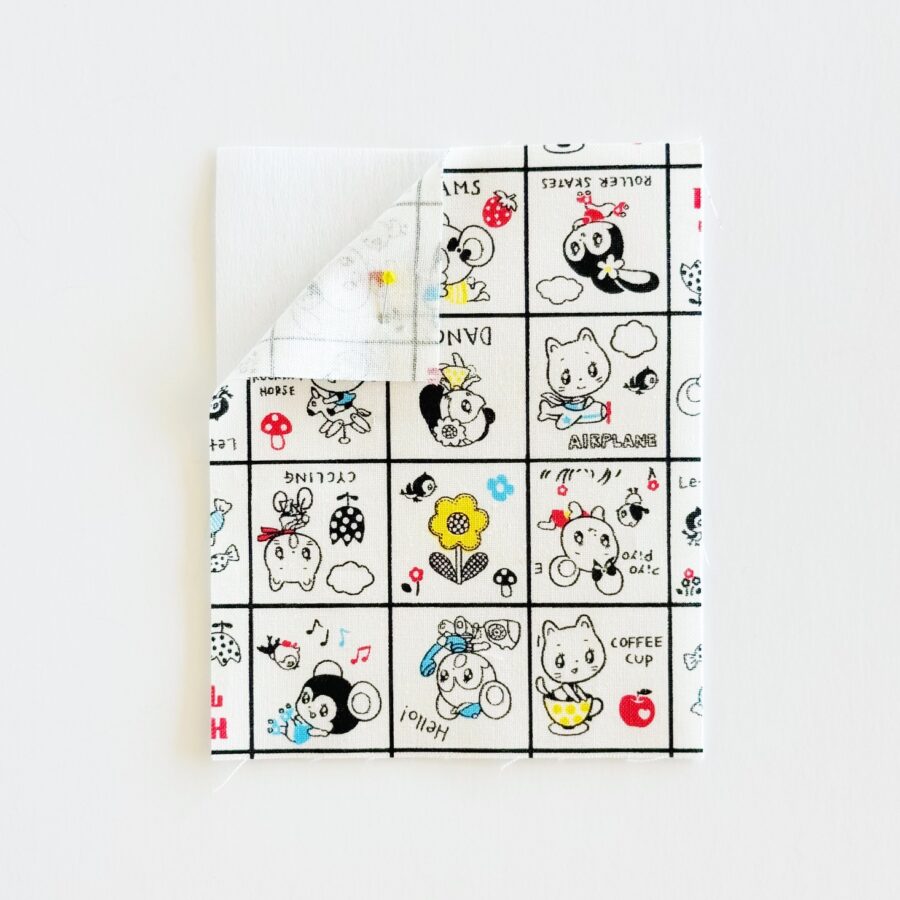
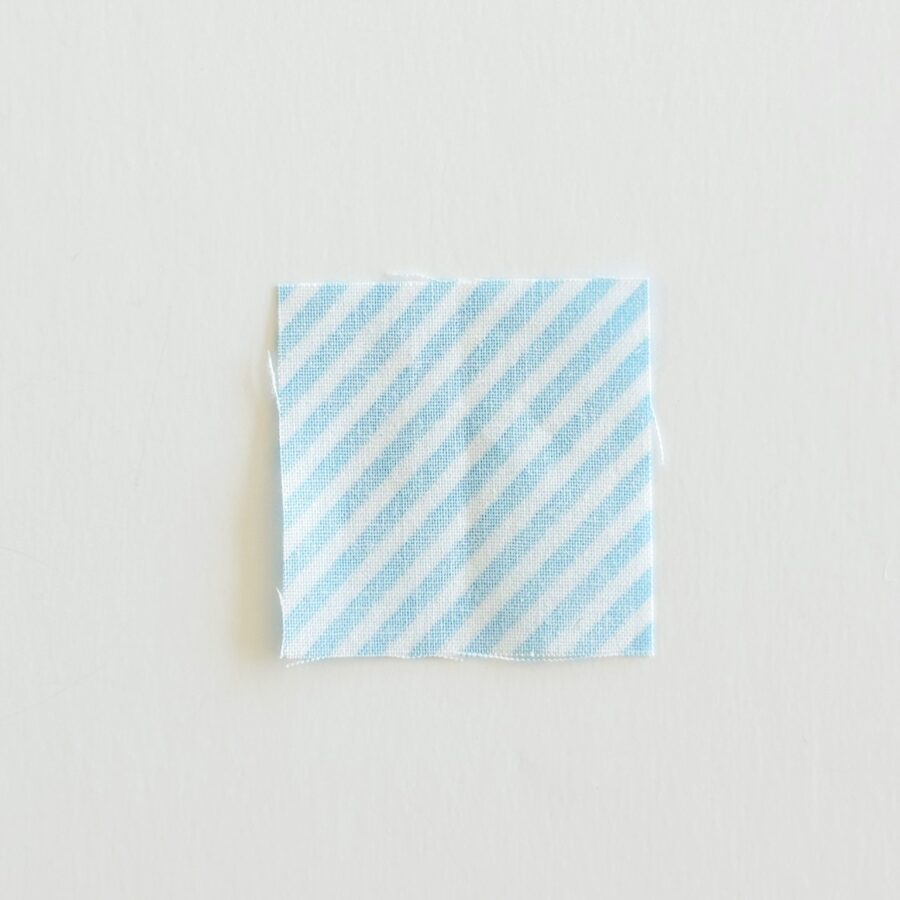
- From scraps of fabric, cut two 5″ x 4″ cotton pieces – for the body
- Two 5″ x 4″ HeatnBond Craft Extra Firm Non-Woven Fusible Interfacing pieces – for the body
- Two 4″ x 4″ vinyl pieces – for the front and back pocket
- Two 2 1/4″ x 2″ – for the D-Ring tab
- One 18″ x 2 1/4″ cotton strip – for the binding
- One 36″ x 2″ cotton strip – for the lanyard
Tips
- Use a 1/4″ seam allowance unless noted otherwise
- Follow the instructions for HeatnBond Fusible Fleece as directed
- When sewing with vinyl, place a paper near the side of the sewing foot not directly under it, so you don’t sew through the paper) to prevent sticking
Let’s Begin!
- To make the body, take a 5″ x 4″ cotton piece and attach a 5″ x 5″ HeatnBond Craft Extra Firm Non-Woven Fusible Interfacing piece to the wrong side. Follow the directions per the package. Repeat for the second piece.

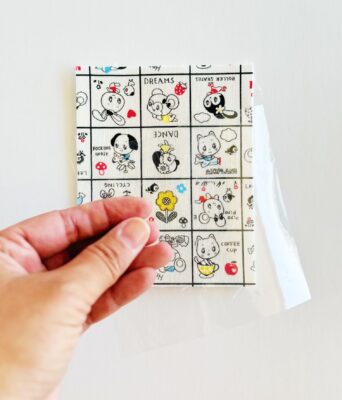
- Take a 4″ x 4″ vinyl piece and place onto a prepped 5″ x 4″ body piece, centering towards the bottom. Clip in place and baste. TIP: place paper underneath sewing foot. Repeat for the second prepped body piece.

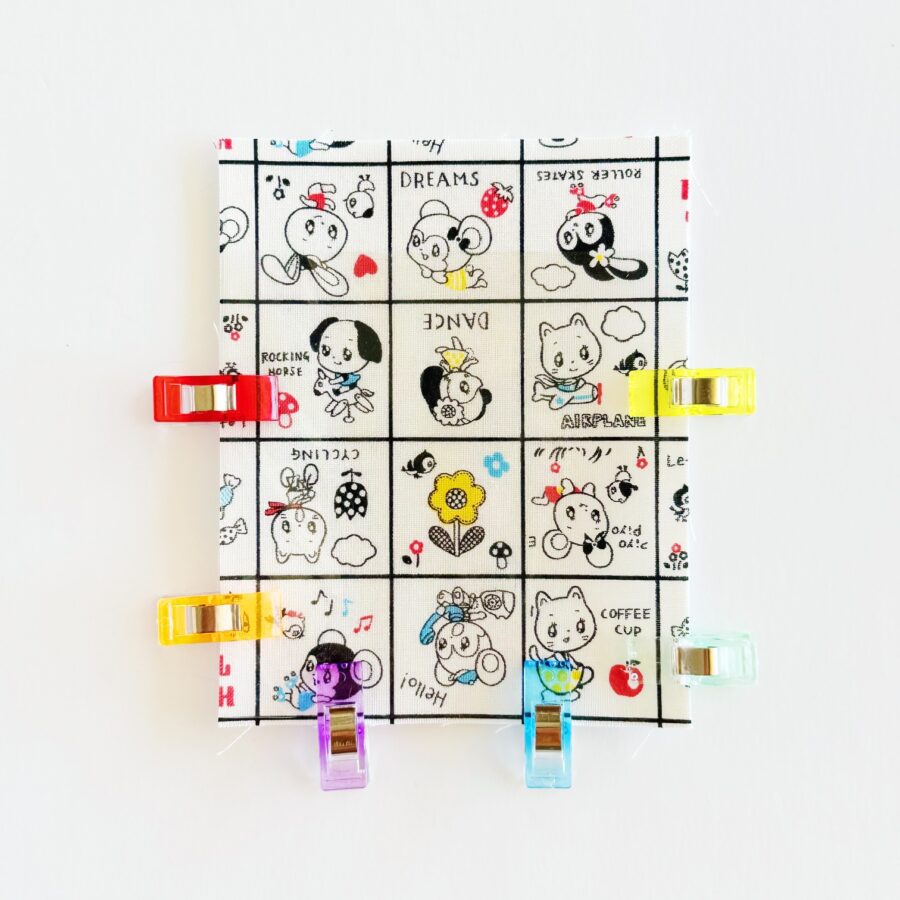
Place a piece of paper underneath sewing foot to prevent sticking. - Now, take both prepped body pieces and lay on top of each other with right sides facing out (wrong sides facing in). Clip in place and baste around all the edges. TIP: place paper underneath sewing foot and if needed, another paper underneath the body as well as there is vinyl on both sides now.
- To make the D-Ring tab, take the 2 1/4″ x 2″ cotton piece and fold in half lengthwise to create a crease.

Open the fold and fold the sides into the middle crease.
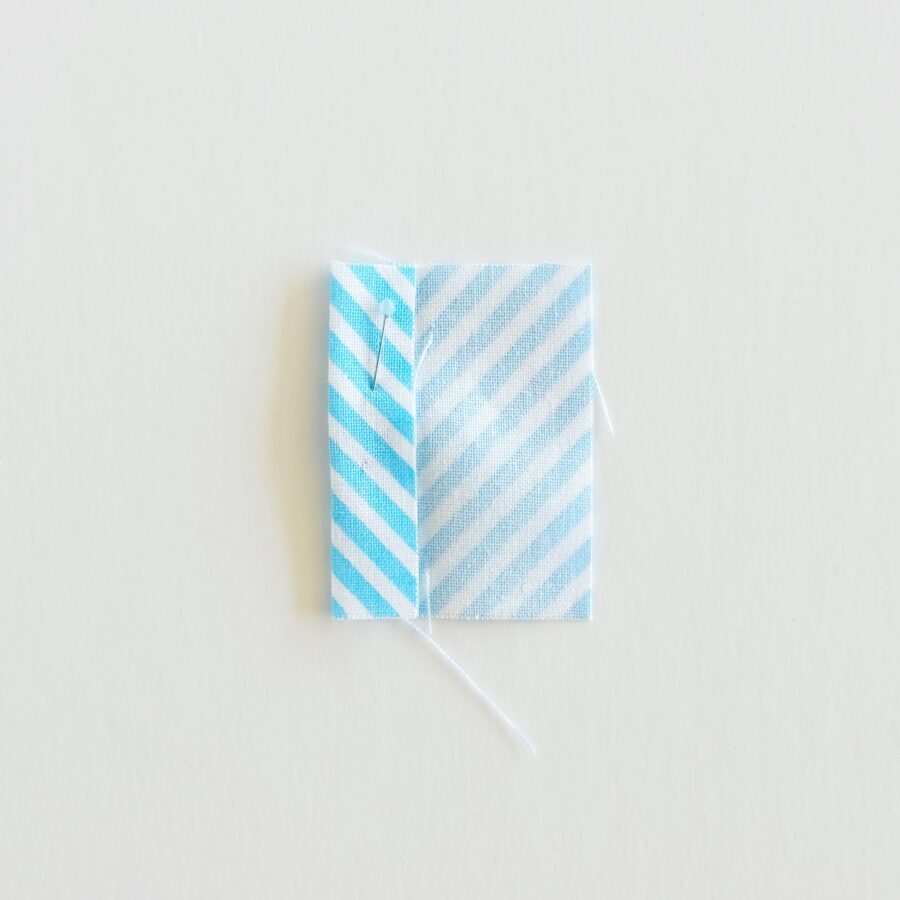

Fold in half again and pin in place. Sew a seam close to the side edges.
 Insert the tab into the D-ring, meeting the raw edges together. Baste in place.
  Attach the raw edge of the tab to the top middle of the body. Baste in place.
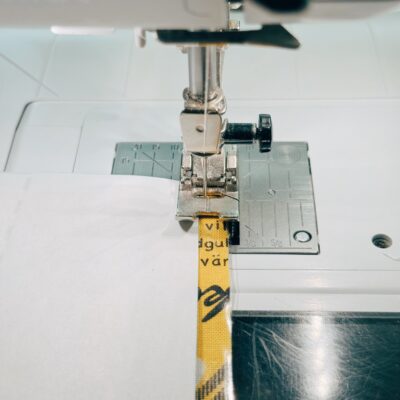
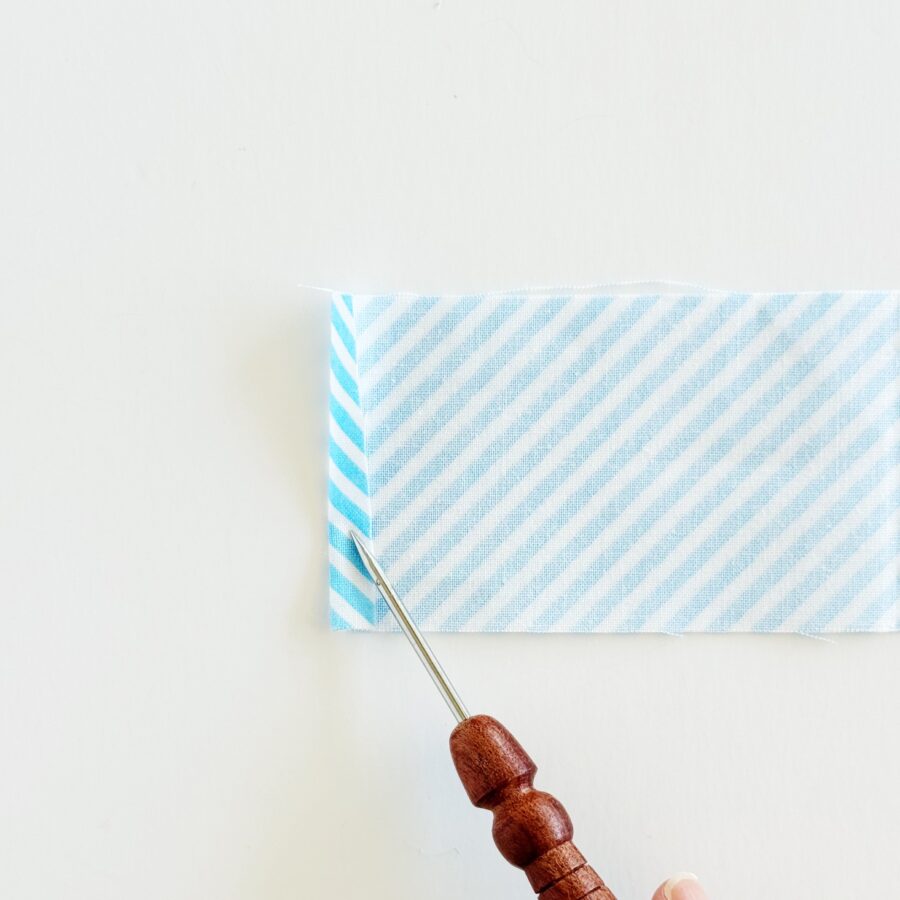
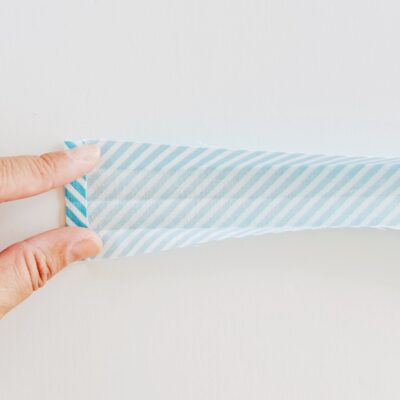
- To make and attach the binding, take the 18″ x 2 1/4″ cotton strip and fold in either edge by 1/4″ to the wrong side.
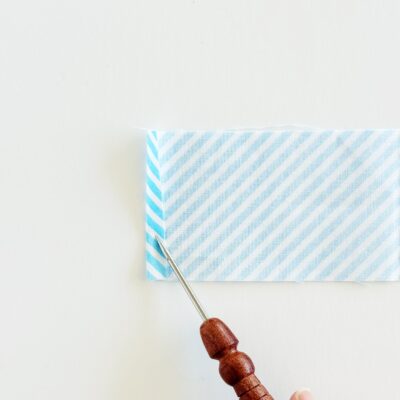 Fold in half lengthwise and press along the entirety of the cotton strip.
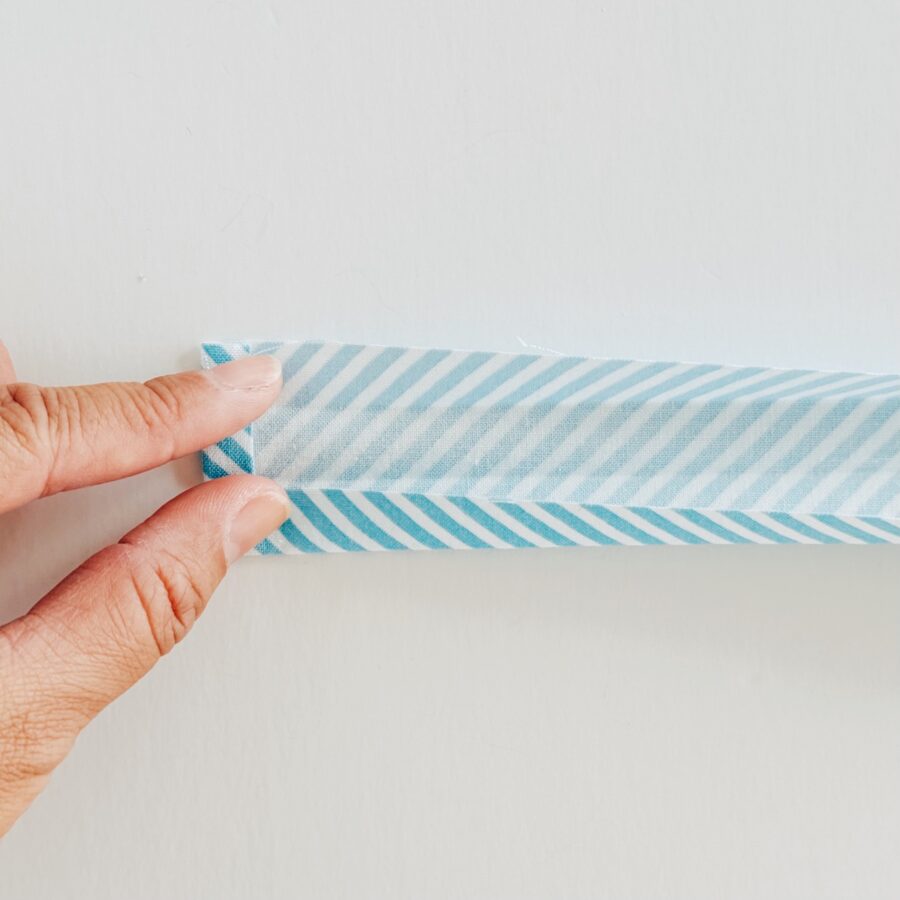
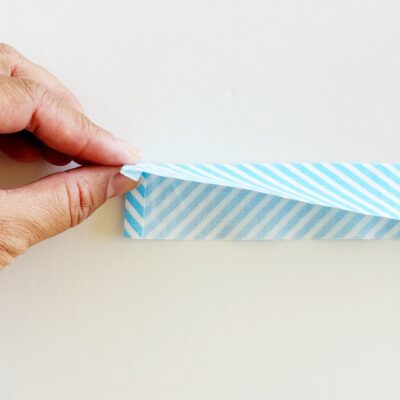 Now, with the raw edges facing up, place the binding onto desired area (bottom or side is ok). Sew one inch from the 1/4″ folded seam (this will be where you insert the end of the binding piece to join the binding together, using a 1/4″ seam allowance. Miter once you get to each of the four corners.
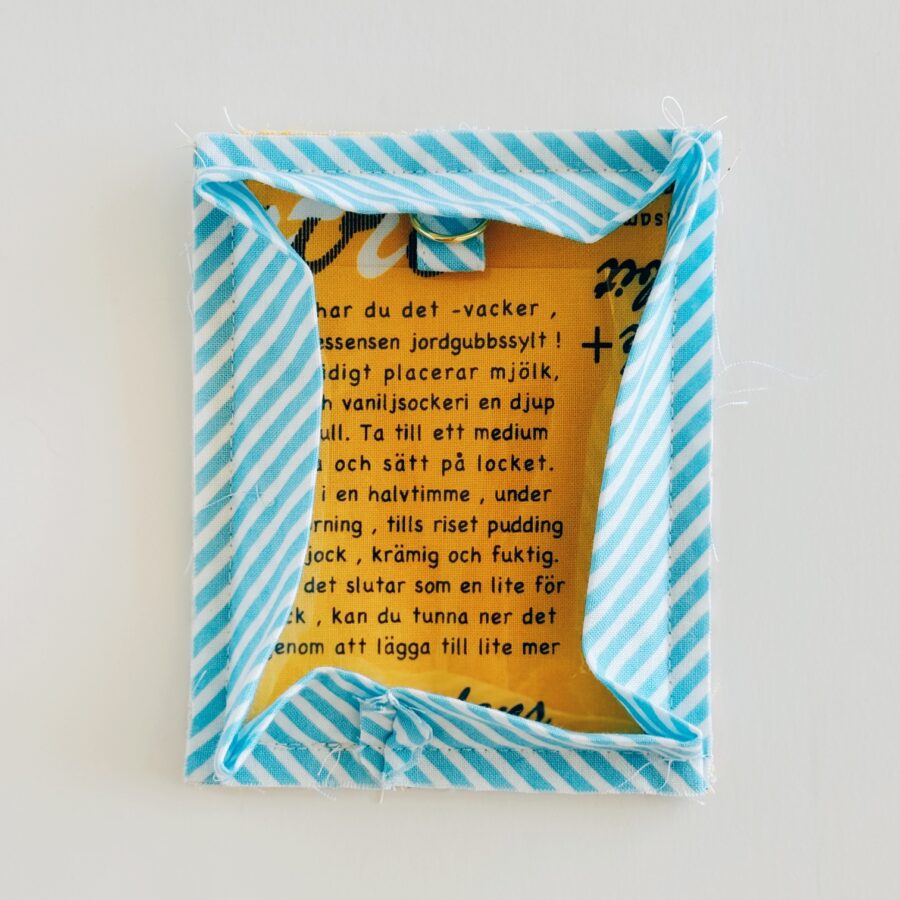
 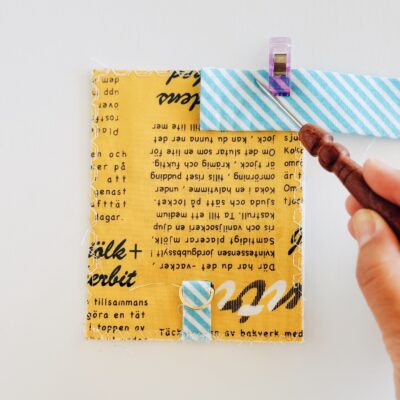 Once you get back to the start, stop and place the end of the binding into the 1″ space you made from the beginning (you may need to trim some of the end to fit). Continue sewing the binding in place.
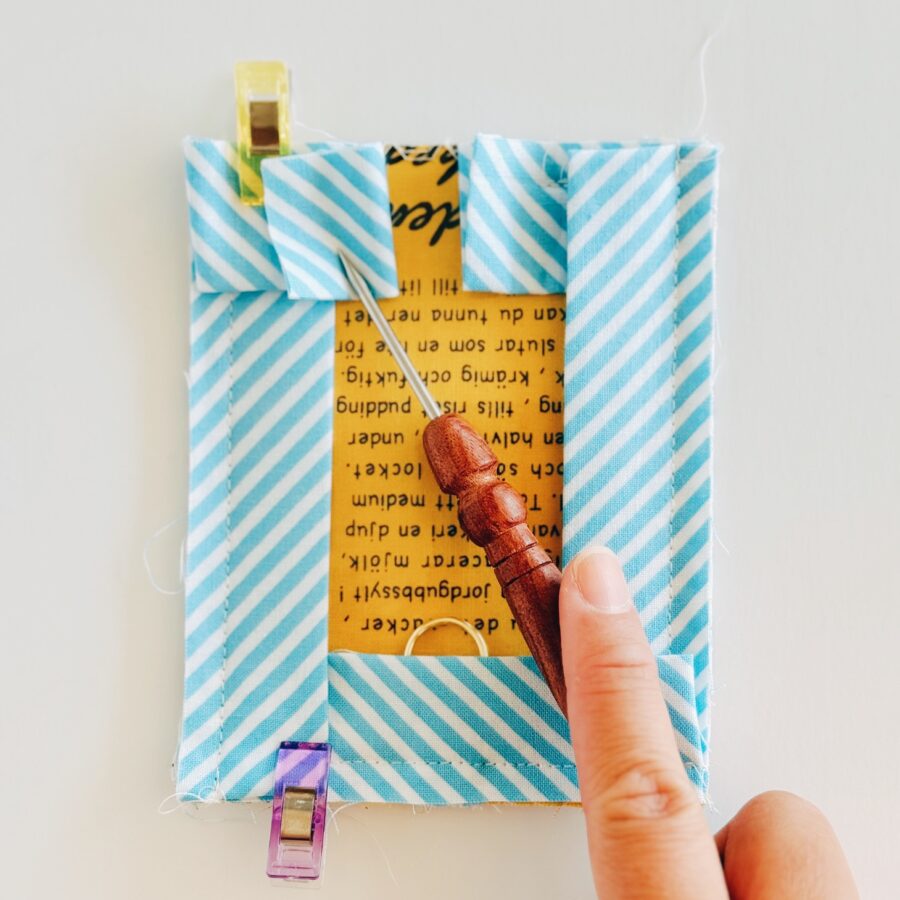
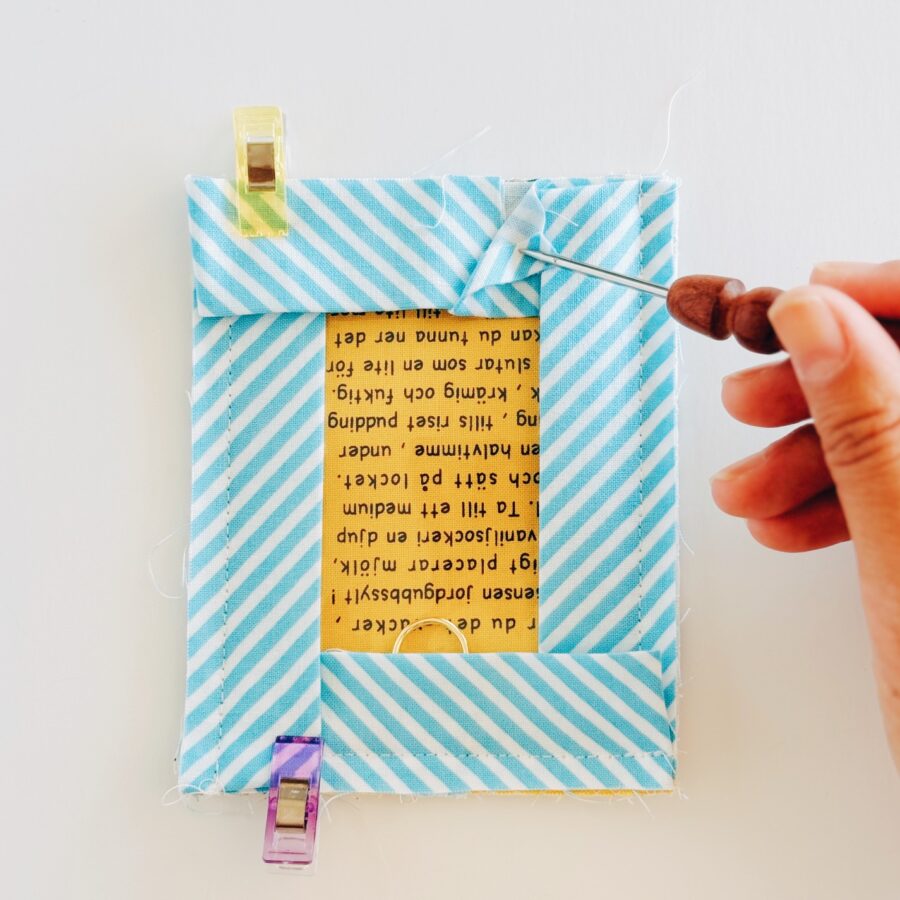
Take the binding and fold onto the other side. Clip and sew the binding in place, going slow around the tab and body (the tab should be facing down still).
 To position and secure the tab, flip the tab up, pin and stitch into place.
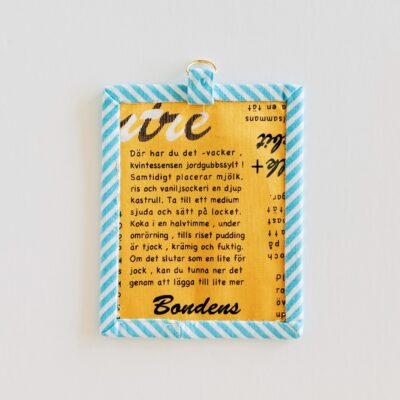
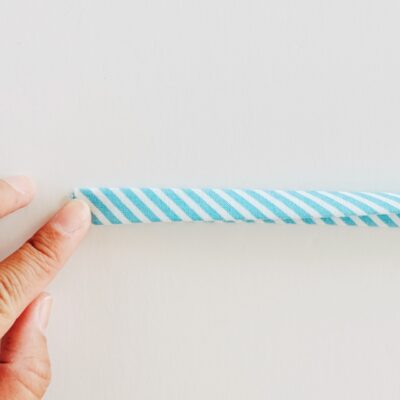
- To make the lanyard, take the 36″ x 2″ cotton strip and fold in each end by 1/4″ to the wrong side. Now, fold in half lengthwise along the entirety of the strip and press.

Open the fold and fold the sides into the middle crease and press.
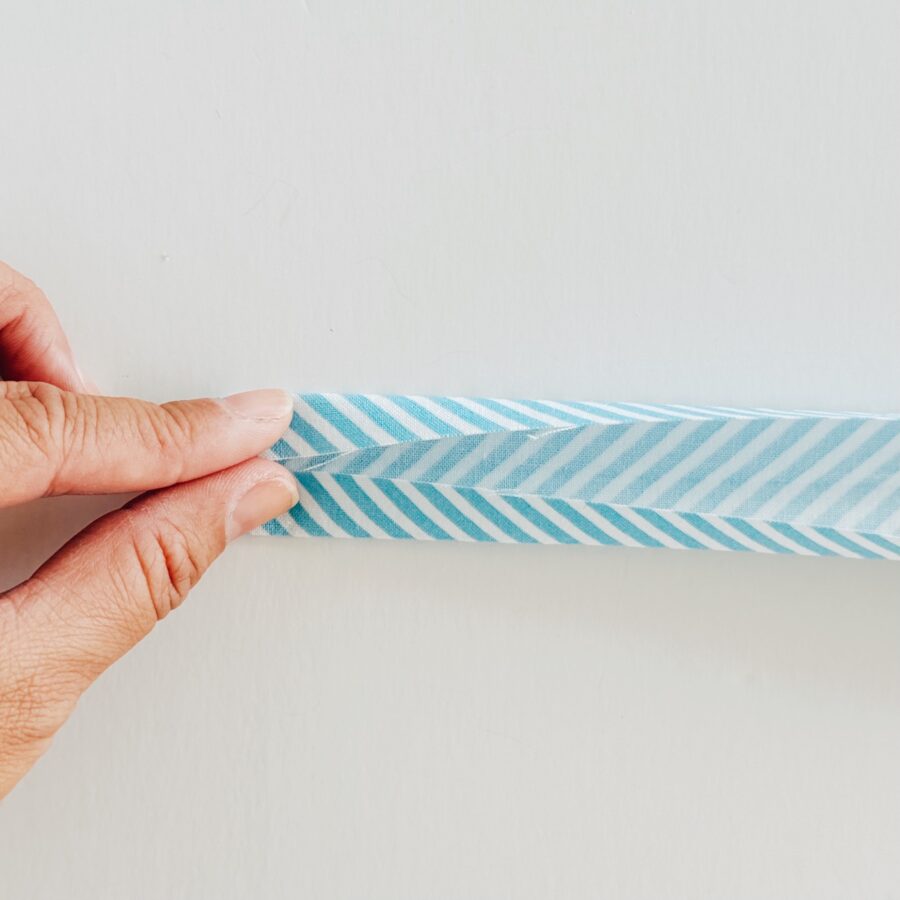
Fold in half again, and sew a seam close to the edges around the entire strip.
 Insert the lanyard into the swivel clip and sew the ends together.
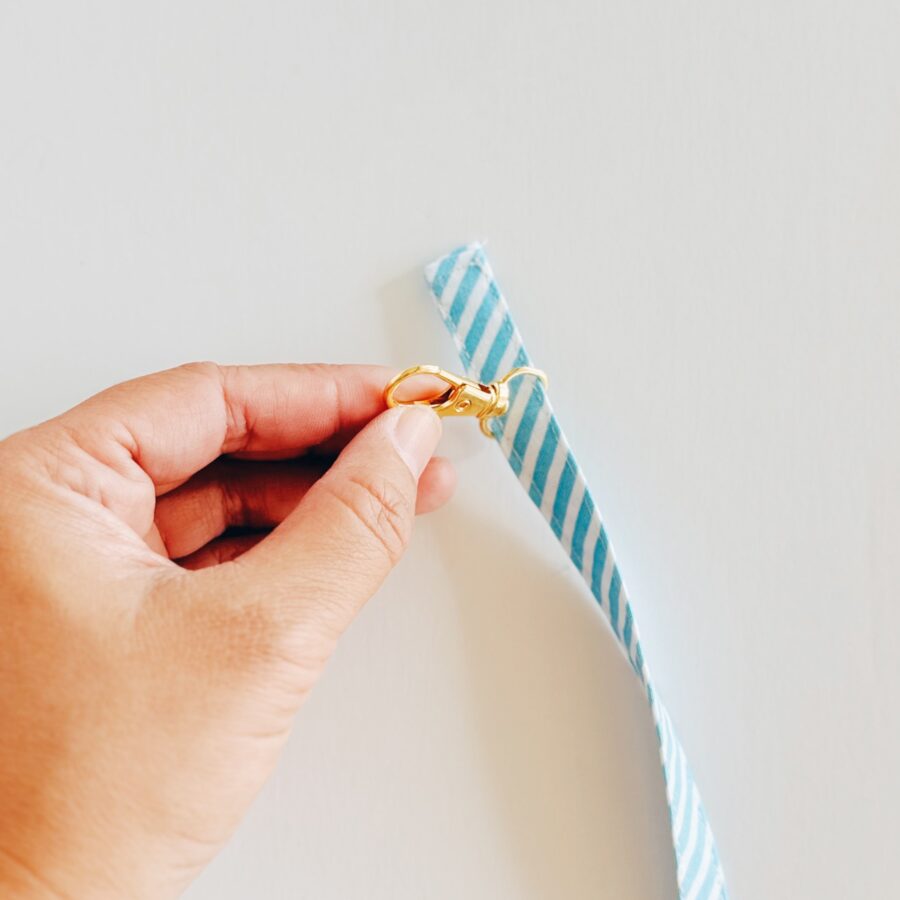
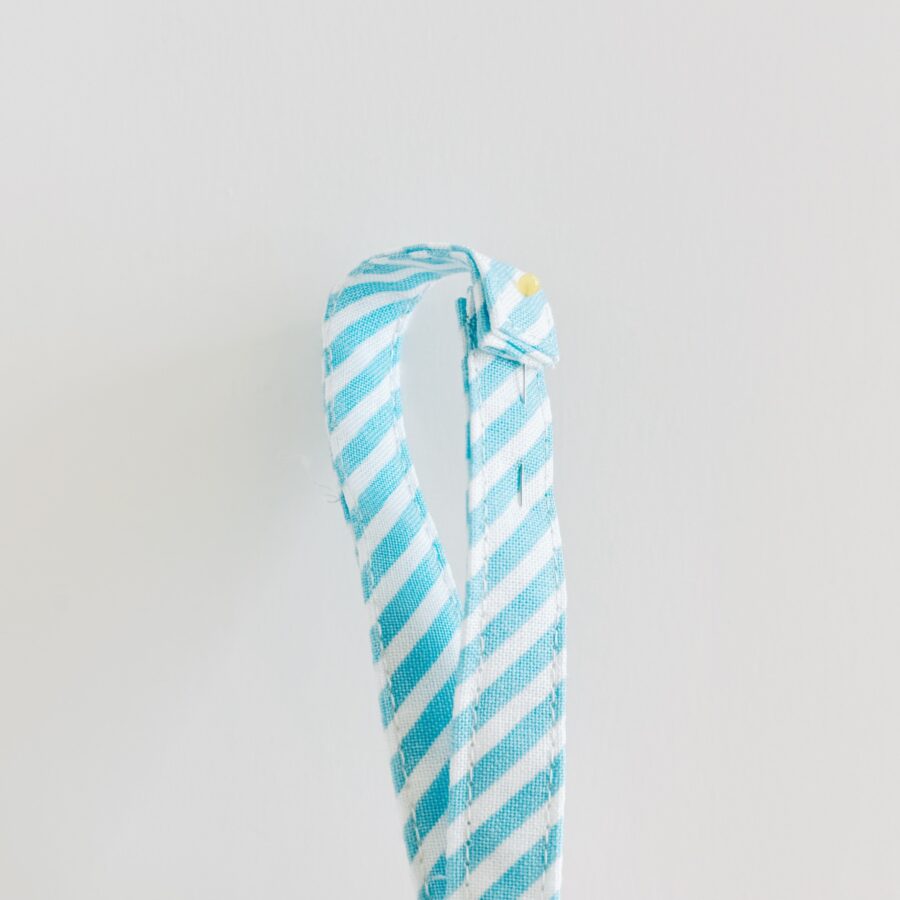
Secure the swivel clip in place by sewing a seam above the clip.

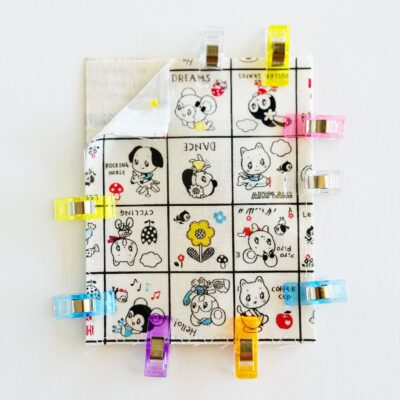
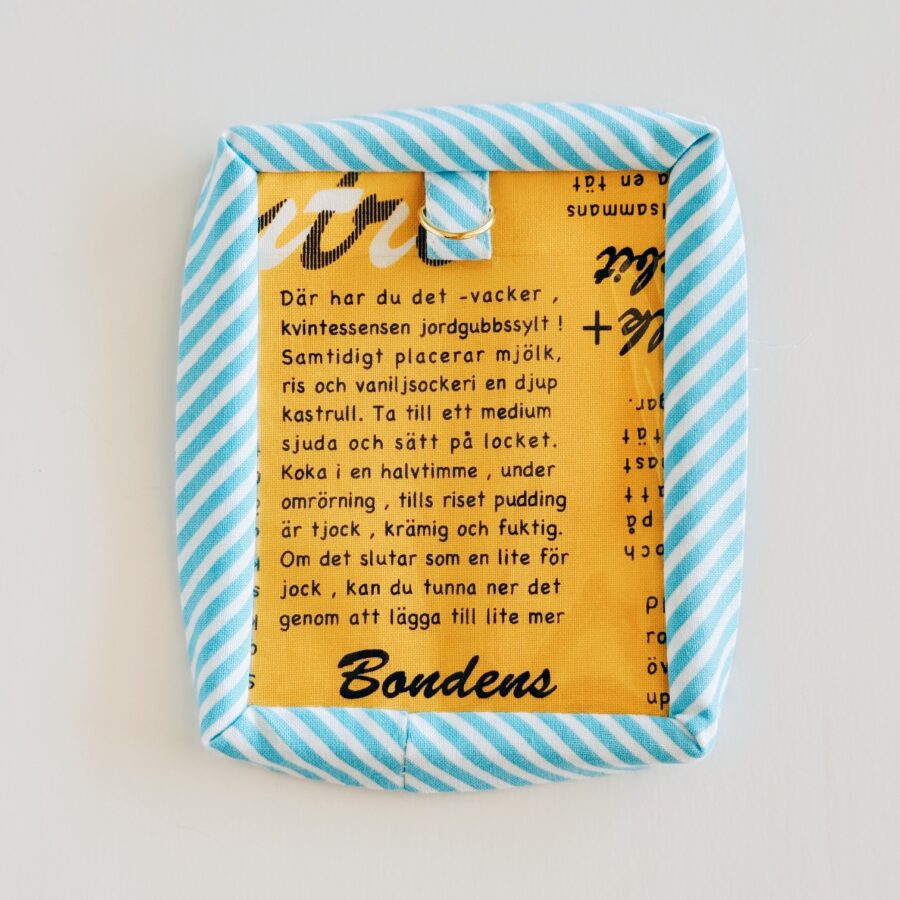
You are now done!