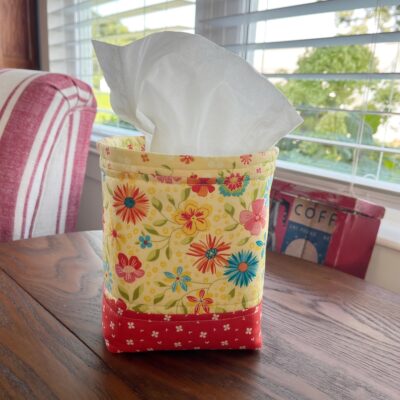
Hello my sewing friends! I don’t know about you but I love having a tissue box in each room of my house, but I do not like the looks of the boxes! I’ve created the perfect solution to that… a Tissue Box Holder.

Before we get started sewing, I would like to say that it’s such an easy pattern that even a beginner can make it. My grand-daughter made one alongside me and had it finished before I did! That’s hers in the picture above!
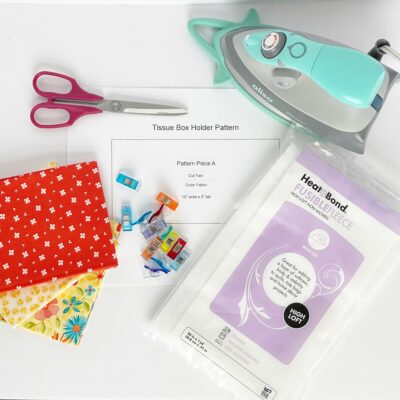
Supplies
- Fabric
- HeatnBond Fusible Fleece
- Pressing Paper
- Iron
- Scissors
- Sewing Clips or Pins
- Iron
- Pattern Pieces (click Tissue Box Holder Pattern to print)
Instructions
Step One:
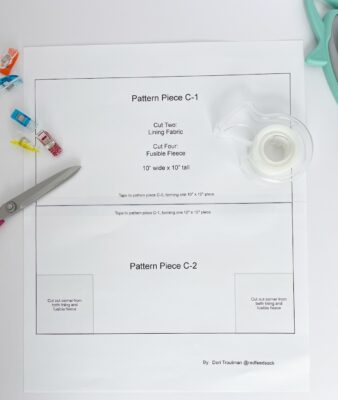
Print the pattern pieces (confirm that scale is set to 100% on your printer). Tape pattern piece C-1 to piece C-2.
Step Two: Cut out your fabric from the appropriate pattern pieces. You will have two different fabrics for the outside of your tissue holder, so have fun choosing them! Be sure to cut the corners out of the specified pattern pieces as well.
You will also cut four pieces of HeatnBond Fusible Fleece at 9 inches x 10 inches. Use pattern piece C to cut out the corners of the fleece.
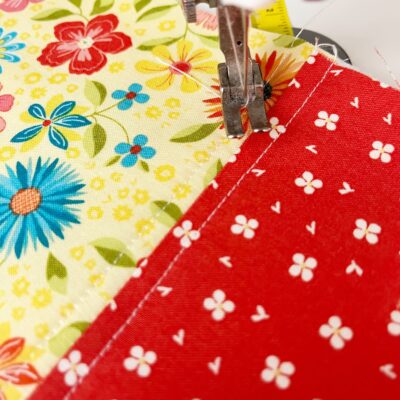
Step Three:
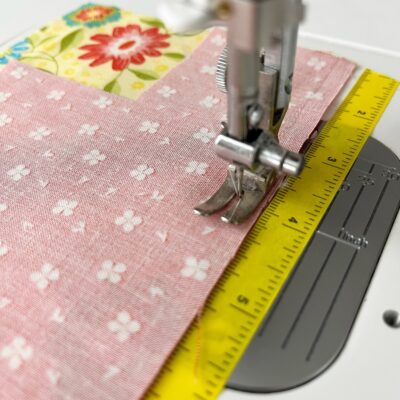
Using a 1/4 inch seam allowance sew outer fabric piece to contrasting fabric, right sides together, along the long edges. Do this with all four pieces of fabric, creating two front and back panels for your tissue box. Press the seam towards the bottom contrasting fabric. (I use PeelnStick Ruler Tape to mark an exact 1/4″ distance from my needle; creating a perfect seam!)
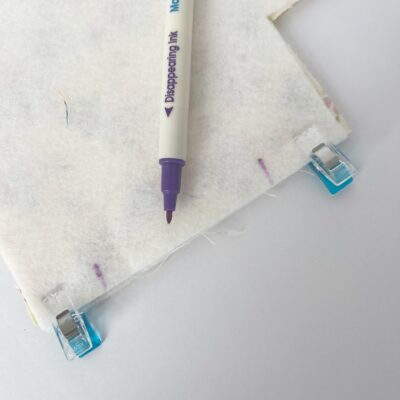
Step Four:

Fuse a fusible fleece piece to each of the four fabric pieces (both outer and lining) by ironing to the wrong side of each one. Make sure it adheres completely. The fusible fleece will be smaller than the fabric pieces.
Note: Everyone that follows me here knows that I use Pressing Paper with almost all my sewing projects! I would highly recommend it on this step!
Step Five:
Topstitch 1/4 inch along both sewn edges of the panels.
Step Six:
Using a 1/4 inch seam allowance sew the front and back panels, right sides together, at the side seams and along the bottom seam. Do NOT sew along the boxed out corners.
Step Seven:
Repeat with your lining pieces EXCEPT when you sew the bottom seam, leave a 2 inch opening for turning.
Step Eight:
Now we will box the corners of both the outer panels and the lining. Keeping your outer panels turned wrong side out, open up one of your corners and match the side seam to the bottom seam. Use pins or wonder clips to hold in place. Sew 1/4 inch seam along the raw edge. Repeat this process on the other corner of the outer panel as well as the lining corners.
Step Nine:
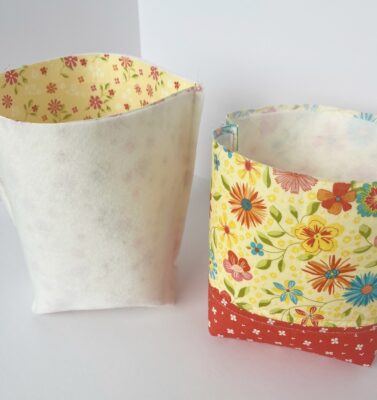
Turn your outer box so that the right side is facing out and push the corners out creating your box. Keep the lining box with wrong side out.
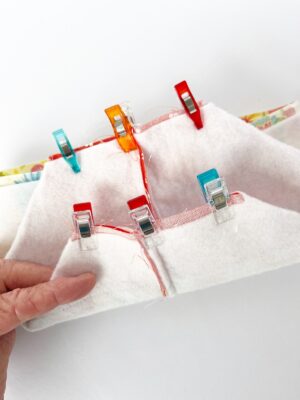
Step Ten:
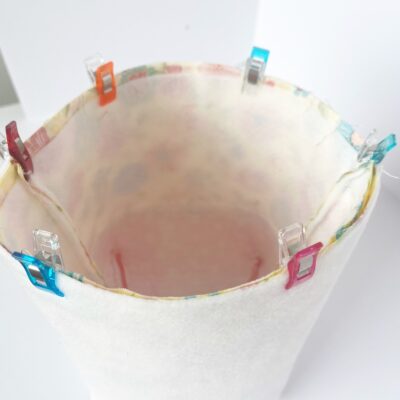
Place the outer box inside the lining so that the right sides are together. You will notice that the lining is a little longer than the outer box and that is on purpose. Just line up the the outer to the lining along the top raw edge and clip them together, being sure to line up the side seams.
Step Eleven:
Sew 1/4 inch seam all the way around that top edge.
Step Twelve:
Put your hand through the opening that we left in the bottom of the lining and pull the outer box through that opening. It will be a tight squeeze but it will work!
Step Thirteen:
Once you’ve pulled the the outer box all the way out, you will need to close up the opening in the lining. Line up both edges, making sure the raw edge is tucked to the inside and sew a small seam as close to the edge as possible. This seam will not be visible once your little tissue box is complete, so don’t worry if it isn’t perfect!
Step Fourteen:
Push your lining into the outer box. There will be approximately 3/4″ of lining showing at the top of the tissue box. Iron this until you get a firm crease at the top. Topstitch 1/4″ along the top and bottom of the seam. Give your finished Tissue Box a final iron.
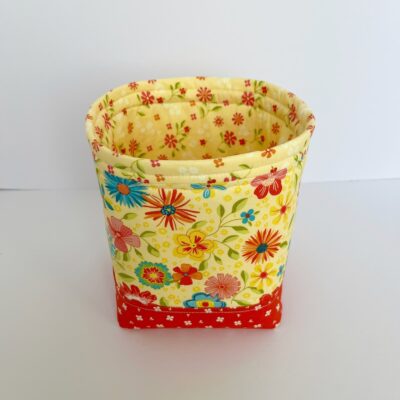
And now, your Tissue Box Holder is complete and ready to use! (P.S. It’s such a story little fabric box, you could use it for many other things!).
I hope you enjoy this fun and easy pattern!