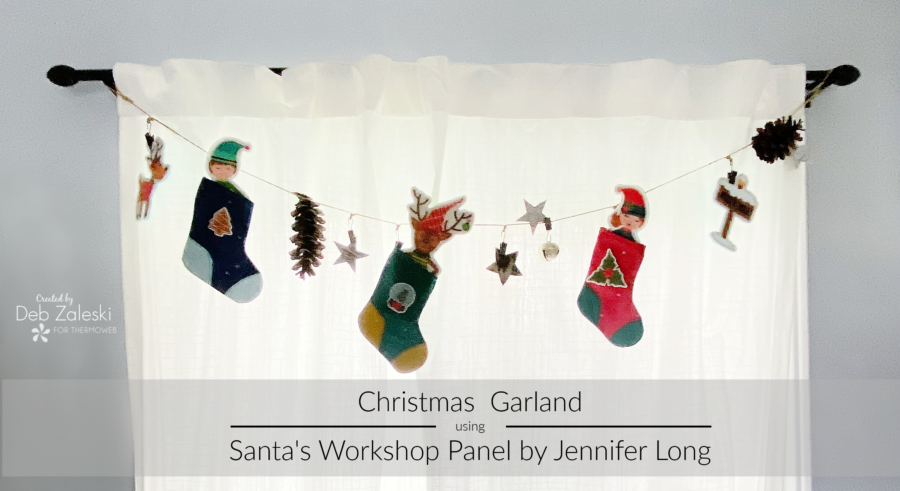
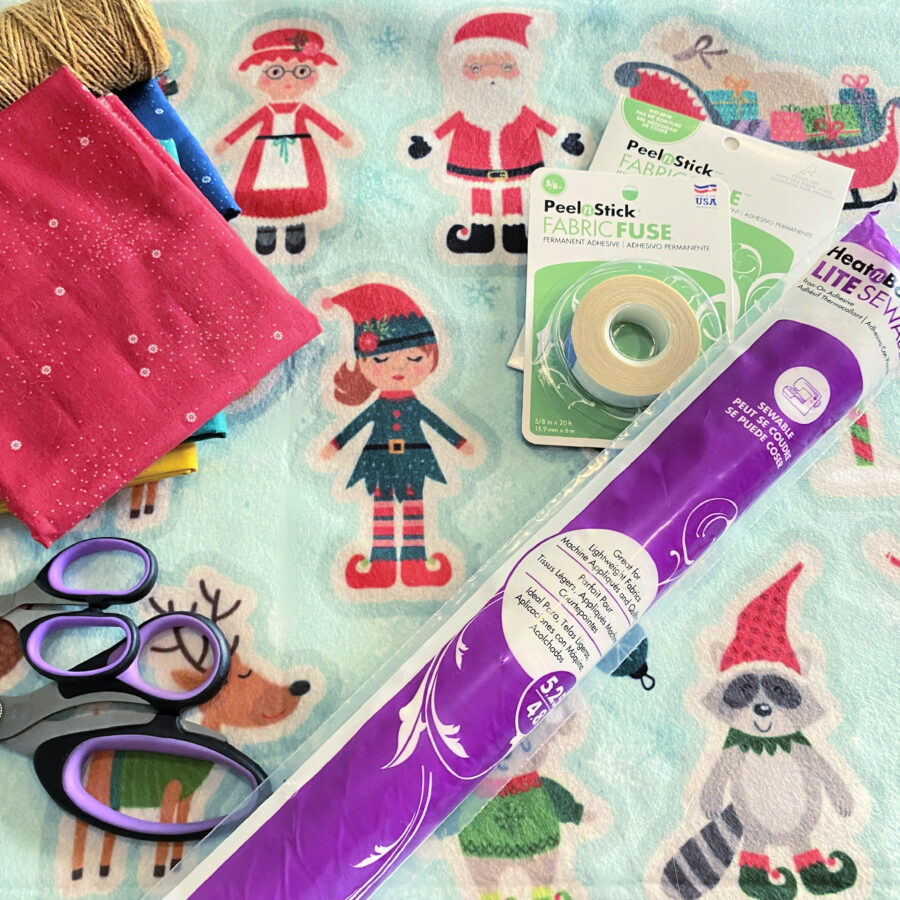
SUPPLIES:
- HeatnBond Lite Iron-On Adhesive
- PeelnStick Fabric Fuse Adhesive
- HeatnBond Craft Extra Firm Non-Woven Fusible Interfacing (for felt character backing)
- Santa’s Workshop Felt Panel by Jennifer Long for Riley Blake Designs
- Twine, minimum 2 yards
- Fat Quarters of Dainty Daisy Basic by Beverly McCullough for Riley Blake Designs
- Coordinating thread
- Embellishments such as pinecones, jingle bells, stars, etc.
- Small clips or hooks for hanging Christmas ornaments
- PDF TOW Stocking
TOOLS:
- Sewing machine
- Scissors
- Iron and ironing board
- Pencil
Choose some of the elves, critters and other motifs on the panel and finish off the characters as indicated in the instructions printed on the panel; HeatnBond Craft Extra Firm Non-Woven Fusible Interfacing is used to create a firm backing for each character. Use the smaller motifs to decorate your stockings!
GETTING STARTED:
1. Download and print the pattern template I’ve created. Print actual size – DO NOT “fit to page” or “shrink to fit.” On the page, you’ll have the stocking, the toe appliqué and the heel appliqué. All seam allowances are 1/4″ unless otherwise noted and are included in the pattern.
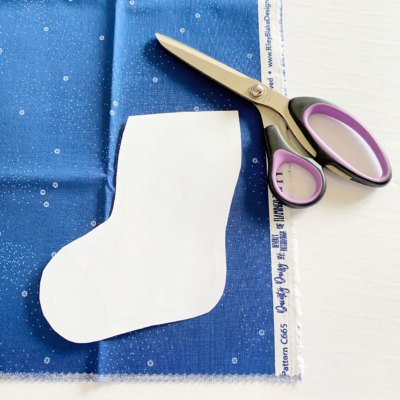
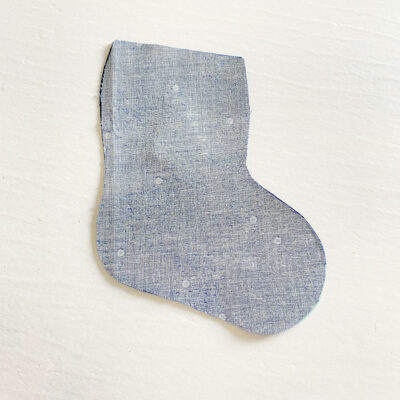
2. Cut out two main stocking pieces (mirror image).
3. Fuse a piece of HeatnBond Lite large enough to fit the heel and toe appliqué pieces to the wrong side of your selected fabric. Trace the outline of the toe and heel pieces, making sure the template is facing wrong side down.
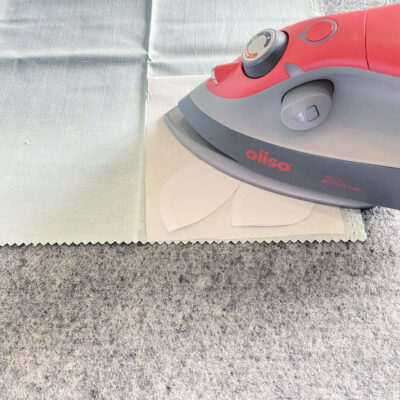
4. Cut out the toe and heel pieces and remove the backing from the HeatnBond Lite. Fuse the pieces to the stocking.
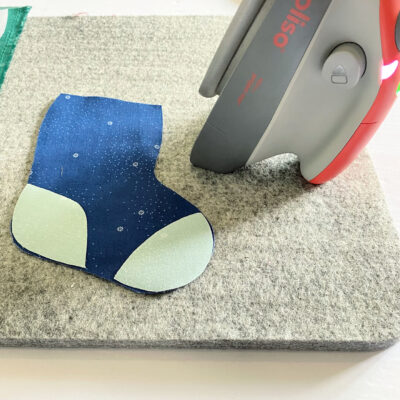
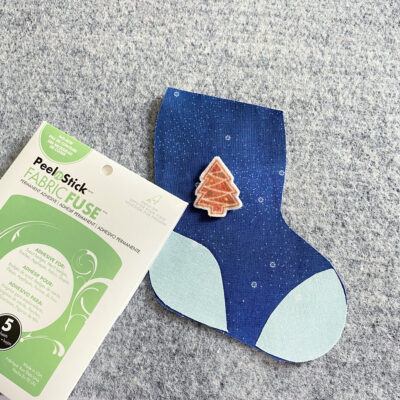
5. Using the PeelnStick Fabric Fuse, add small embellishments to your stockings. This product is NO SEW!
6. Now that everything is cut out and ready to go, move over to the sewing machine. This would also make a great hand sewing project! I like to use a decorative stitch on my appliqué work and usually go for the blanket stitch.
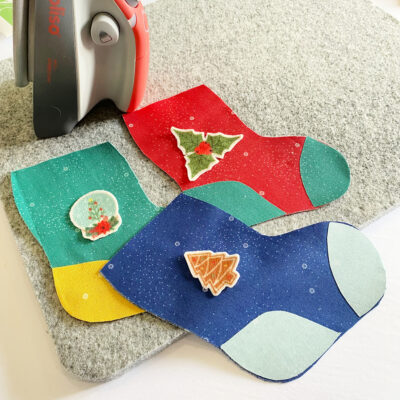
7. Once the decorative stitch is finished around the toe and heel area, place the backside of the stocking over the front of the stocking with right sides together. Using a 1/4″ seam allowance, sew around the perimeter of the stocking leaving the top straight edge open. Turn your work right side out, smooth the rounded areas of the stocking like the toe and the heel and press. Fold the top edge 1/4″ and again 1/4″, stitch the top hem in place.
8. Cut about two yards of twine and add the clips or ornament hooks along the length of twine. The reason I like to use clips is that I’ll be able to remove the little characters from the garland for use on the playmat! Slip the little elves or critters into the stockings and hang other embellishments to the length of twine.
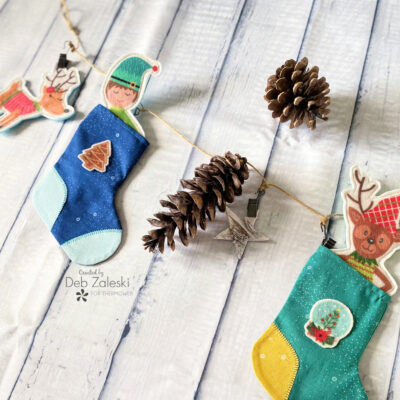
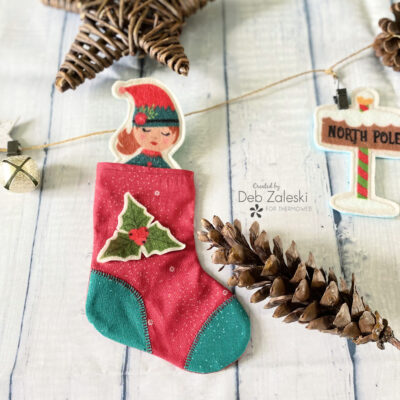
Thanks for joining me. I hope I’ve inspired you to create something fun and whimsical with Jennifer Long’s newest felt panel, Santa’s Workshop! If you liked this project, please let me know by posting a comment. And don’t forget to stop by my Instagram and say “Hello!”
Don’t miss Jennifer’s Santa’s Workshop Felt Panel Sew Along, beginning Wednesday, August 7th. Find all of the details, including free instructions, on Jennifer’s Sew A Story blog HERE.
