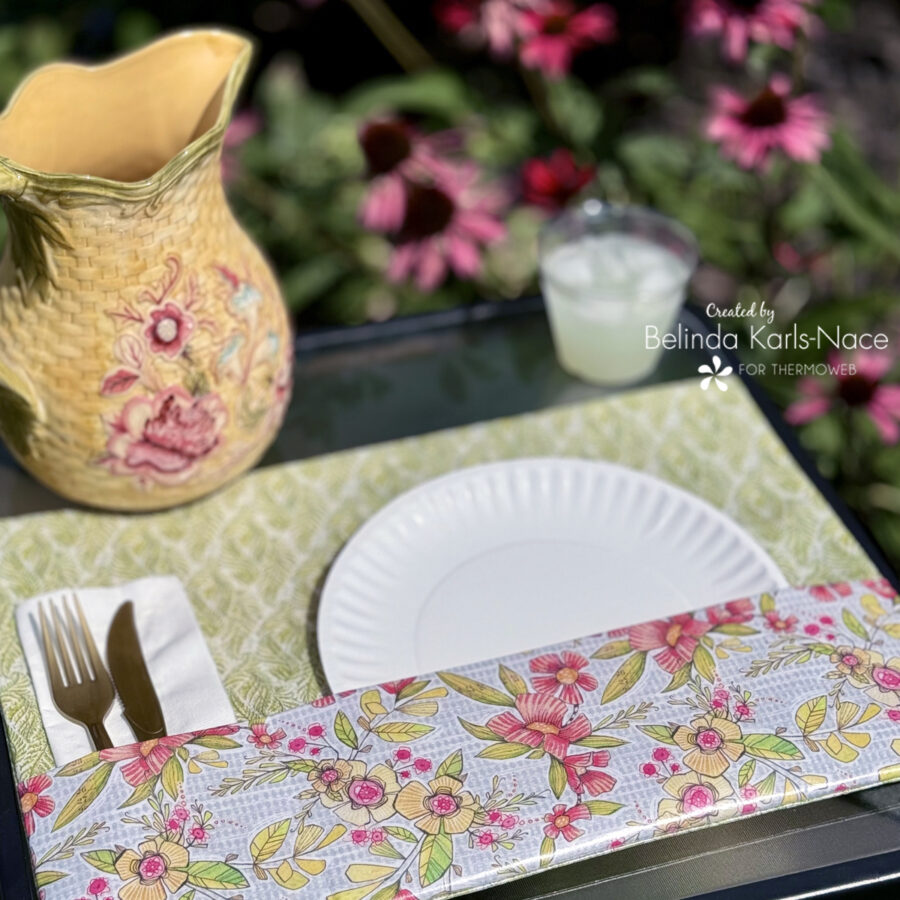
Patio Placemats featuring HeatnBond Iron-On Vinyl
Greetings! It’s Belinda Karls-Nace from Blue Ribbon Designs, here with a brand new fabric project tutorial for my Patio Placemats featuring HeatnBond Iron-On Vinyl (Matte). I can’t wait to share this beginner friendly project with you.
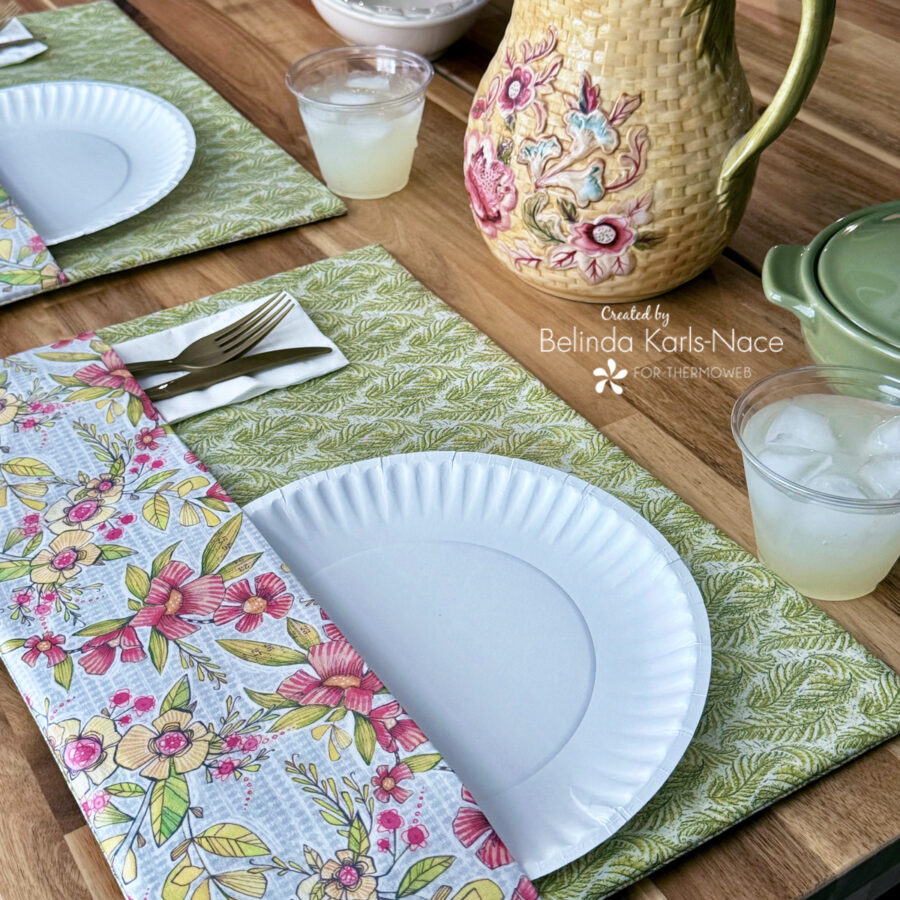
With summer celebrations and outdoor activities in full swing, I wanted to share a project that will simplify your next picnic, campsite, barbecue or backyard dinner. These versatile placemats are water-resistant, durable, and have a pocket to hold those paper products that easily get blown away with a breeze. As an added bonus, they easily wipe clean with a damp cloth. Plus, you can use your favorite fabrics to brighten up any outdoor dining space (for instance, how about using your favorite team fabrics to watch a big game outside or novelty prints for an outdoor movie night? – there are so many fun possibilities).
Simply gather the materials/supplies listed below and let’s get started!
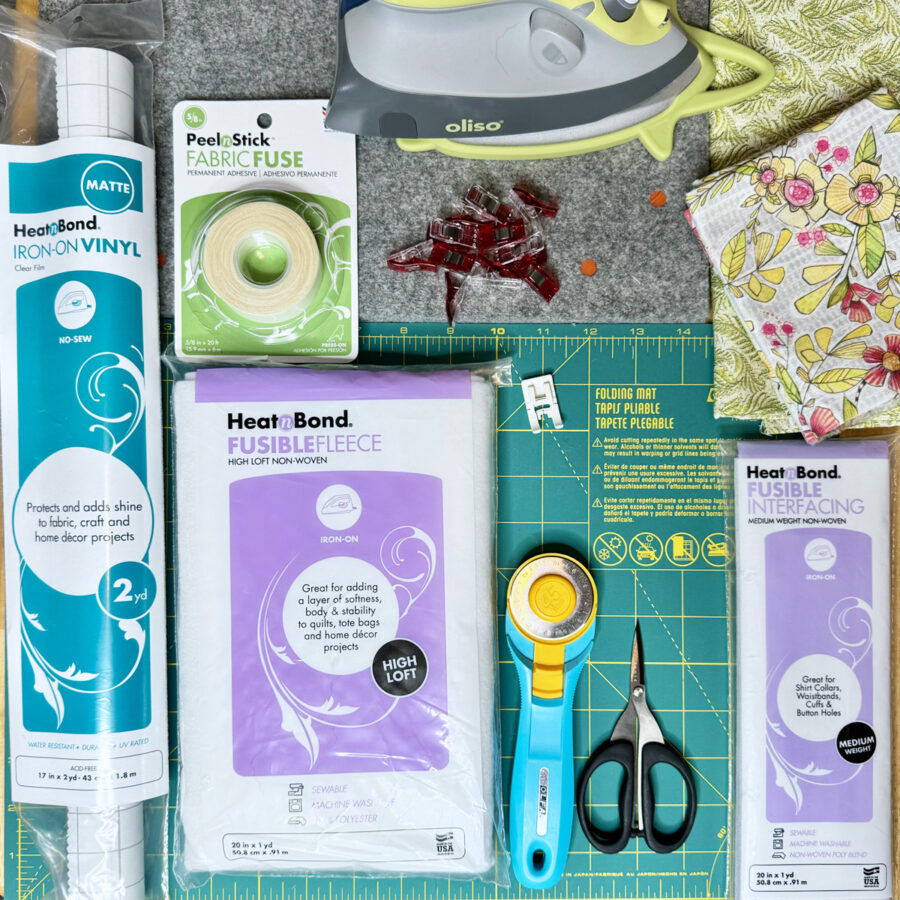
What you need (supplies listed are for ONE placemat):
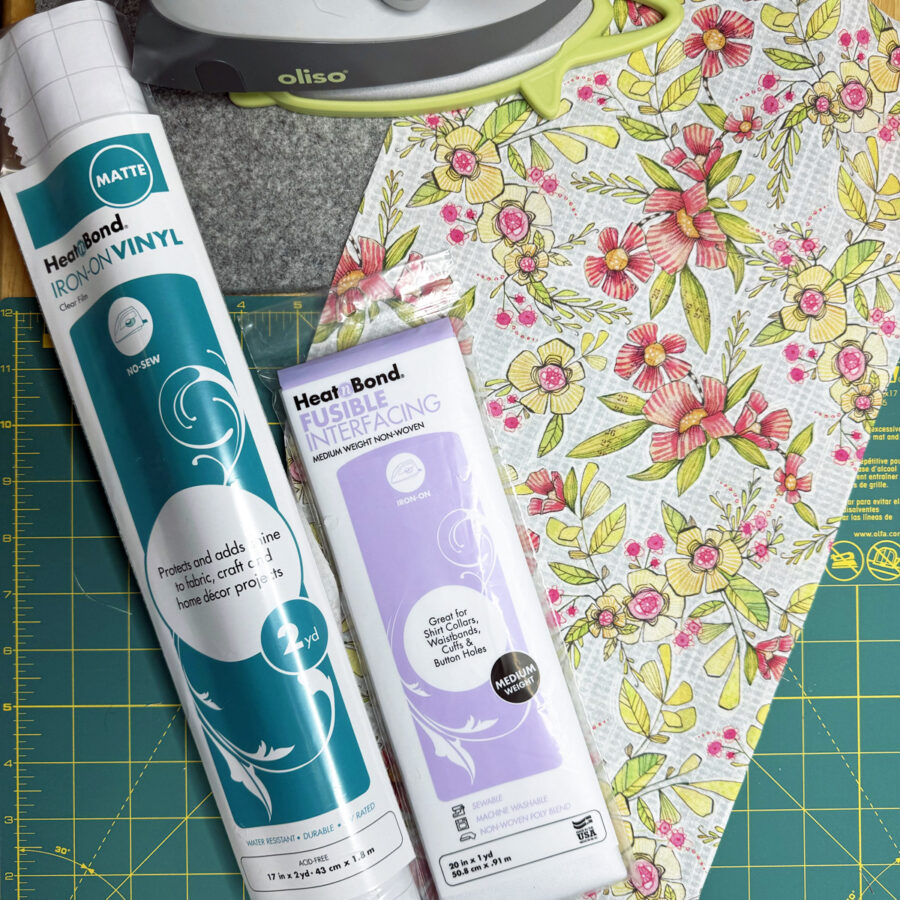
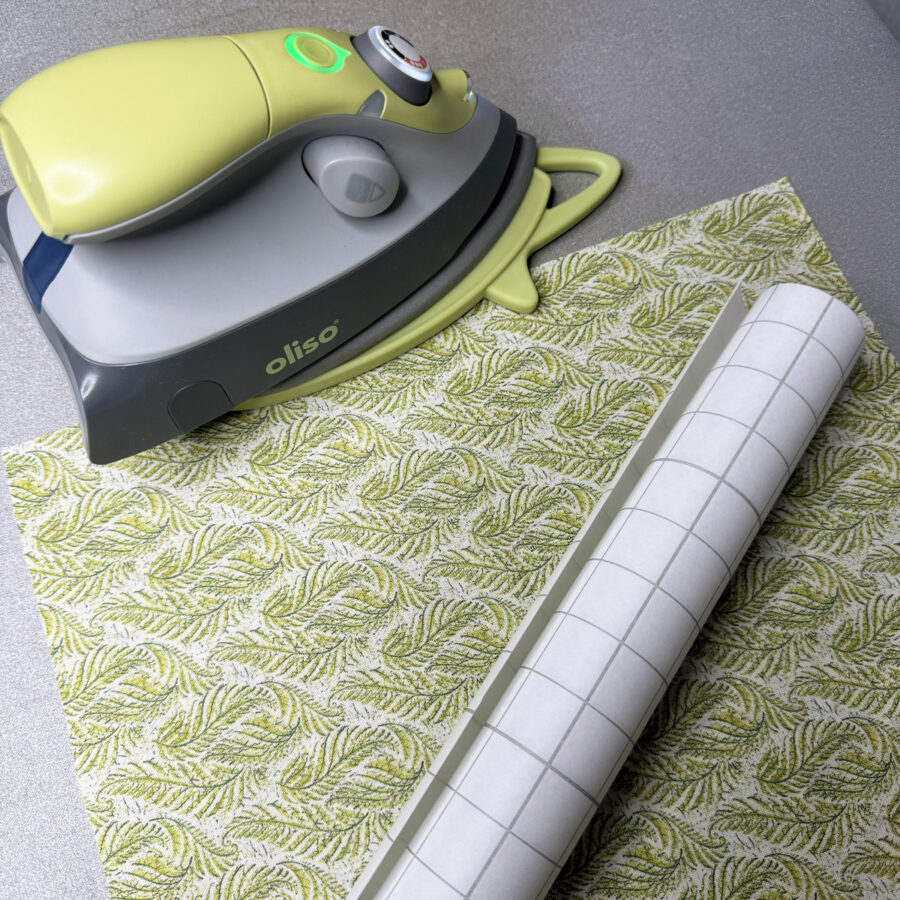
- HeatnBond Iron-On Vinyl, Matte Finish (Gloss Finish would work too!)
- 2 – 18” x 12½”
- 1 – 18” x 10”
- HeatnBond Fusible Fleece
- 1 – 18” x 12½”
- HeatnBond Medium Weight Non-Woven Fusible Interfacing
- 1 – 18” x 10”
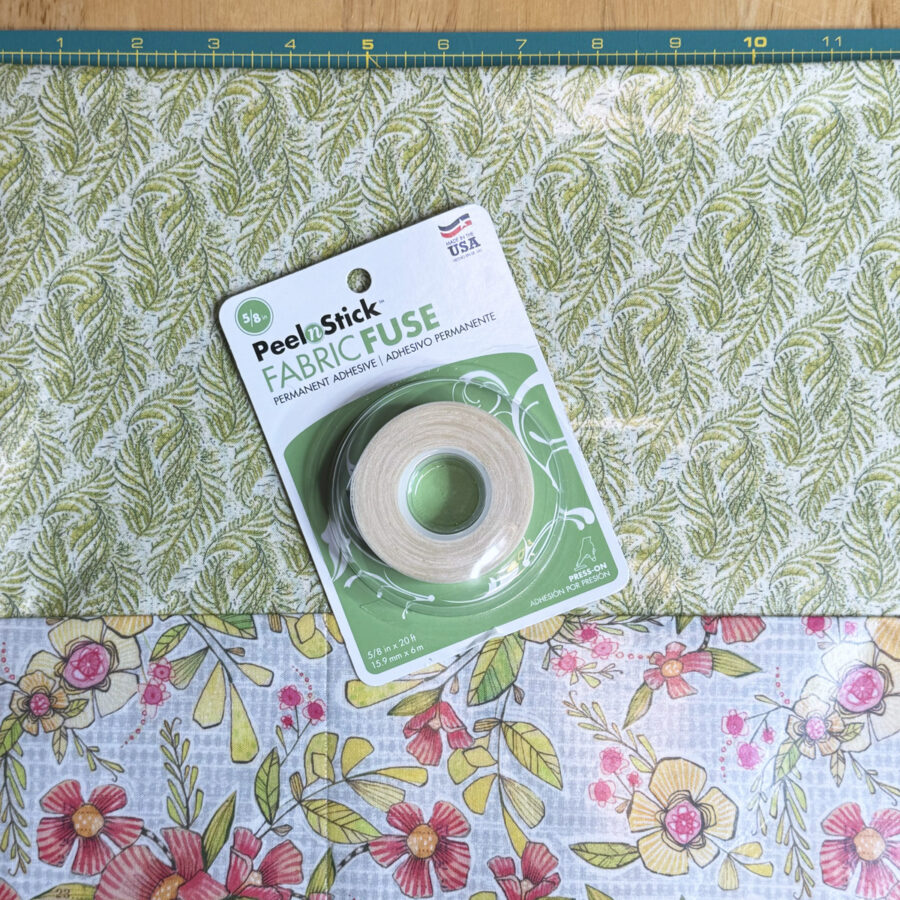
- HeatnBond Fabric Fuse PeelnStick Fabric Adhesive Tape, 5/8 in
- 1 – 5” length
- Cotton Fabrics: model uses Bloom & Grow by Cori Dantini for Blend Fabrics – I encourage you to use your favorite fabrics!
- Top base fabric – 18 x 12½” – Green
- Pocket – 18” x 10” – Floral
- Backing fabric – 18” x 12½” – Green
- Oliso Iron
- Seam Roller (for flattening vinyl seams)
- Olfa Cutting Tools (cutting mat, rotary cutter)
- Sewing Machine
- Basic Sewing Supplies/Tools (rulers, sewing thread, wonder clips, pencil, etc.)
How to Make a Patio Placemat (17½” W x 12” H)
-
Create the pocket.
- Fuse the 18” x 10” piece of HeatnBond Medium Weight Non-Woven Fusible Interfacing to the wrong side of the 18” x 10” pocket fabric, following the package instructions. The HeatnBond Medium Weight Non-Woven Fusible Interfacing will make your pocket strong and durable, but not too thick.
- Pre-heat iron to high heat, no steam
- Place rough side of the Fusible Interfacing onto the back (wrong side) of the fabric.
- Cover with a lightweight, dry pressing cloth. Press and hold iron with medium pressure for 10 – 15 seconds. Repeat by lifting iron to a new area and pressing, slightly overlapping previous area until entire surface is bonded.
- Allow to cool then check for proper adhesion. Iron again if needed.
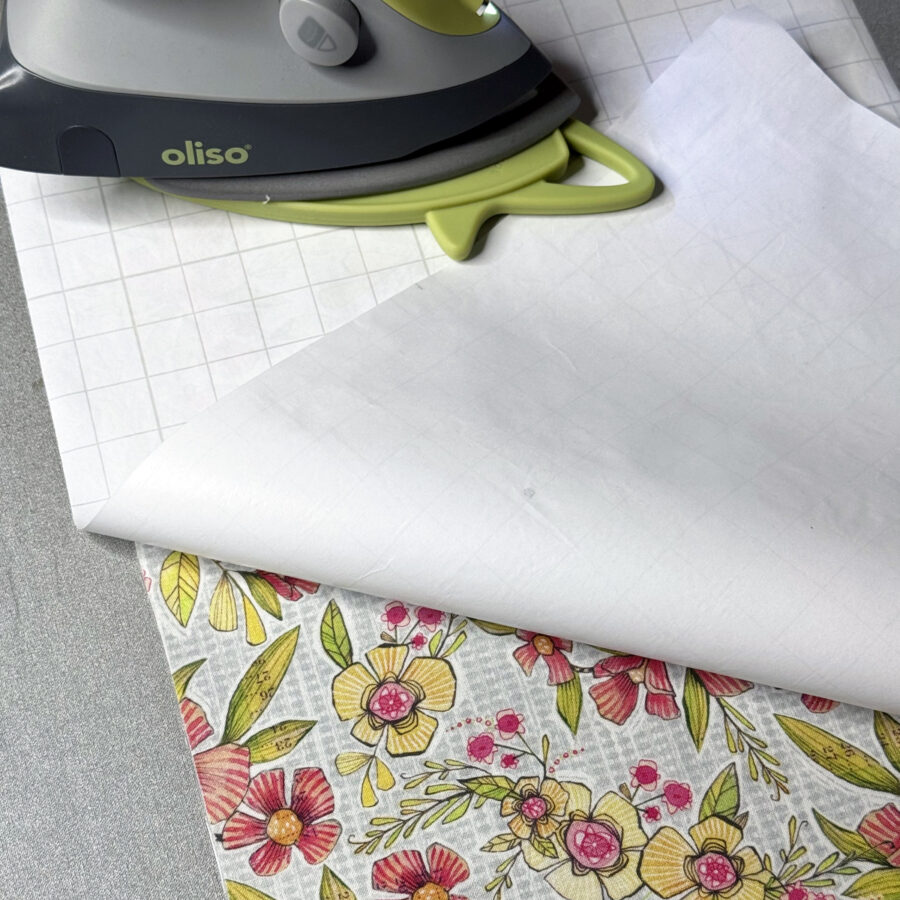
- Fuse the 18” x 10” piece of HeatnBond Iron-On Vinyl to the right side of the 18” x 10” pocket fabric unit, following the package instructions. *PRO TIP: Always protect your ironing surface with protective paper or parchment paper before working with iron-on vinyl.
-
- Preheat iron to medium heat, no steam.
- Peel vinyl from protective paper. Place vinyl, sticky side down, onto top of material. Place protective paper that was just removed on top of vinyl.
- Press and hold iron on the protective paper for 8 seconds. Repeat until the entire surface is laminated. Do not touch iron directly to vinyl.
- Flip project over (leaving the protective paper in place). Press and hold iron on back of project for additional 4 seconds. Repeat until the entire surface has been heated.
- Allow the piece to cool before sewing or using project.
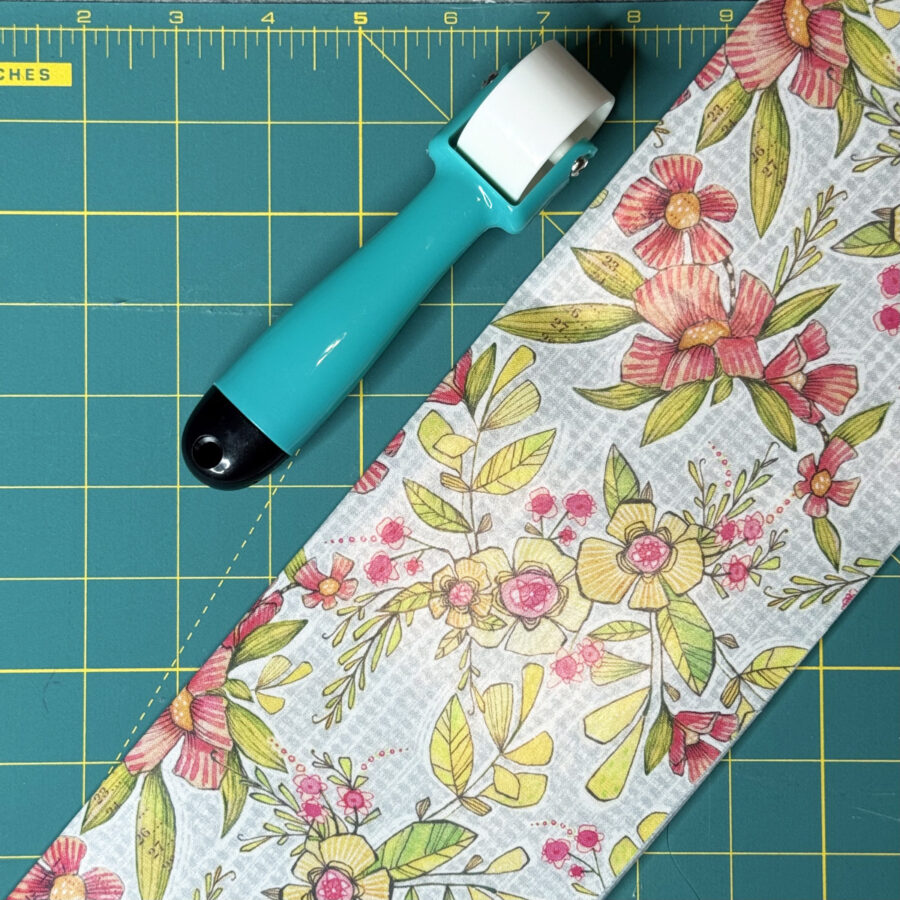
- Fold the pocket fabric unit in half lengthwise and press using a seam roller (NOTE: if using an iron, be sure to have protective paper on both sides to protect your project, iron, and ironing surface). It will now measure 18” x 5”.
-
Create the placemat base.
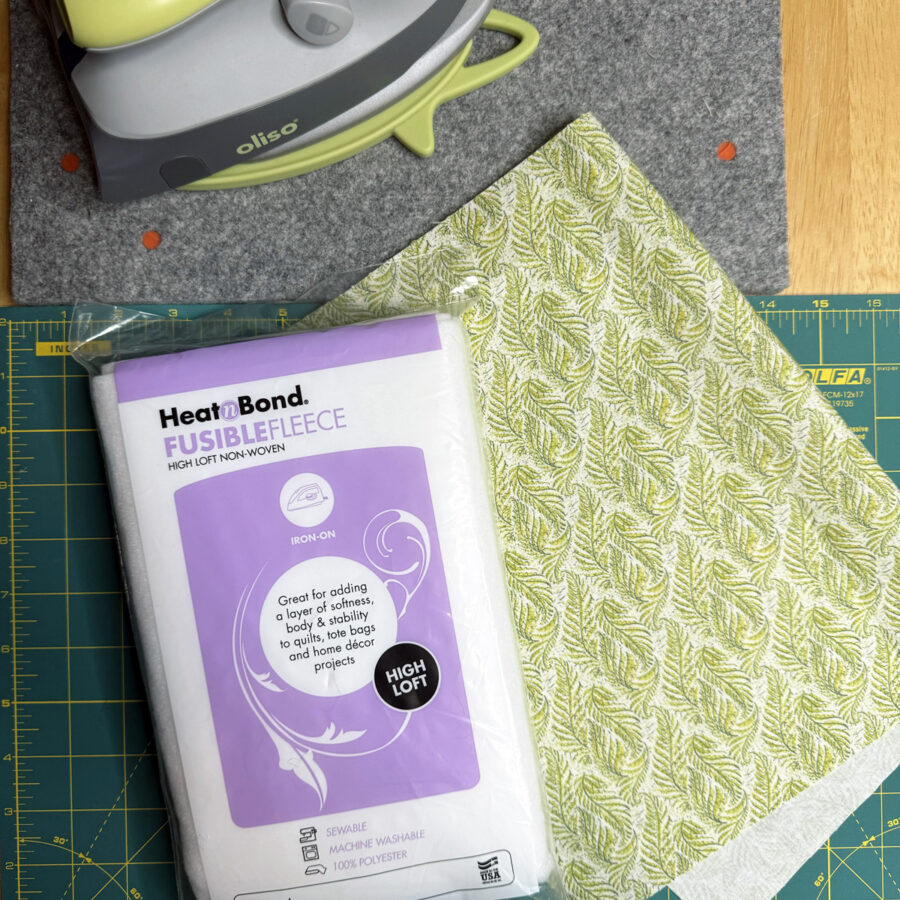
- Center and fuse the 18” x 12½” piece of HeatnBond Fusible Fleece to the wrong side of the 18” x 12½” top base fabric, following the package instructions.
- Pre-heat iron to cotton setting (high heat), no steam.
- Place the rough side of the Fusible Fleece on the wrong side of the top base fabric.
- Cover with a lightweight, dry pressing cloth.
- Press and hold iron with medium pressure for 10-15 seconds. Repeat by lifting iron to new area, slightly overlapping previous area until the entire surface is bonded.
- Allow it to cool.
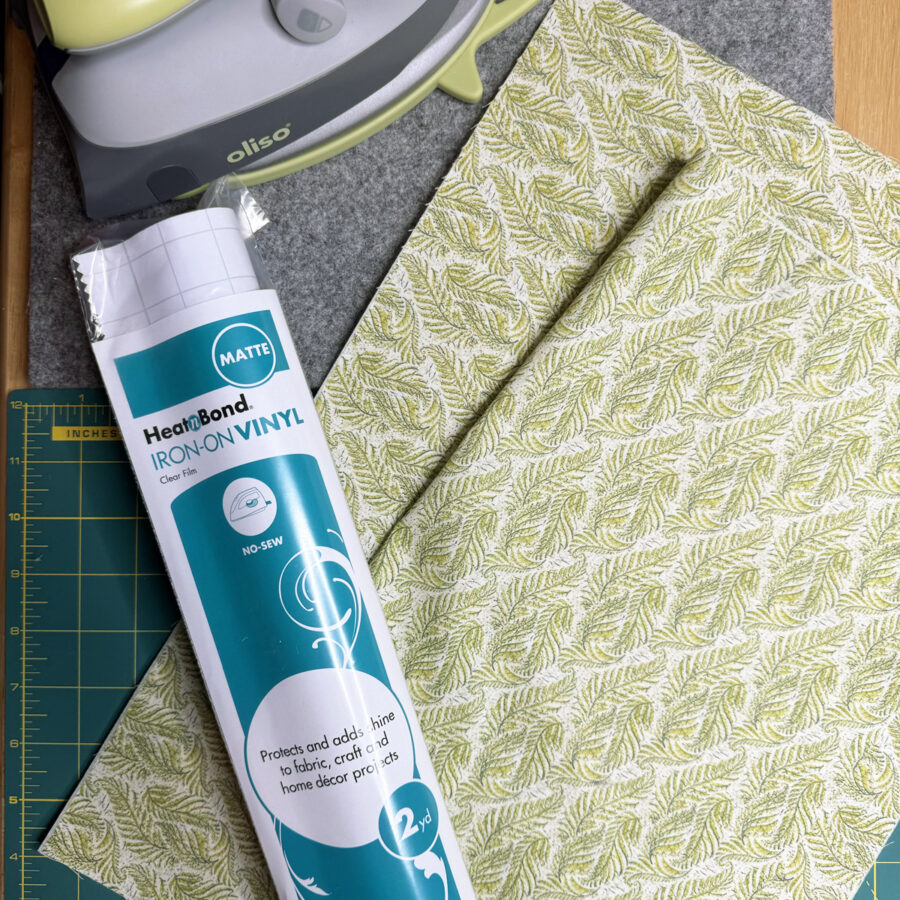
- Fuse one 18” x 12½” piece of HeatnBond Iron-On Vinyl to the right side of the 18” x 12½” top base fabric unit with fusible fleece, following the package instructions or the directions in Step 1.
- Fuse one 18” x 12½” piece of HeatnBond Iron-On Vinyl to the right side of the 18” x 12½” backing fabric, following the package instructions or the directions in Step 1.
-
Assemble the placemat.
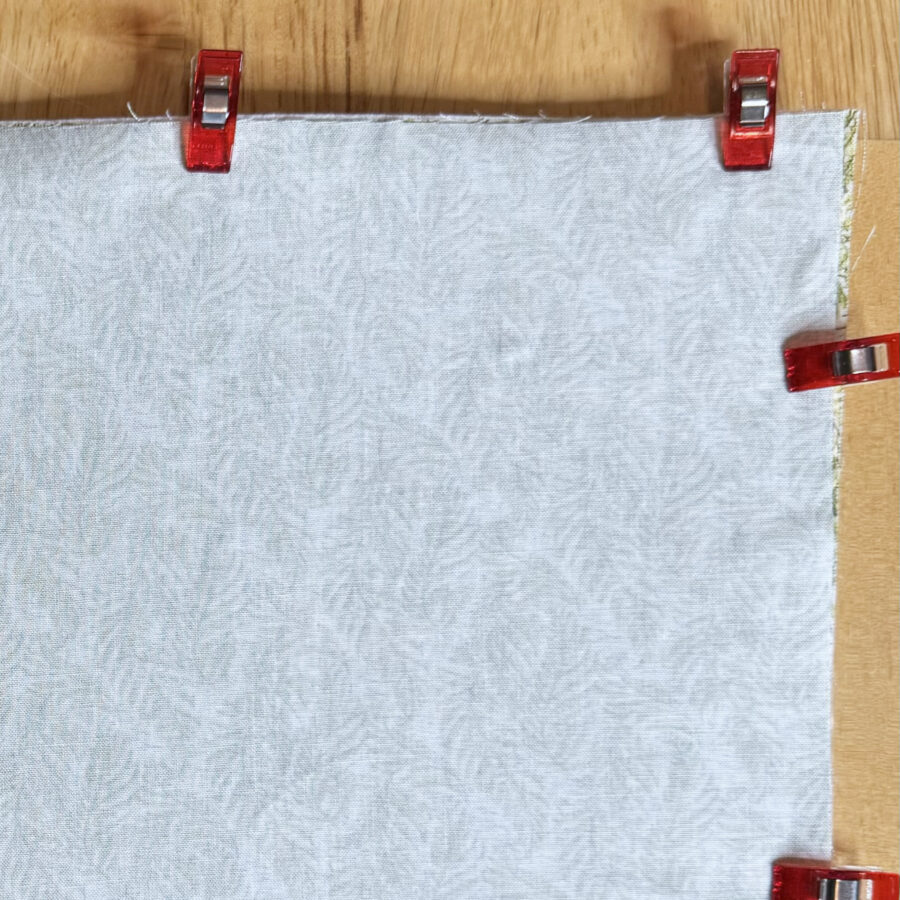
- Place the folded pocket fabric on top of the top base fabric unit (with fusible fleece on back), lining up the bottom of the pocket fabric (raw edges) with the bottom of the base fabric. Baste the bottom and sides to hold the pocket in place. PRO TIP: Use clips, not pins. Pins will leave holes in the vinyl.

- Sew a divider in the pocket to separate the napkin and silverware from the plate. From the lefthand side, measure over 5” and sew a division line in the pocket. Mark this line division line with a pencil and use a straight stitch.
- Place top tope base unit with pocket and the backing fabric unit right sides together and sew around the perimeter with a ¼” seam allowance, leaving a 5” opening in the top center for turning.
- Clip corners and turn right side out.
- Press, making sure to have protective paper on both sides to protect your project, iron, and ironing surface.
- Use HeatnBond Fabric Fuse PeelnStick Fabric Adhesive Tape, 5/8 in, to seal the opening left for turning closed (no sew, no heat).
- Trim 5” length to ¼” wide, if desired (I used the 5/8” width for the models)
- Adhere the tape inside the opening along the edge
- Peel off the paper liner.
- Press opening closed with firm pressure. For example, try using the rounded side of a metal spoon and pressing down with your thumb while applying heavy, consistent pressure. The harder you press, the better the bond. Repeat on back side of item.
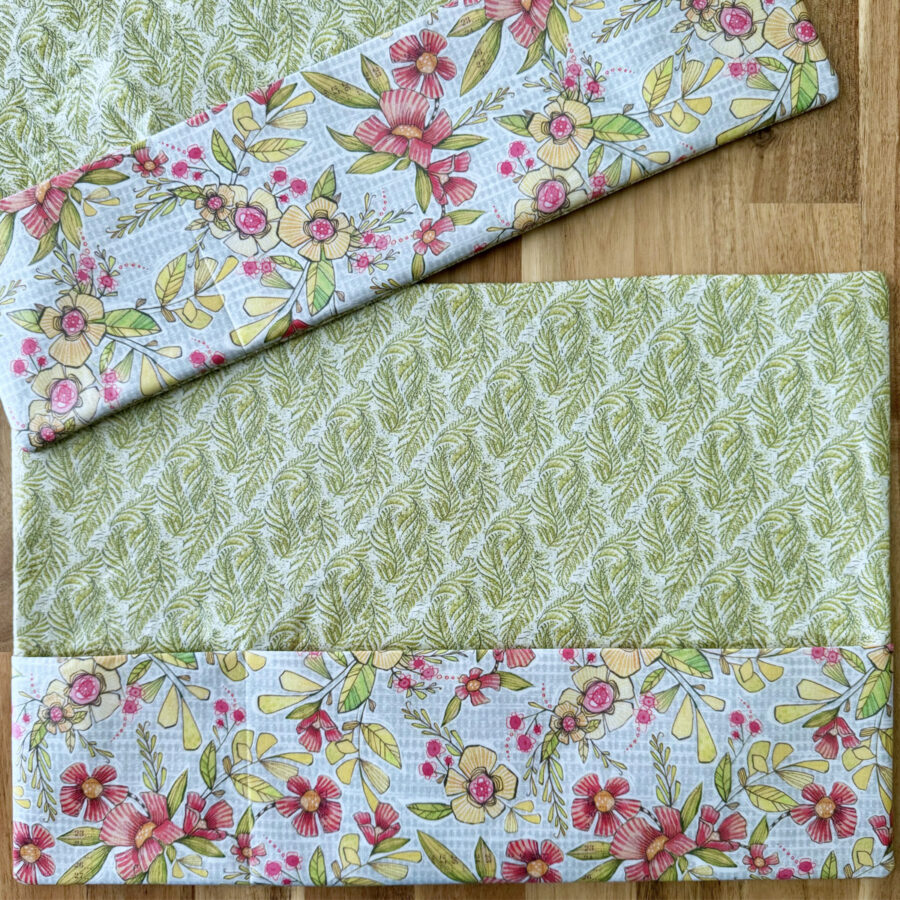
Your Patio Placemat is now complete; use it in your favorite outdoor dining setting and enjoy!

Thank you for joining me today for my Therm O Web blog tutorial. I hope this post for my Patio Placemats featuring HeatnBond Iron-On Vinyl inspires you to create a set of Patio Placemats to use at your next outdoor gathering. To see more of my projects, stop by my blog, website, or Instagram – I would love to visit with you and see what you create!