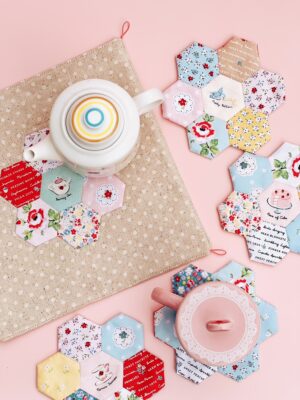
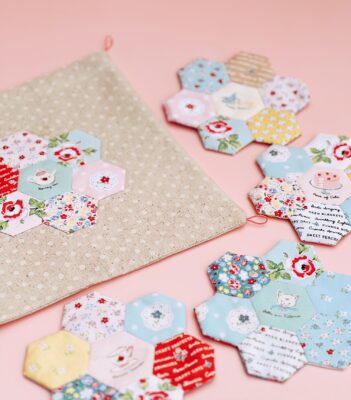
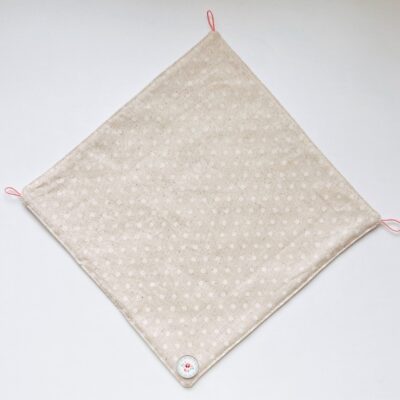
Hello there! It’s Karen from Creamcraft Goods. I’m excited to share my latest project tutorial with you a – Hexagon Coaster Set – utilizing Thermoweb products such as HeatNBond Fleece Interfacing and SprayNBond Basting Spray. If you enjoy making Hexagaons or Hexies (also known as EPP – English Paper Piecing), fussy cutting, slow stitching, and small projects, than this tutorial is for you! I love making hexie projects because you can take them anywhere with you as you prepare the hexagons for the the final hexie patchwork piece. This coaster set makes four coasters and one hexie mat. It makes a lovely gift for a friend or yourself and is a cute and special way to enjoy tea or coffee time!
Hexagon Coaster Set and Mat Instructions
Materials
- HeatNBond Fusible Fleece
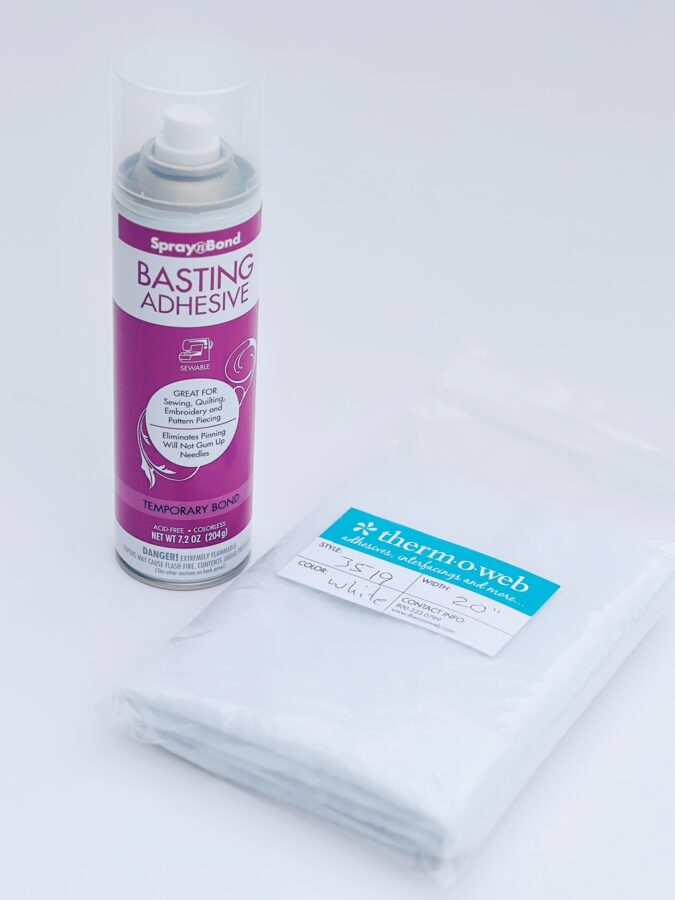
- SprayNBond Basting Adhesive Fabric Spray – Temporary Bond
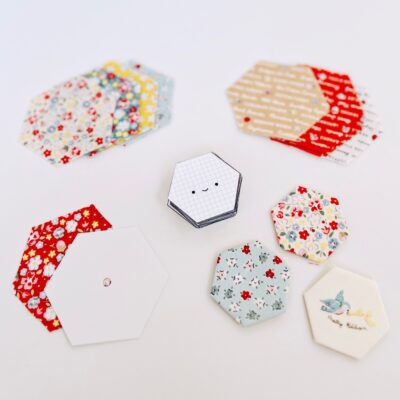
- Various Cotton Prints for Hexagons (you will be making a total of 63 hexagon pieces, 9 hexie panel pieces total)
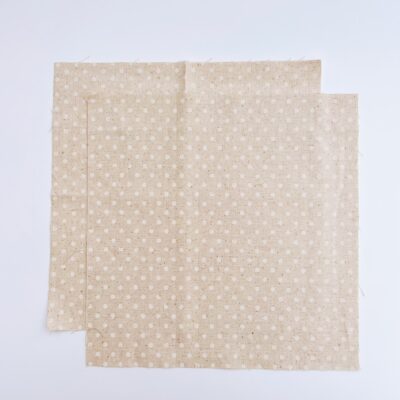
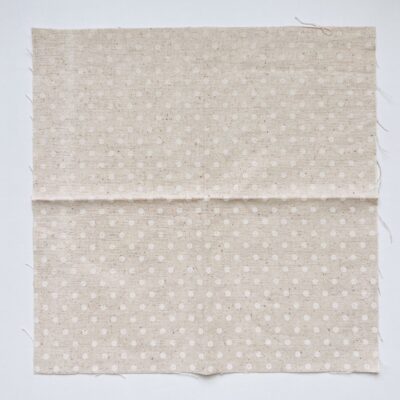
- One fat quarter neutral cotton piece
- 63 one inch hexagon paper templates (you can find inexpensive ones, sold as a pack on Amazon )
- Decorative button
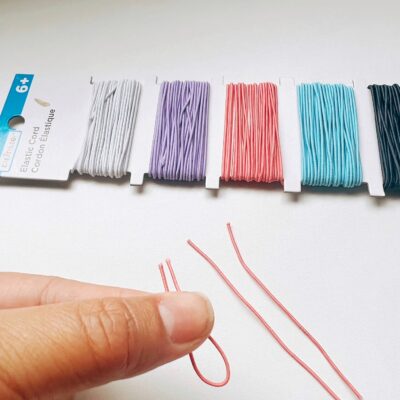
- Elastic – cut into three 1 1/4″ pieces
Supplies Used
- Glue Stick – to quickly baste your fabric onto the hexagon paper templates
- Needle and thread – to stitch the Hexagon panel together and to applique onto the mat
- Marking pen (water soluble)
- Awl – helps to pop out the hexagon paper templates
- Turning tool such as a stiletto or a chopstick – to smooth out the piece and corners when it’s turned right side out
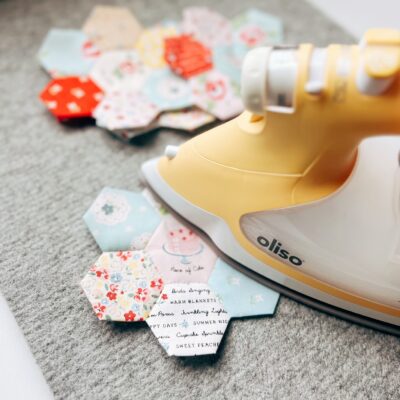
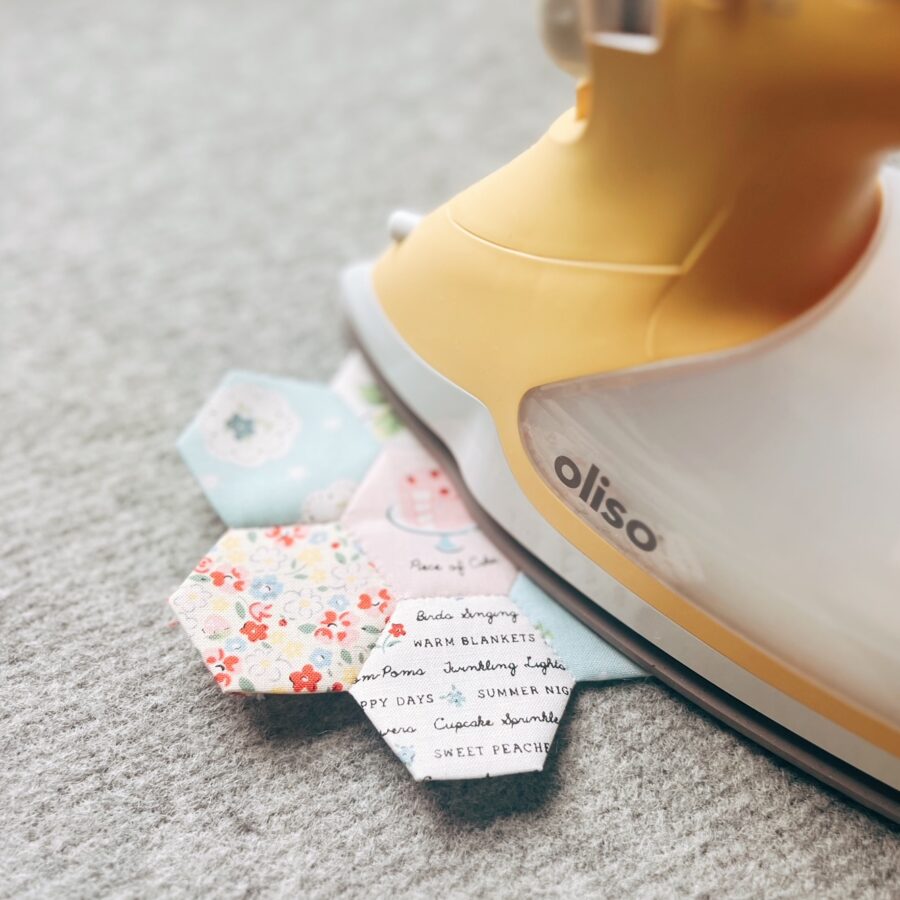
- Iron and ironing pad – to press pieces and apply interfacings. I love using Oliso Irons!
- Rotary Cutter, Mat, Ruler
- Sewing Machine
Cutting
- Cut 63 pieces of various cotton prints. If you have special prints, this is the best time to fussy cut your most favorite ones! TIP: I use one larger 1 1/2″ hexagon template to trace onto the cotton pieces. This gives you 1/4″ space to baste onto the 1″ hexagon paper template shape
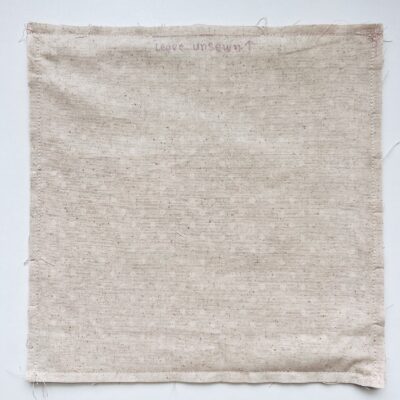
- Cut two 10″ x 10″ cotton squares from the neutral cotton fat quarters for the mat body
- Cut one 10″ x 10″ HeatNBond Fusible Fleece square – for the mat
- Cut four 6″ x 6″ HeatN Bond Fusible Fleece squares – for the coasters
- Cut three 1 1/4″ elastic pieces – for the corners
Tips
- Use a ¼” seam allowance unless otherwise noted
- Baste stitch uses a 3/16” seam allowance or the farthest stitch to the right on your sewing machine
- I use this larger 1 1/2″ hexagon template to trace onto the cotton pieces. This gives you 1/4″ space to baste onto the 1″ hexagon template shape.
- I use glue to baste my cotton onto the hexagon paper templates, it’s faster (and kind of fun for me) but if you prefer to hand baste with needle and thread, that is okay too.
Lets Begin!
Make the Hexie Panels
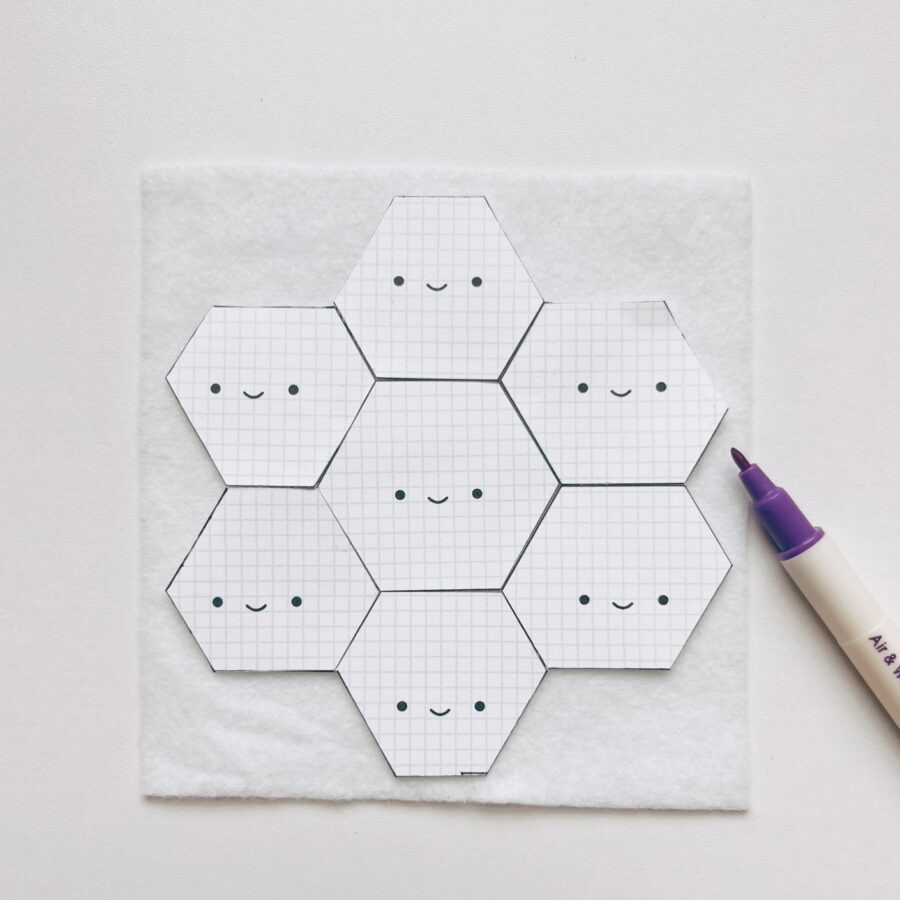
- Once you have your 63 cotton pieces cut, baste them using a glue stick (or preferred method) onto the 1″ hexagon paper templates.
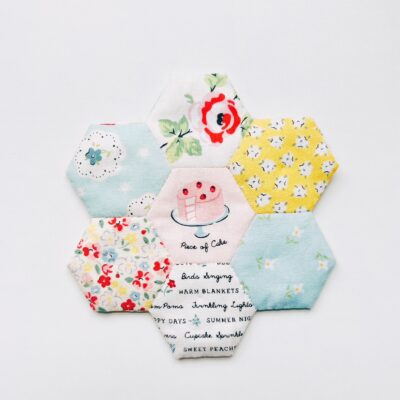
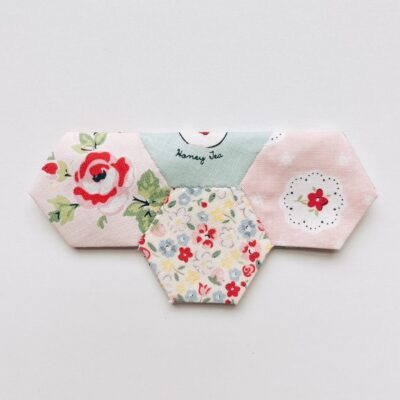
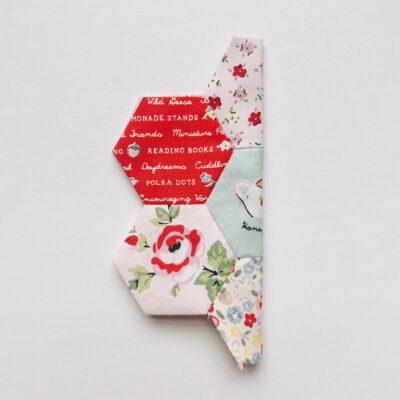
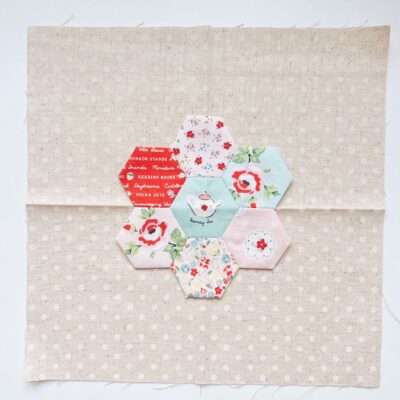
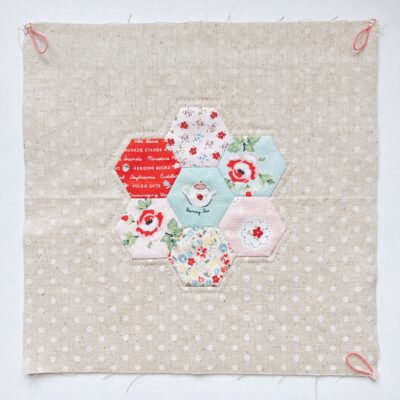
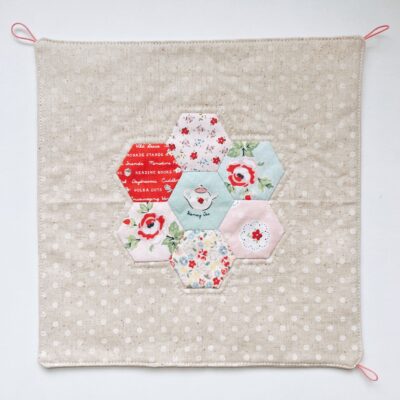
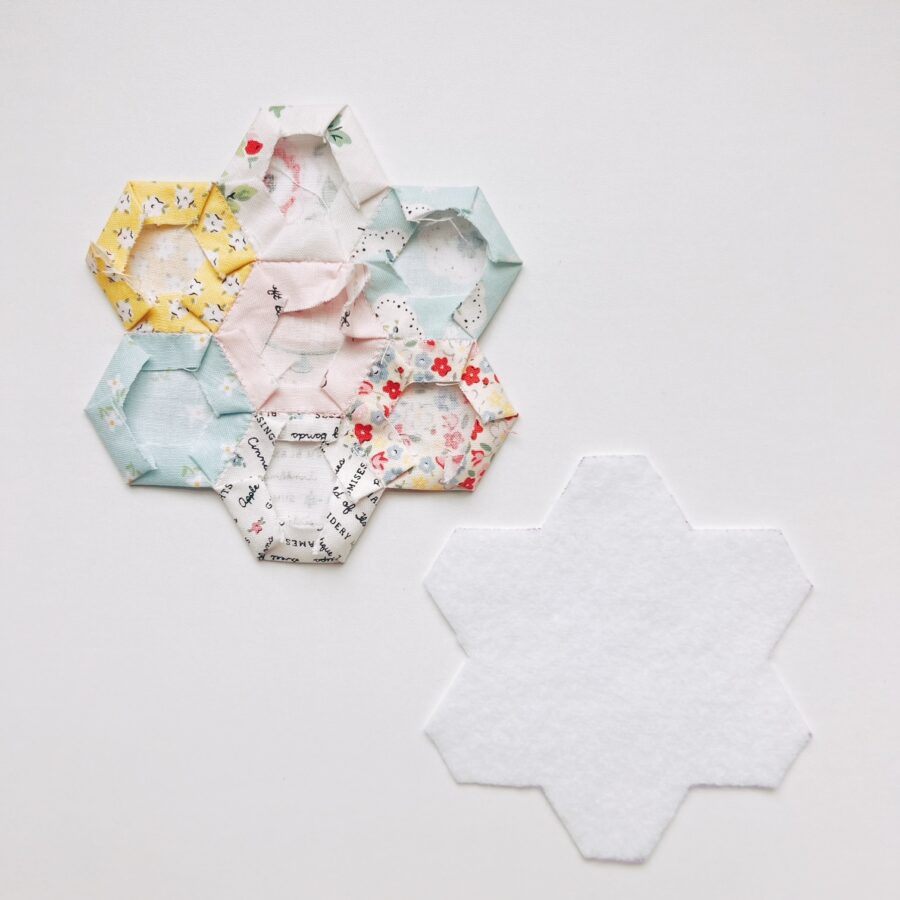
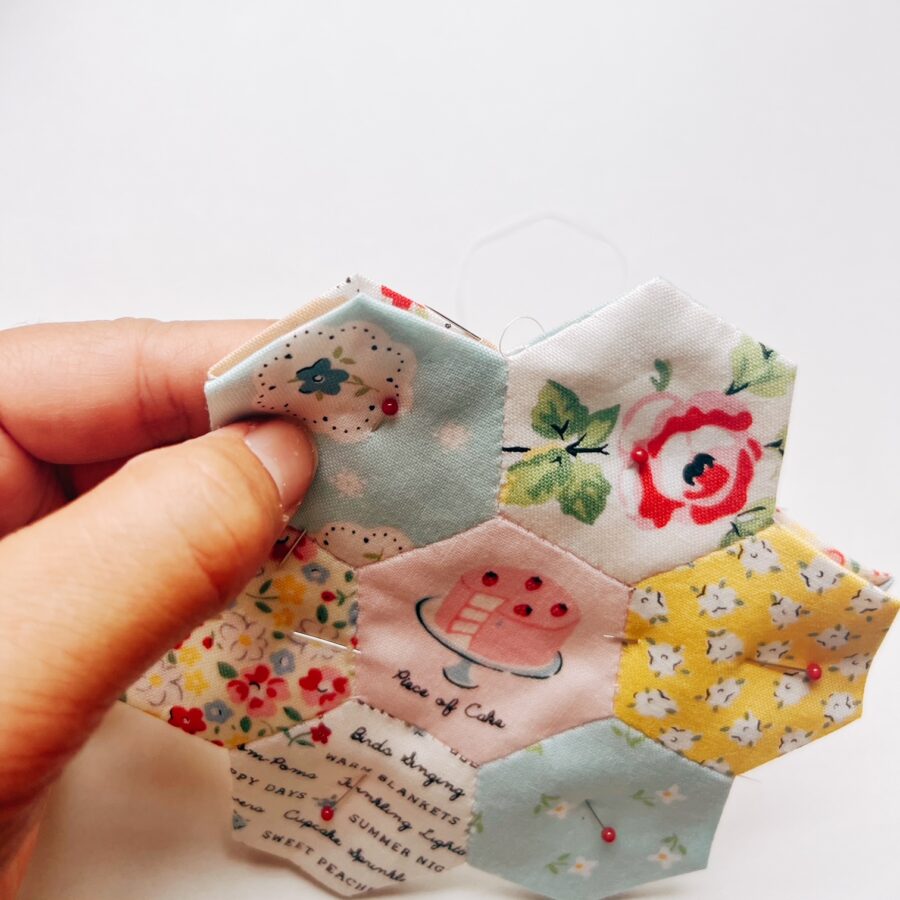
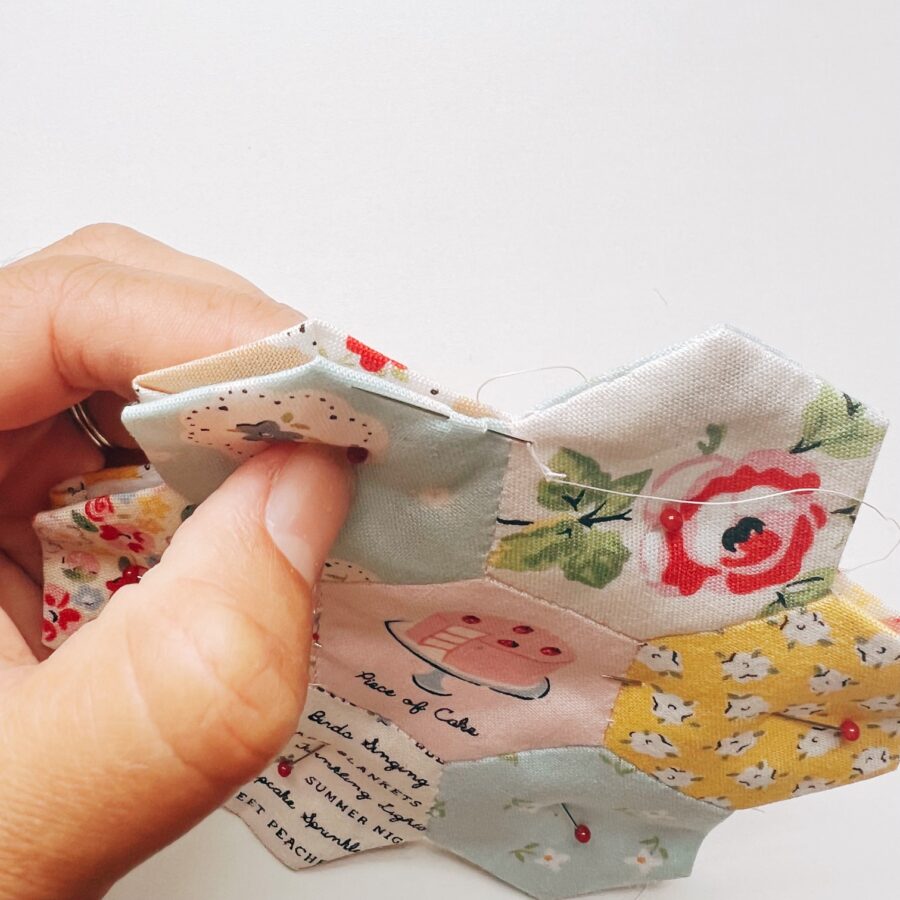
- Take 7 hexagon pieces and create a hexie panel. Place one hexagon in the middle and hand stitch the remaining 6 hexagon pieces to the middle. Repeat this for the 8 remaining hexie panels. You will make a total of 9 hexie panels – 4 coasters each (requires 2 hexie panels sewn together) and 1 hexie panel for the mat (this will be appliqued onto the 10″ x 10″ cotton square).
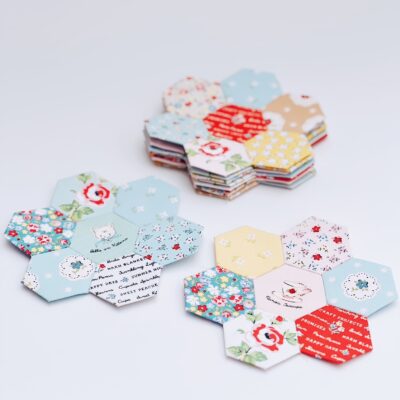
Make a total of 9 Hexie Panels - Once done making the 9 hexie panels, using an awl, carefully take the hexagon paper templates out.
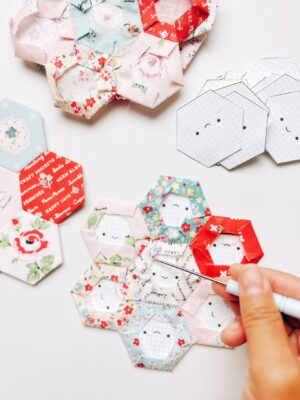
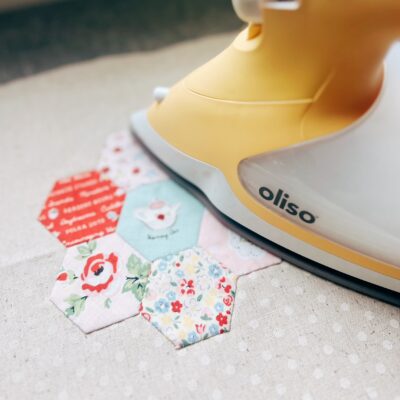
- Press with an iron and set the hexie panel pieces aside.
Make the Mat
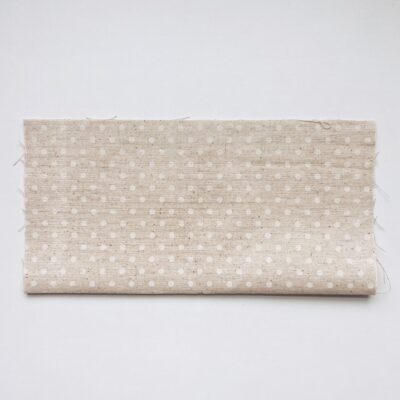
- To accurately place one hexie panel in the middle of the square cotton piece, take one 10″ x 10″ cotton square and fold in half from top to bottom and press with an iron. Open the fold and fold in half again from side to side and press with an iron. You should now have accurate alignment lines to place the hexie panel onto.
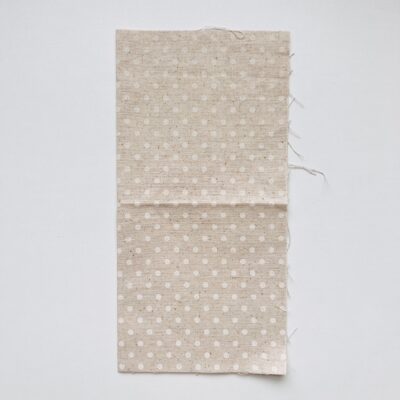
- Do the same method in step one for the hexie piece as well, to mark the lines for alignment.
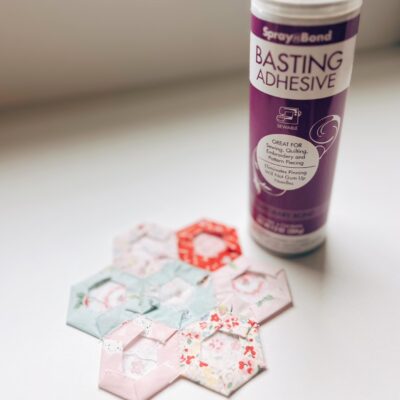
Once the lines are marked, take your SprayNBond Basting Adhesive Spray and spray the back of the hexie panel.
- You will now align the hexie panel onto the 10″ x 10″ cotton square, using the marked lines as guides to align to, pressing and smoothing the hexie panel onto the cotton square. Stitch the panel to the cotton piece using an applique stitch or machine sew in place as close to the edges of the hexie panel as possible.
 Now, apply the HeatNBond Fusible Fleece to the back of the cotton panel, following the instructions for the fleece on the package. Press with an iron.
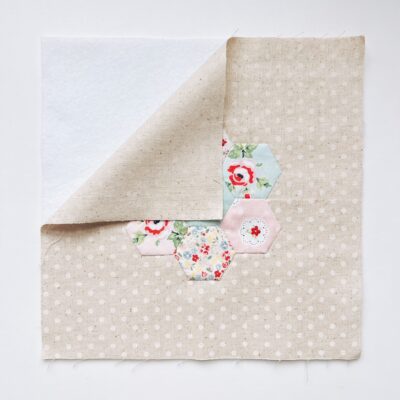
- To make the elastic loops for the button closure, you will now baste the elastic pieces to three corners of the front (right side) of the hexie panel. Leave one corner alone as this will be for the button placement. Take one elastic piece, and fold in half. Place the raw edges of the elastic onto one corner of the hexie panel and pin in place. Baste in place a few times to secure it in place. Repeat for the remaining two corners. TIP: I use a zig zag stich with a low stitch setting to secure, going back and forth a few times. You want to do this so the elastic doesn’t snap out of place when you pull it out once you turn the piece right side out.
- To assemble the mat, take the second 10″ x 10″ cotton square and lay it on top of the 10″ x 10″ hexie panel piece with right sides facing together (wrong sides should be facing out). Pin in place.

- Using a water-soluble pen, mark the middle top by 3″ to create an opening (this will be the area your turn the piece right side out).
 Starting at the end of the marked spot (make sure to backstitch at the beginning), sew in place using a 1/4″ seam allowance until you get to the beginning of the marked spot (make sure to backstitch at the end too). Clip the corners, making sure not to clip where you have sewn.
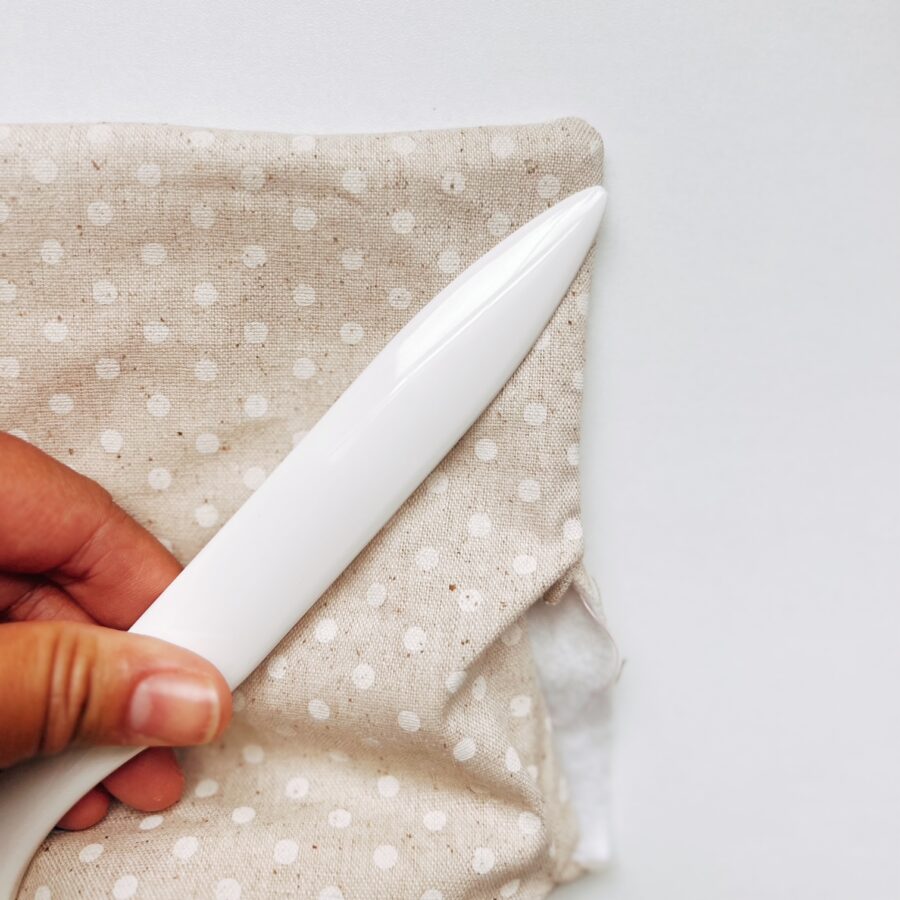
 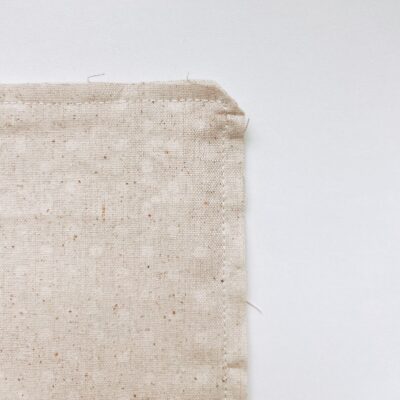 Turn the piece right side out through the opening. Take a stiletto or chop stick and smooth out the seams and corners. Carefully, pull out the elastic loops from the corners. Once the piece it turned right side out, pin the 3″ opening closed, press the mat with an iron and sew a seam close to the edges around the entire mat.
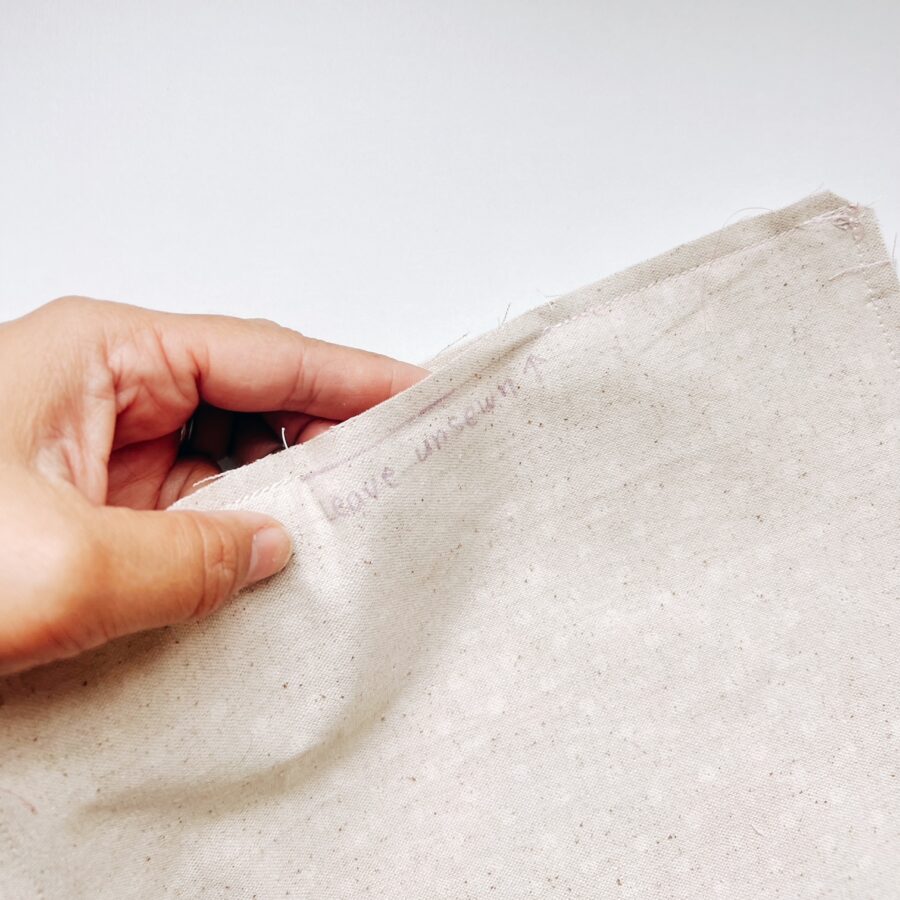
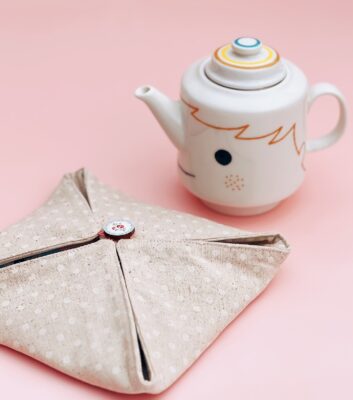
- Now, attach the button on the backside of the mat, onto the open corner without the elastic. You are now done with the mat.
Make the Coasters
- Start by making a template for the HeatNBond Fleece interfacing. Take 7 hexagon paper templates and tape them together to make one hexie panel piece.
 Using a ruler, draw a 1/4″ line around the outer template edges. Cut along the drawn line. Take the template and trace it onto the front side of a 6″ x 6″ HeatNBond Fusible Fleece interfacing square (the side without the adhesive). Cut the traced piece out. Trace and cut the shape onto the remaining 3 interfacing square pieces (making a total of 4).
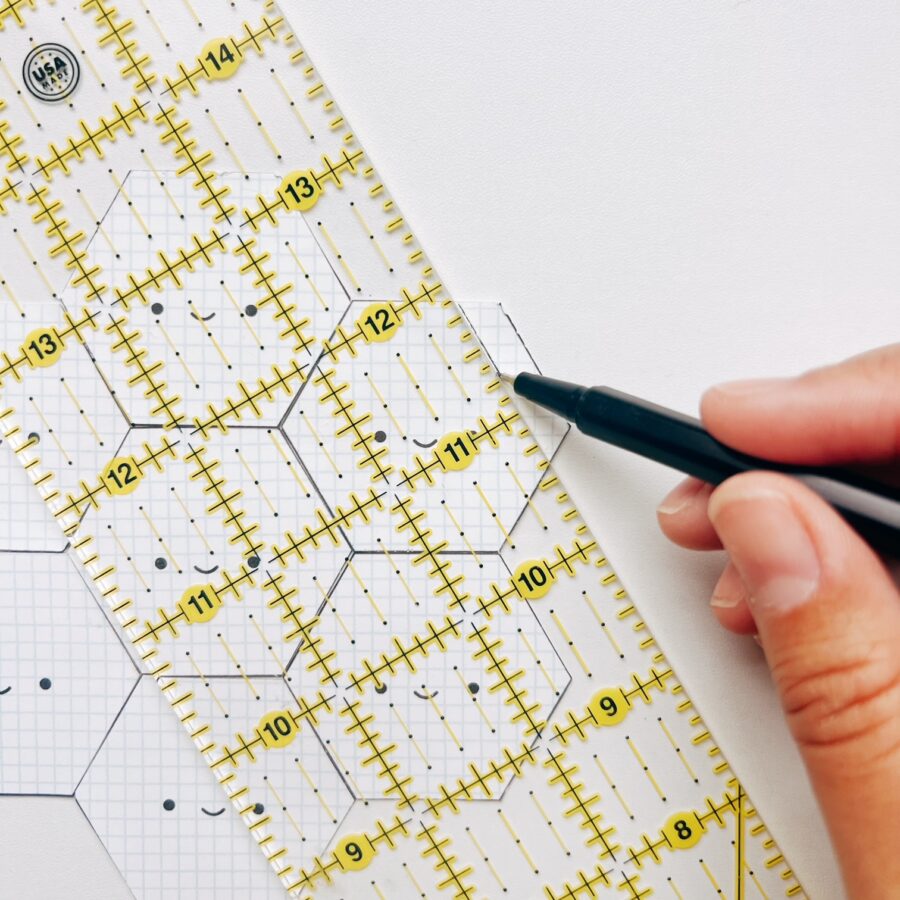

- To assemble the coaster, take one cut HeatNBond Fusible Fleece interfacing and adhere it to wrong side of one hexie panel piece, following the instructions as indicated on the package. Take a second hexie panel piece and place on top of the fused side of the first hexie panel piece (wrong sides of hexie pieces should be facing together, right sides out, essentially making a hexie sandwich).
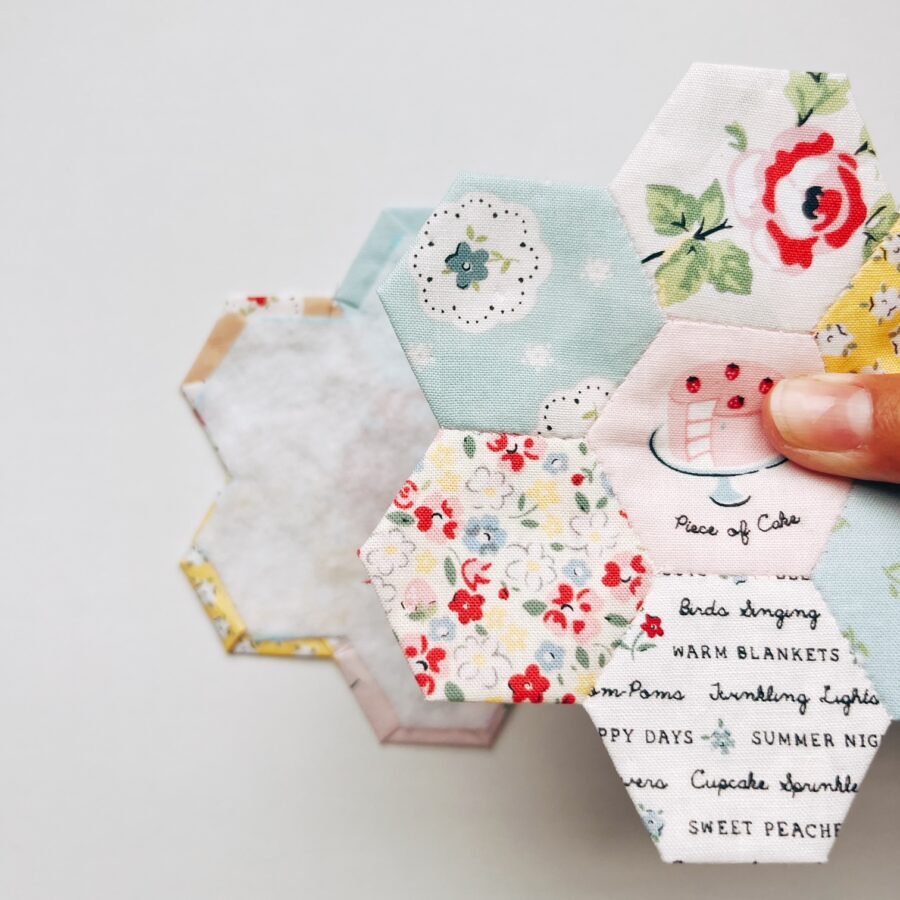
Pin in place and either machine sew in place (close to the edge as possible) or hand sew using a ladder stitch (I prefer this method, but either way looks great). Repeat this process for the three remaining coasters (you should have 6 hexie panel pieces and 3 fusible interfacings left).

You are now done! You can use the sewn hexie on the mat as a guide as to where to place your coasters when storing. Using the elastic loops, gather the corners towards the middle (kind of making an envelope shape) and place them around the button to store the coasters. Open and you can use the mat for your teapot or yummy baked food like cookies or a scone or two! I hope you enjoyed this project and follow me for more ideas!