Hi Therm-O-Web friends! Shemaine here today sharing another fun technique for you to try with our Toner Card Fronts.
I love using Toner Card Fronts and Deco Foil as a card base. The card fronts are so versatile and can be created into whatever card theme you are wanting to send.
For the First card, I started with 3 of my favorite colored inks from Catherine Pooler and inked up the Card Front. Blending inks onto the Toner Card fronts is really easy.
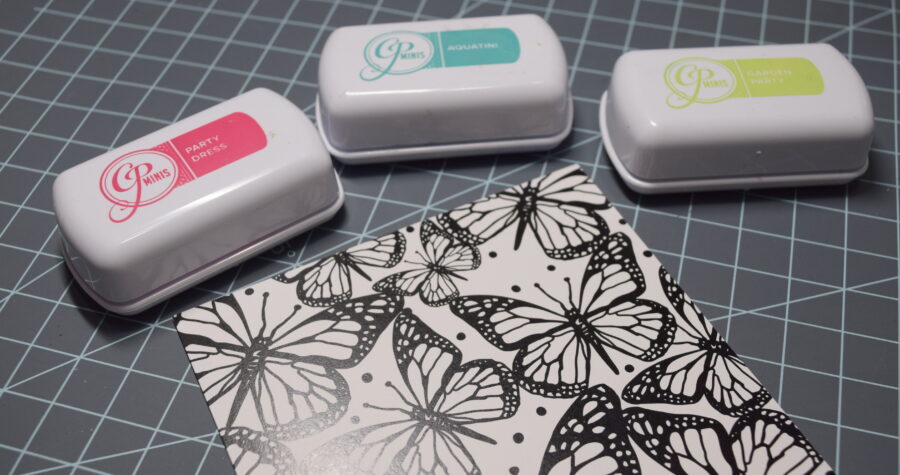
The results turned out really pretty. Inking the Toner Card Fronts is a great way to add texture to them and it’s a quick process.
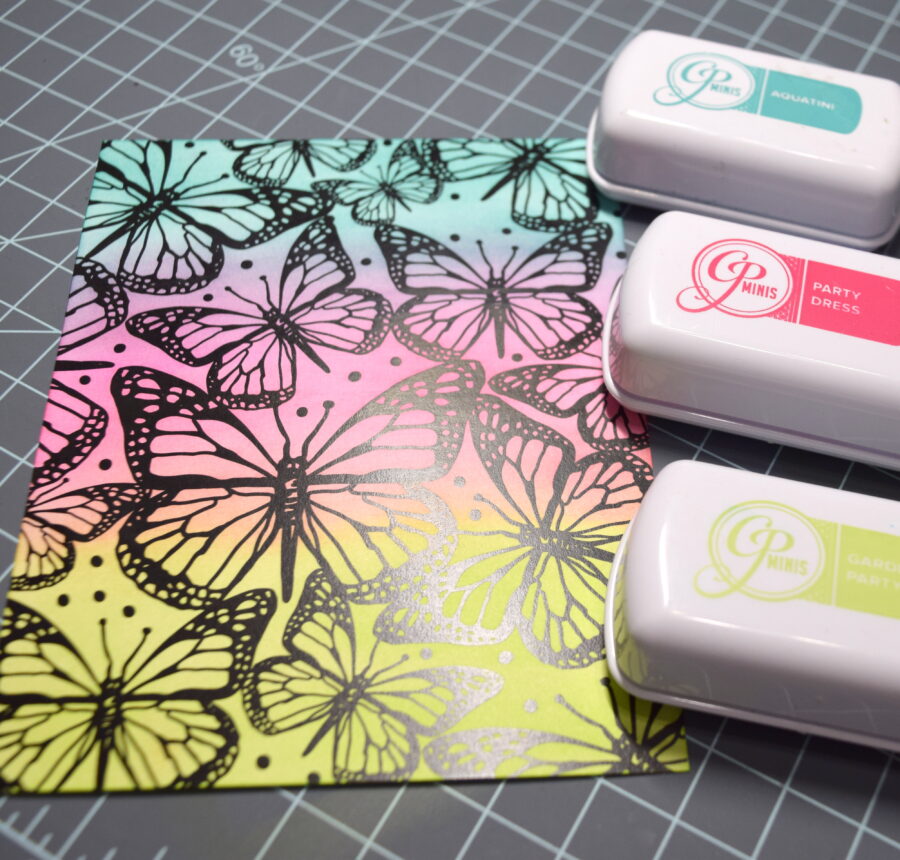
Next, I foiled the Toner Card Front with our Toner Transfer sheets in black.
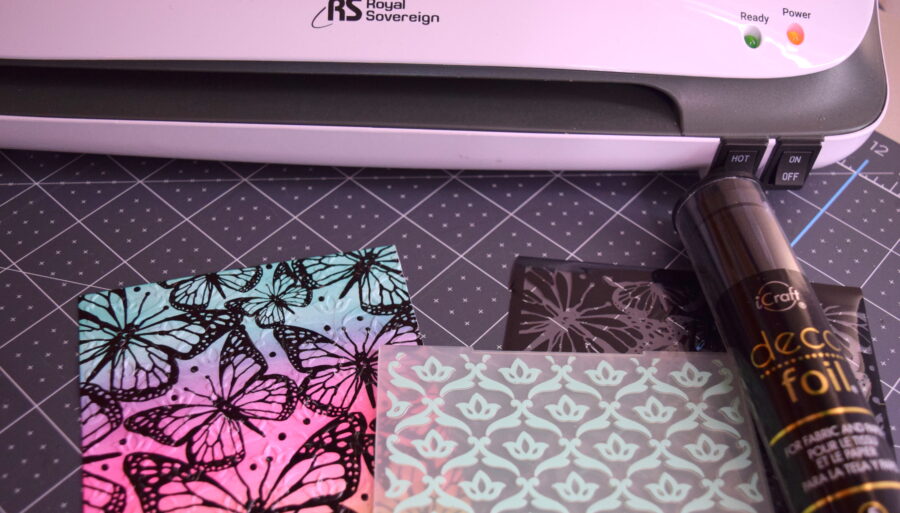
Next to add a 3D texture I used an embossing folder from my stash and placed the foiled Toner Card Front into the folder and ran thru my die-cutting machine to emboss. The result is a beautiful texture.
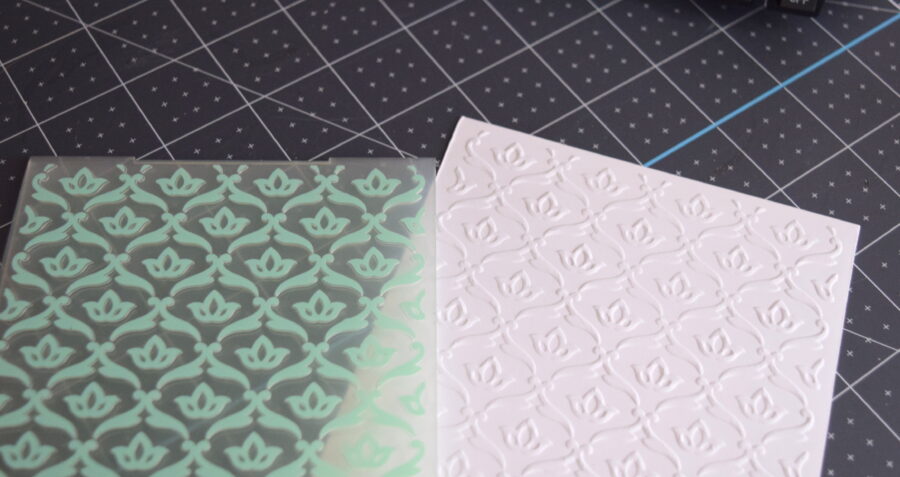
Next, I embossed a white sheet of cardstock. You can see the beautiful detail. Do you still use embossing folders with your projects?
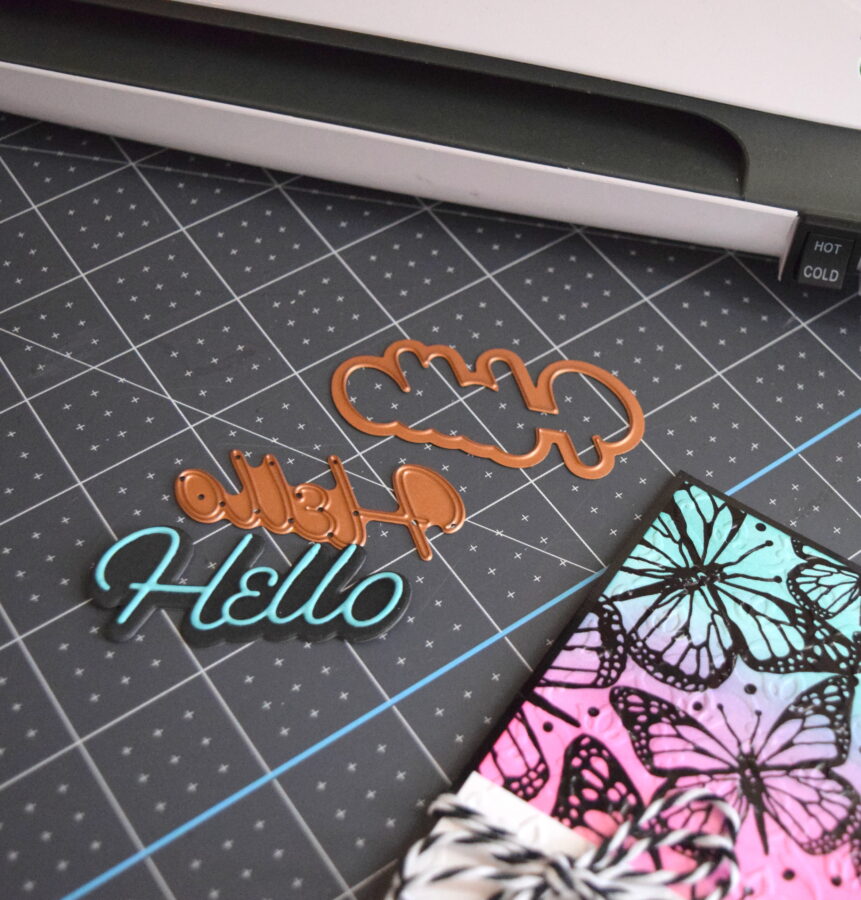
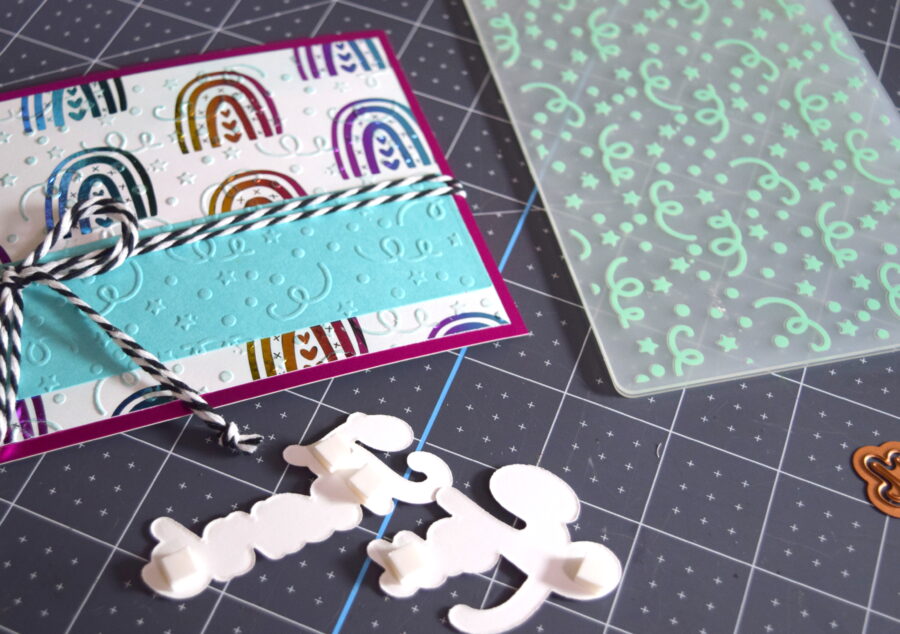
I adhered a 2×4 piece of the white embossed cardstock to the Toner Card Front base and then added some twine. Using some Spellbinder Dies, I cut out a sentiment.
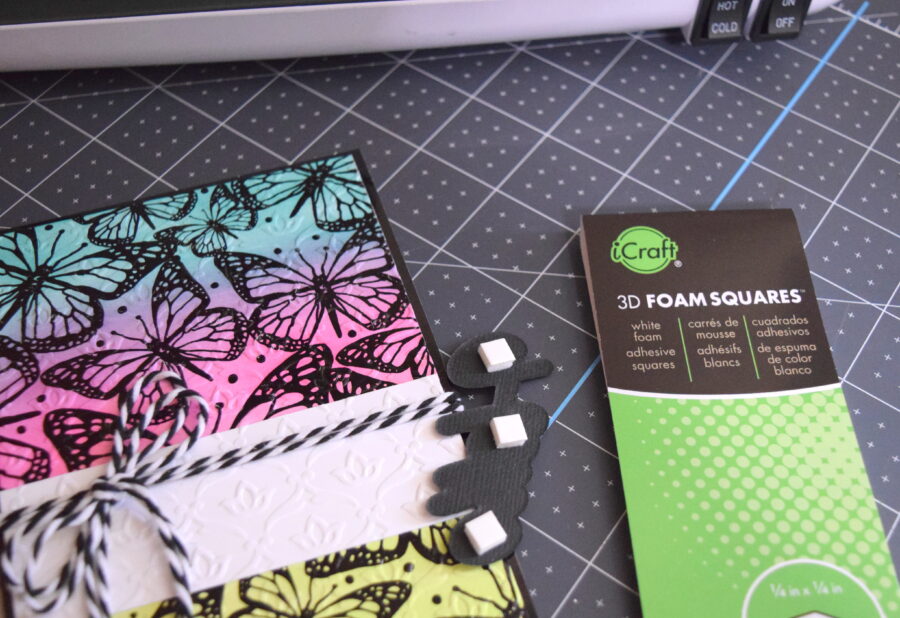
To adhere to the sentiment on the card front i used our 3D foam squares.

The finished card is beautifully colored and textured. Using both of these techniques, you can turn these Toner Card Fronts into something really interesting for your cards and projects.
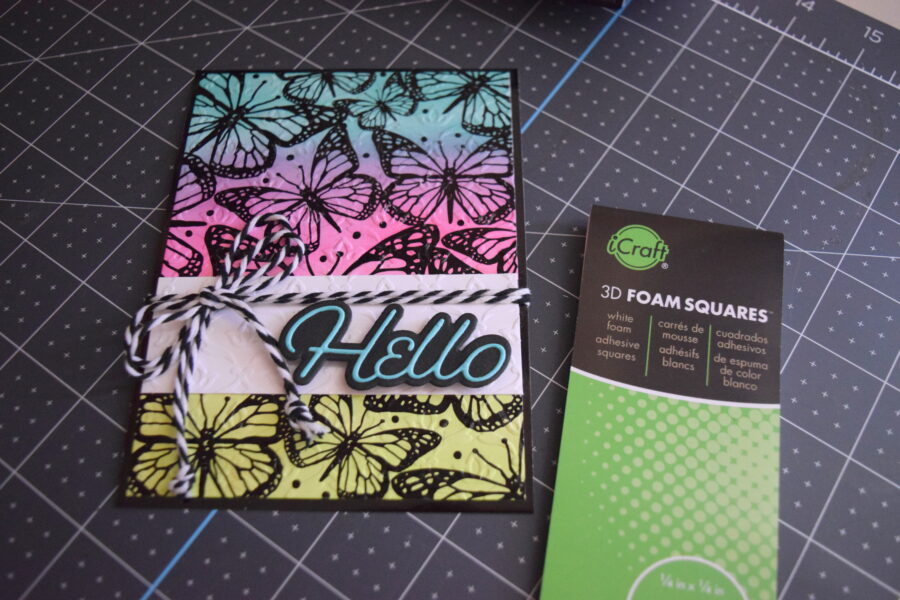
I really love the bright colors next to the black foil.
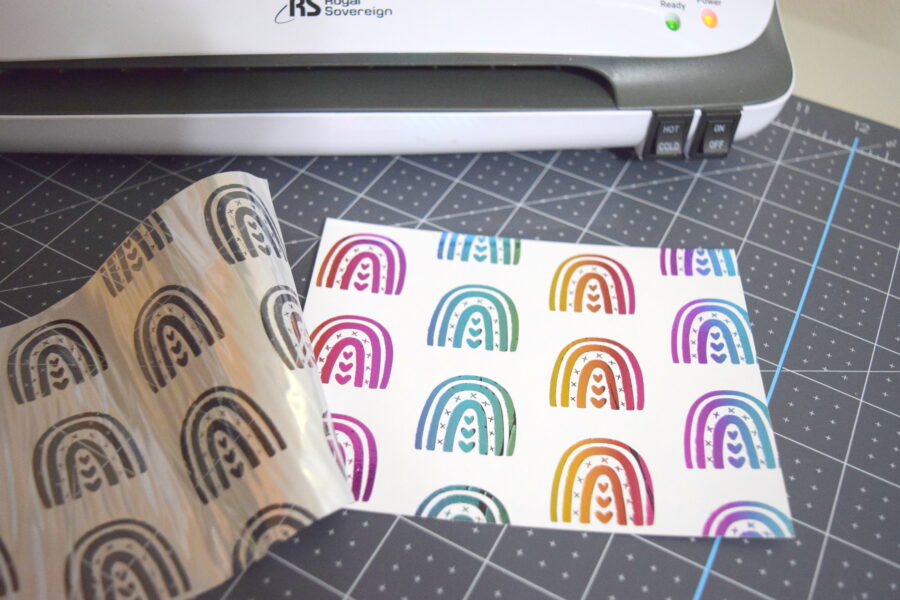
For the second card, I used the rainbow pattern and foiled it with our Mystic Rainbow Transfer Sheets.
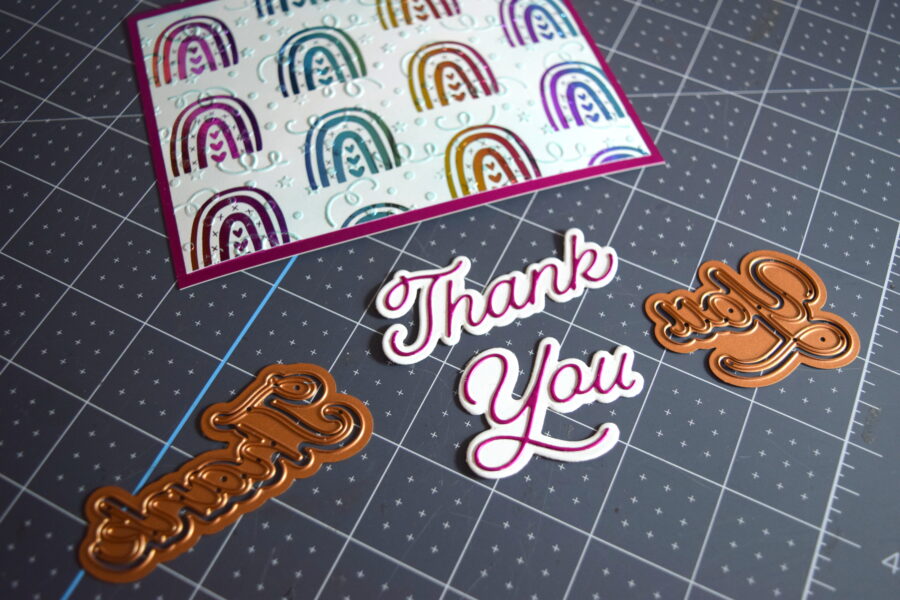
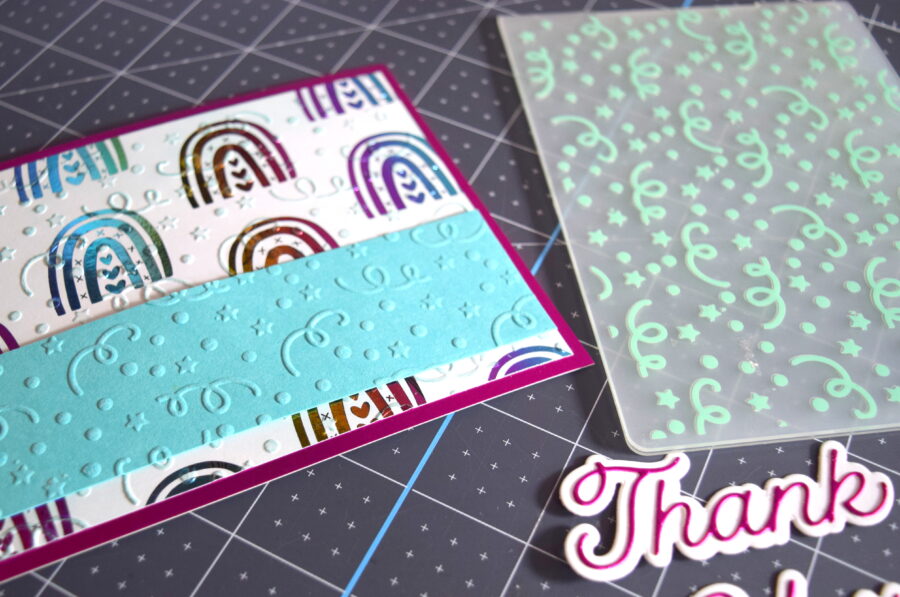
I repeated the sam technique of embossing the Toner Card Front but also inked the embossed design.
Supplies:
- Deco Foil Mystic Rainbow Transfer Sheets
- Deco Foil A2 Toner Card Fronts Rainbows Galore
- iCraft 3D Foam Squares
- Deco Foil Toner Card Front by Unity, Butterfly Fly Away
- Deco Foil Black Transfer Sheets
