
Happiness is Cupcakes Scrapbook Layout
by Jessica Michaels
Hello everyone! Have you seen the brand-new adhesive transfers and toner card fronts? The all-new Love Struck designs are here just in time for Valentine’s Day and they are oh-so amazing! This week we are featuring projects for the Bake Me Happy theme and I can’t wait to see what everyone creates!
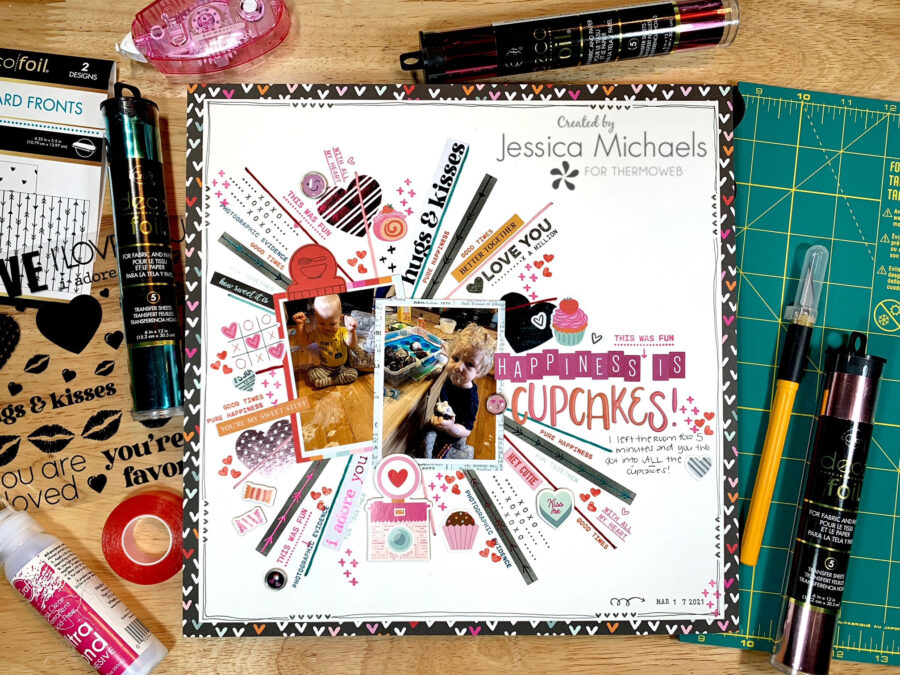
Therm O Web Supplies Used
Memory Runner XL
Memory Runner XL Refill
iCraft SuperTape Adhesive Roll, 1/2 in x 6 yd
Deco Foil Transfer Sheets, Aqua
Deco Foil Transfer Sheets, Wild Cherry
Deco Foil Transfer Sheets, Pink Quartz
iCraft Ultra Bond Liquid 2 fl oz
Craft & Carrier Sheets
Deco Foil Adhesive Transfer Designs – Love & Kisses
Deco Foil Toner Card Fronts – Love Struck
Other Supplies Used
Simple Stories Heart Eyes collection
OLFA 12×17 Folding Cutting Mat
OLFA AK-4 Cushion Grip Art Knife
Elle’s Studio square alphas
Hip Kit Club puffy alphas
Distress Oxides in Black Soot
Hero Arts Blending Brushes
Laminator
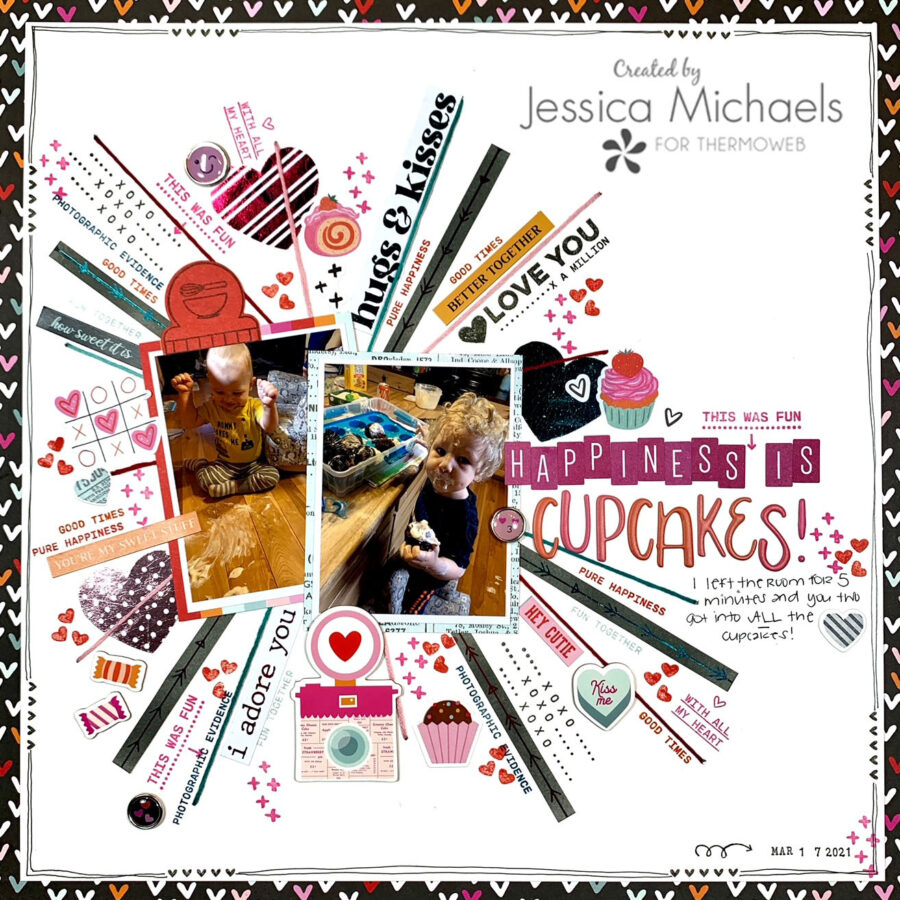
I started this layout by pulling out a sheet of patterned paper from the Heart Eyes collection by Simple Stories. I also pulled out a sheet of white cardstock and cut it down to 11 ¼”x11 ¼”. I used my OLFA folding cutting mat and craft knife tool to cut the middle portion out of my patterned paper so I didn’t waste all of it since I’m only using it as a border for my page.
Then I will use the rest for something else in the future. I love the OLFA folding cutting mat because it stores so easily and it is self-healing so you can cut as much as you’d like on it without getting scuffed up! Once my middle was cut out, I adhered the white cardstock to the heart paper with some red SuperTape in the ½” size. I then did some doodling and stamping around my border. Next, I poked some holes and threaded some embroidery floss through my layout to create a starburst-type design behind my photos. I used a few shades of colors to match the hearts on my patterned background paper.
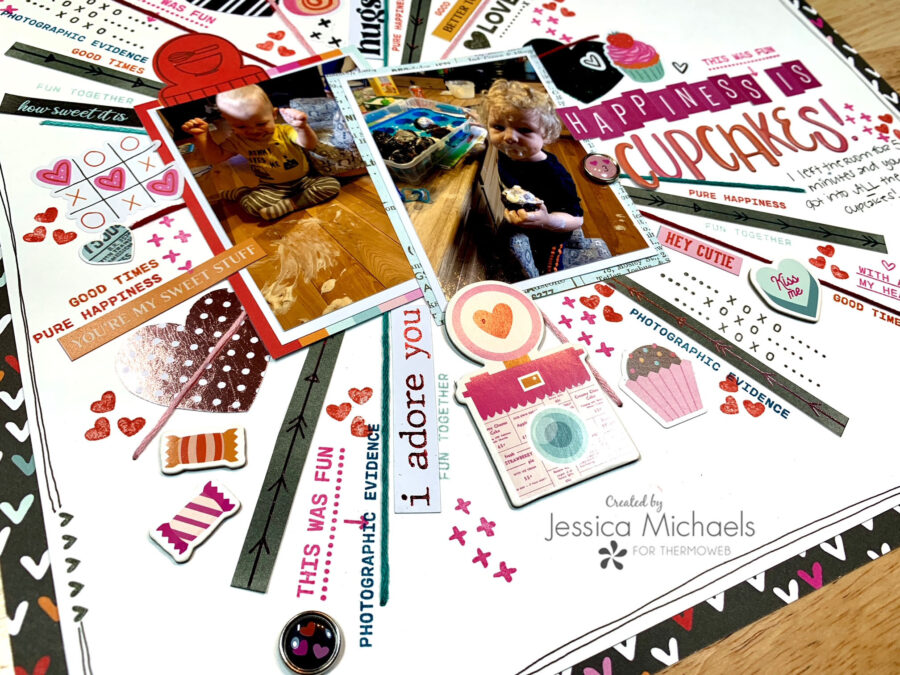
Next, I pulled out the new Love Struck Toner Card Fronts and the Love & Kisses Adhesive Transfers and some DecoFoil transfer sheets in Aqua, Pink Quarts, and Wild Cherry. I pulled another sheet of white cardstock and cut apart the adhesive transfer pieces I wanted and gently placed them down on the white cardstock, then sandwiched them between a craft & carrier sheet and ran through my hot laminator to transfer the adhesive designs to the cardstock.
While those were running through, I pulled out one of the toner card fronts with the arrows on it and blended black soot distress oxide on the whole thing with a blending brush and wiped the excess off with a paper towel. I cut it down into three sections so I could foil the three colors. When the adhesive transfers came out of my laminator, I placed my pieces of foil over them and my toner card front pieces and ran all those through to transfer the foil onto the designs. They came out with all the sparkly goodness and I knew it was all going to be perfect for this layout!
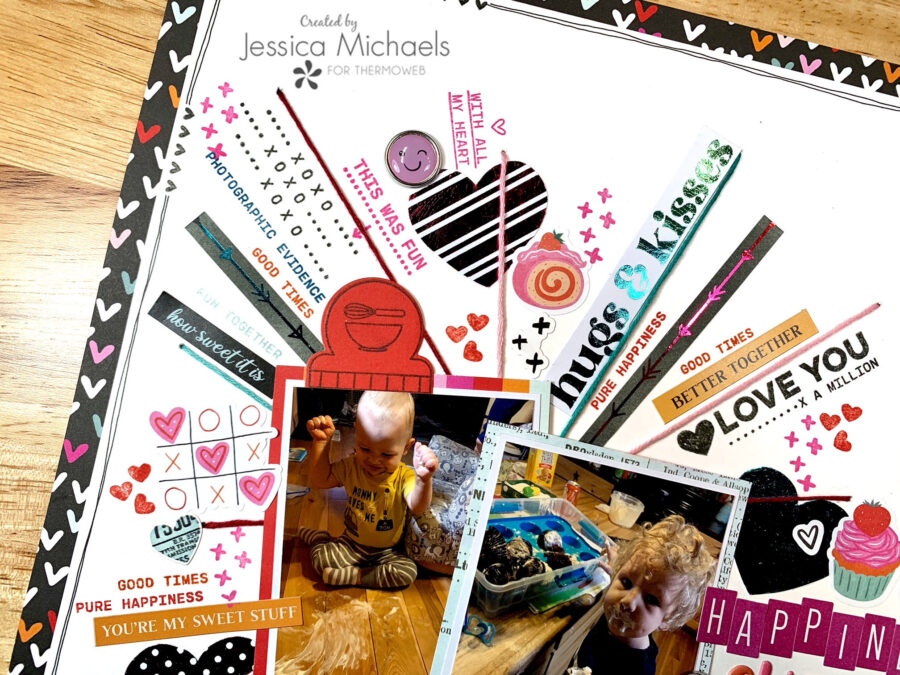
I adhered my photos and the foiled hearts and phrases using my Memory XL Tape Runner. I did fussy cut them all out before placing them down on my page. Then I used my UltraBond Liquid Adhesive to attach the little arrows from the toner card front sheets, which I cut apart the individual arrow lines to match the flow of my layout and embroidery thread. They added just the perfect touch to the layout.
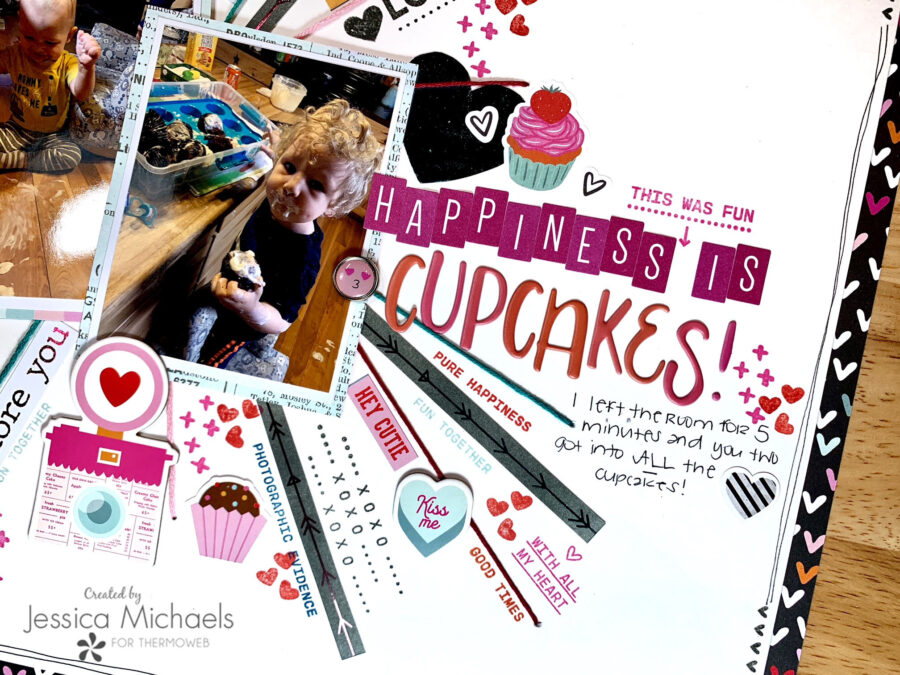
I finished it off with lots of stamping with various sets from my stash(mostly Elle’s Studio)and adding some alpha letters from Elle’s Studio and Hip Kit club to create my title of “Happiness is Cupcakes” to go with the photos of my kids getting into ALL the cupcakes when I left the room for 5 minutes to transfer the laundry over! Amazing what kids can get into in such a short amount of time, right?
I have a process video on my YouTube channel if you’d like to watch exactly how this came together:
Thank you for being here today and I hope I was able to inspire you to create!
Jessica
This post contains affiliate links. For more information, see our disclosure HERE
