Hello and welcome!
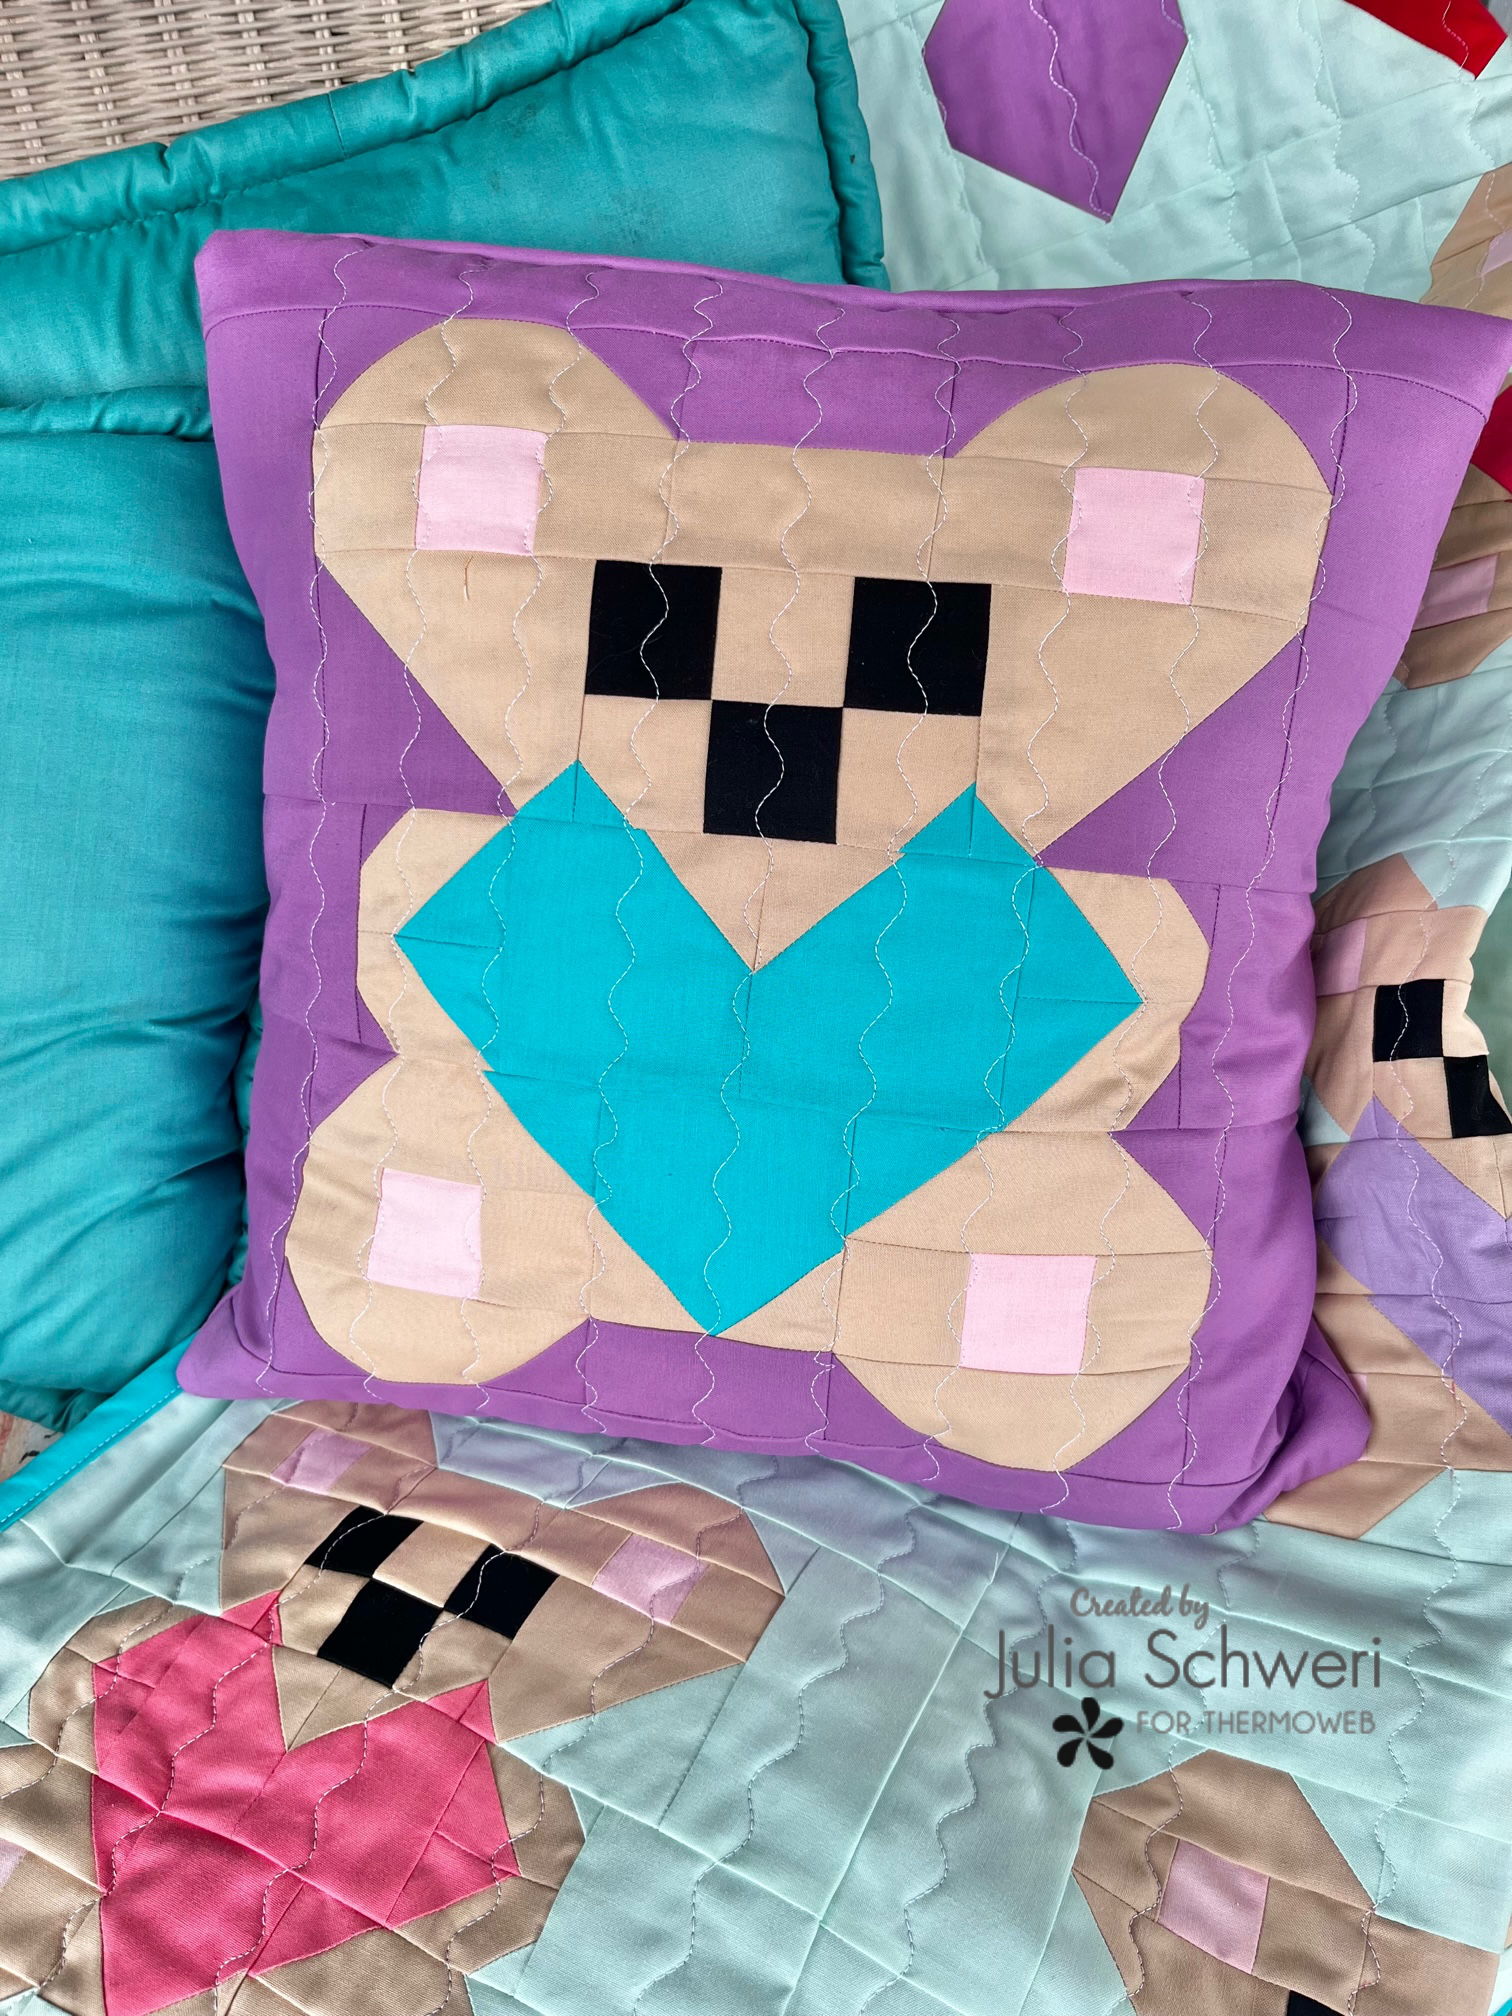
It’s Julia from Inflorescence Designs! I’m so joyful you are visiting today. Today’s tutorial features a familiar face on the blog. That’s right we are revisiting the cuteness of the Beary Lovely Quilt! But instead of another quilt, we are going to make a matching quilted pillow.
Beary Lovely Pillow with StitchnSew Fleece
Supplies:
- Beary Lovely Quilt Block Cutting and Pillow Pattern
- The fabric pictured is an assortment of Kona Cotton Solids.
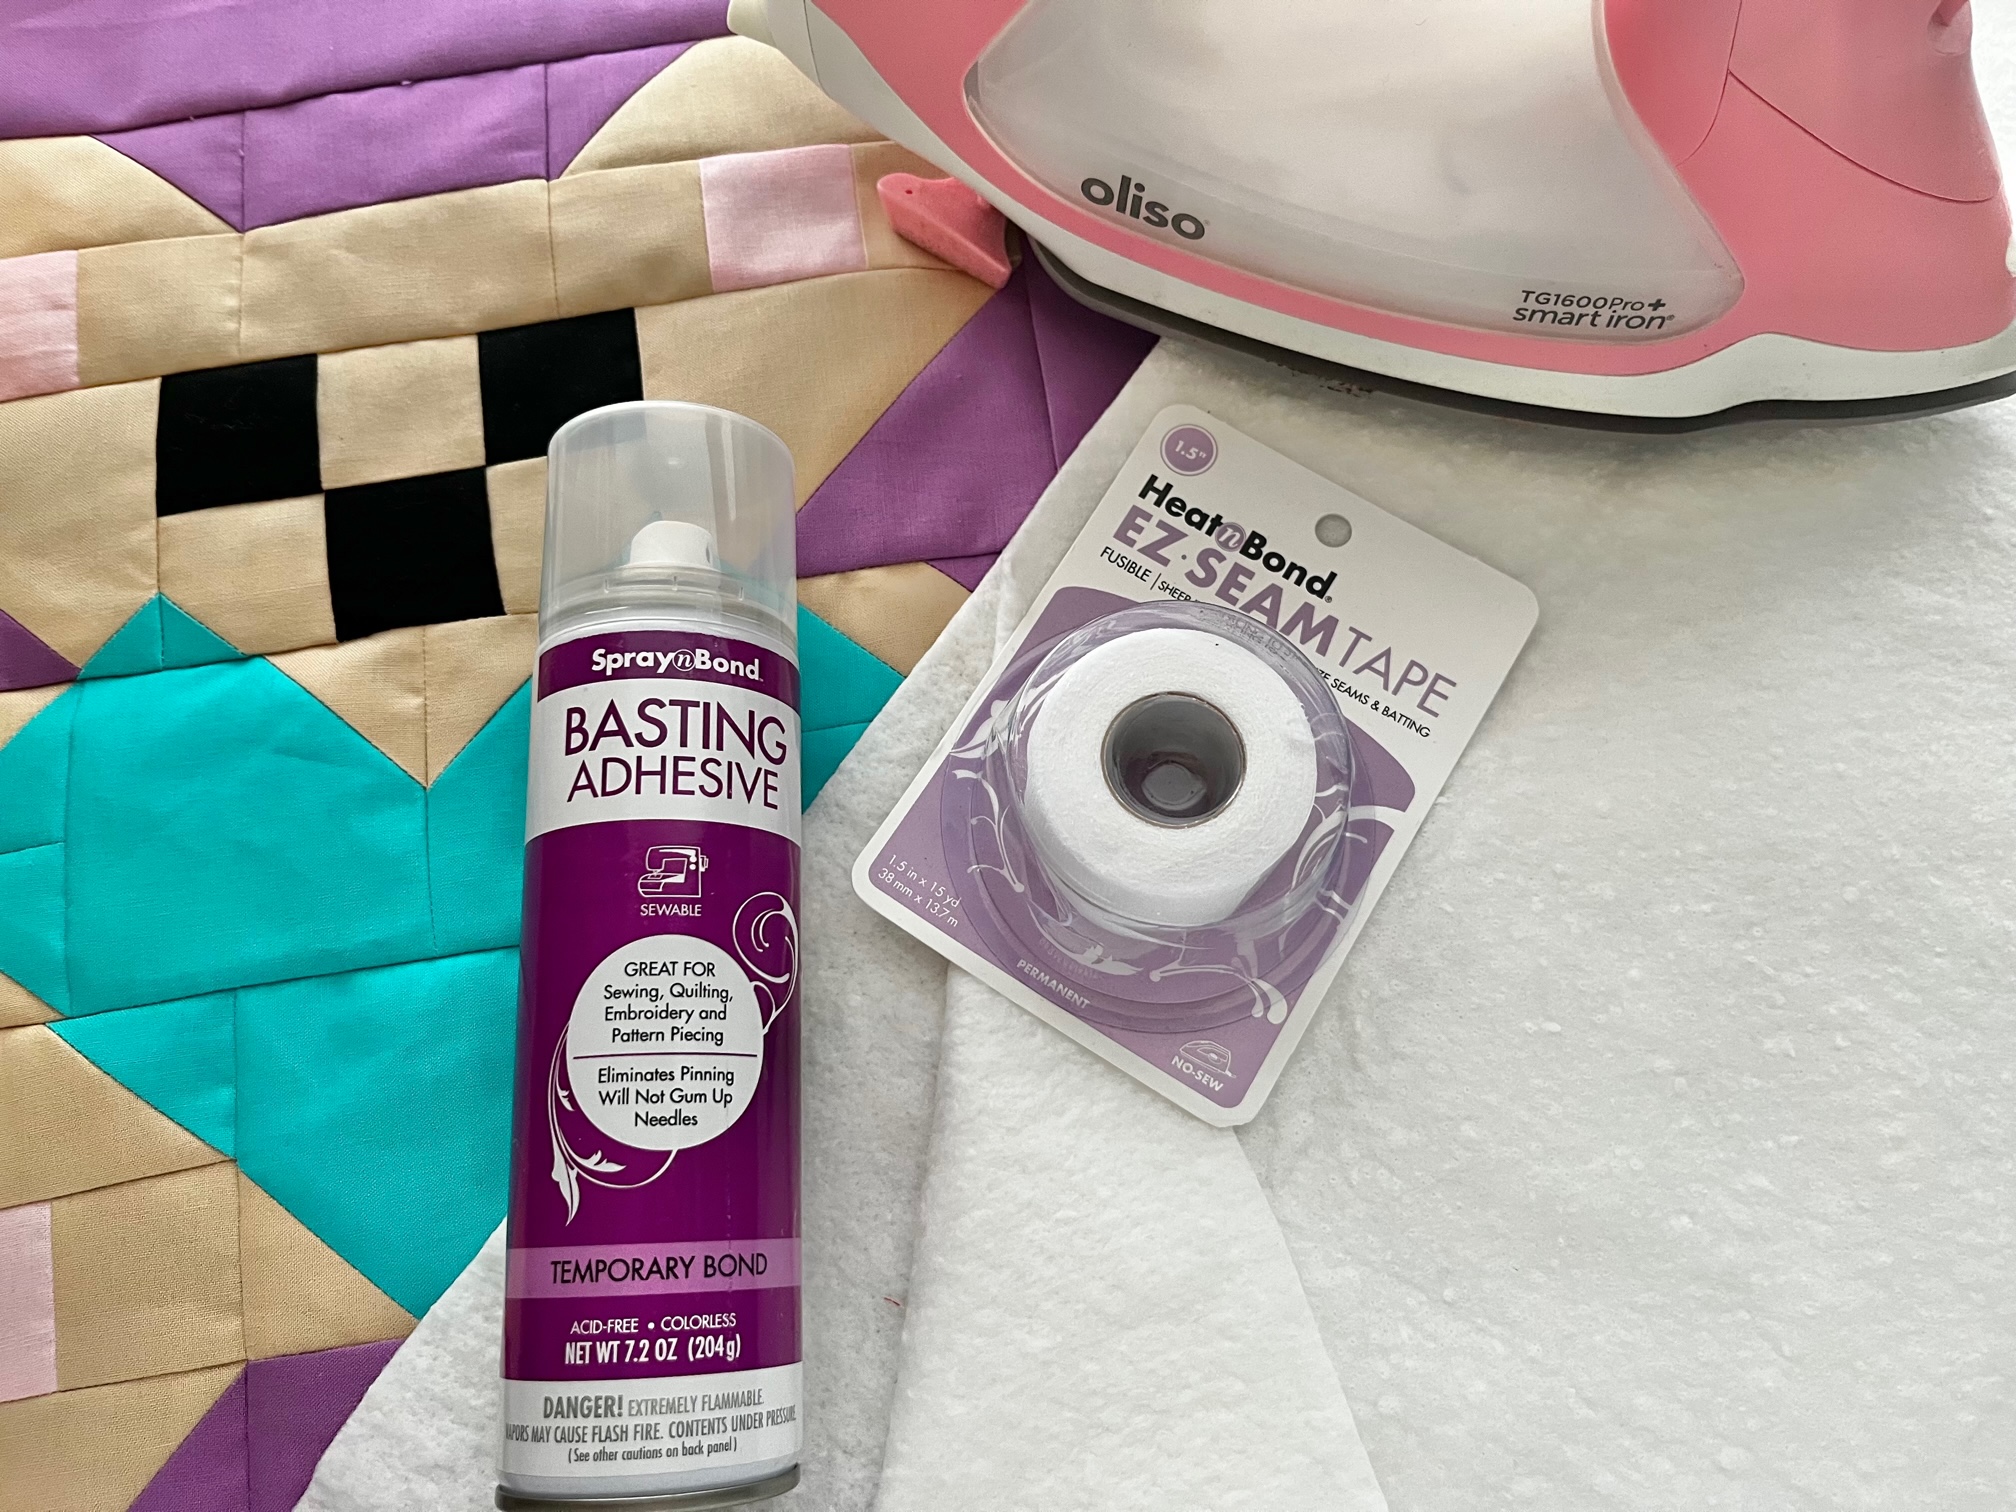
- SpraynBond Basting Spray
- StitchnSew Fleece or Batting: 20″ x 20″
- I used scraps of batting. To easily join batting, or StitchnSew pieces together I used HeatnBond EZ-SEAM Tape.
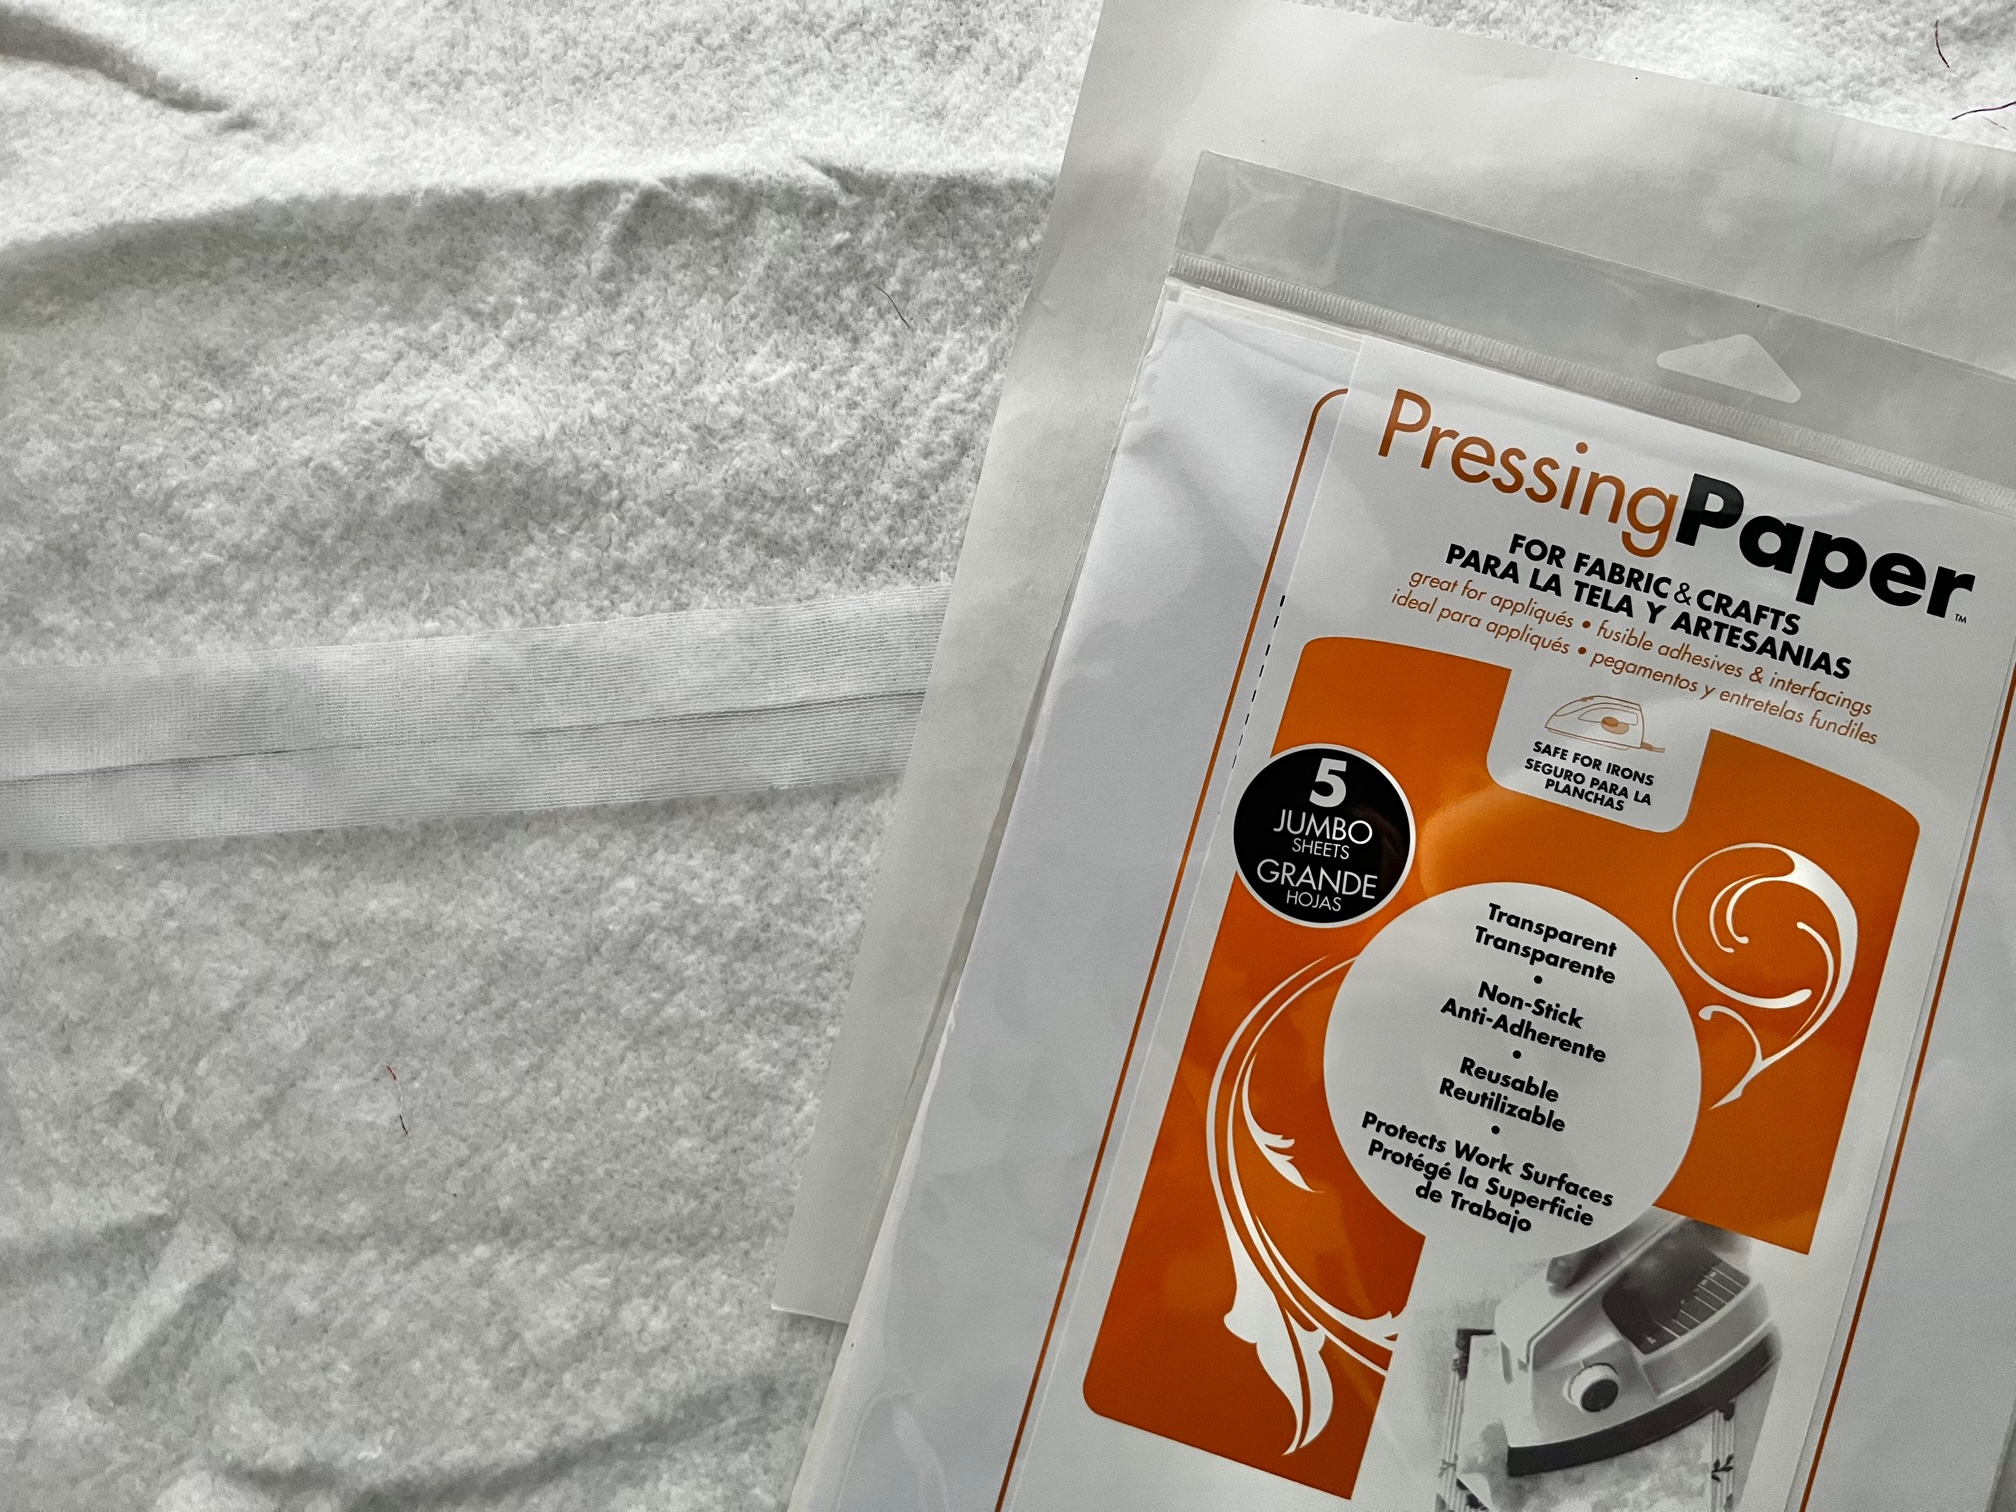
- If using HeatnBond EX-SEAM Tape, you will also need Pressing Paper, parchment paper or a dry pressing cloth.
- Oliso Iron
- Additional Fabric:
- 22″ x 22″ piece of fabric for the back side of the quilt block. This fabric is not seen in the finished pillow.
- (2) 18″ x 13″ fabric for the back panels
- Optional: I tapered my corners so they would be less pointy. I used the pattern by Sew Sweetness. Here is a link to a printable pattern. They also sell this in an acrylic template so you can use your rotary cutter.
- Basic Sewing Notions
Instructions:
Begin by downloading the original Beary Lovely Quilt Block pattern and the additional Beary Lovely Quilt Block and pillow pattern. Make the 18″ finished quilt block size according to the directions.
Next…
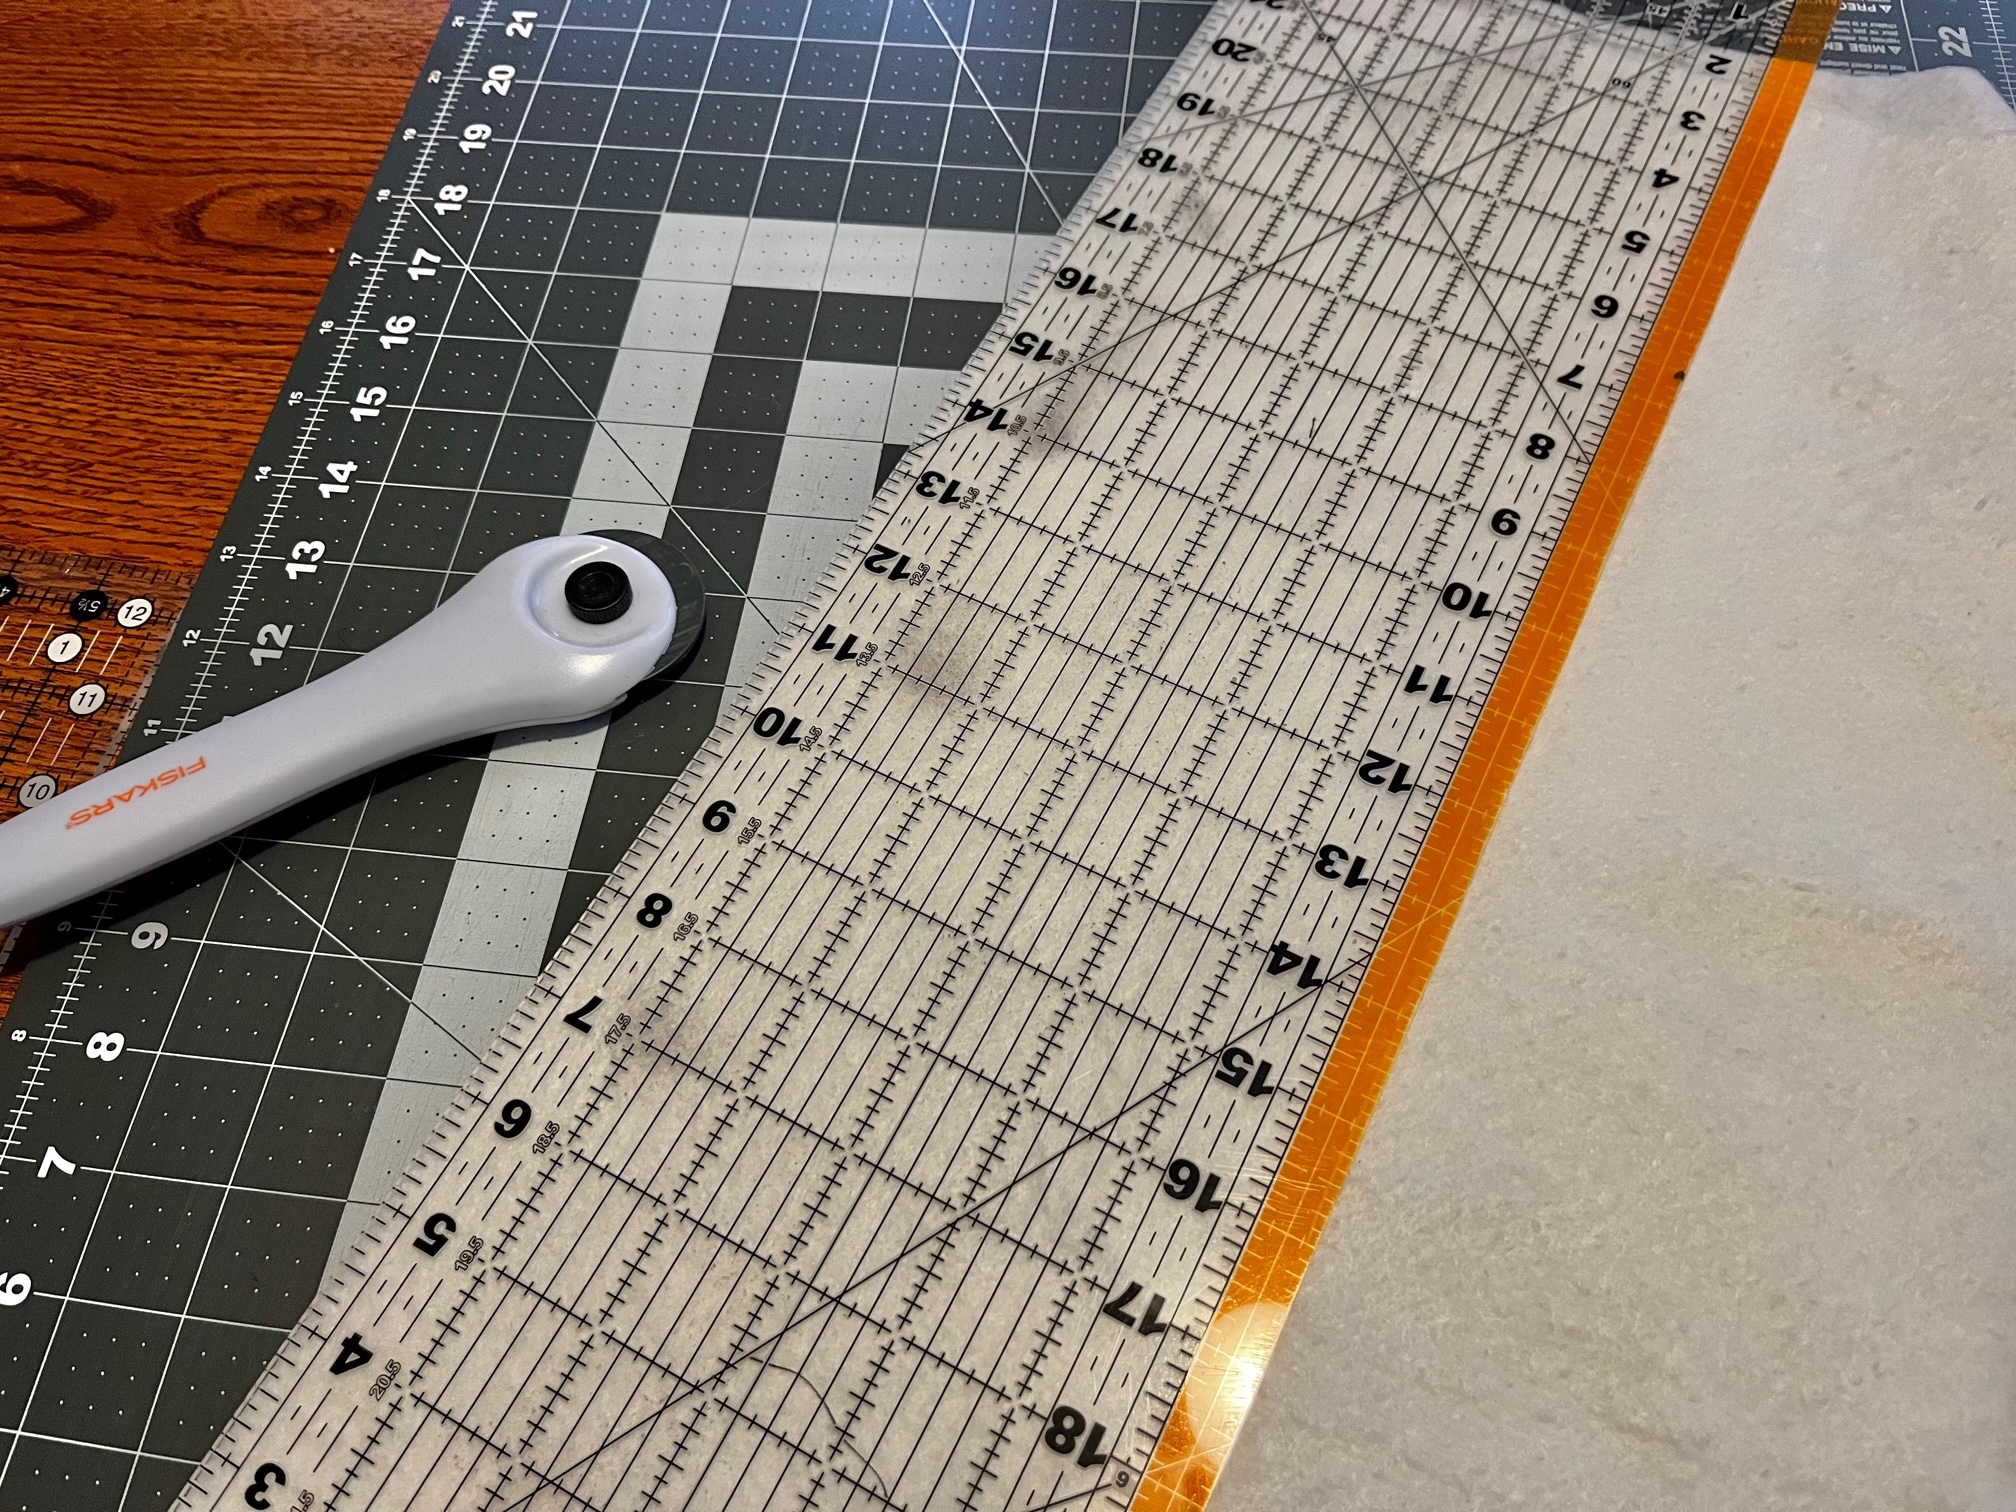
If you are piecing batting or StitchnSew Fleece together with EZ-SEAM Tape begins by trimming the joining sides to a straight edge.
Continue by…
- Preheat the iron to the wool heat setting, no steam.
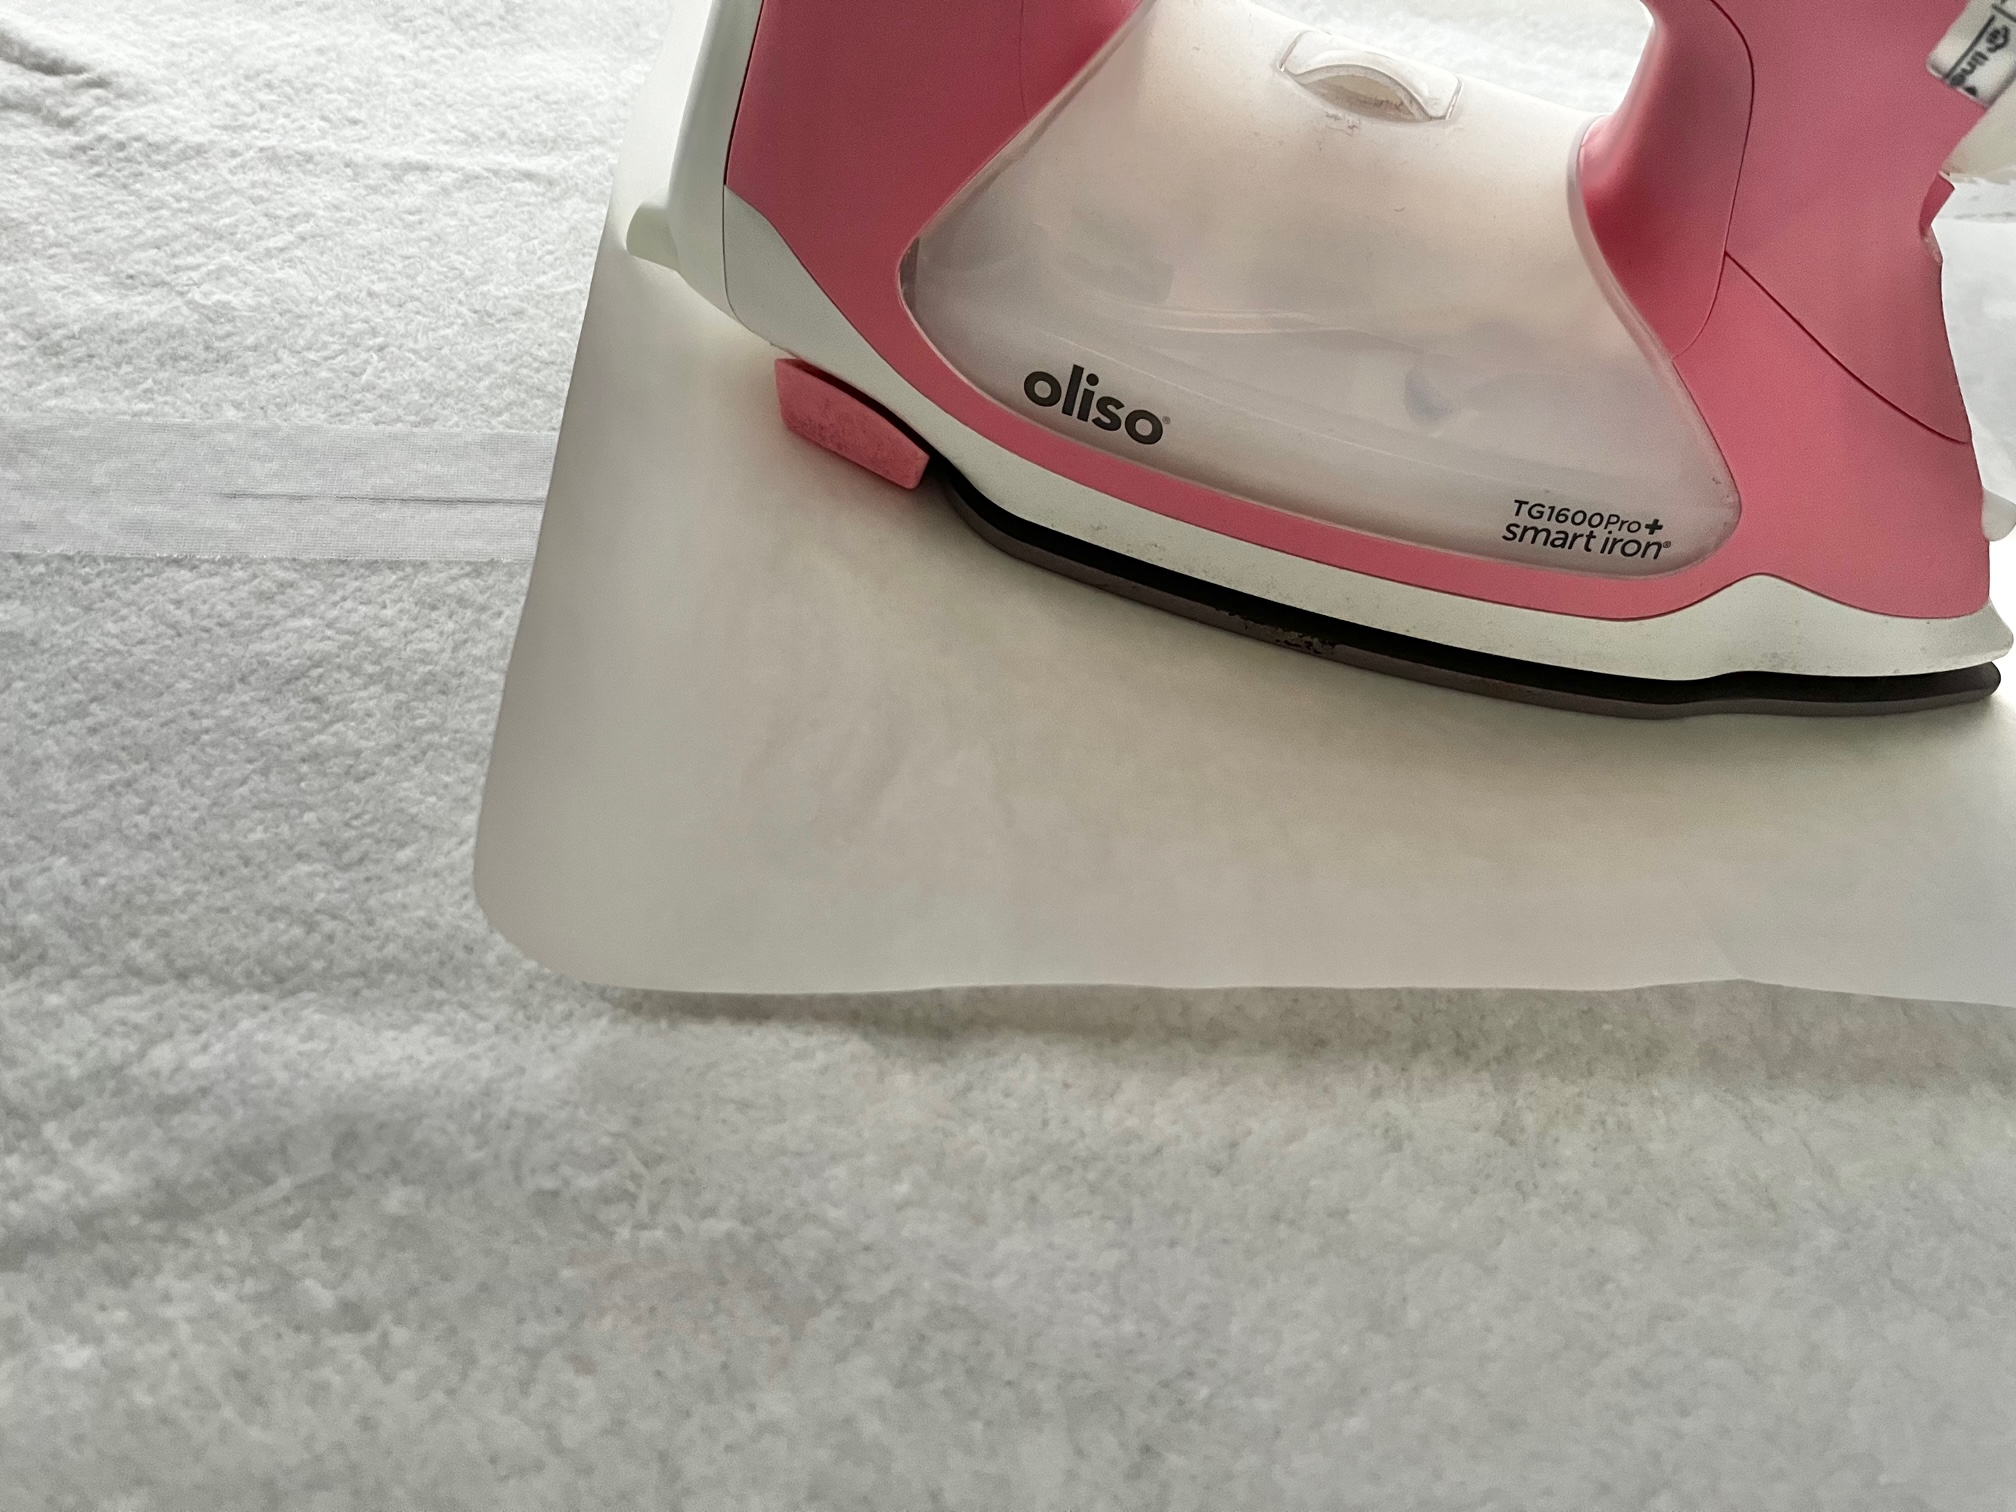
- Butt the two edges together, place EZ-Seam Tape with the textured (fusible) side down, evenly spaced over the length of the seam.
- Cover with a light, dry-pressing cloth. Press and hold the iron with medium pressure for 10-15 seconds. Repeat, slightly overlapping the prior area, until the length of taped seam is bonded.
- Allow cooling. If more ironing is needed to secure the tape, repeat step 4, pressing for 5 seconds.
Next…
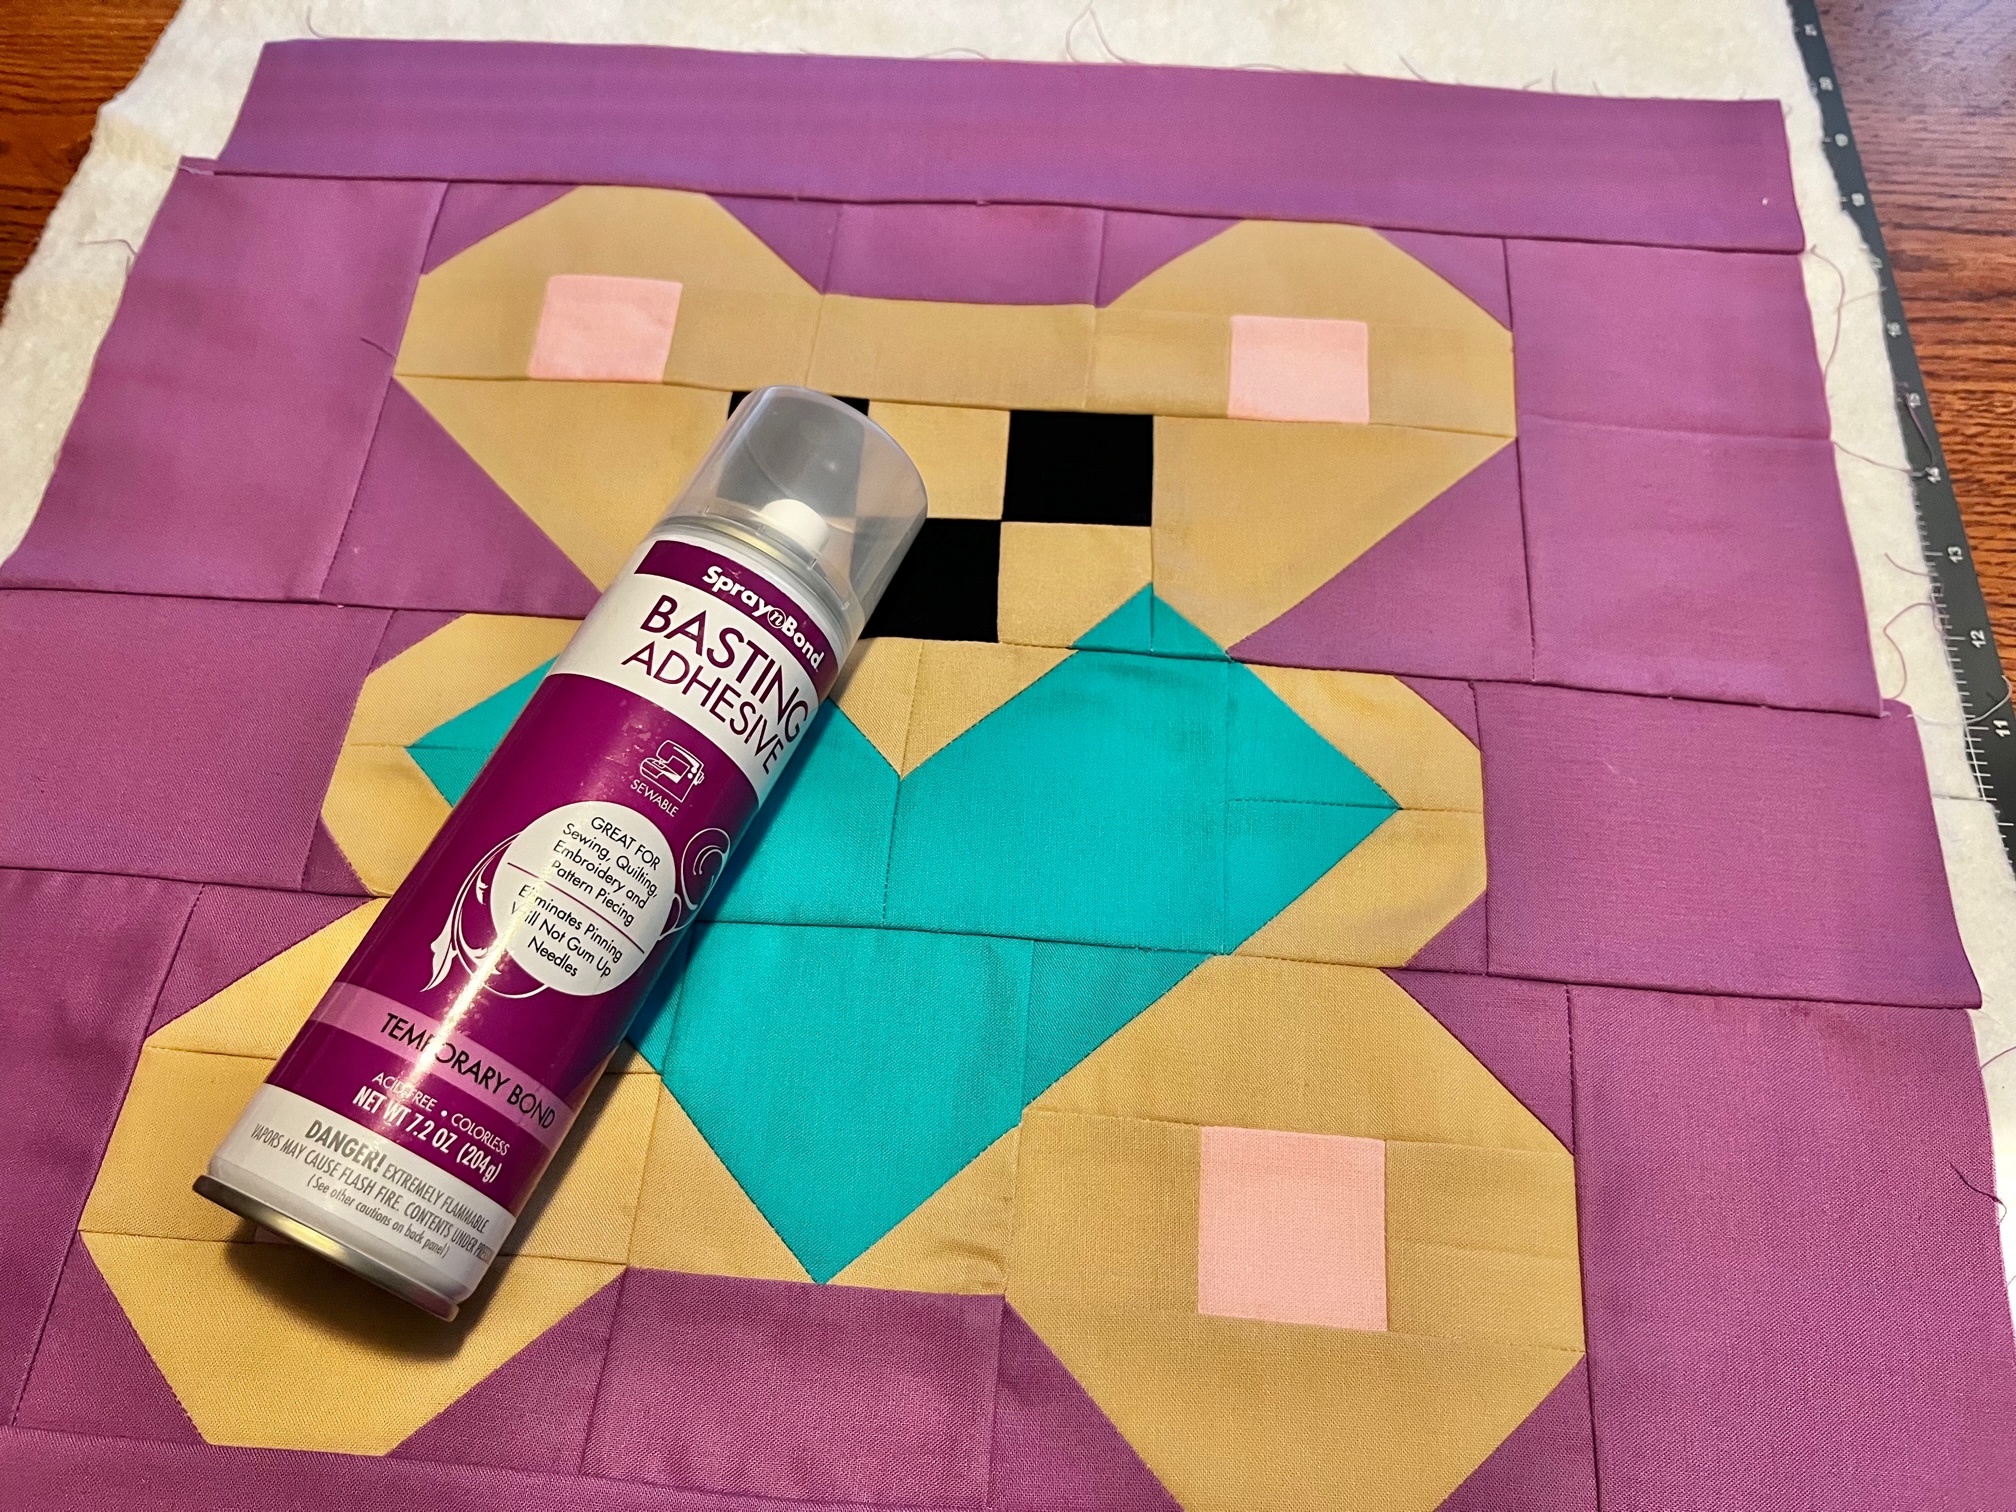
Once your batting has been fused or if you are using a full piece, baste the quilt block, batting and fabric backing together using SpraynBond Basting Spray. Quilt your block as desired and then trim to 18″ x 18″.
Then…
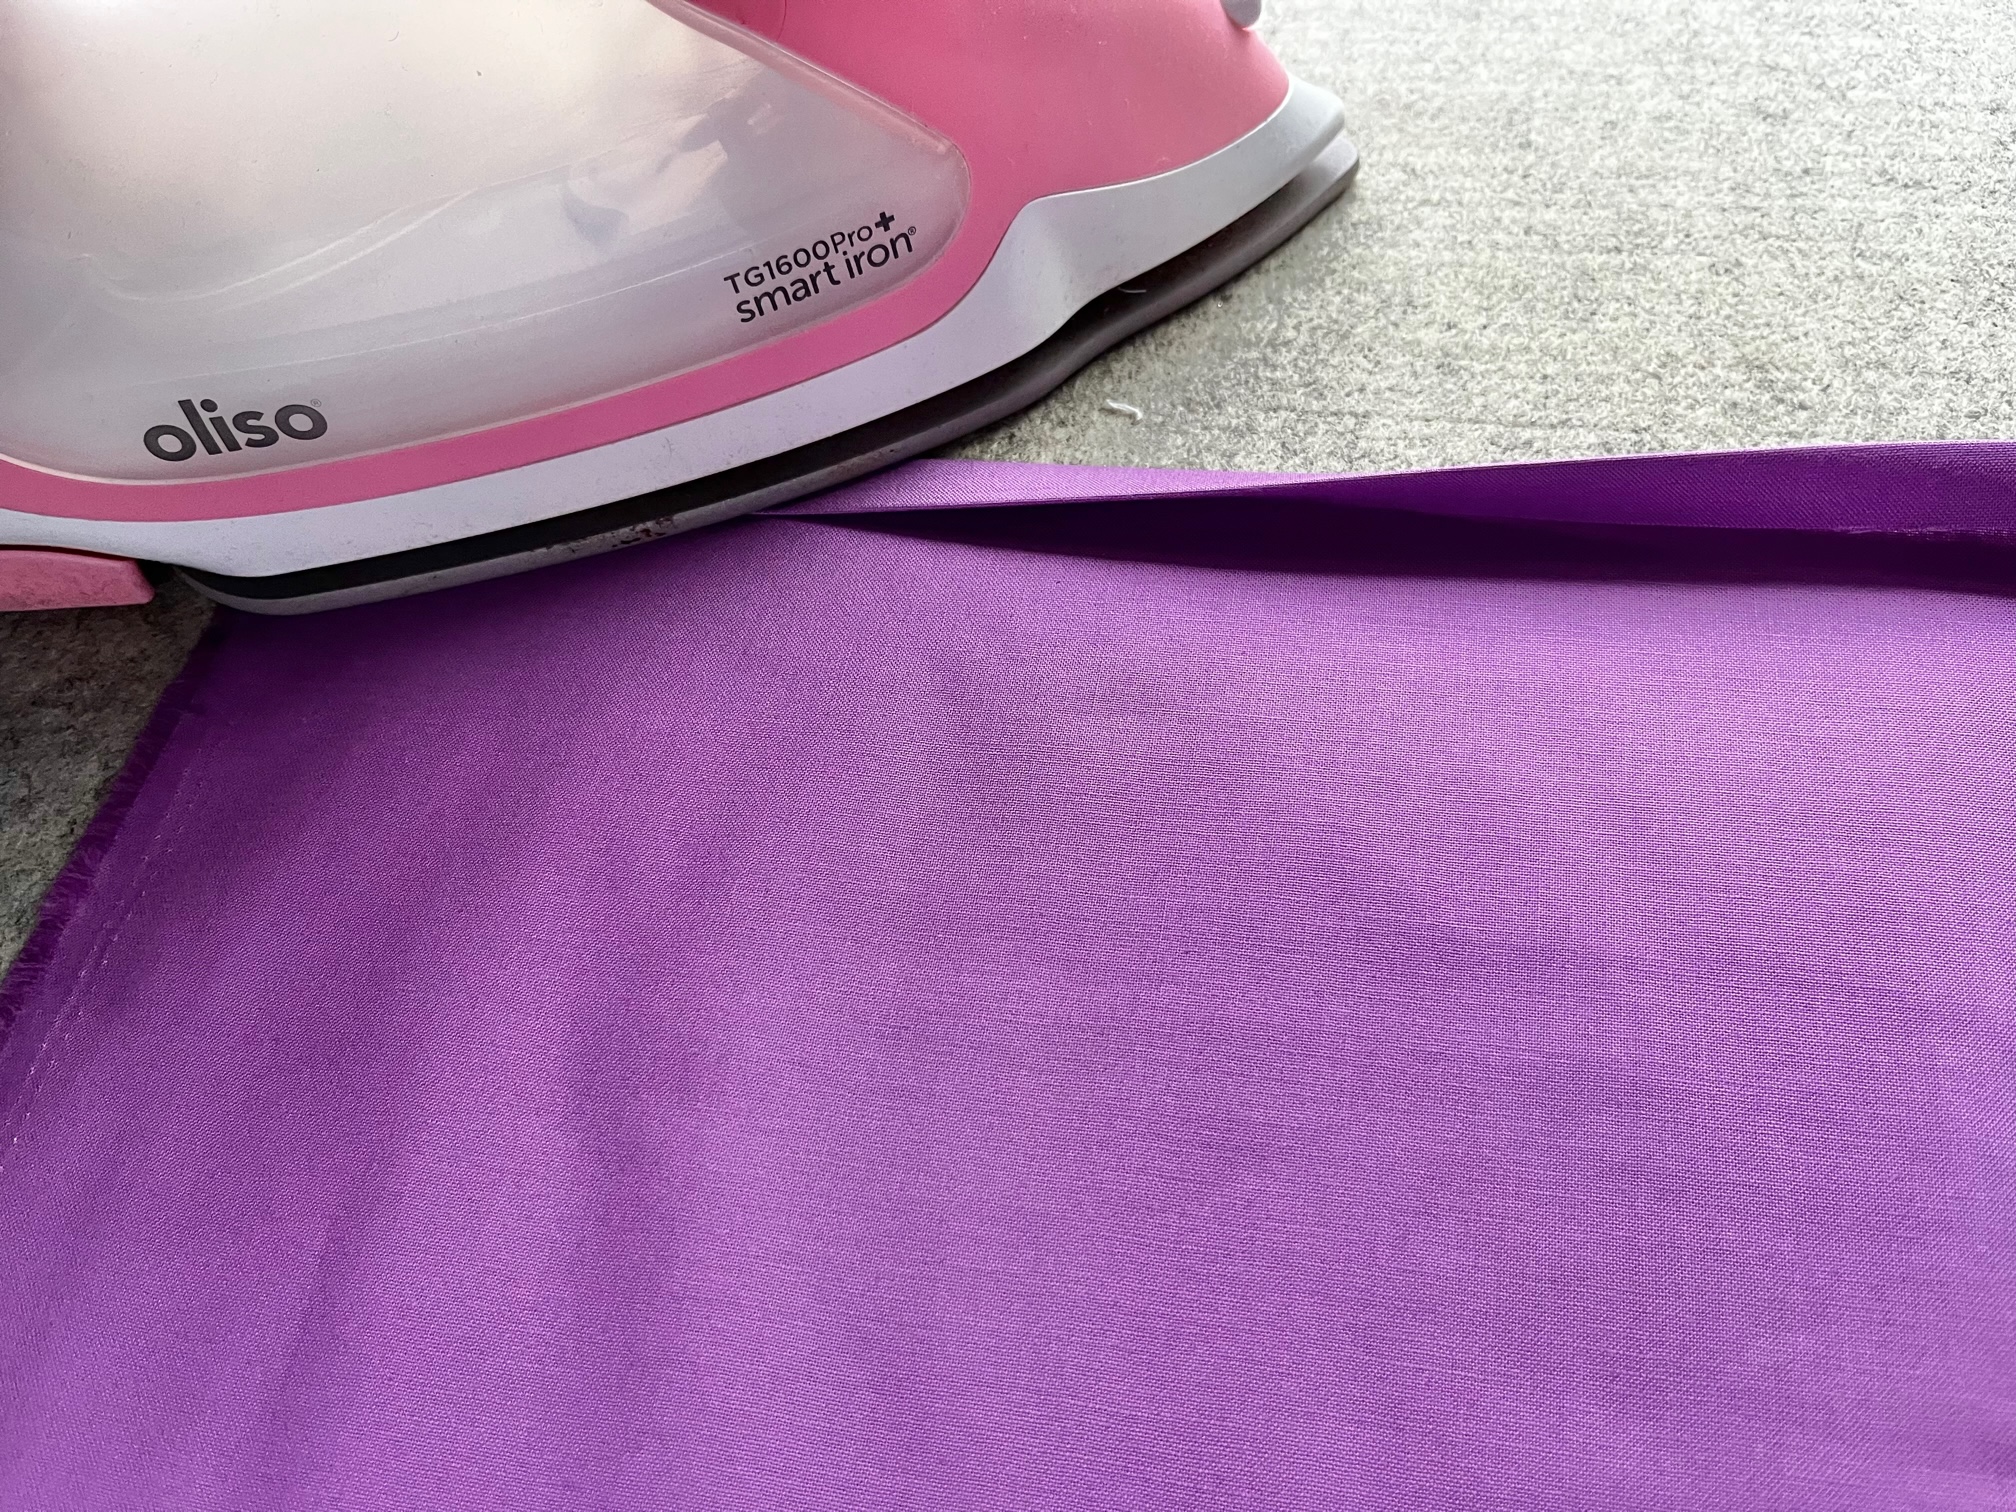
Grab the 2 back panels. Fold over 1/2″ on the long side, press, fold over again and press. Top stitch the hem. Do this for both pieces.
Next…
Place the pillow’s front right side facing you and the back panels facing down on top (right sides together) aligned with the edges of the pillow cover. Pin in place.
**If you want to have tapered corners, now is the time to mark/trim them. I mark my tapered corners with the pattern, but I don’t cut the excess off just yet. I sew the pillow together before I trim.
Finally…
Sew all the way around using a 1/2″ seam. I like to backstitch over the area where the back panels attach to the sides to secure the area where the most pulling and tugging will be. Once sewn turn your pillow cover right side out and press.
Important Tip: When making pillow covers you want your pillow insert to fit snuggly so the cover should be about 1″ smaller than the pillow insert. Once sewn turn your pillow cover right side out and press.
Finished!
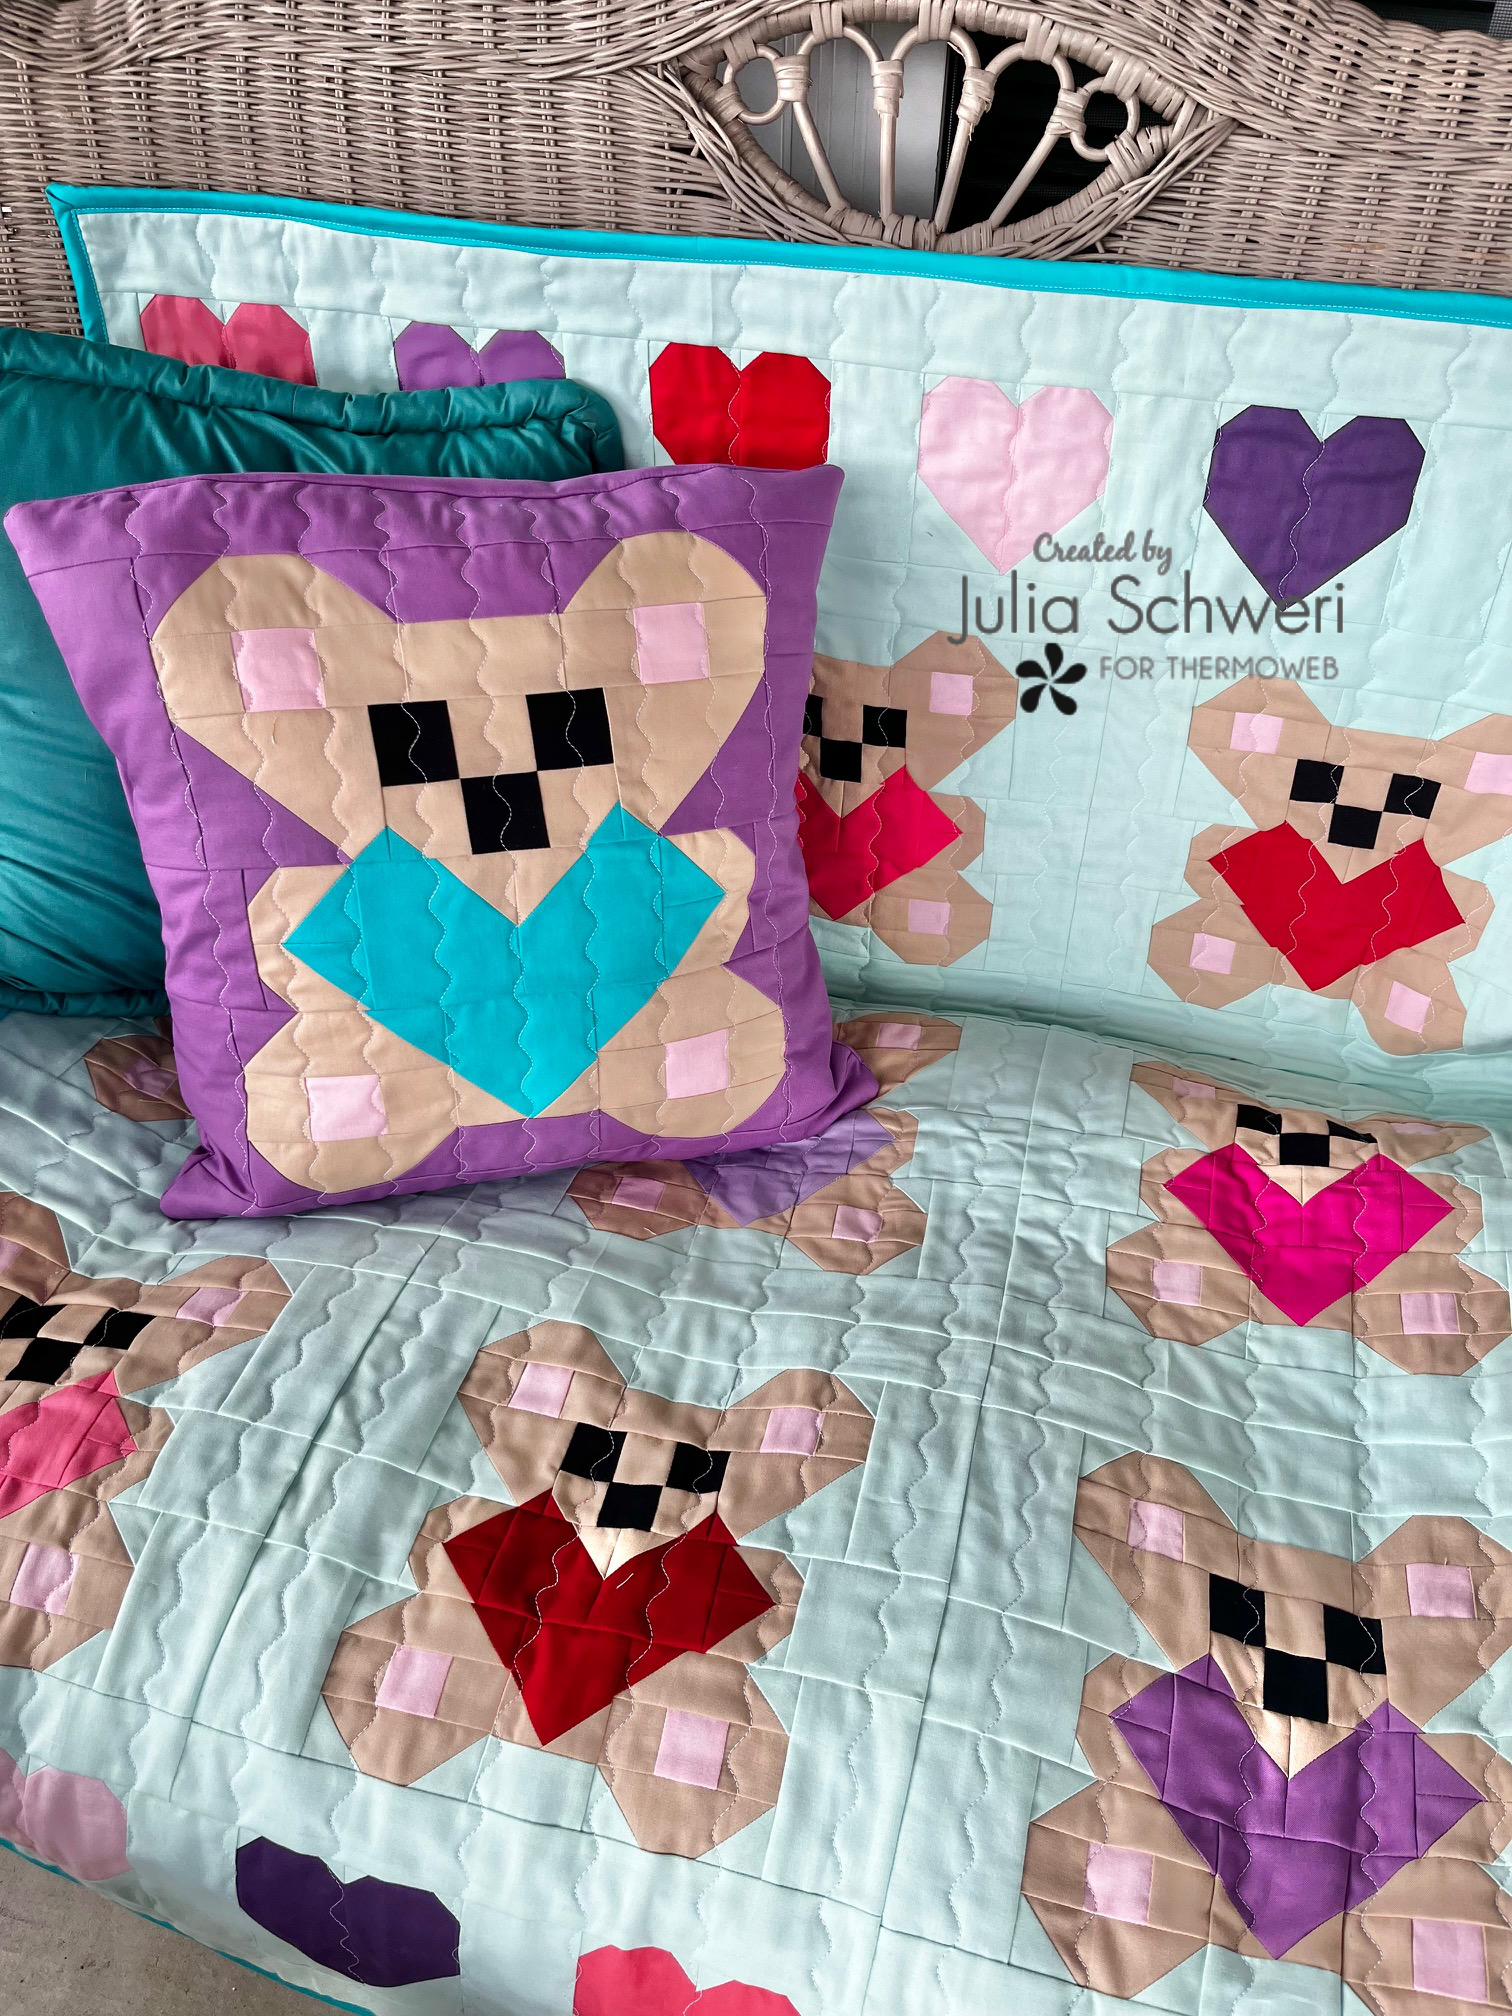
Thank you for visiting today! Come back soon to see what else will be starting to bloom with Inflorescence Designs!
Starting to bloom by choosing JOY ~ Julia

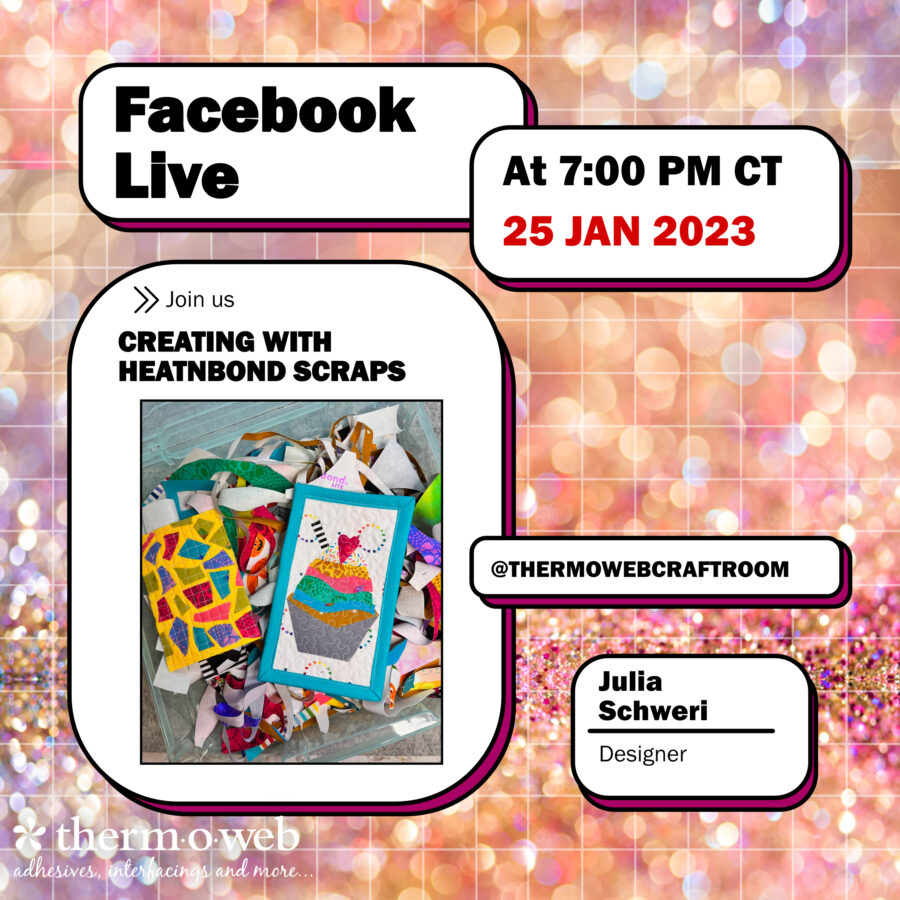
Be sure to join us tonight for a Facebook Live with Julia! She’ll be sharing a fun project for using up all those fabric scraps we know you have lying around. Join us TONIGHT at 7pm in our Facebook Craft Room. You do need to register to join the group to attend.

[…] Thank you for visiting today! Come back soon to see what else will be starting to bloom with Inflorescence Designs! And don’t miss the coordinating pillow I shared featuring this same blog here! […]