
Hello and welcome!
It’s Julia from Inflorescence Designs! I’m so joyful you are visiting today. This week we are discovering all things candy canes!
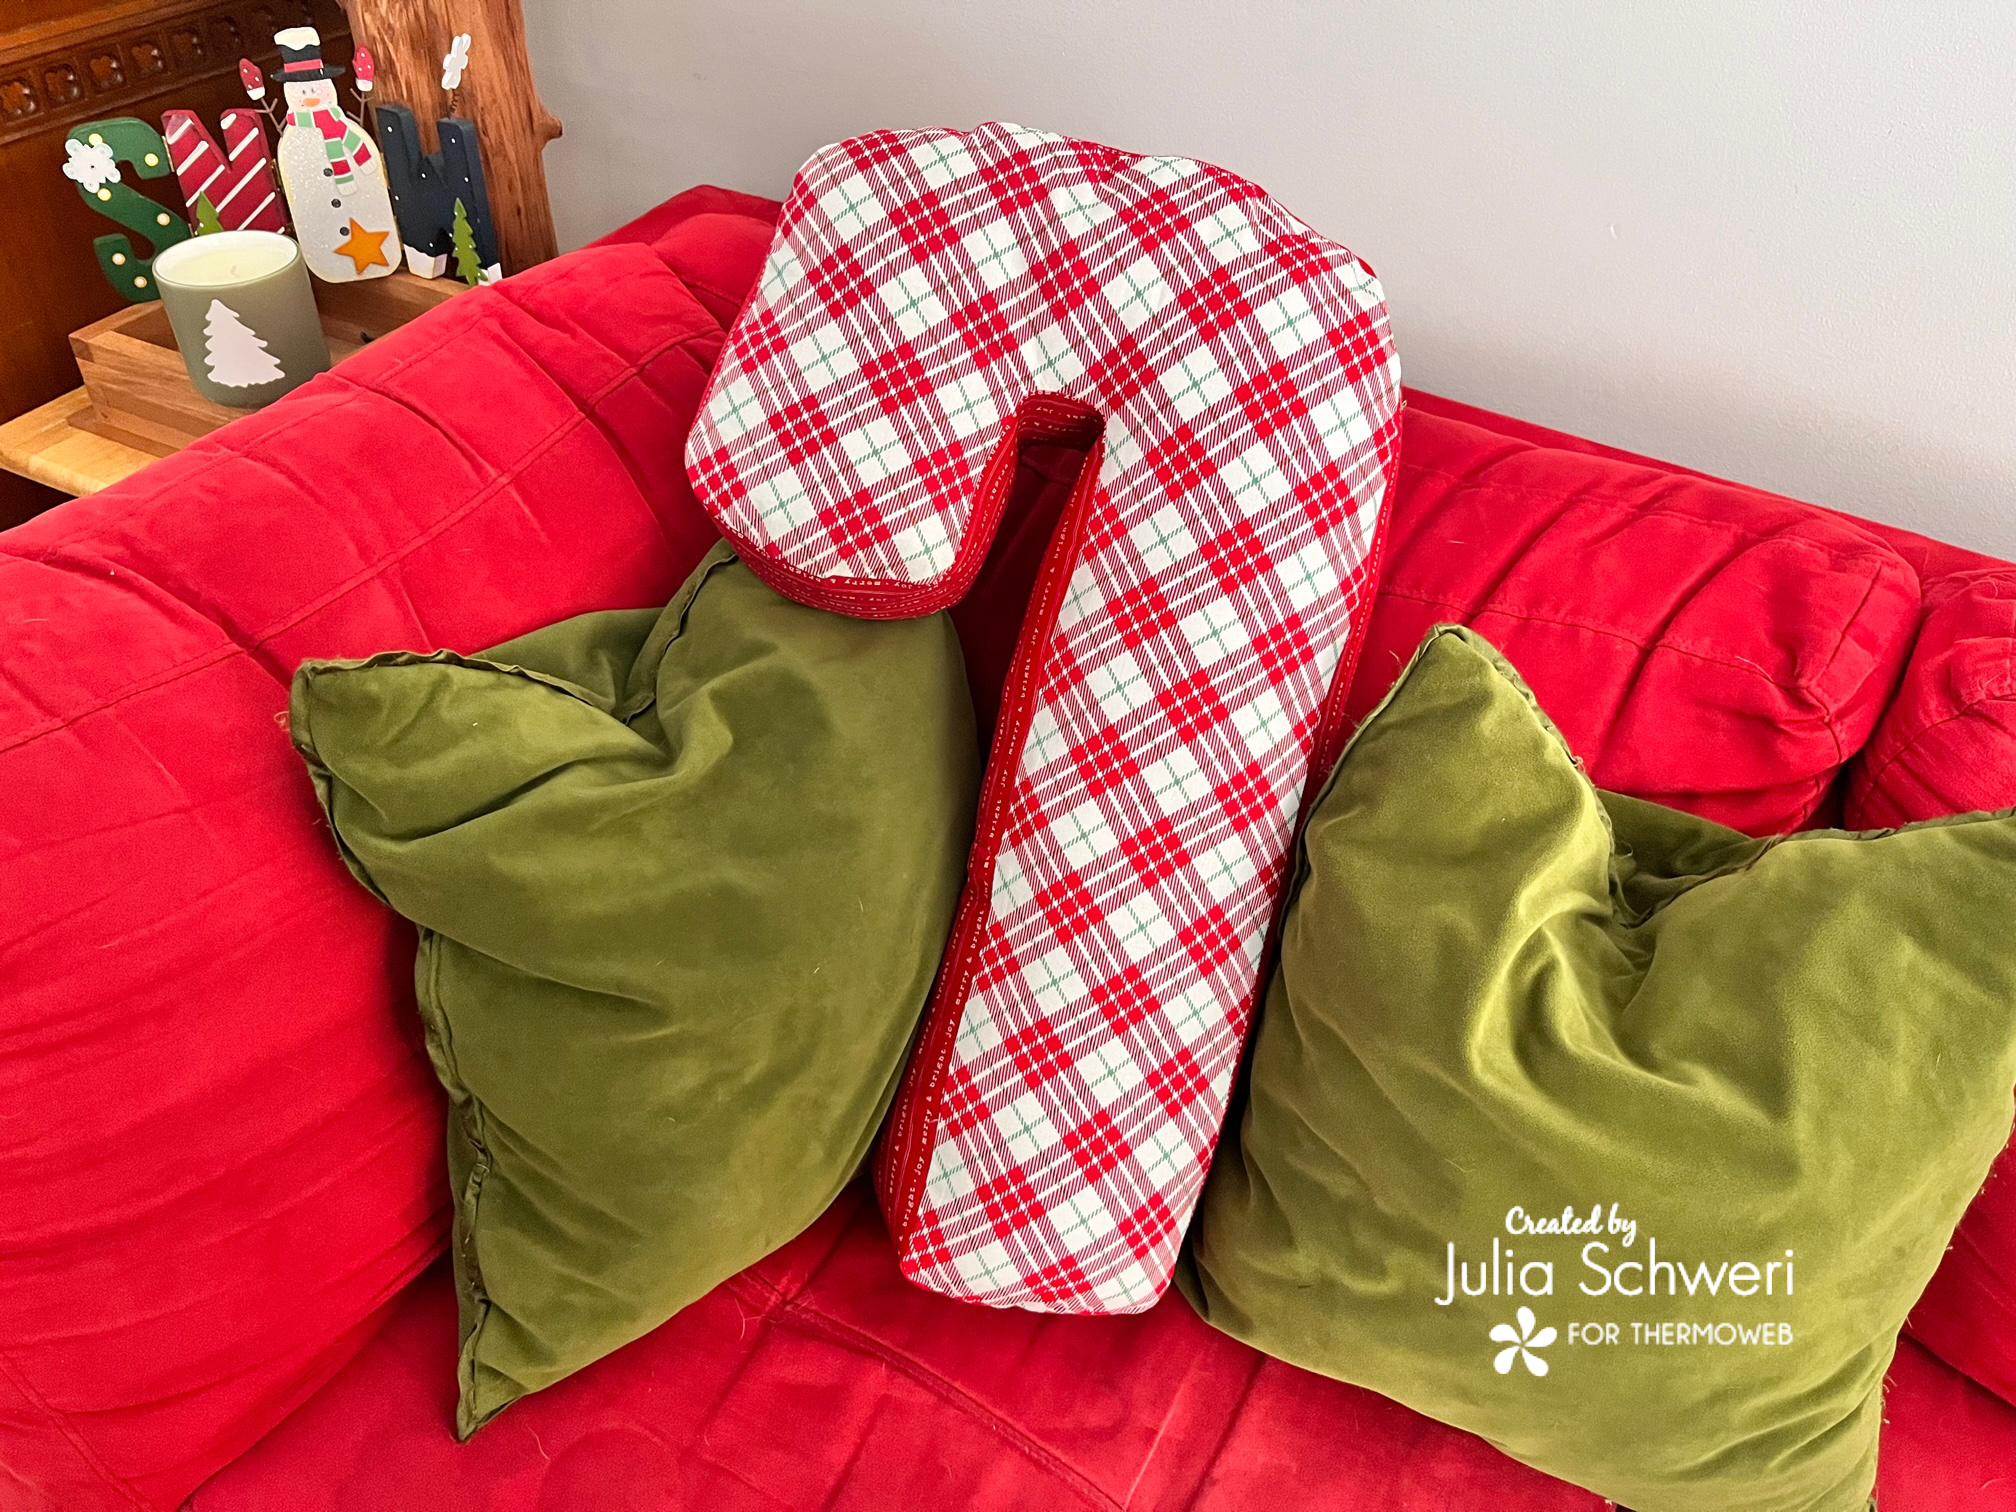
Candy Cane Shaped Pillow
Supplies:
-
Candy Cane Pillow Patten/Template
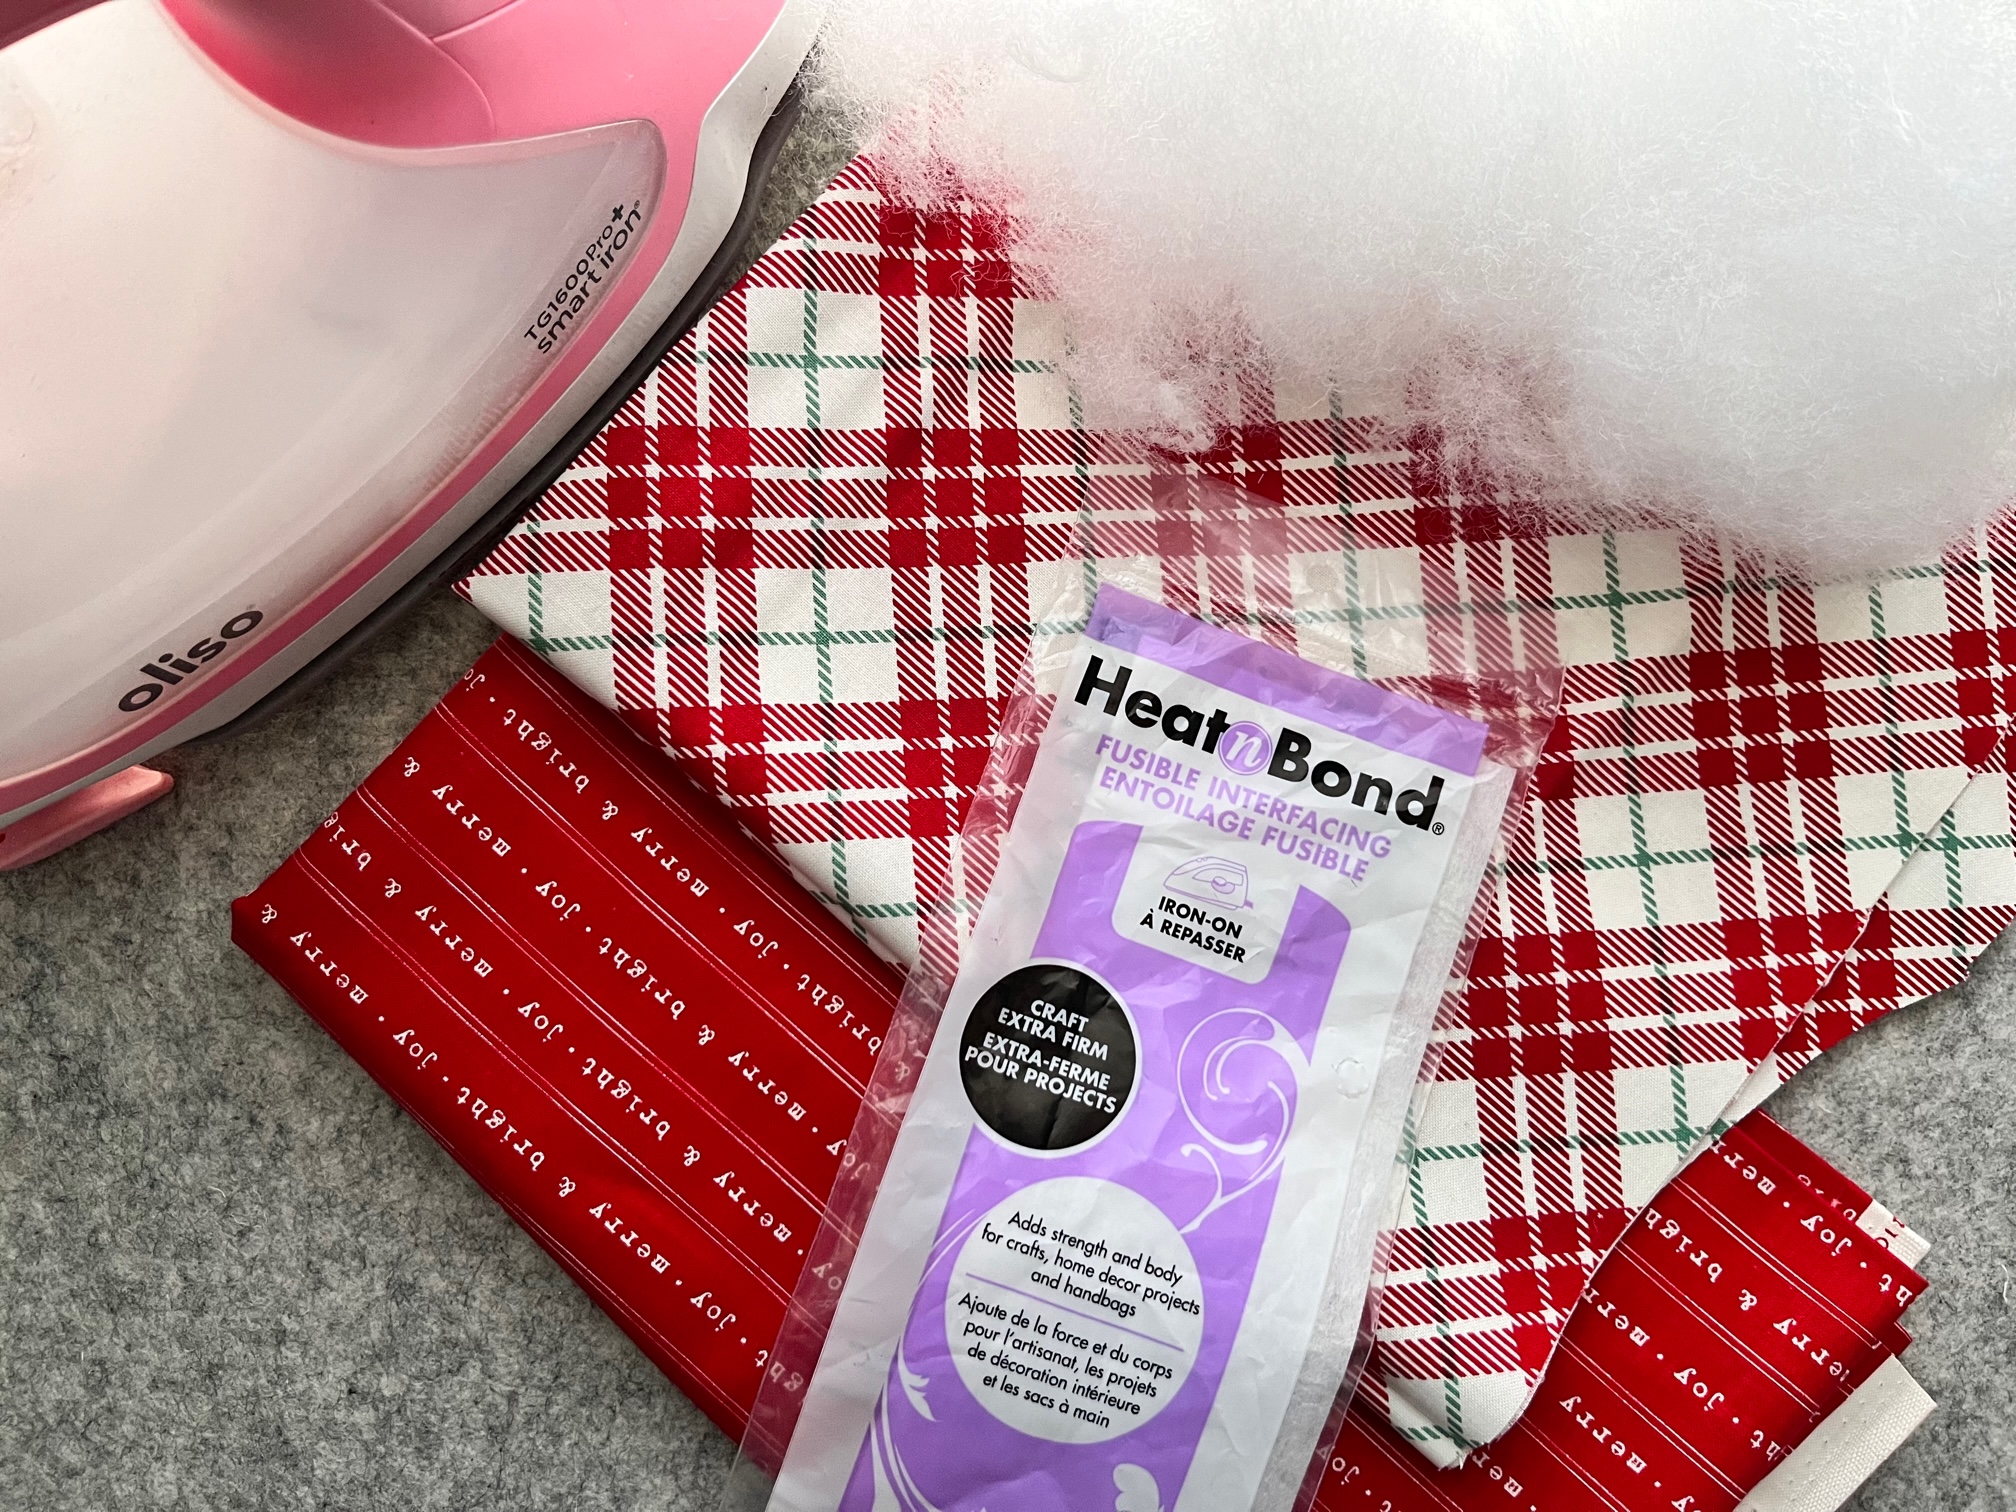
- HeatnBond Craft Extra Firm Iron on Interfacing: 3 1/2″ x 72″
- Fabric: The fabric pictured is from Riley Blakes’ Old Fashioned Christmas fabric line including “Text Red” and “Tartan Red“.
- Front and Back: 1 yard
- Side Strips: 4″ x 72″
- Fiber Fill Stuffing
- Oliso Iron
- Basic Sewing Notions
- Needle and Thread for hand sewing
Instructions:
Begin by printing and cutting out the candy cane template. Place the template on the fabric and cut out.

Next…
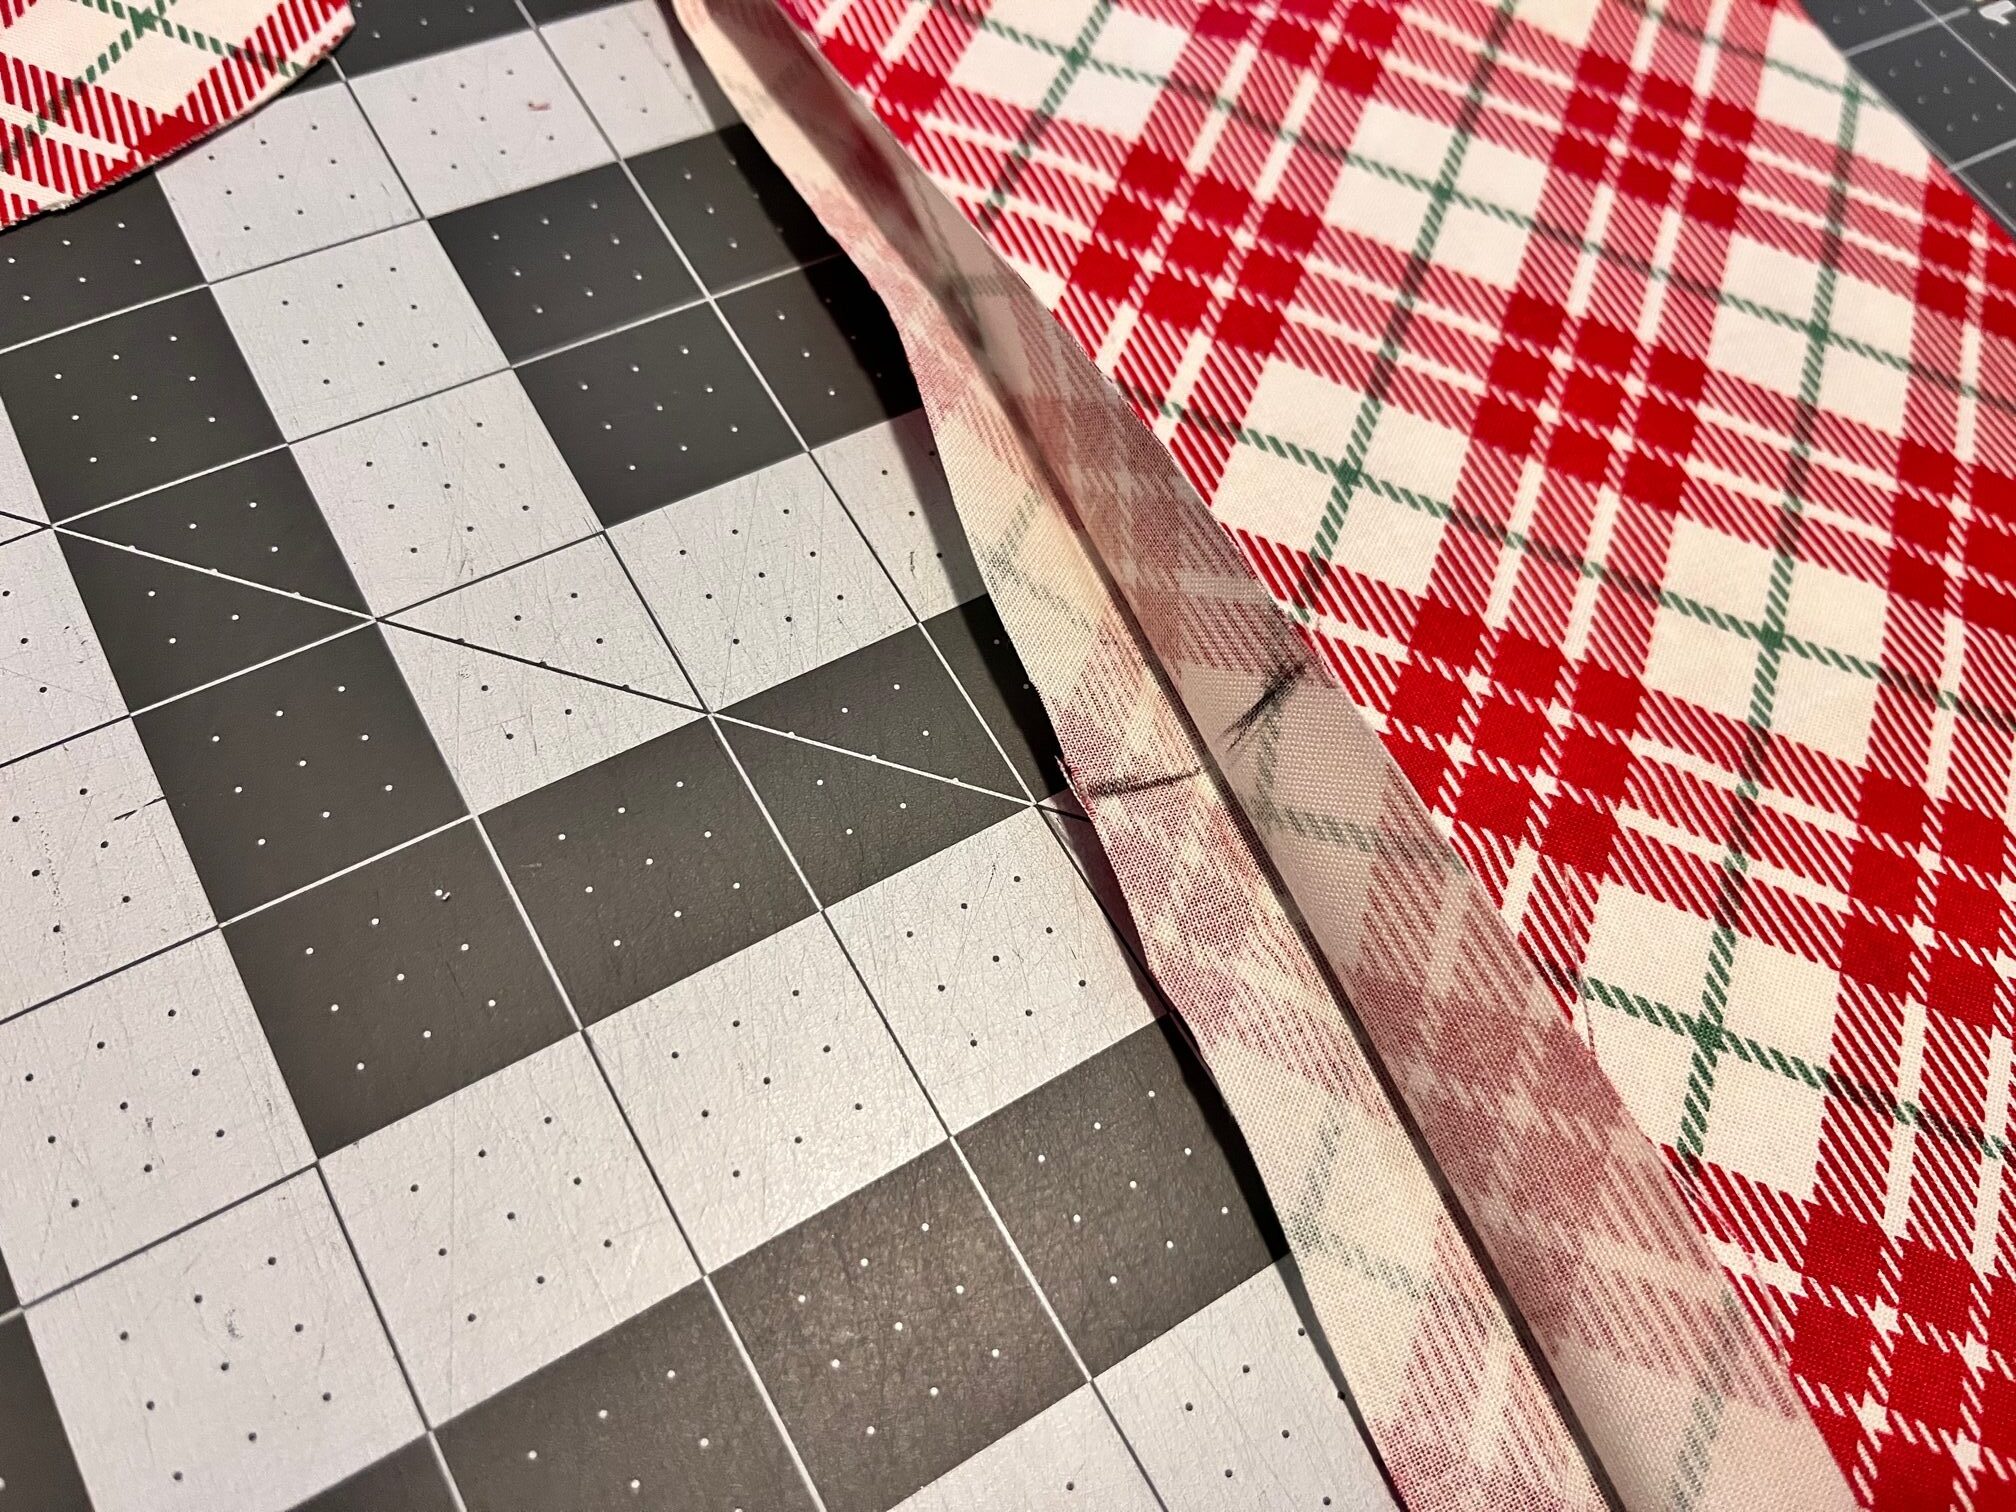
Mark the fabric on both the front and back pieces where it is indicated on the pattern.
Important Note: It is important that these marks match when sewing on the candy cane side panel or it will be wonky.
Continue by…
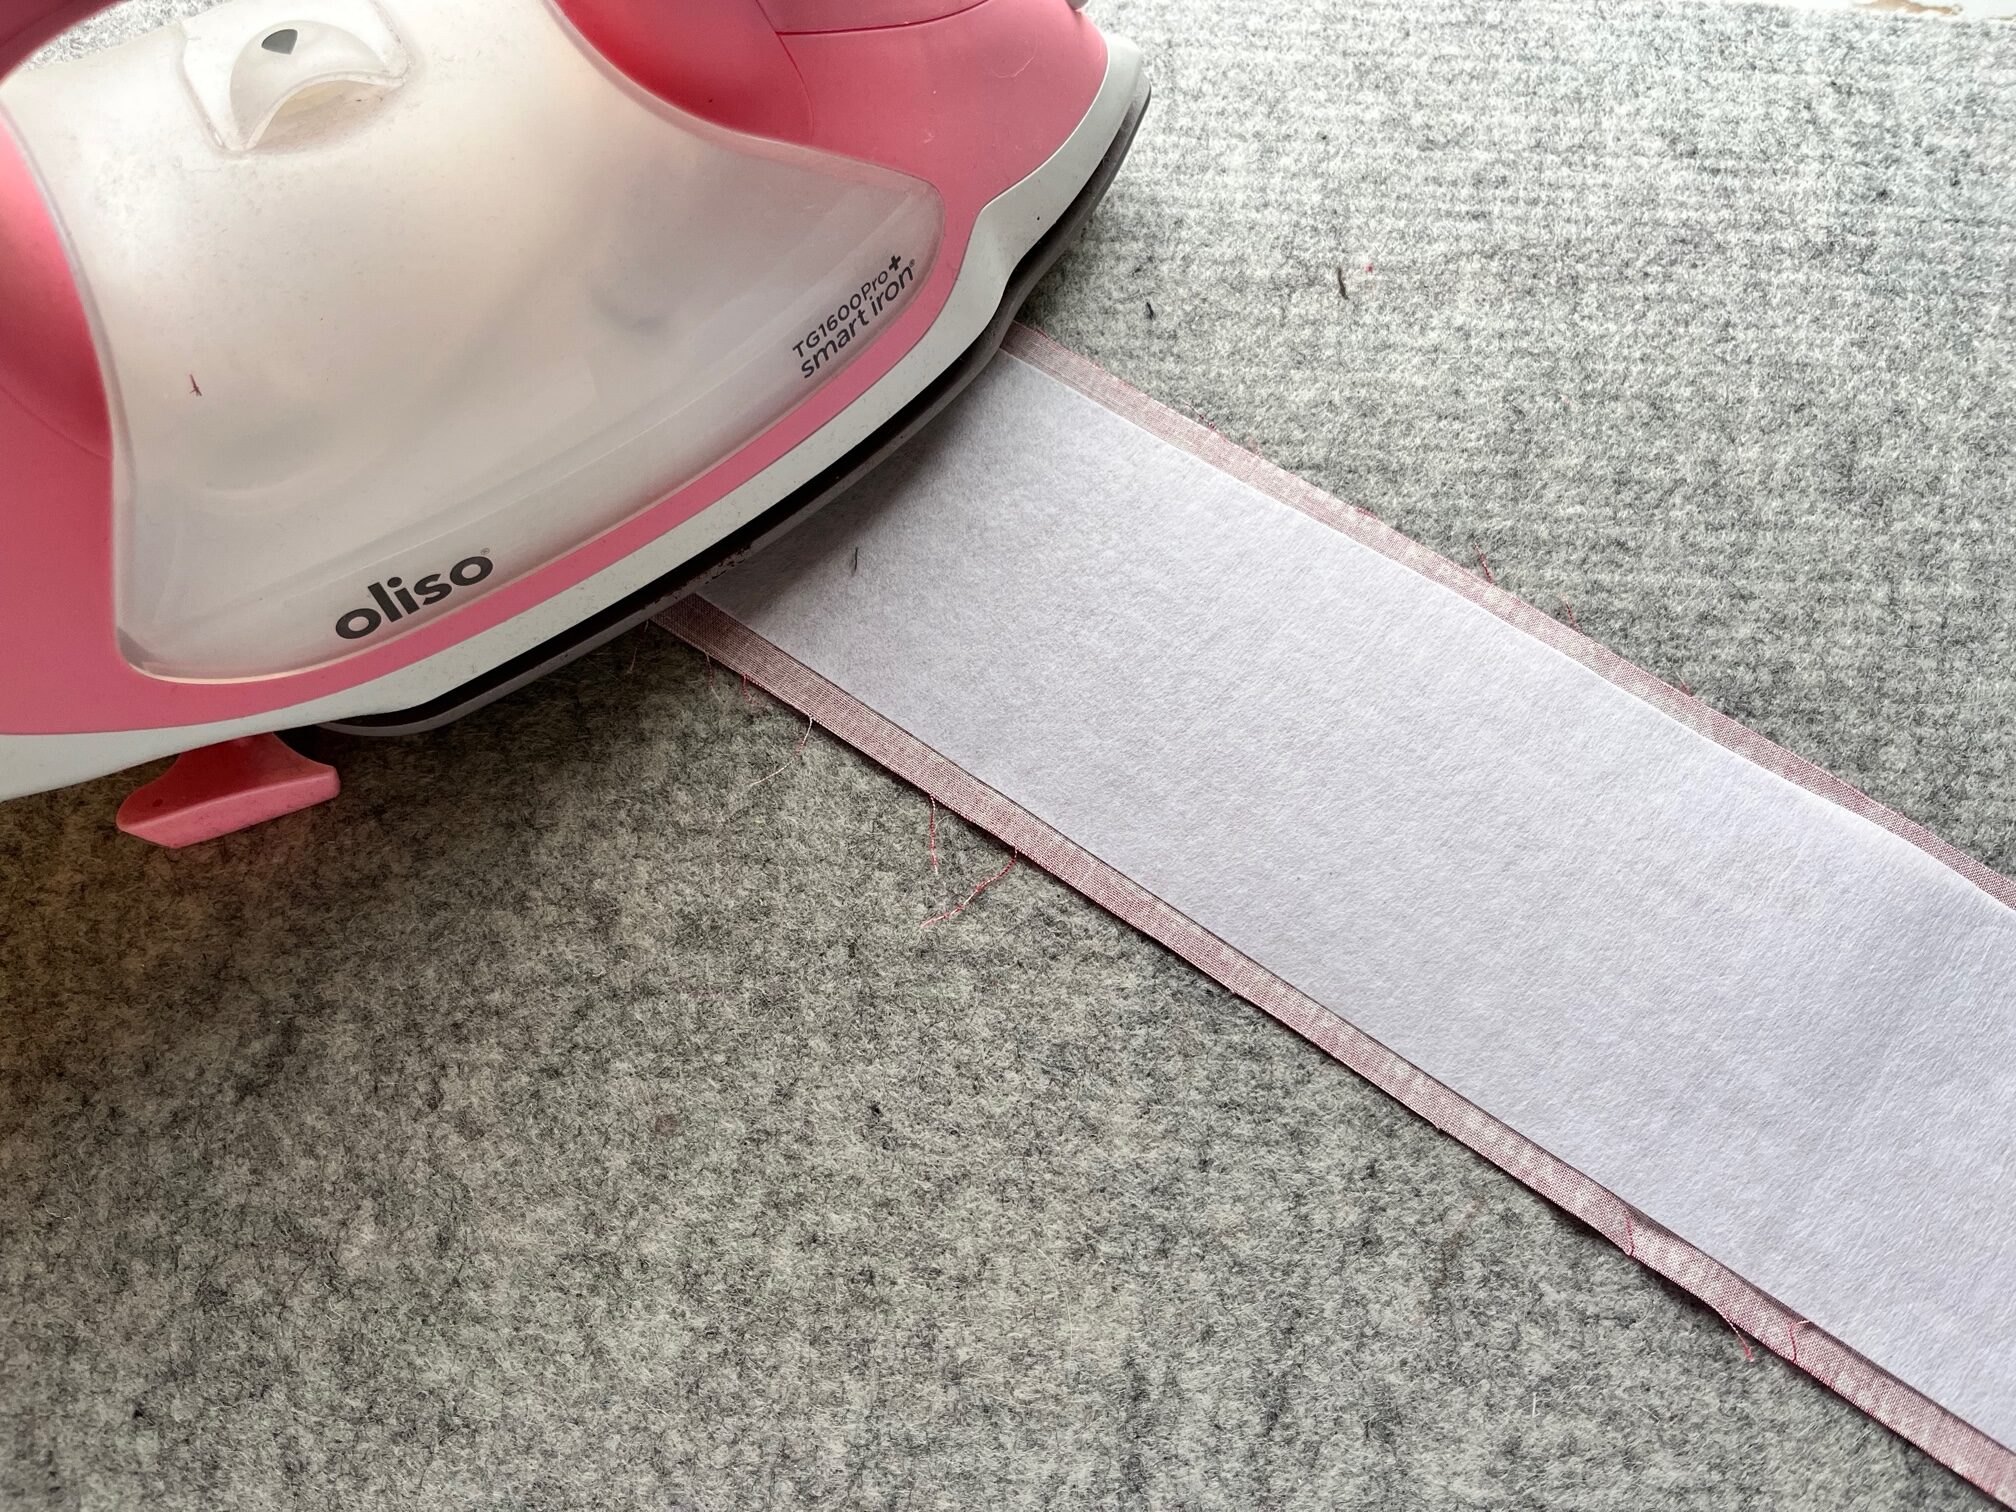
Adhere the HeatnBond fusible craft interfacing strips to the fabric side panel.
Begin sewing at the mark indicated on the template. Fold over the side panel 3/4″ and begin sewing over the fold, back stitch to secure. Sew all the way around the candy cane using a 1/4″ seam. GO SLOW. Try not to stretch the fabric when going around the curves. The tips of the candy cane are almost square, a right-angle stitch line is ok, or you can slightly curve it. When you reach the end, leave about 3″ unsewn for now.
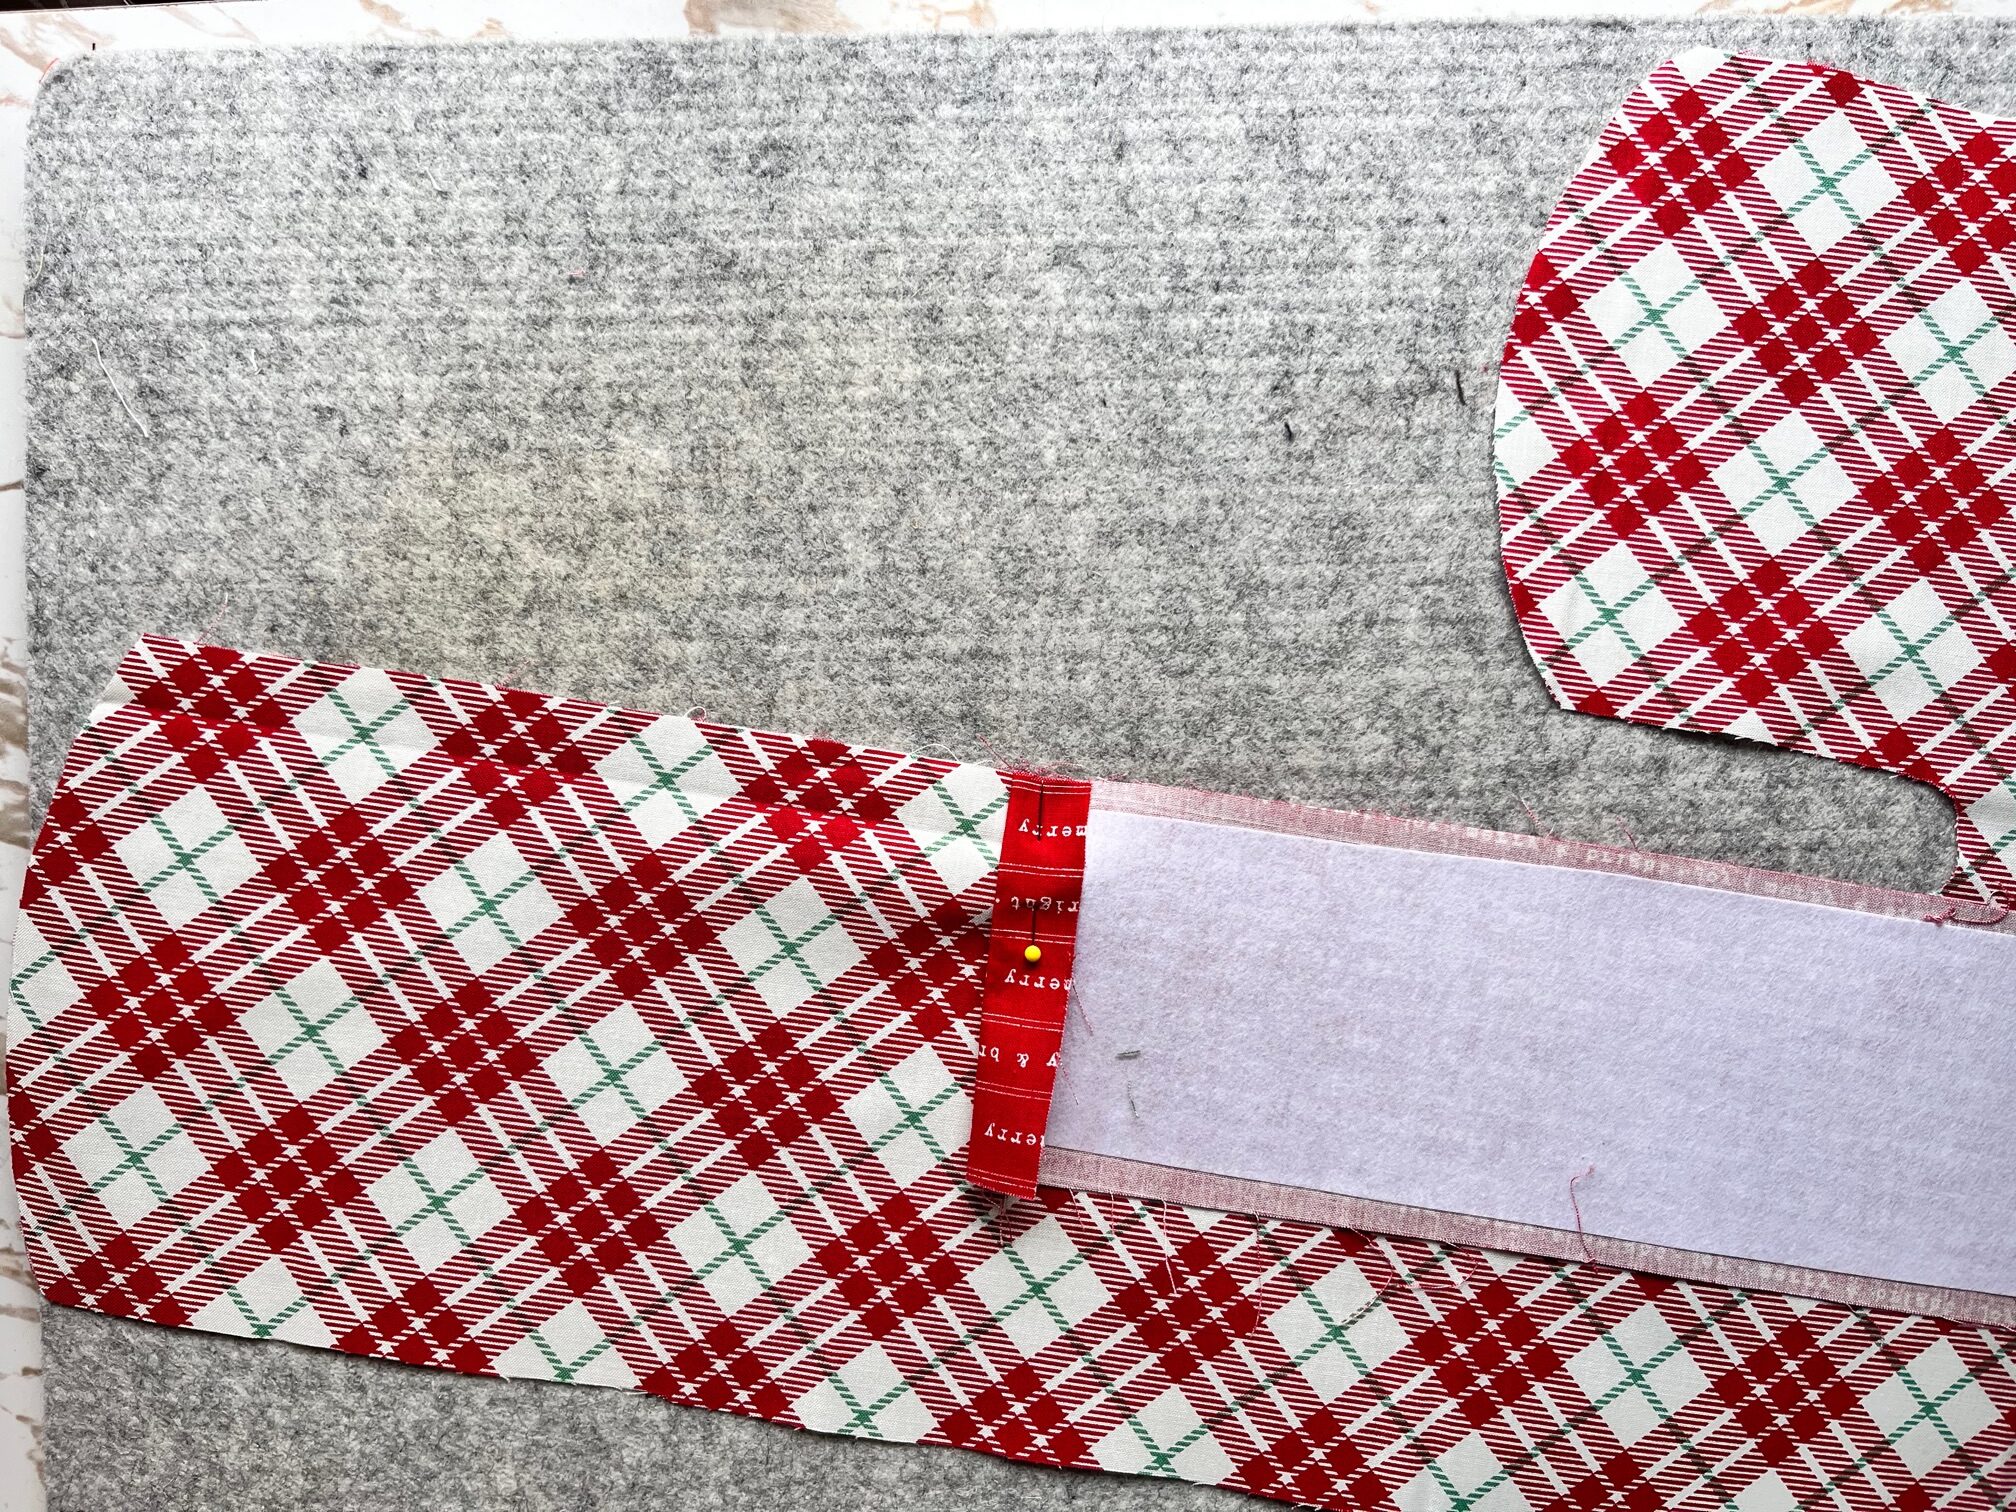
Next…
Begin sewing on the other candy cane. Being where indicated on the template. Again, GO SLOW. Make sure to line up the marks as best as possible with the other candy cane. I suggest drawing a straight line across the side panel and pining where the marks are, that way you can make sure to ease the fabric around the curves to match the marked points. I speak from experience that if you are not careful, the side panel will be all wonky and there will be a lot of seam ripping.
When you reach the end, fold over the end of the side panel and overlap the beginning fold. If there is extra fabric you can trim it. Sew all the way up the meet where you started and back stitch to secure.
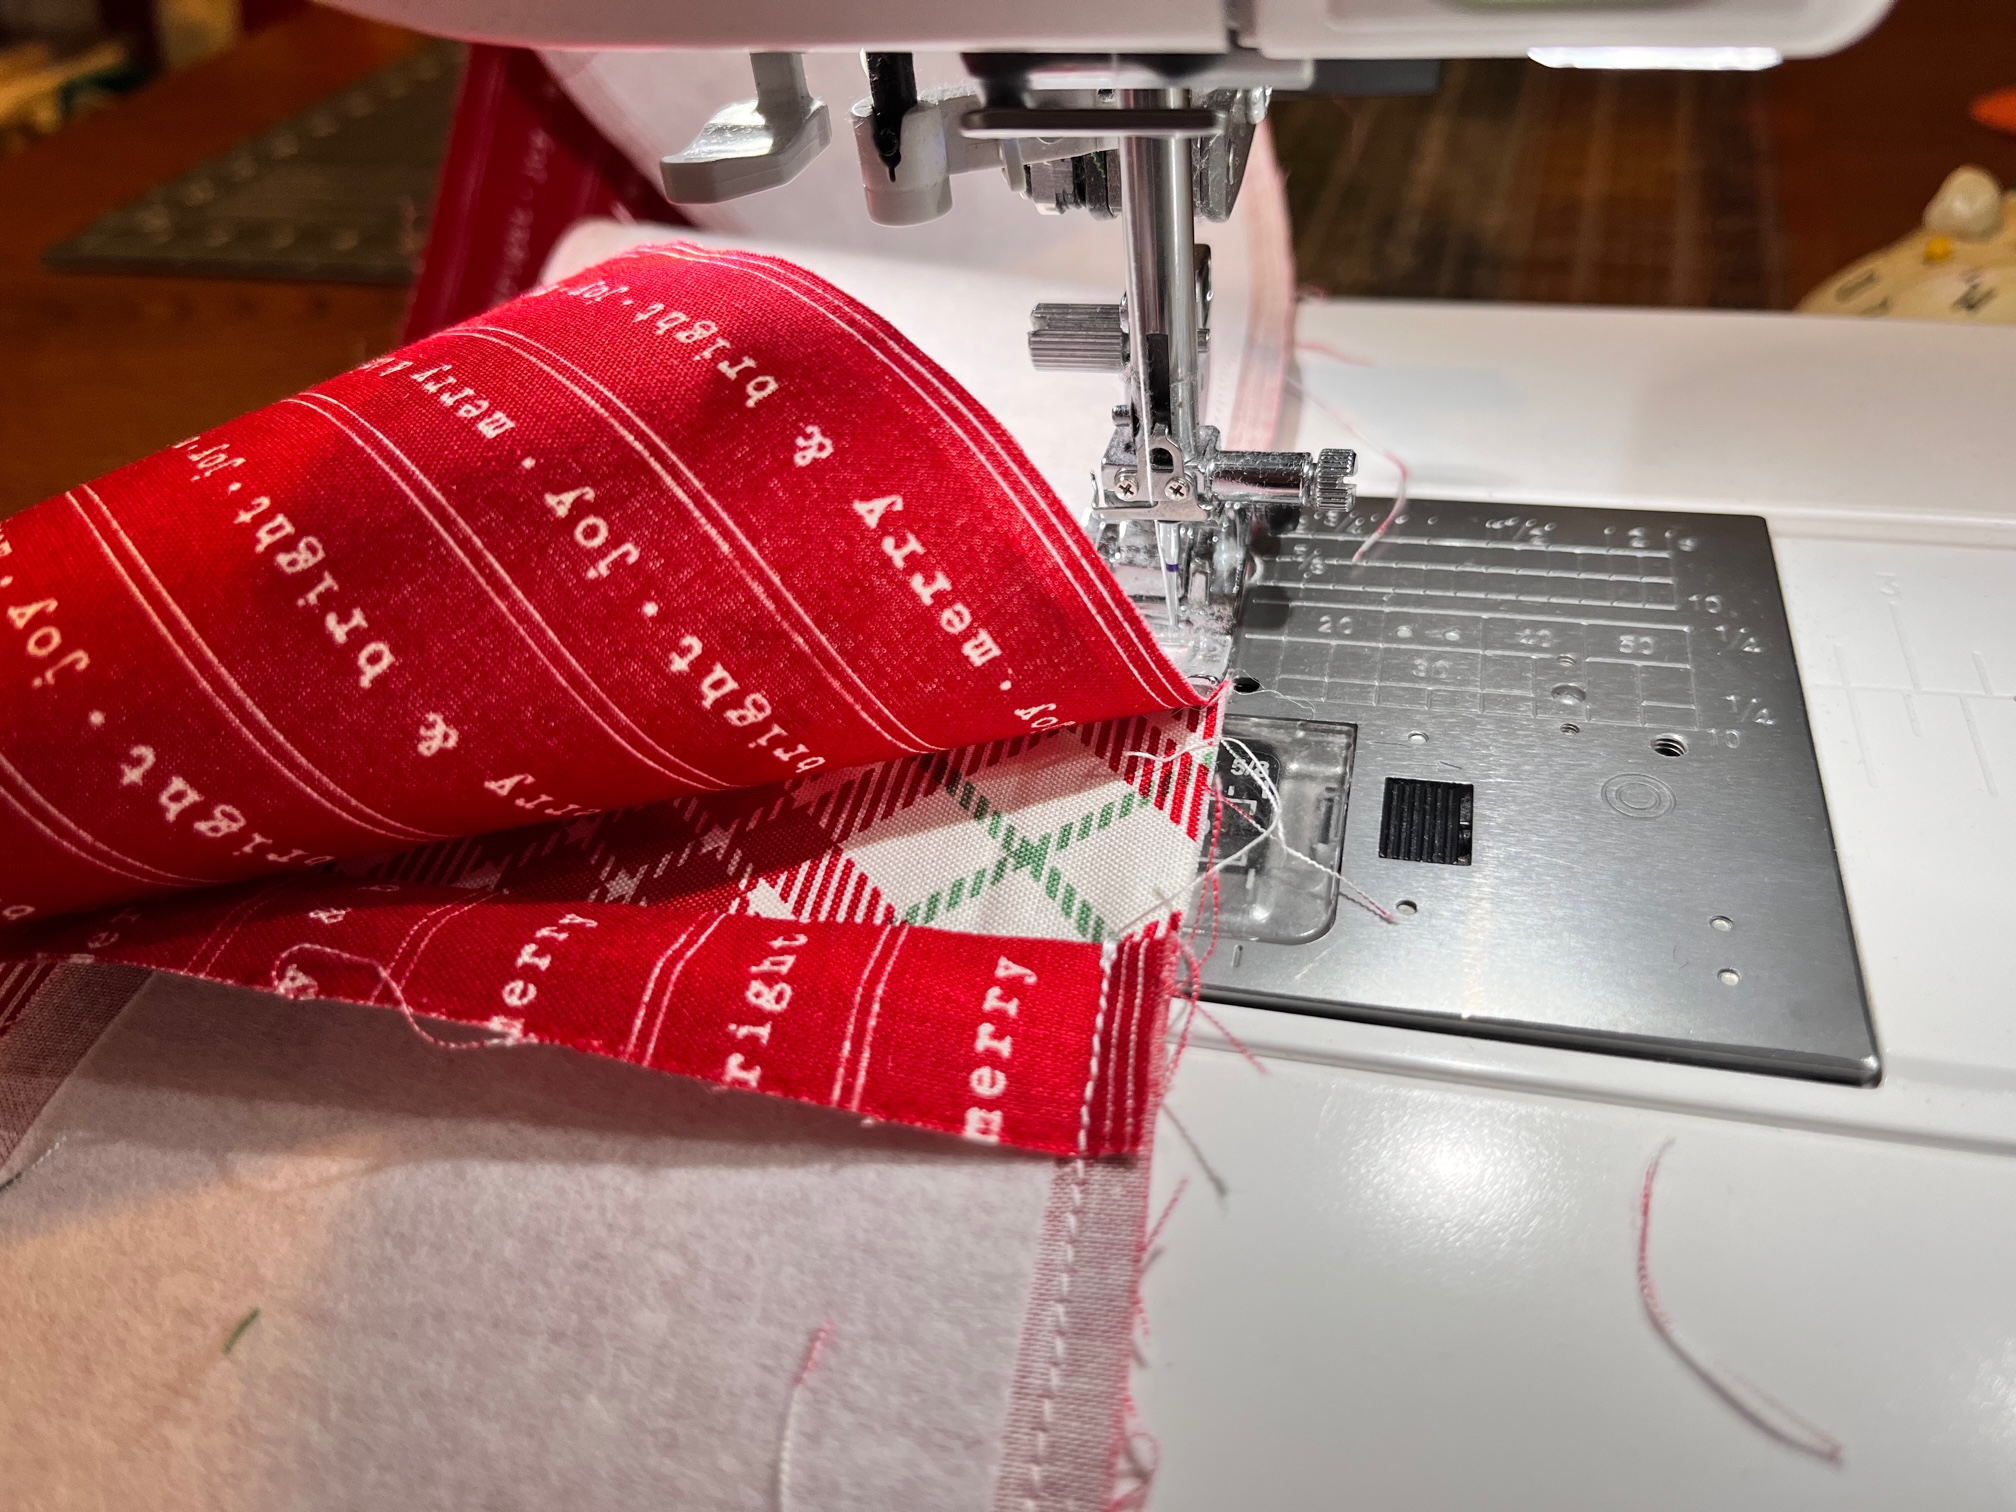
Next…
Turn the pillow right side out and stuff it with fiber fill. Using an invisible stitch, sew up the side seam that was left unsewn. Continue sewing the opening closed over the side panel. Fluff the pillow.
Candy Cane Shaped Pillow Video Tutorial
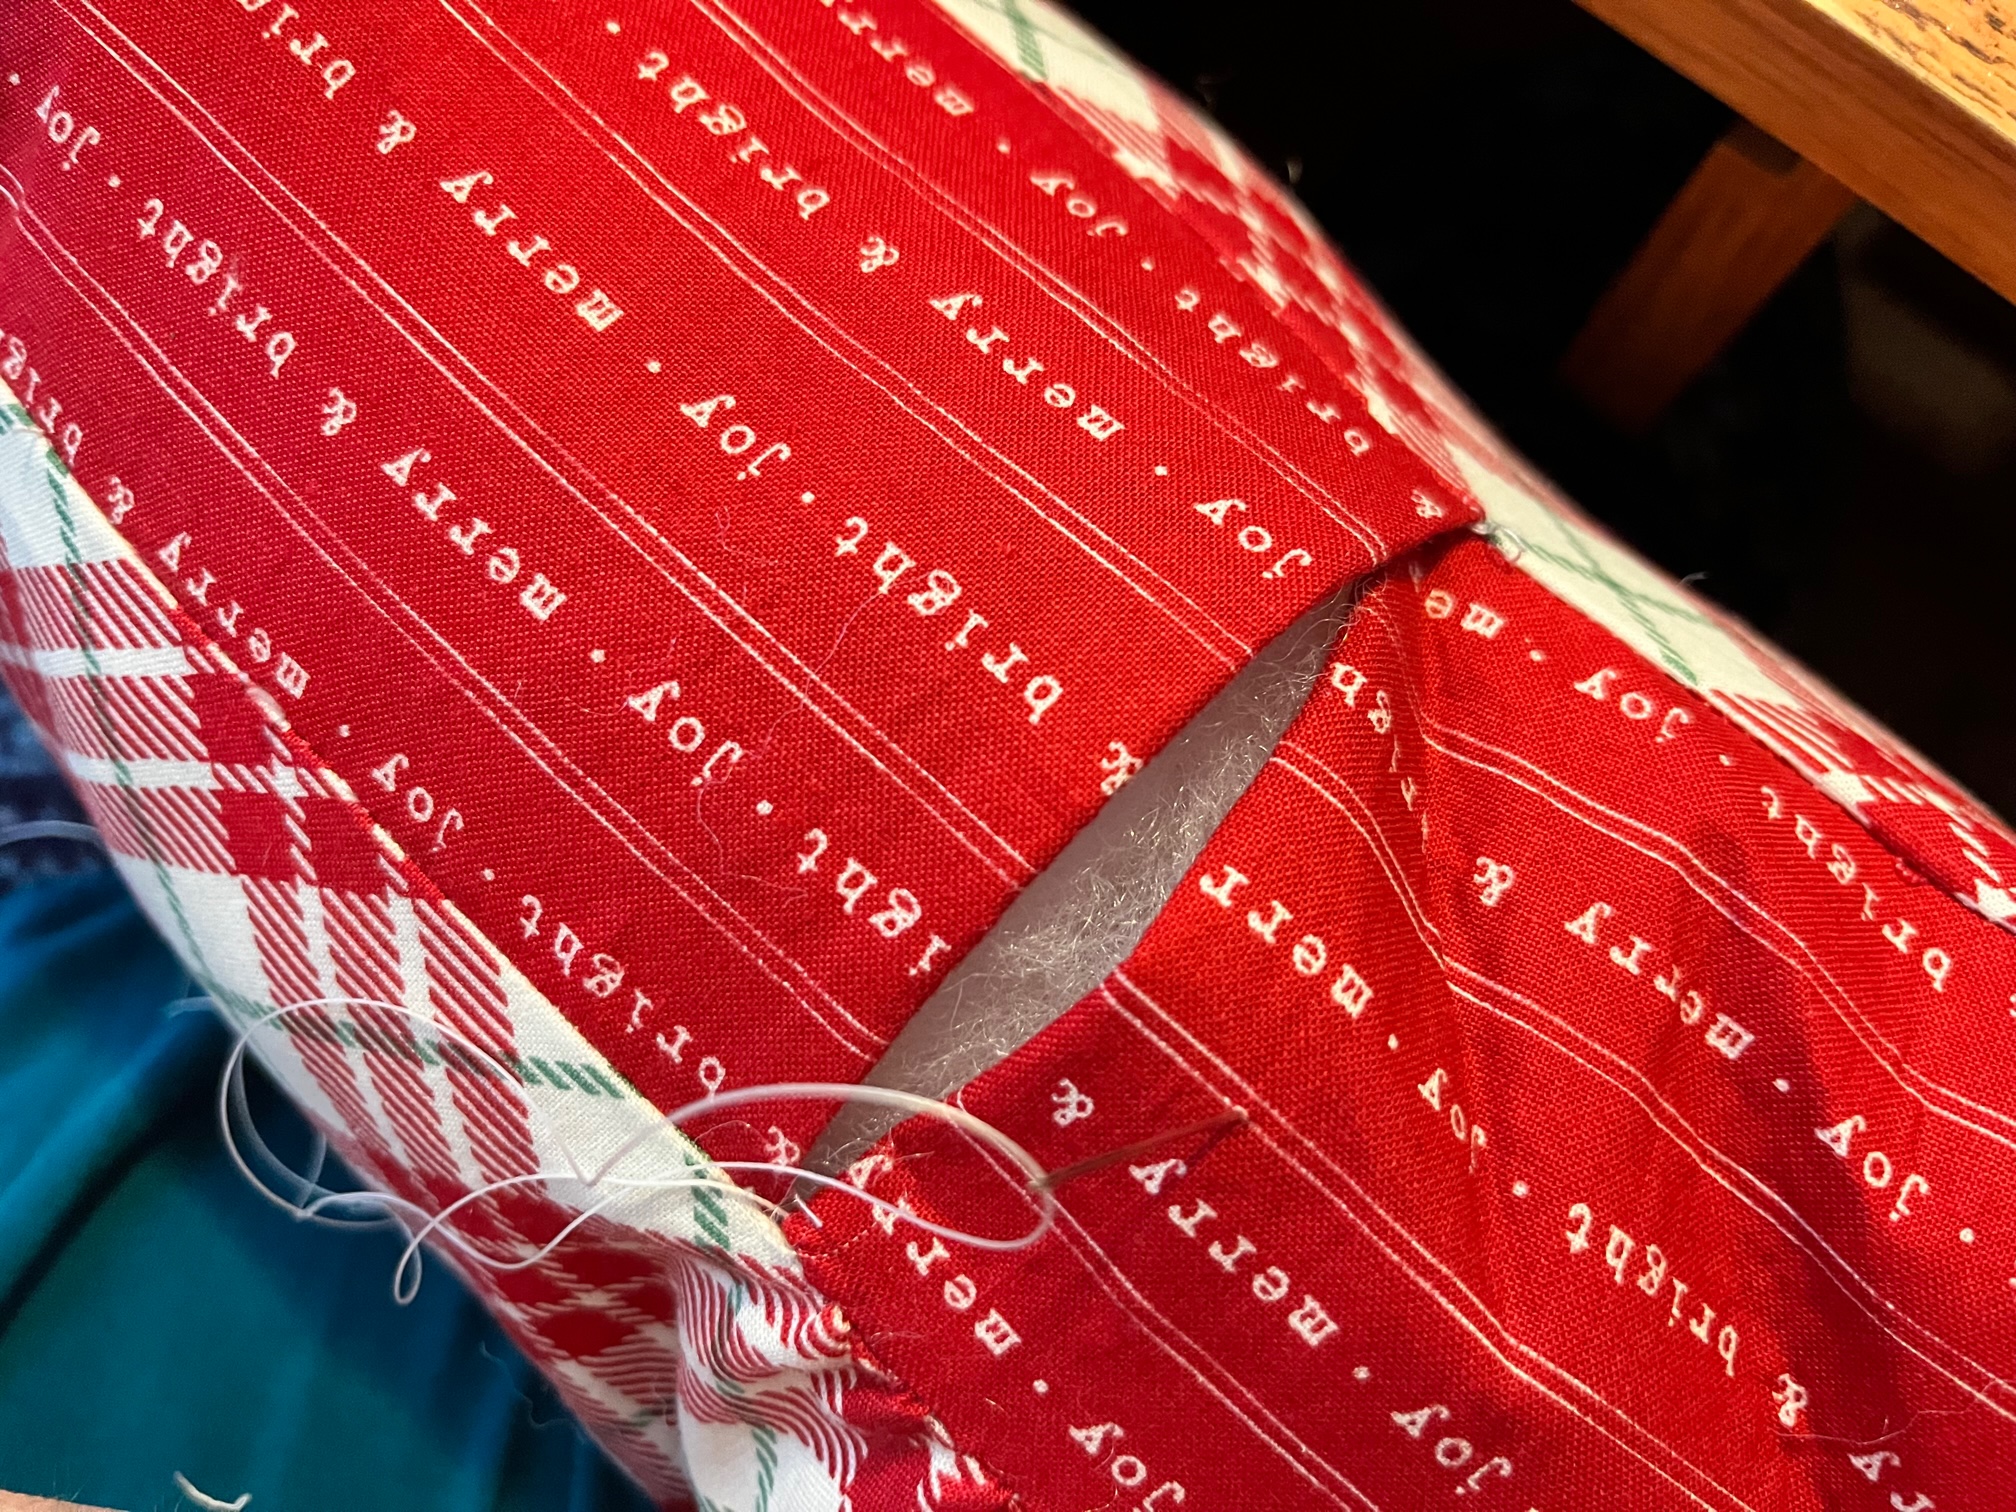
Finished!

Thank you for visiting today! Come back soon to see what else will be starting to bloom with Inflorescence Designs!
Starting to bloom by choosing JOY ~ Julia
