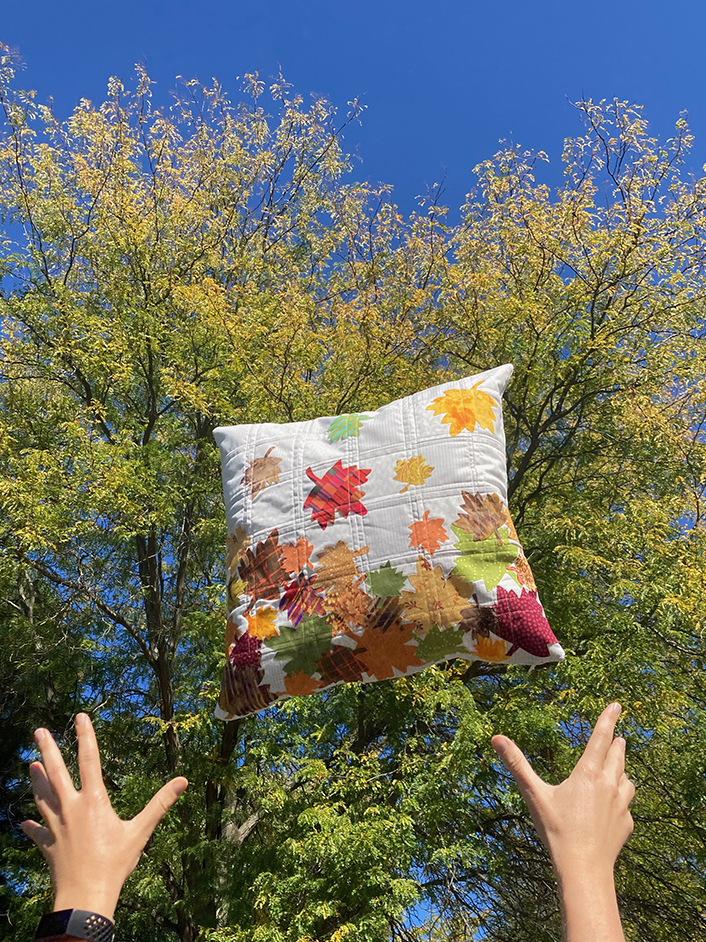
 Hello and happy fall! My name is Lisa Ruble from Quilty Zest, and my absolute favorite aspect of the season is the variety of rich autumn colors. The reds, oranges, yellows, and even browns you see on trees throughout October and November are so mouth-wateringly appealing! So much so that I decided to create a pillow celebrating these hues for Fall Colors week.
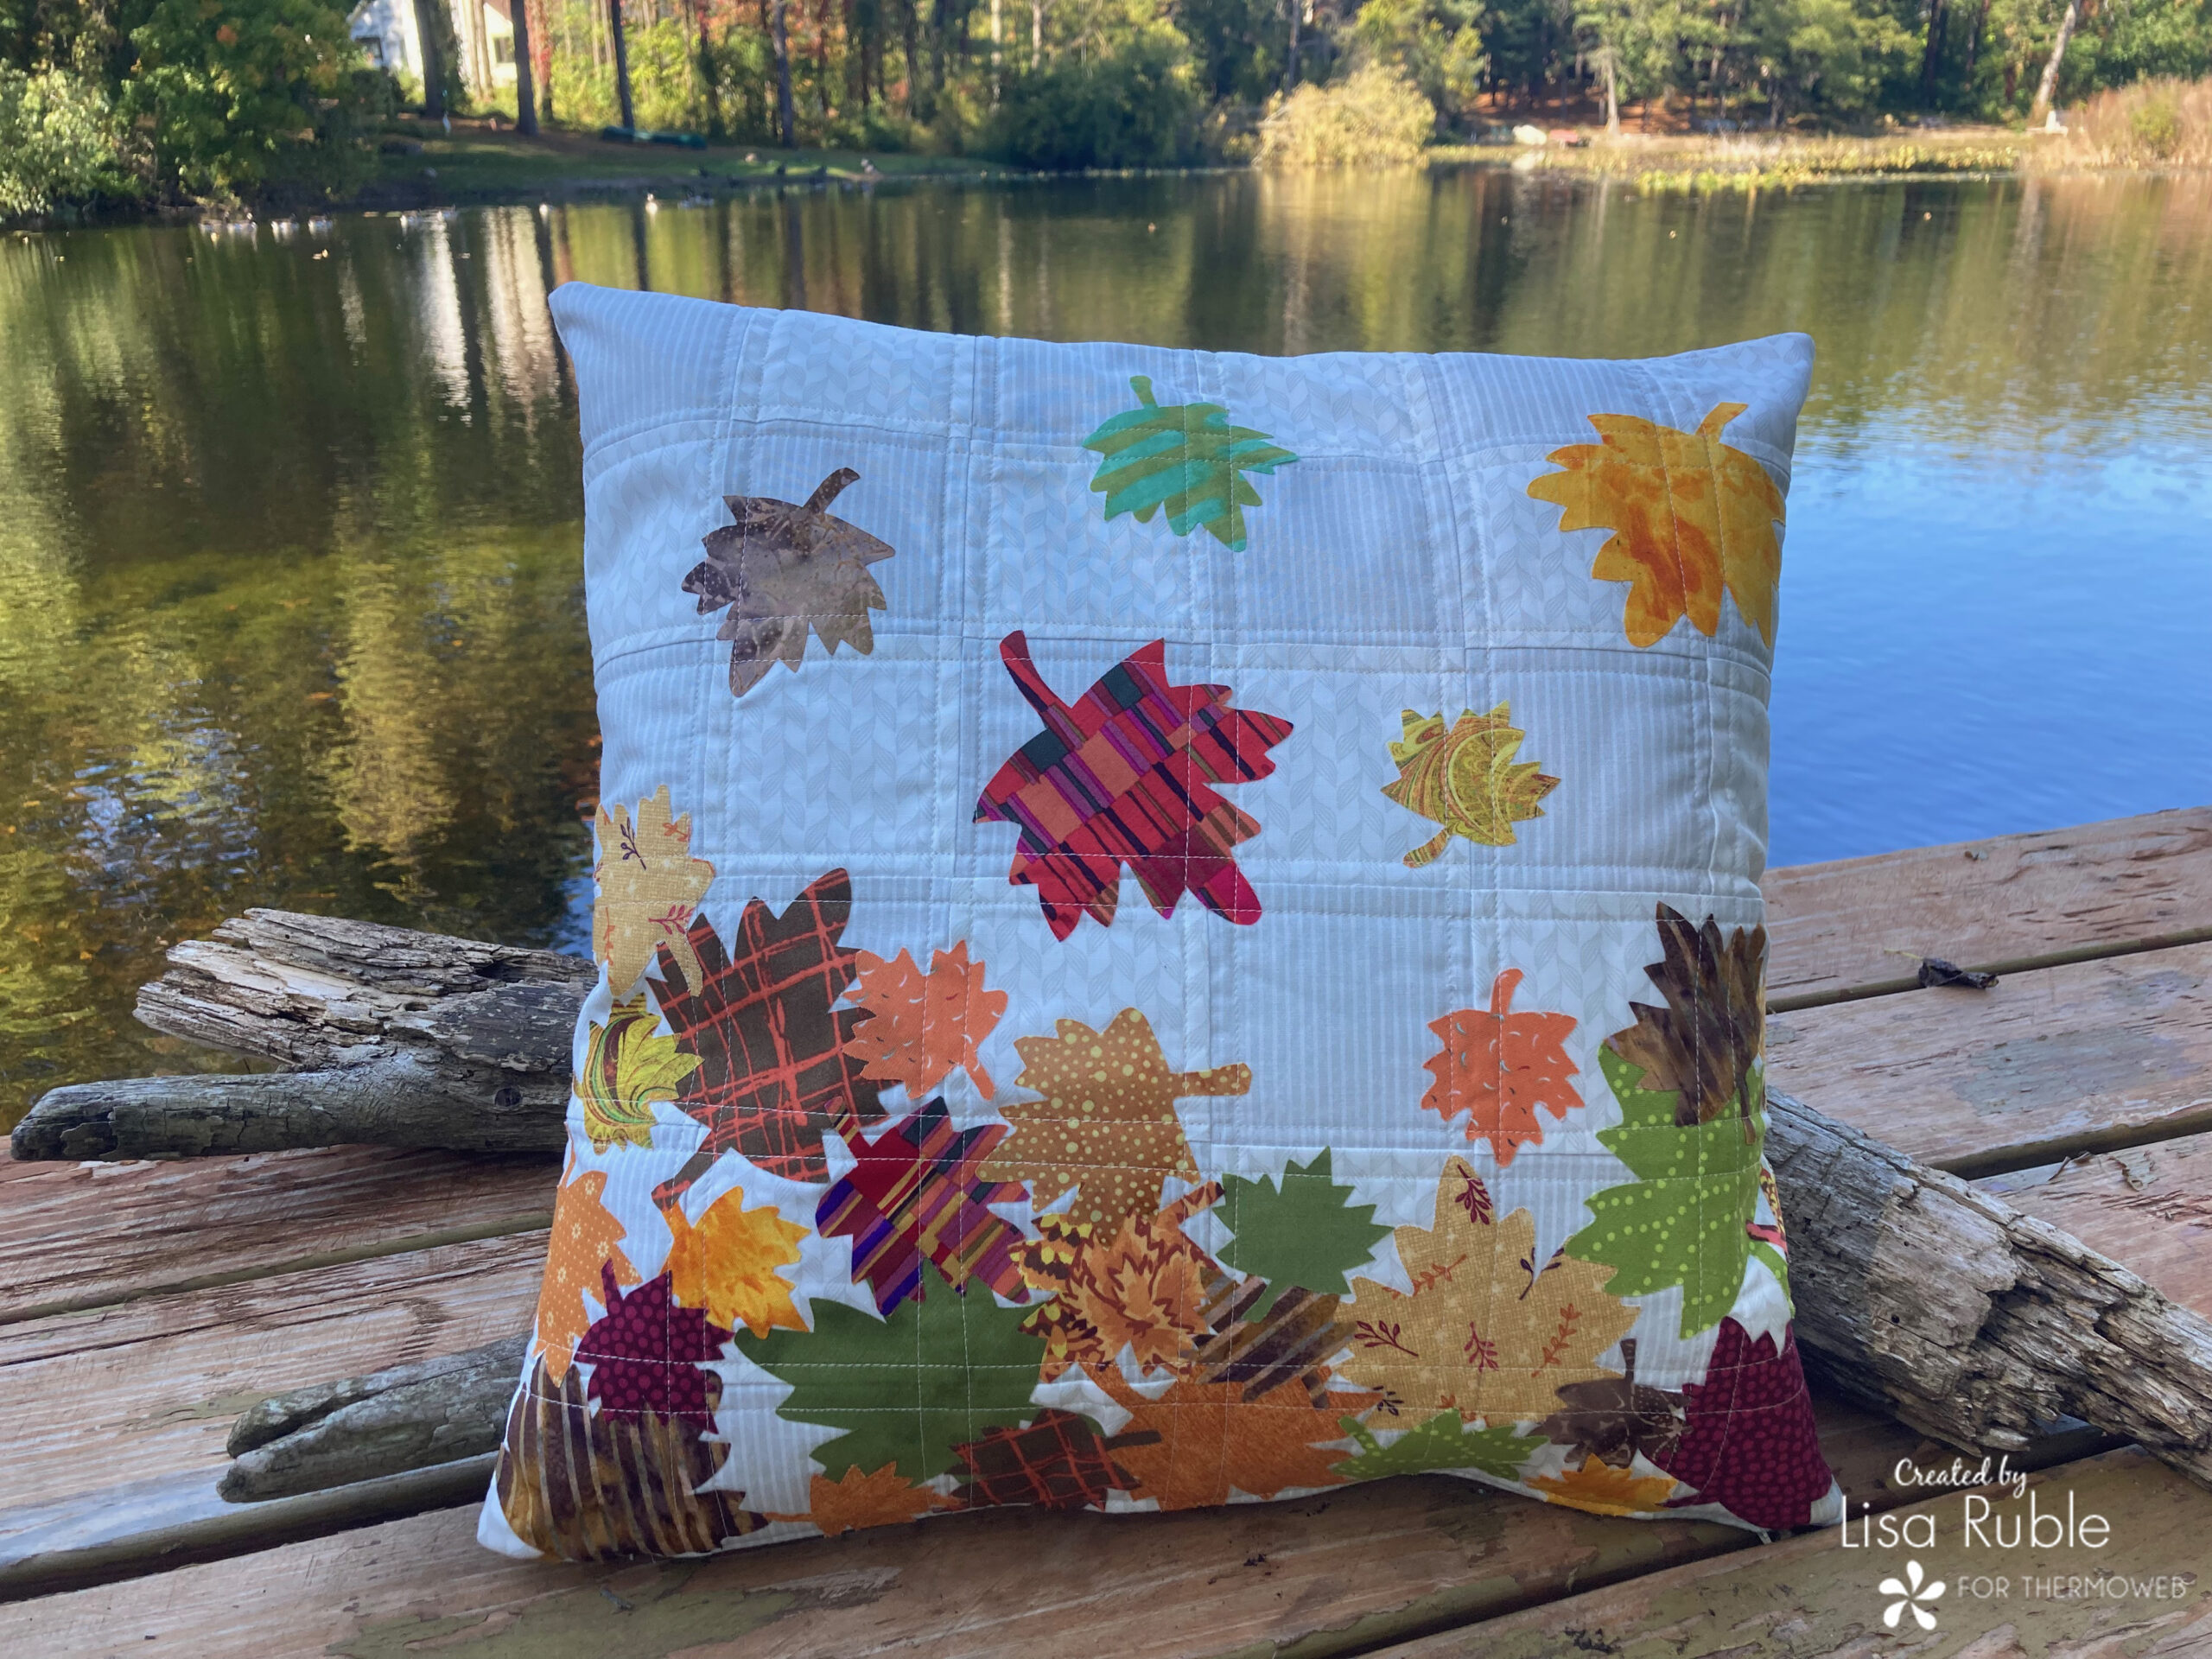
I call this pillow Leaves in the Air because I tried to create the feel of leaves falling to the ground. The pillow cover measures 18″ square and is super quick to make (thank you, fusible web!)
Here’s what you need:
Scraps in a variety of fall colors
1/2 yard cream print #1
7/8 yard cream print #2 (includes backing)
14″ zipper in coordinating color
HeatnBond Fusible Fleece
HeatnBond Lite Sewable Fusible Adhesive
18″ square pillow insert
Leaves In the Air Fall Applique Fabric Pillow
Cutting:
From cream #1, cut:
(3) 3-1/2″ x WOF strips
From cream #2, cut:
(3) 3-1/2″ x WOF strips
(1) 18-1/2″ square for backing
From Fusible Fleece, cut:
(2) 18″ squares
Download the leaf templates here.
Make the Pillow:
Step 1: Sew 3-1/2″ x WOF cream #2 strips lengthwise to opposite sides of (1) 3-1/2″ x WOF cream #1 strips to make a strip set. Crosscut (6) 3-1/2″-wide A segments.
Step 2: Sew 3-1/2″ x WOF cream #1 strips lengthwise to opposite sides of (1) 3-1/2″ x WOF cream #2 strips to make a strip set. Crosscut (6) 3-1/2″-wide B segments.
Step 3: Layout (2) A segments and (1) B segments to make (1) A-B-A block. Lay out (2) B segments and (1) A segment to make (1) B-A-B block. 
Step 4: Sew the segments together to make a block. Make (2) A-B-A blocks and (2) B-A-B blocks, each measuring 9-1/2″ square.
Step 5: Lay out the (4) blocks as shown to create a checkerboard design. Sew together in rows and join the rows to make the pillow background.
Step 6: Layer the pillow background on (1) 18″ square of fusible fleece. Press to fuse in place. 
Step 7: Trace the desired number of small, medium, and large leaves onto the paper side of the fusible web. (I used 12 small, 10 medium, and 9 large leaves, but your number may vary as you play with your layout). 
Step 8: Cut out each leaf shape 1/4″ past the drawn lines. Fuse to the wrong side of the various fall-colored scraps. 
Step 9: Cut out each leaf on the drawn line. 
Step 10: Remove paper backings from leaves and arrange them on the pillow background. Vary leaf color placement and leaf direction. When you are happy with your design, fuse the leaves in place. Note: I ended up cutting more leaves at this point – you may need to as well, depending on your layout!
Here’s a video to show you how to place your leaves…
Step 11: Using a walking foot and coordinating thread, machine quilt the pillow top. I stitched 1/4″ on each side of each seam. Stitch over the leaf appliques. 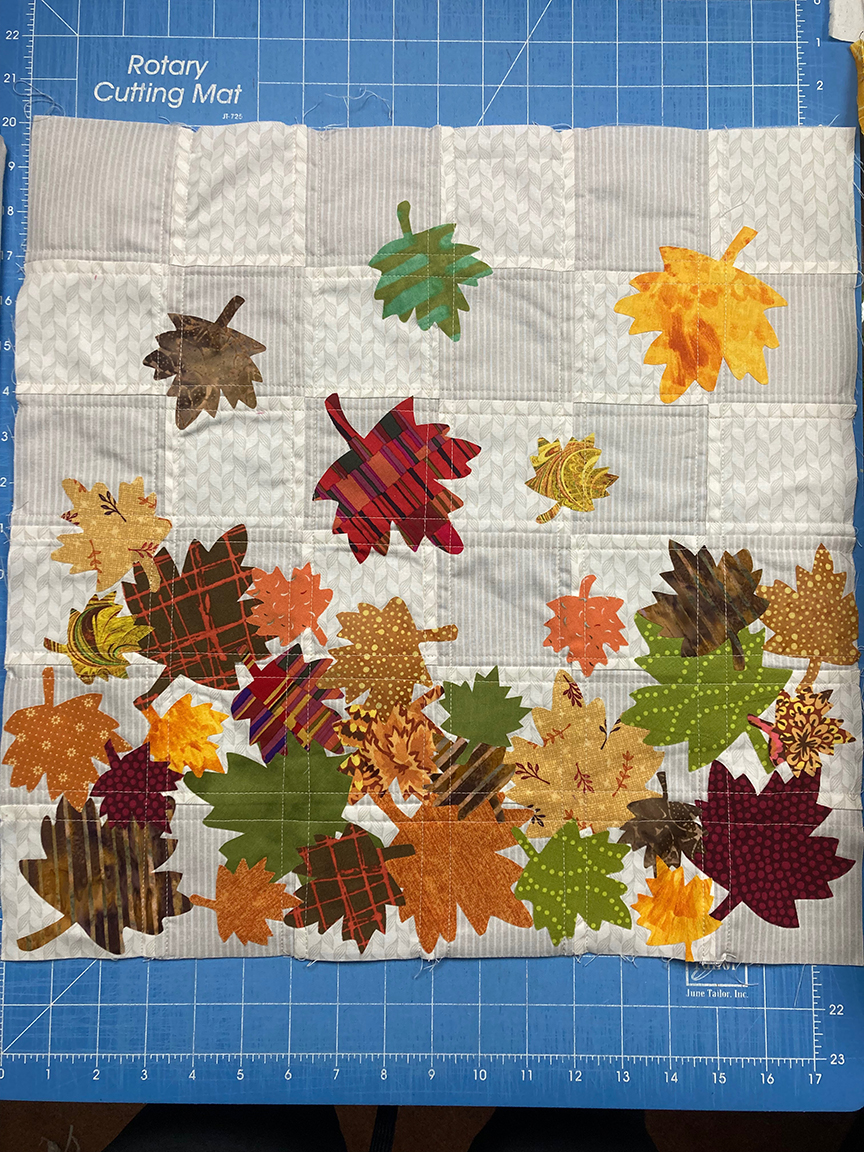
Step 12: Fuse the second 18″ fusible fleece square to the wrong side of the 18″ cream #2 square. Quilt as desired. Layer the pillow front and pillow back right sides together, matching raw edges.
Step 13: Stitch along the bottom edge using a long basting stitch and a 1/2″ seam allowance. 
Step 14: Press the seam open and pin the zipper face down, centering it on the seam. Pin in place. 
Step 15: Using the zipper foot on your sewing machine, stitch the zipper in place. Stitch back and forth at each end of the zipper to secure.
Step 16: Pick out the basting stitches so the zipper shows through.
Step 17: Unzip the zipper (don’t forget this step!). Fold the pillow front and back right sides together and pin raw edges. Stitch around the (3) remaining sides to finish the pillow cover.

Step 18: Turn the pillow cover right side out through the zipper opening. 
Step 19: Stuff with the pillow insert and enjoy!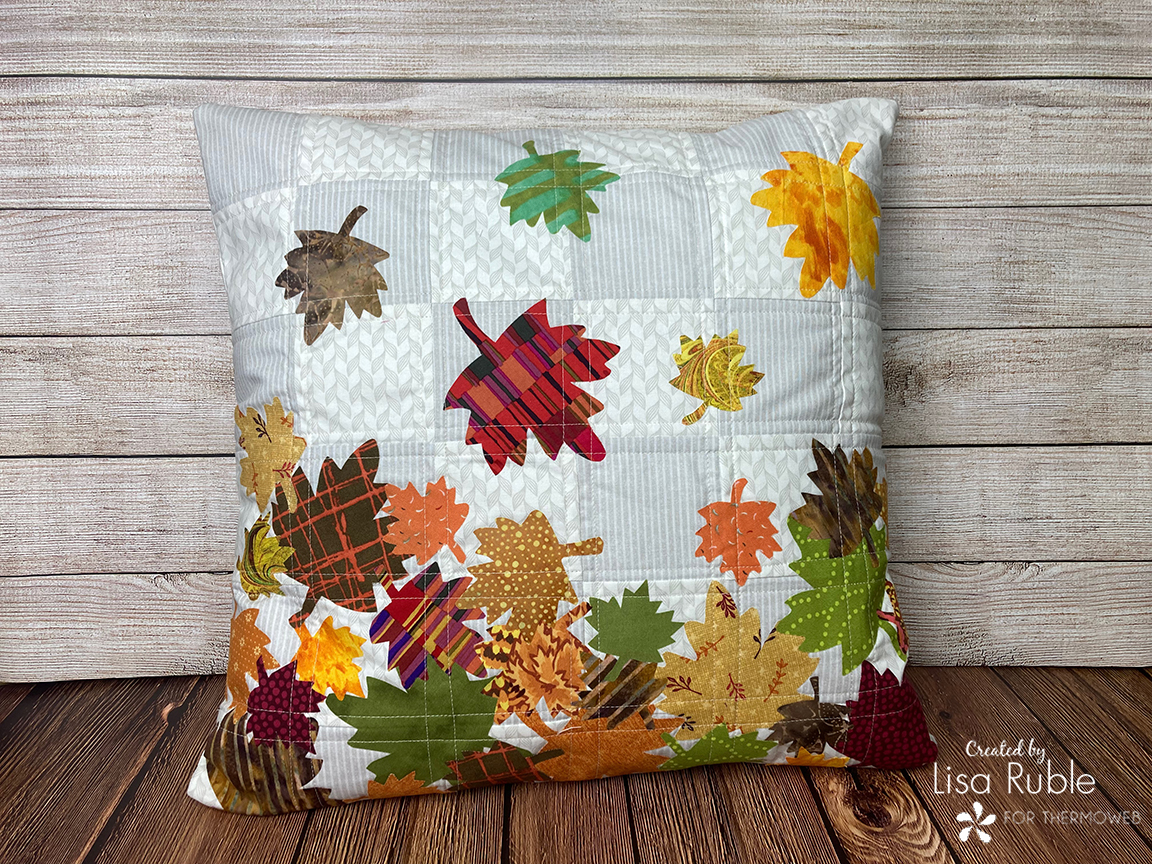
I hope you have fun making this pillow! If you enjoy seasonal-themed applique, head over to my blog and join in the Strippy Improv Halloween QAL – a reverse applique wall hanging using HeatnBond Lite fusible adhesive.
Happy sewing!
Lisa


