Hello friends, this is Jennifer Long from, Bee Sew Inspired, fabric designer with Riley Blake Designs and doll and quilt pattern designer.
This week, we are making Stuffed Pumpkins to turn them into Jack O’Lanterns! Are you ready to have some fun?
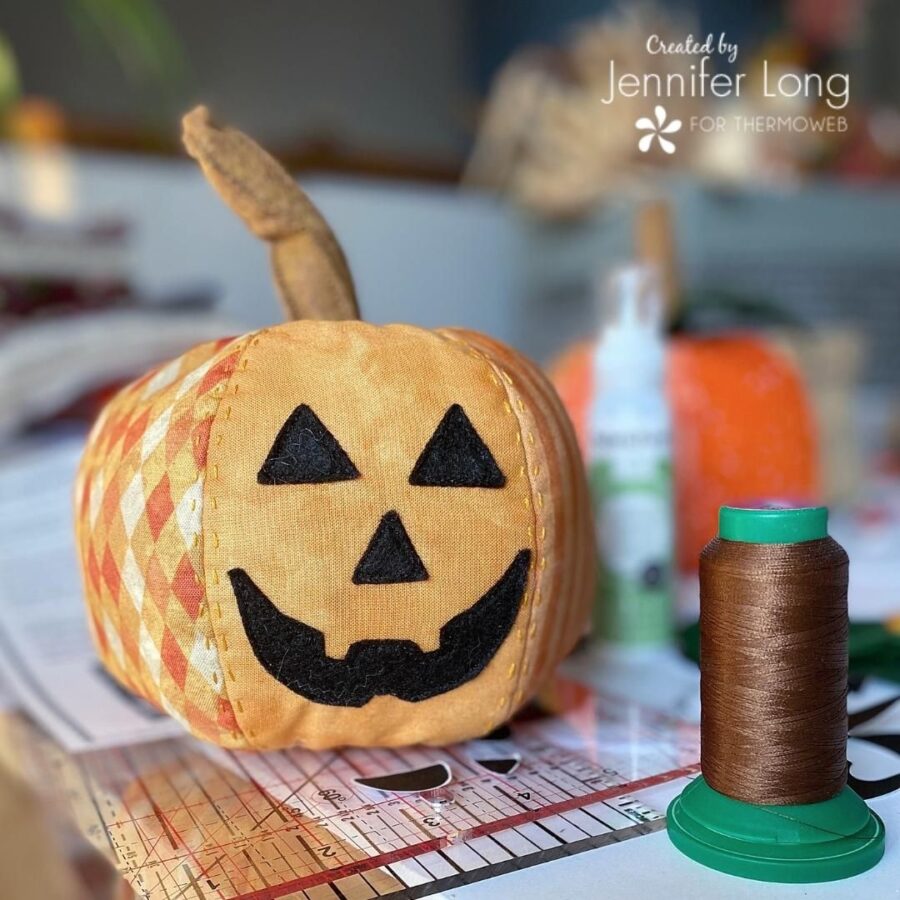
You can make these Jack O’Lanterns as scrappy as you like, or all one color. They’re perfect for decorating your home for Halloween. Make a fun table centerpiece by making a mix of sizes and colors. The face templates come in two sizes, download the templates and select the size for your pumpkin!
Fabric
Pumpkin Craft Tutorial
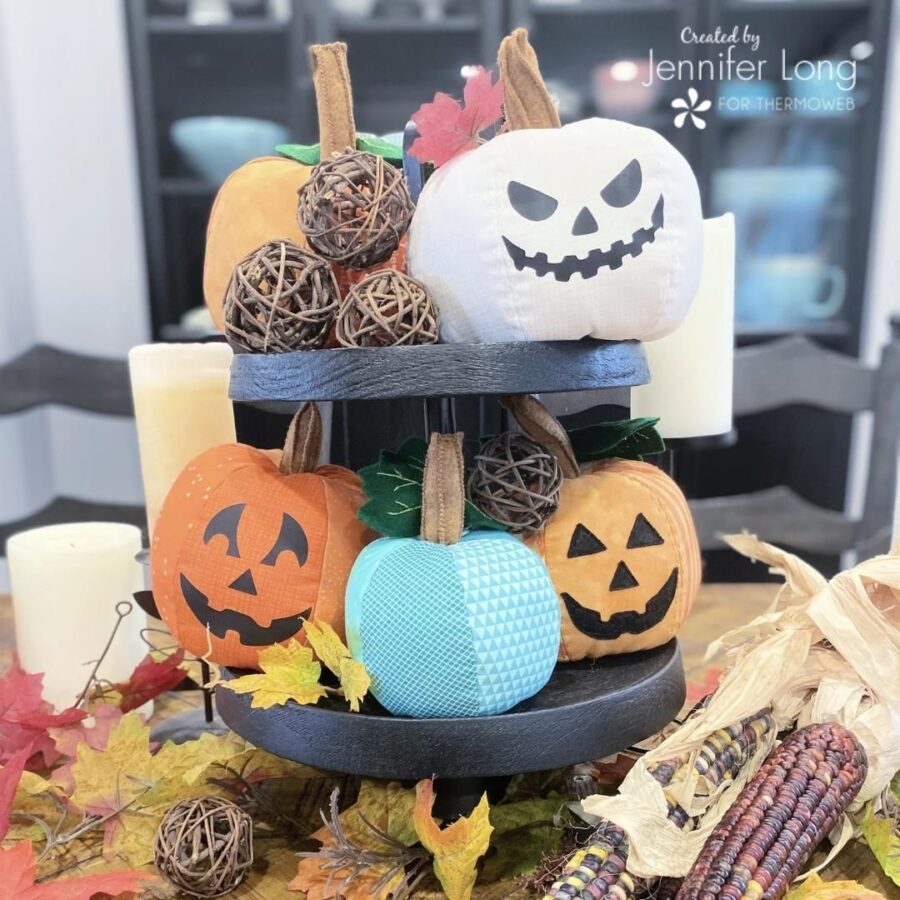
Let’s get creative! Just gather the supplies below, then download the pattern/files from the link provided. Don’t forget to share your project on social media using the hashtag #beesewinspired and tag @beesewinspired.
What You Need:
Patterns and Files:
- Download the Stuffed Pumpkin Pattern Template at http://www.beesewinspired.com/download-codes and use the code “PUMPKINPDF”
- Download the Stuffed Pumpkin SVG Cut Files at http://www.beesewinspired.com/download-codes and use the code “PUMPKINSVG”
- Download the Jack O’Latern Faces Pattern Template at http://www.beesewinspired.com/download-codes and use the code “JACKPDF”
- Download the Jack O’Latern Faces SVG Cut Files at http://www.beesewinspired.com/download-codes and use the code “JACKSVG”
Tools:
- Sewing Machine or Embroidery Machine
- Rotary Cutter
- Quilting Ruler
- Self-Healing Mat
- Iron and Wool Mat
- Scissors
- Hand sewing needle
- Long doll needle (doll needles are very long, about 5″)
- Cutting machine such as Cricut or ScanNcut (optional)
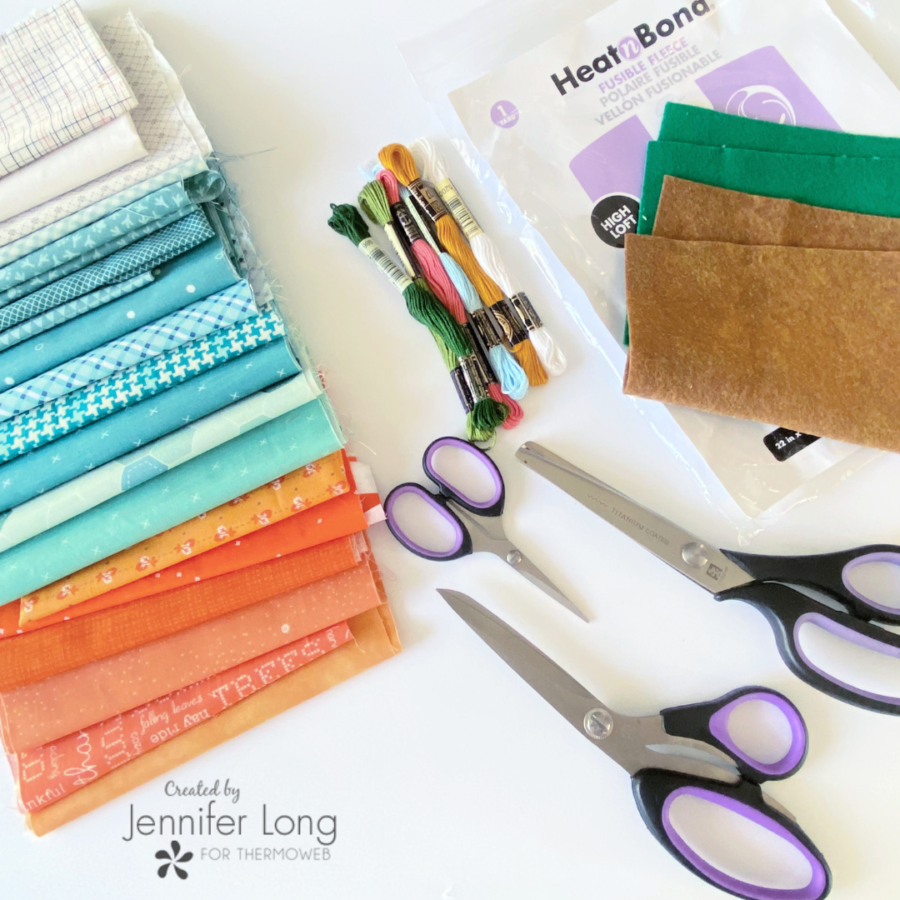
Materials:
-
Brown and black felt Benzie Wool Blend Felt
-
Scraps of your favorite cotton fabrics in oranges, or any other colors that suit your style I used all Riley Blake Designs Quilt Cottons
-
Embroidery Thread in matching colors
-
Thread
-
Polyester Fiber Fill
-
Non-woven fusible interfacing
-
HTV vinyl (optional if using a cutting machine)
Instructions:
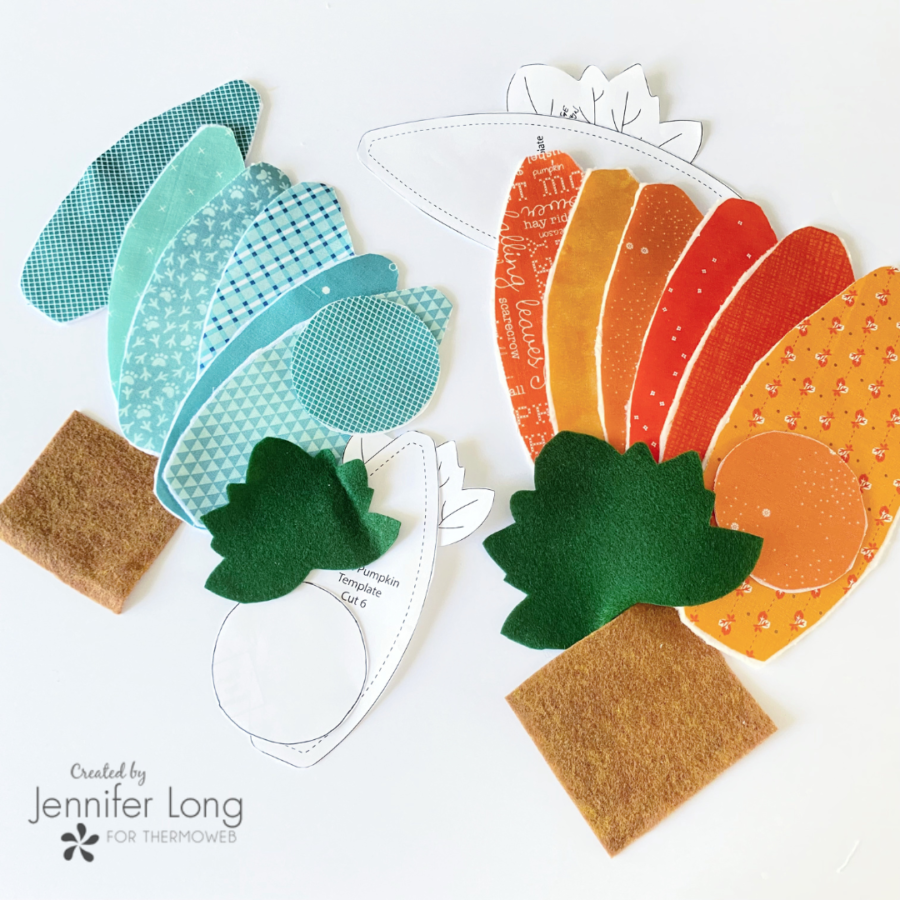
1. Download the Pumpkin Pattern and Face Templates designed by Bee Sew Inspired. You can choose either the PDF Pattern to hand cut your shapes, or the SVG Cut File and follow the directions to have your Cricut Maker cut the felt shapes.
2. Fuse the Heat-N-Bond Fleece to the wrong side of your decorative fabrics BEFORE cutting the shape.
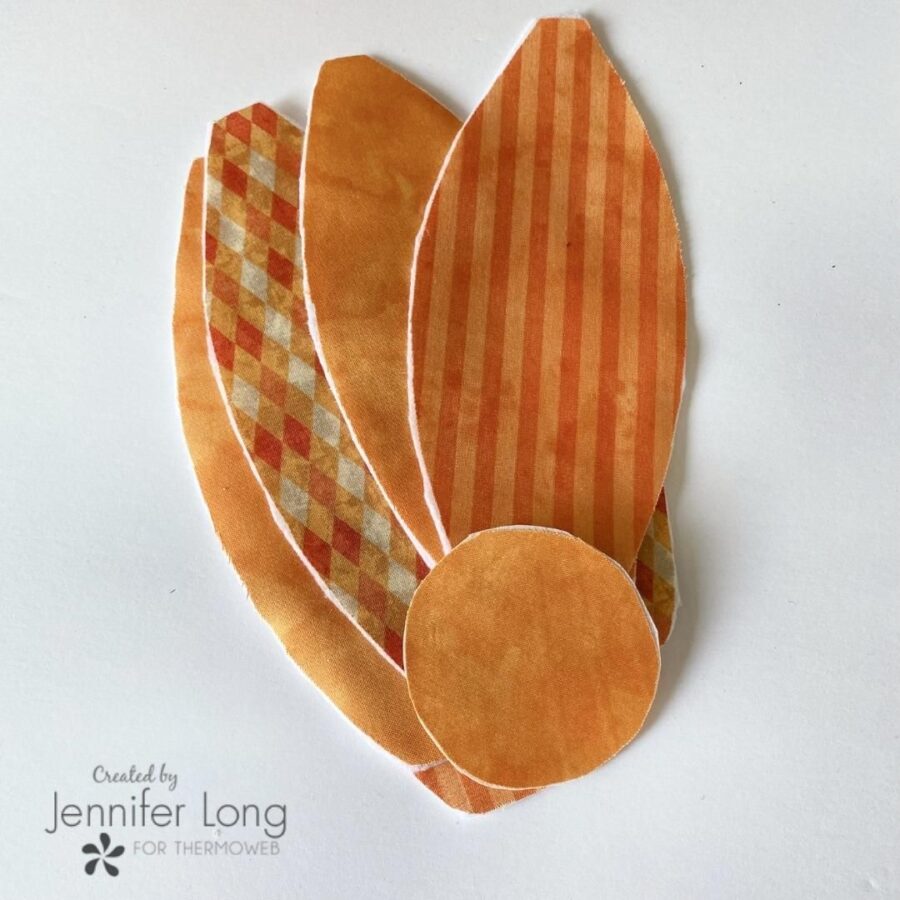
3. Use the templates to cut out the pumpkin shapes.
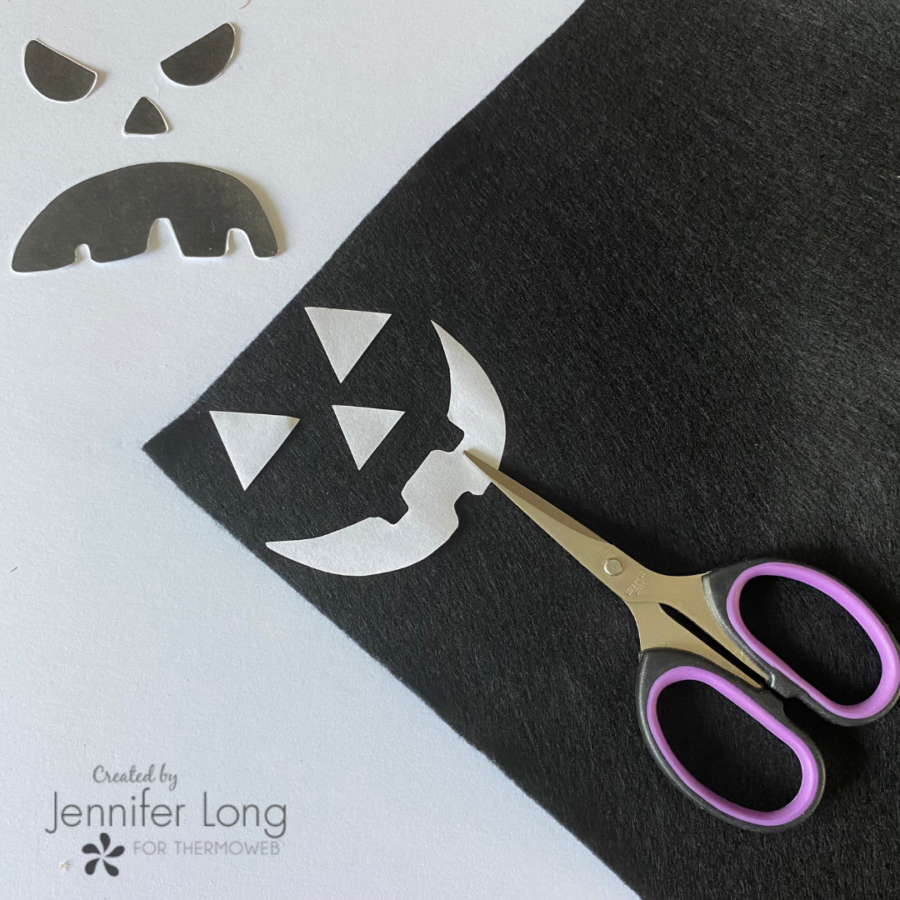
4. Before assembling the pumpkin shape, select the face you want to give your Jack O’Lantern (there are MANY faces to choose from!)
There is also more than one way to create Jack’s features. The first way we’re going to show you is with felt. Cut out the features using the printed templates.
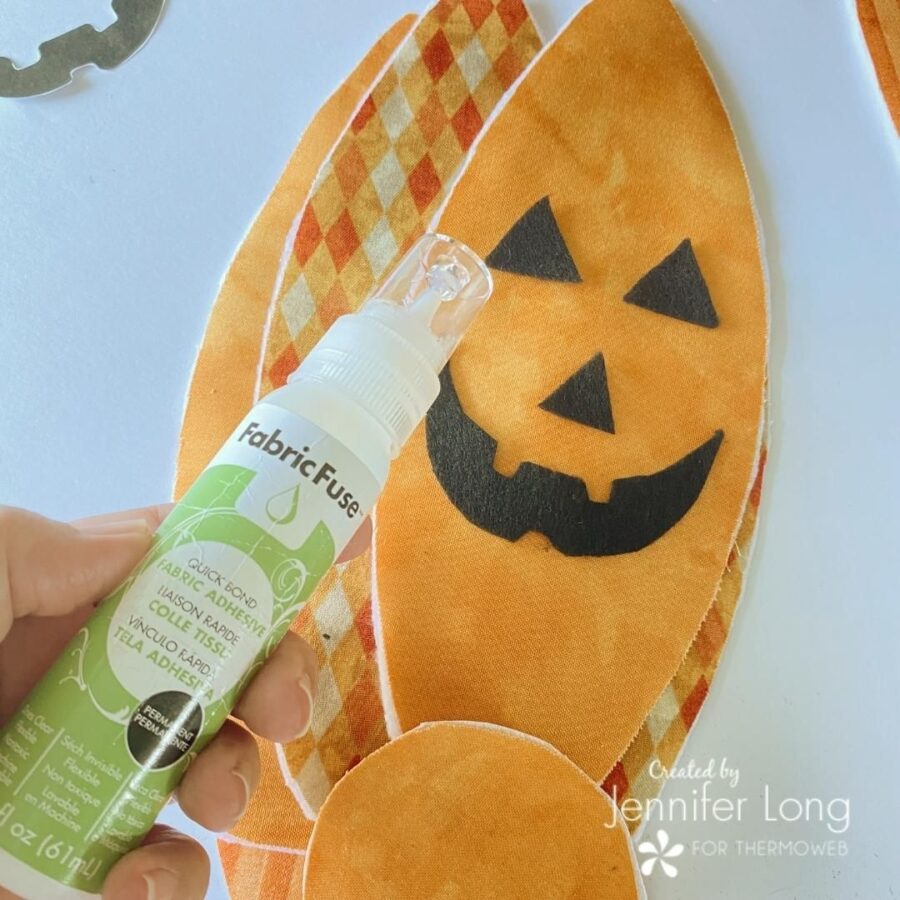
5. Use a small amount of Fabric Fuse on the shapes and glue them to the right side of a pumpkin panel. This will keep your shapes in place while you topstitch the features in place. We used a simple triple stitch but you can use a small decorative stitch like a blanket stitch or a narrow zigzag stitch.
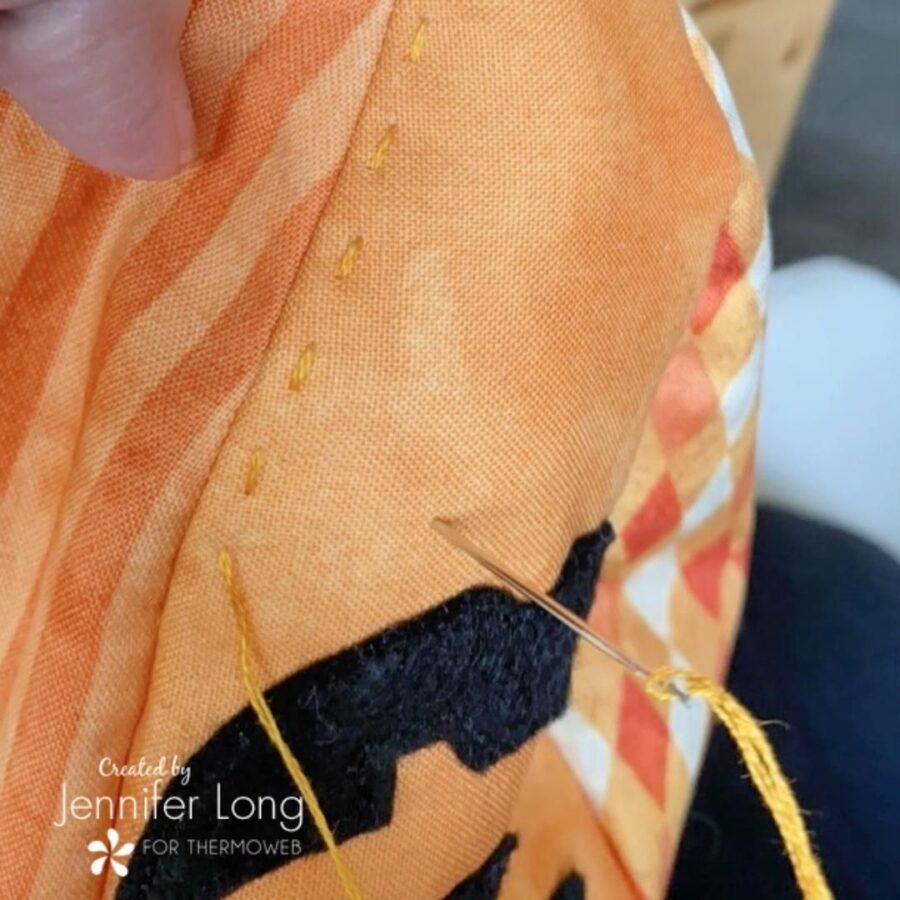
6. Assemble the pumpkin as directed in the Pumpkin Stuffie Tutorial. Before adding the stem you can add some decorative hand stitching. We used a running stitch here.
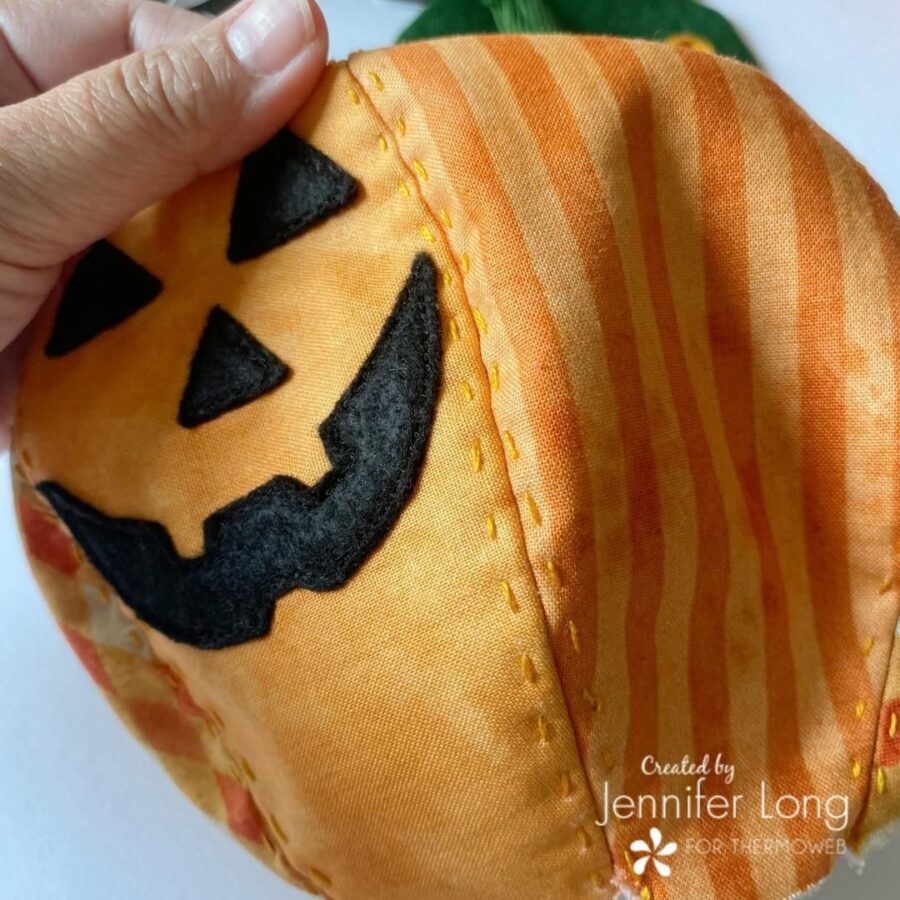
7. Continue assembling the pumpkin once all panels have been hand stitched to your satisfaction.
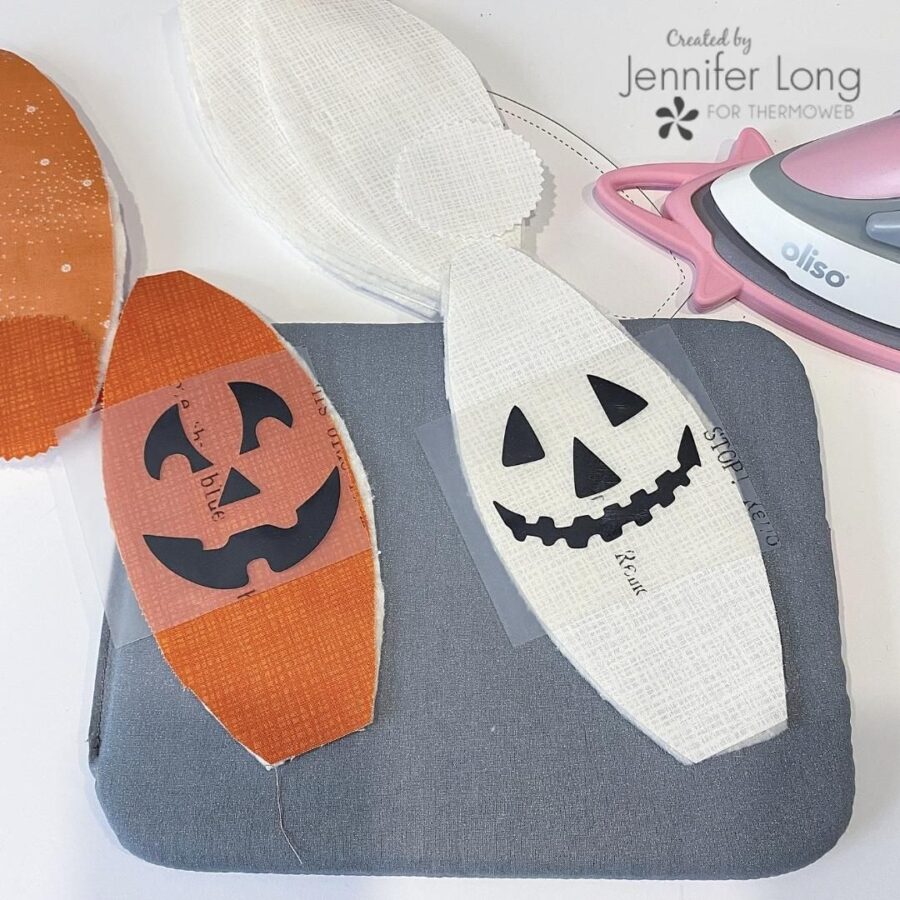
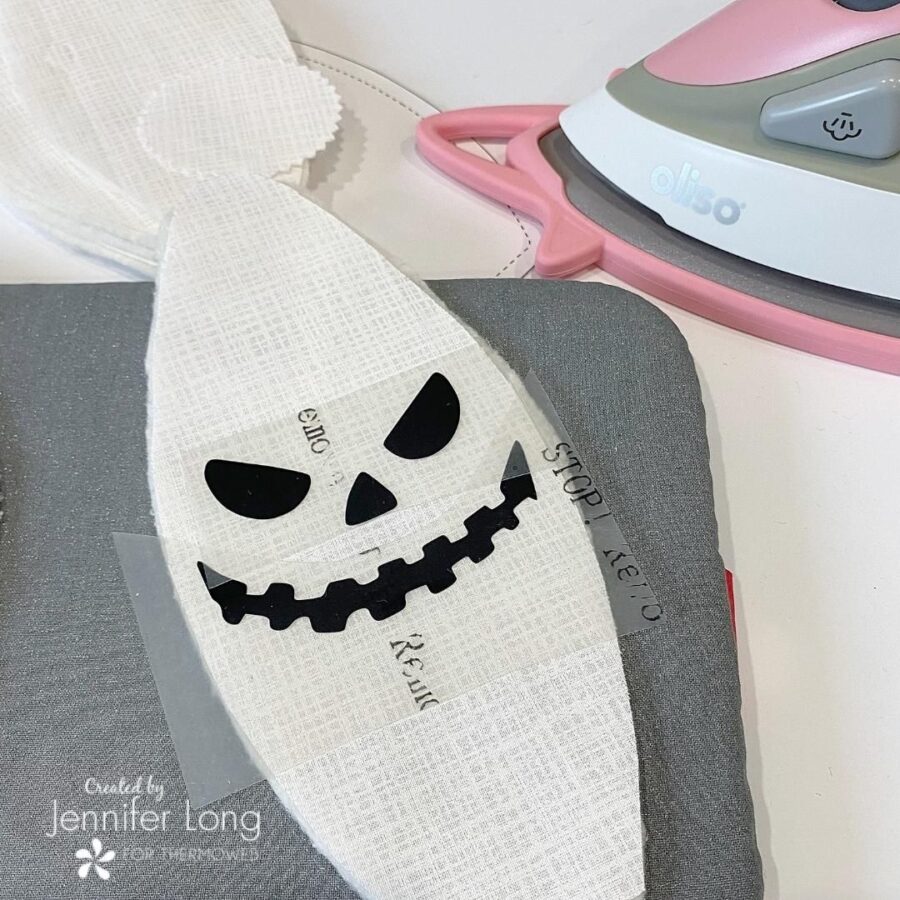
8. Here’s the second way to use these face templates. Download the SVG cut files and use your cutting machine and some HTV vinyl. Have some fun and interchange the features. You’ll end up with a lot more than nine faces to choose from! You can make them look as happy or as scary as you like! Using the manufacturer’s directions to bond the HTV shapes to the pumpkin panel, and you can assemble your pumpkin as directed in the Pumpkin Stuffie Tutorial.
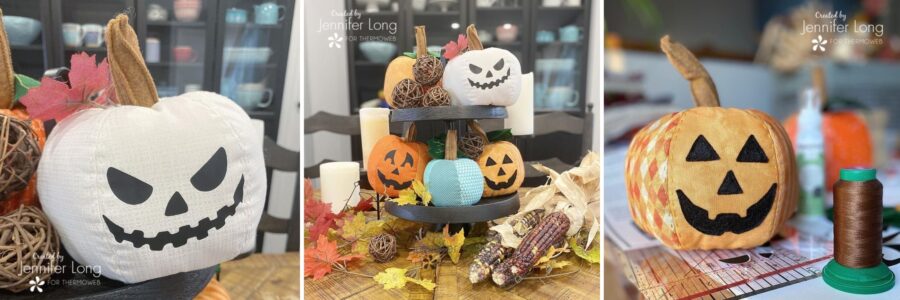
Thank you for joining me today on the Thermoweb Blog. If you like this tutorial, please sign up for our FREE Bee Sew Inspired Newsletter at http://www.beesewinspired.com/sign-up
Until next time, keep creating!

[…] If you haven’t started your Halloween sewing yet, it’s time to get started! Here’s a few projects to get your home ready for the holiday: A Witch’s Silhouette Pillow, a fun Spiderweb Quilt, and fabric Jack-o-Lantern. […]