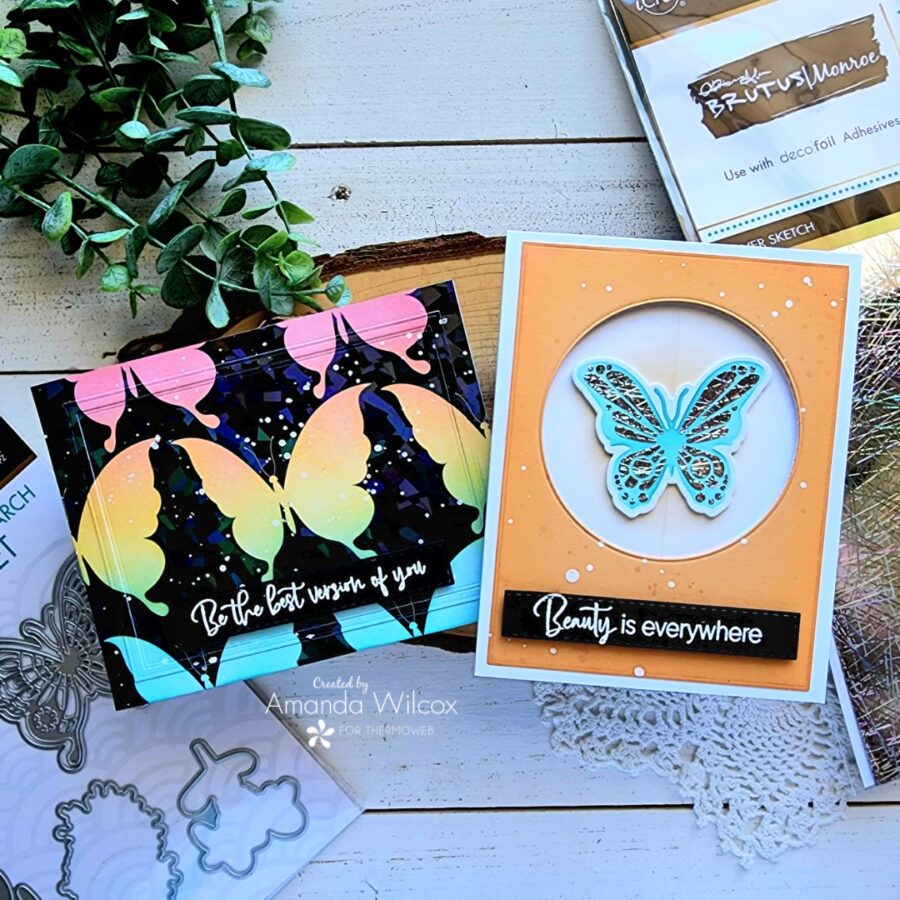
 Hello everyone. This is Amanda from Twiddler’s Nook. Aren’t you just loving the Brutus Monroe Magical Monarchs release? It’s gorgeous and so incredible to create with! Today I have a simple toner foiled card to share and a stepped-up interactive spinner card too!

Products used today:
Brutus Monroe Magical Monarch stamps, dies and stencil
Brutus Monroe Magical Monarch toner card fronts
Brutus Monroe Deco Foil – silver sketch and magical shattered glass
Transfer Gel BLANCO
UltraBond liquid glue pen
iCraft Easy Tear Tape 1/4″
Pixie glue dots
Pixie tape
Craft & Carrier sheets
Foam squares
Trinity Stamps Embossed Edge Rectangle dies
Trinity Stamps Embossed Edge Circle dies
Trinity Stamps Mini Slimline Stitched Rectangles dies
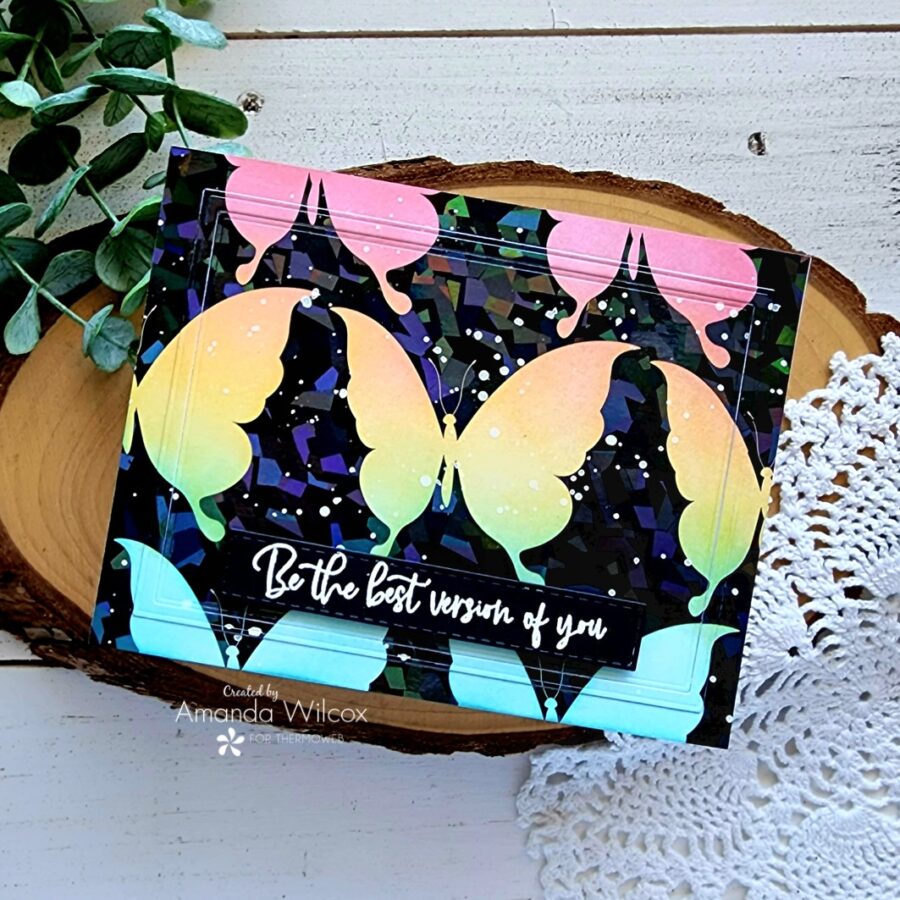
My first card was really fun to create and super simple to put together. I started by heating up the laminator and prepping one of the Magical Monarch toner card fronts by wiping it down with a clean microfiber cloth, along with a sheet of Magical Shattered Glass Deco Foil. I placed them both in a Craft & Carrier sheet and ran them through the laminator once it was heated up.
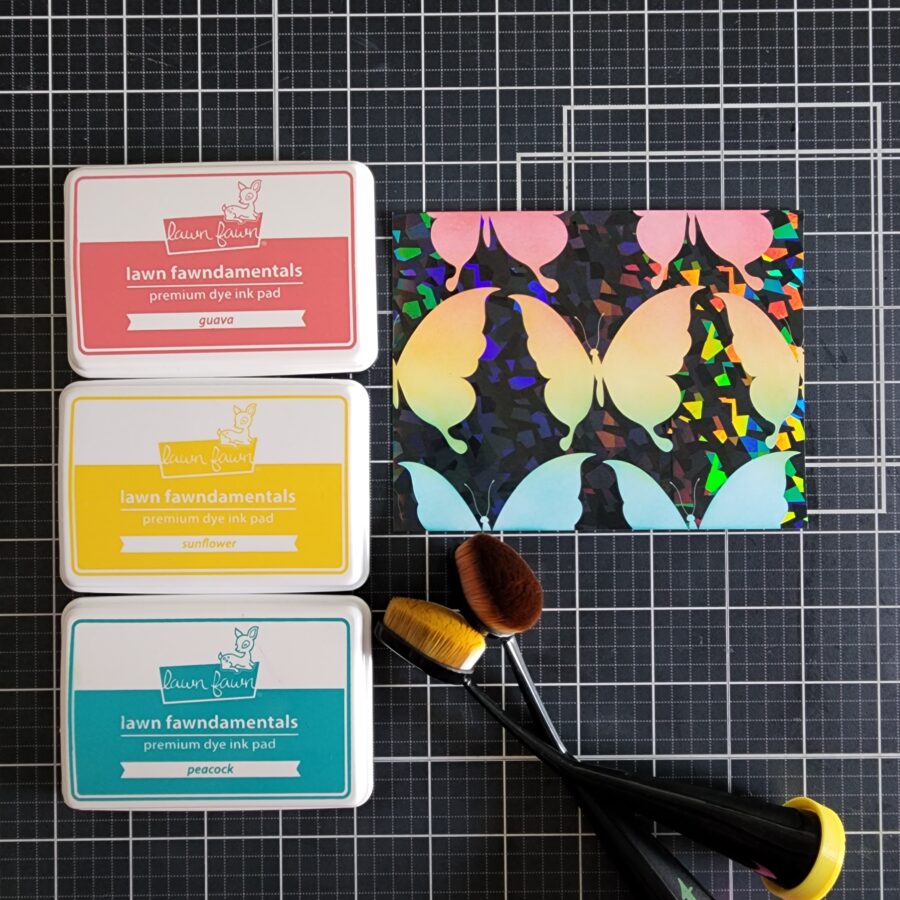
Once the panel was foiled, I did some ink blending in a simple rainbow going from top to bottom on the panel. If you overlap your colors really well when you blend, you can use less colors but see more on your finished project. I love how this turned out!
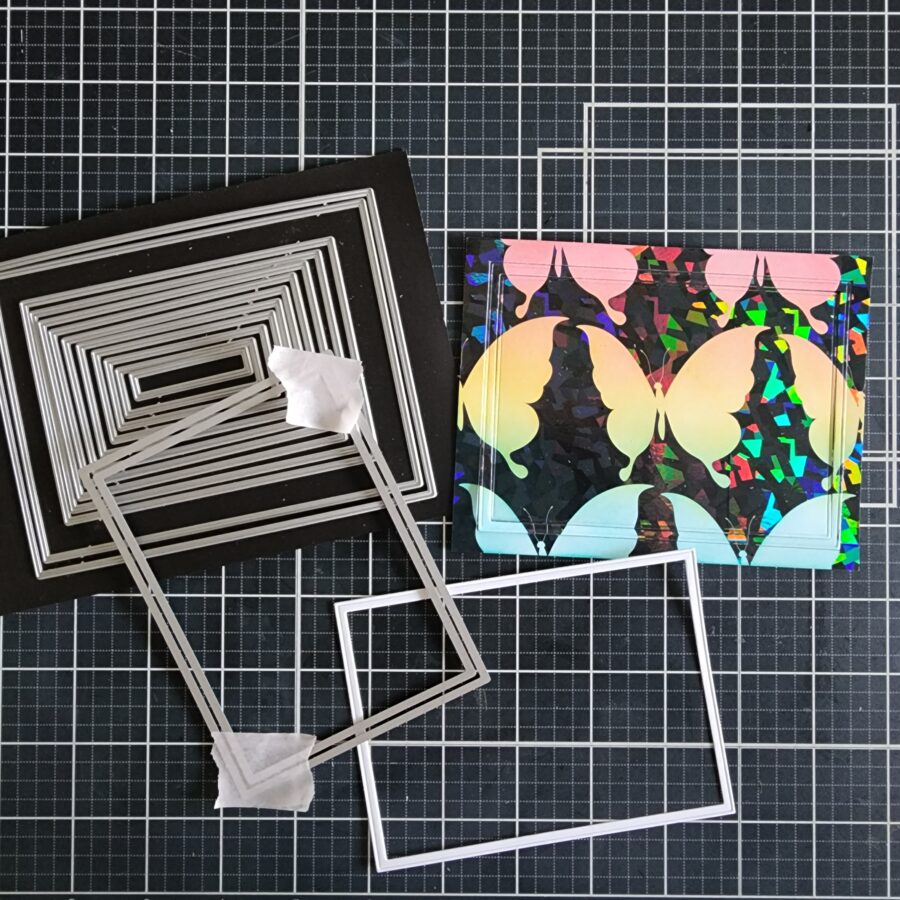
Next, I used a couple of nested rectangle dies to cut a frame from the middle of my panel. Then I cut an extra one from white cardstock to layer for dimension. I used liquid glue to adhere everything to a white card base.
Simple tip: I glued the outermost frame to the card front first, then the white frame, then the inner rectangle. Last, I add the foiled frame over top of the white one. This little bit of dimension is subtle but adds to the overall design perfectly.
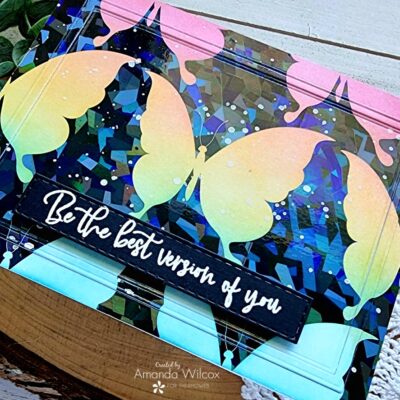
Next, I stamped and heat embossed a sentiment from the Magical Monarch stamp set and cut it out with a stitched rectangle. When I was deciding on placement on the card front, the white embossing was really harsh compared to the card so I decided to add some white paint splatters before actually adhering the sentiment down. I really like how it turned out.
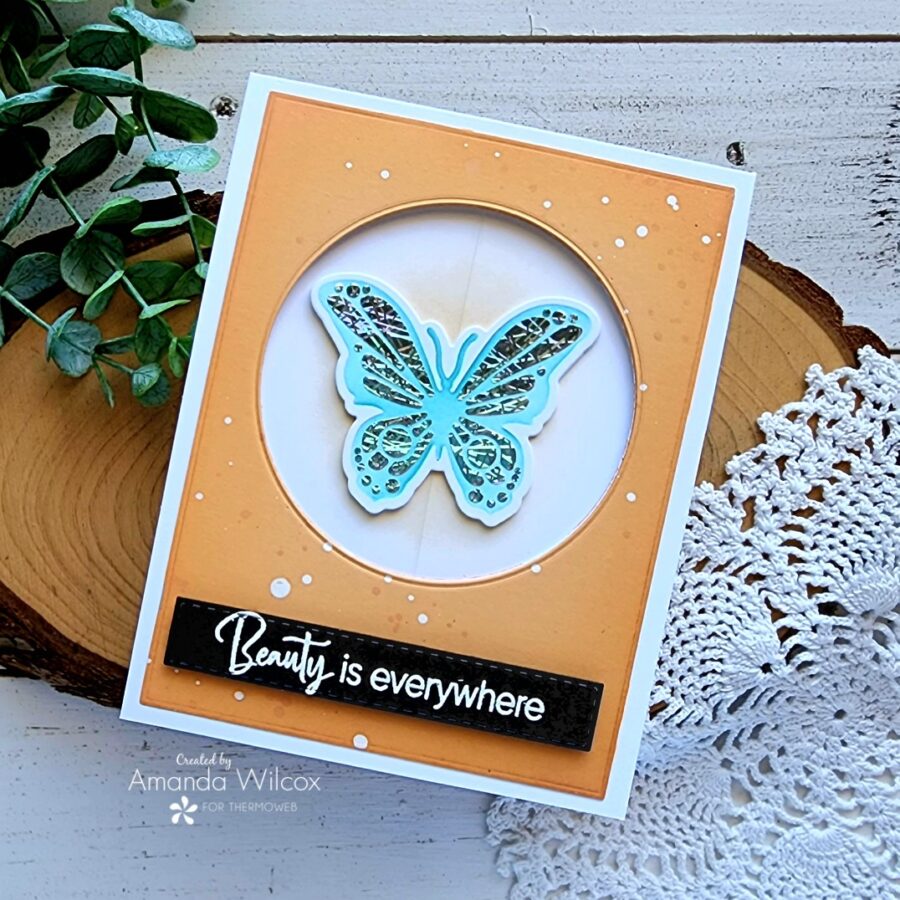
My next card has a few more steps but it’s not difficult and the spinning butterfly is such a cool effect for the recipient! I promise it’s worth the work in the end! I’ve been playing with this one a ton!
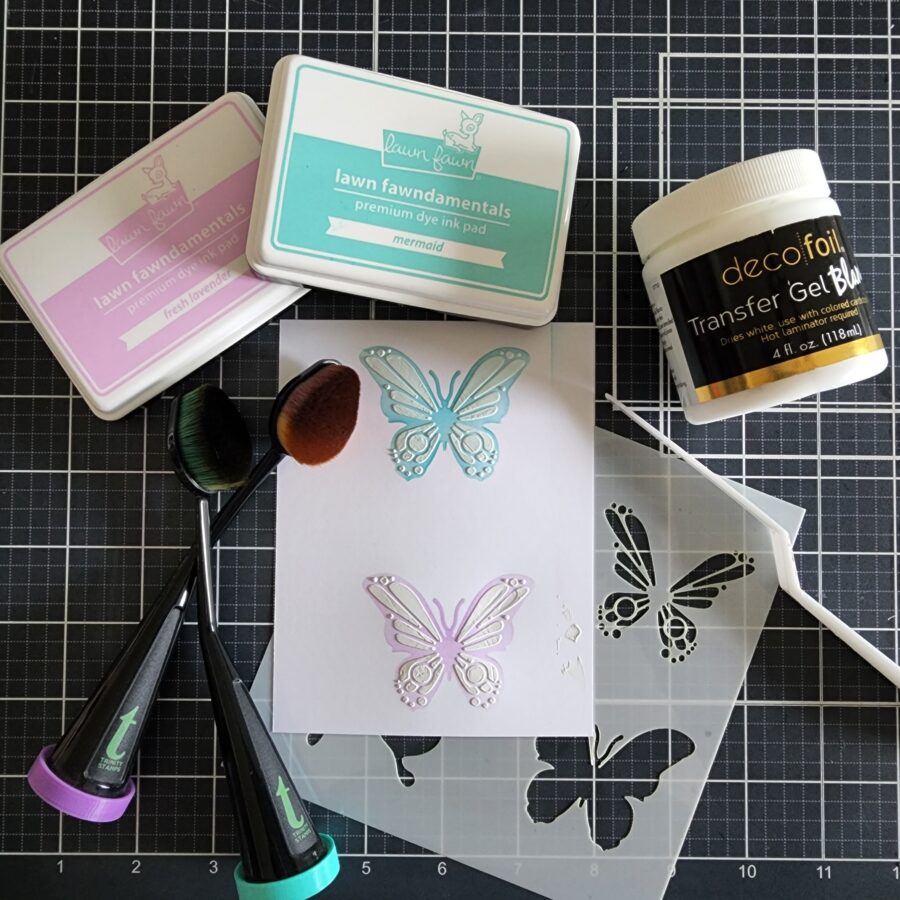
I chose the forward-facing butterfly for this card because it’s perfectly symmetrical so your spinner image doesn’t need to be mounted on another layer like a circle. I used the stencil and ink to blend a purple and teal butterfly. Then used the detail portion of the stencil to spread transfer gel Blanco through it. I set the panel aside to dry and came back later to foil it.
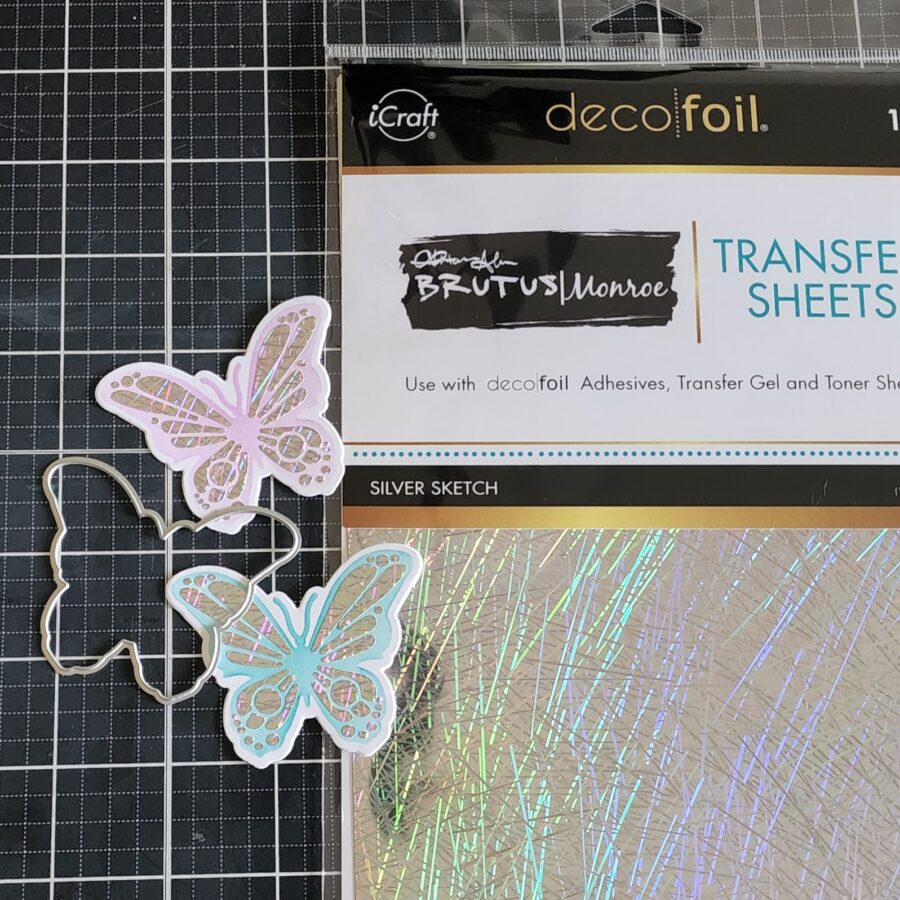
With my laminator heated up really well, I cut a piece of silver sketch deco foil and placed it over top of the transfer gel areas. I placed the cardstock and foil in a craft & carrier sheet and ran it through my laminator. After peeling the foil transfer sheet away I was left with gorgeous detail on the butterflies. I used the coordinating die to cut them both out and now we can create our card.
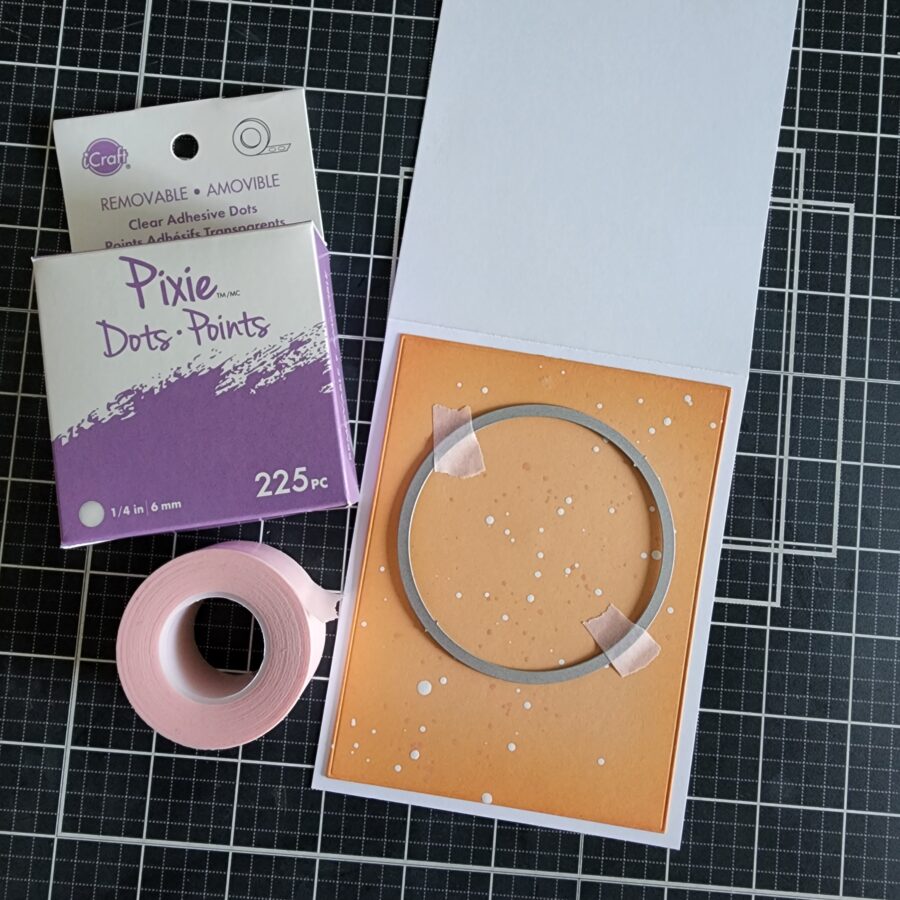
I cut an orange panel measuring 4×5.25 inches and inked the edges with darker orange ink. Then I splattered the panel with white paint and let it dry. I used Pixie Dots to adhere the orange panel to a white card base temporarily to I could cut the circle out of both panels and know they will line up perfectly later on. I used Pixie Tape to hold the die in place and ran them through the die cutter.
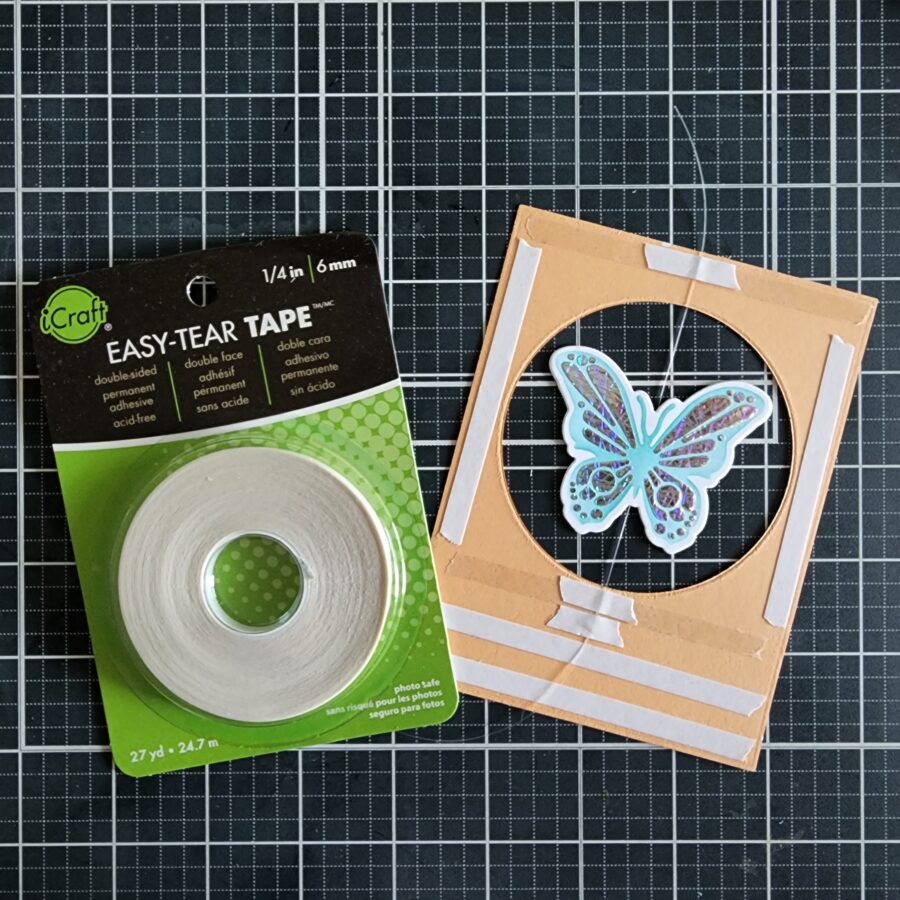
Once the circle was cut, I removed the orange panel and prepped the back with easy-tear tape. I glued the two butterflies back-to-back with a piece of fishing line down the center. Then I removed the backing paper on the top and bottom pieces of tear tape on the card panel, pressed the fishing line into it, and added another strip over the top to secure it in place. Then I removed all the backing paper and added this to my card front.
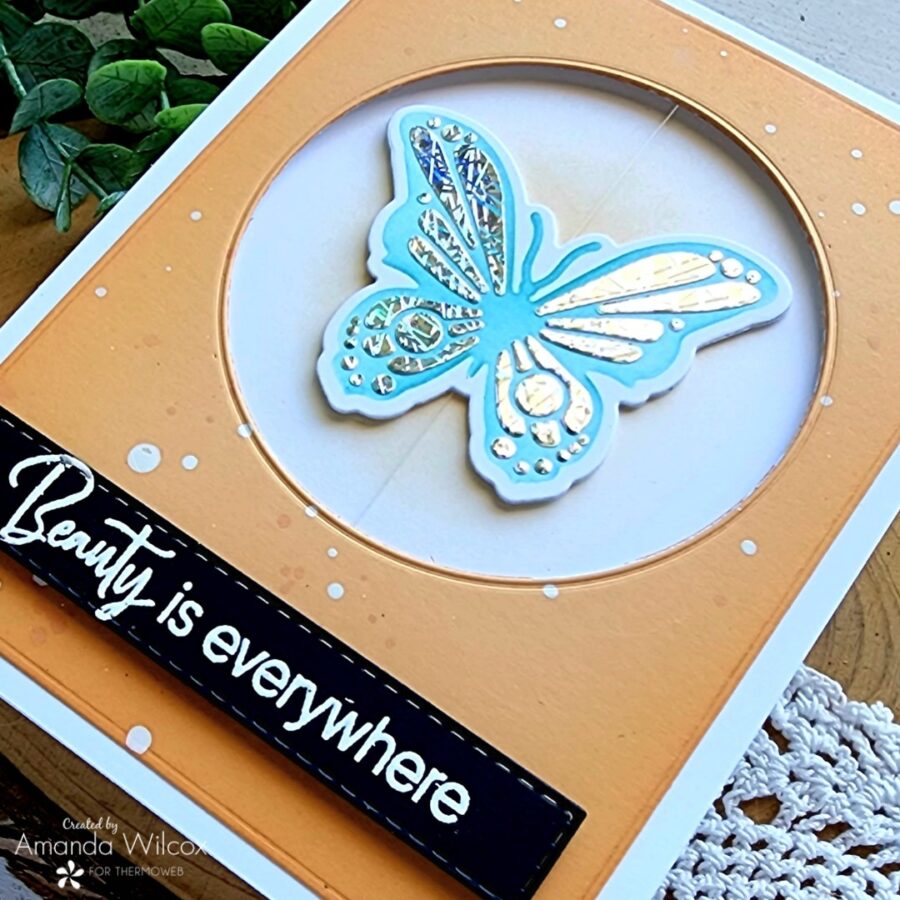
For this card, I chose another sentiment to heat emboss and cut it with the same stitched rectangle. I popped it up with foam squares and placed it on the lower center of the card. The opening behind the butterfly was very stark white so I used the orange ink left on my blending brush to add a little shadow behind it. This really enhances the look a lot!
I hope you enjoyed today’s projects. I appreciate you sharing your time with me. Have a fabulous day!
This post contains affiliate links. For more information, see our disclosure HERE.
