 Hello everyone! Justin here and today I am sharing a fun way to make some valentine’s day cards that are just perfect for those school Valentine’s Mailboxes with the Laura Kelly Foils and Toner Sheets!
When planning my project, I was inspired by those days when I would be tasked to bring an old shoebox into school a few days before Valentine’s Day, and we would decorate them as our mailboxes for all of our classmates to distribute their valentines!
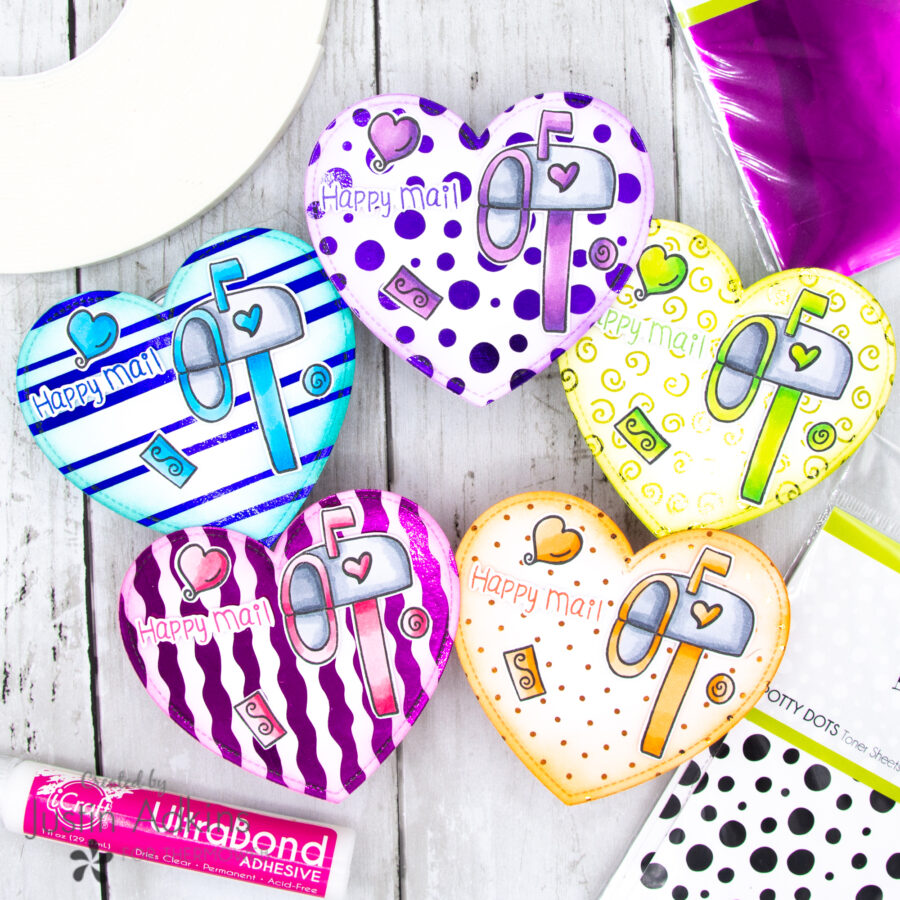
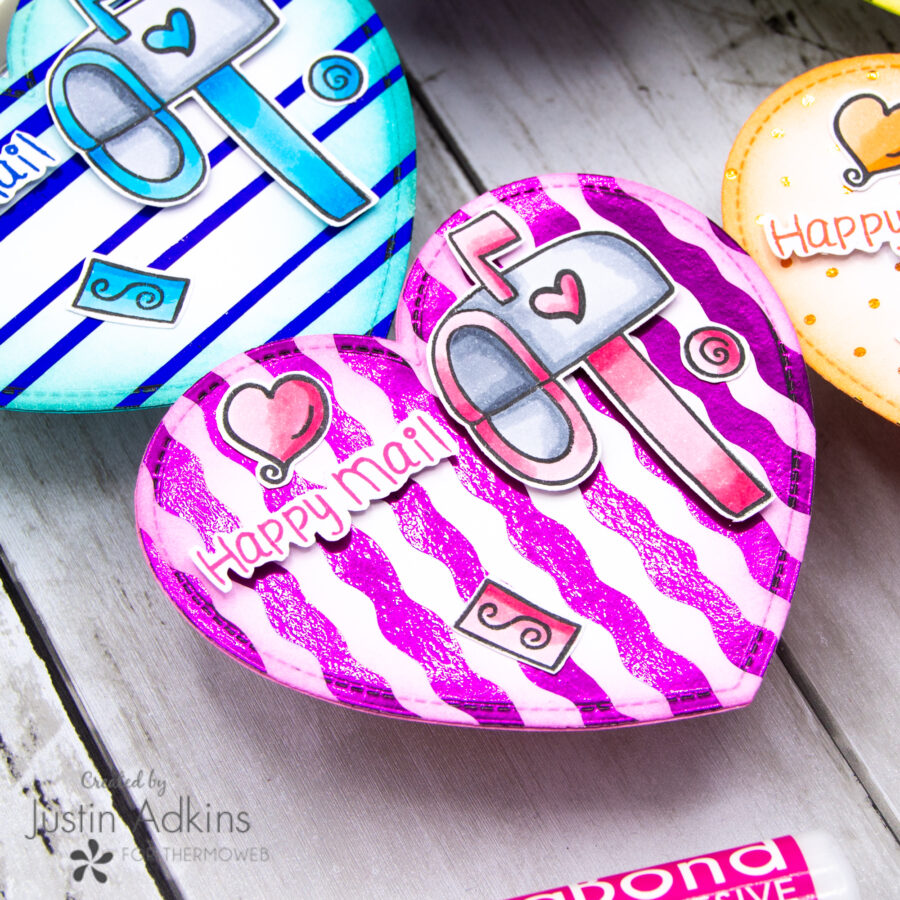
Colorful Heart Valentines with Laura Kelly Designs and Deco Foil!
How to Make Valentine’s with Laura Kelly Products
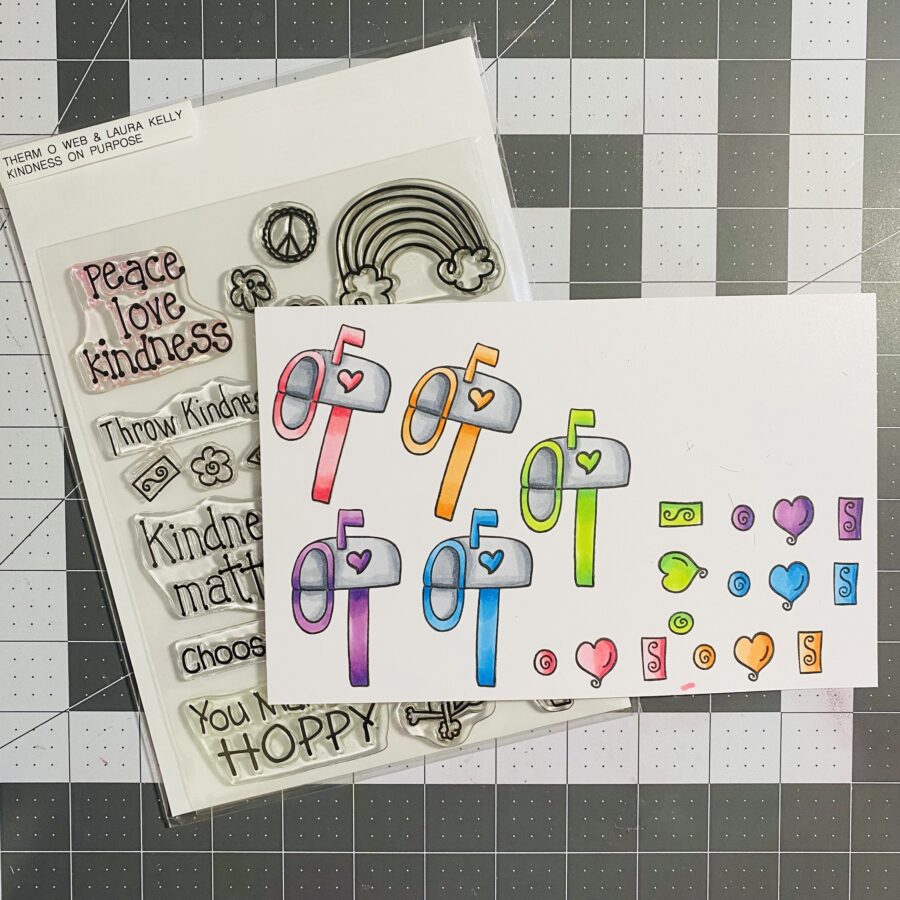
First, I took some of the images from the Laura Kelly Kindness on Purpose stamp set, stamped them out in Copic Marker safe ink, and colored the images with Copic Markers. I had decided to make 5 cards, and each was going to have its own color palette!
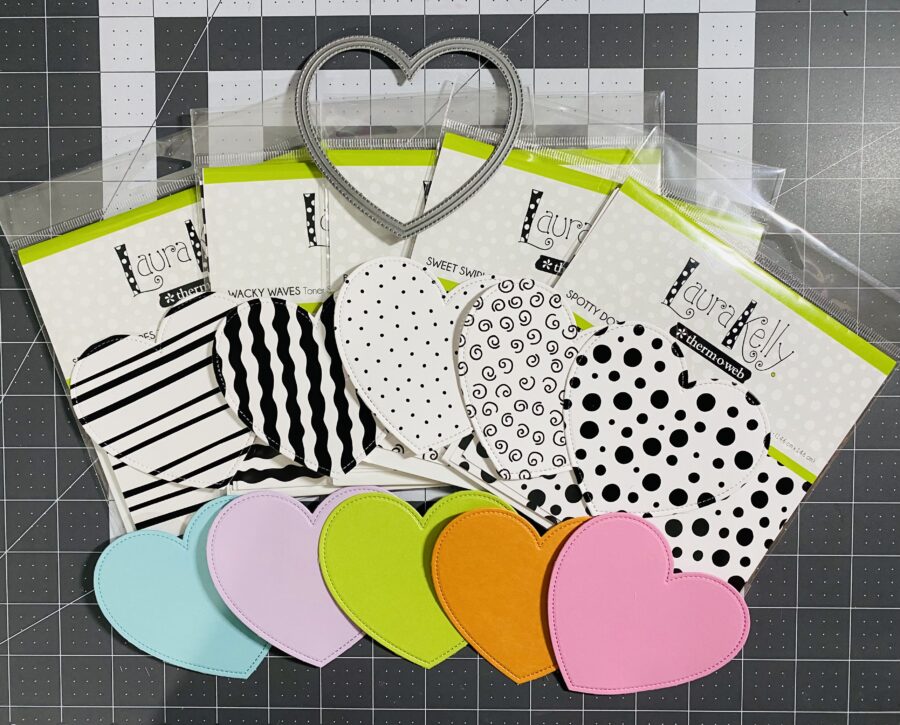
Next, a stitched heart die cut from my stash, I die cut (5) hearts from the Laura Kelly Toner Sheets: Sprinkled Stripes, Wacky Waves, Baby Swiss Dots, Sweet Swirls, & Spotty Dots! I also used the same die-cut to cut out (5) pieces of pastel-colored hearts that would color coordinate and be adhered to the back of each card.
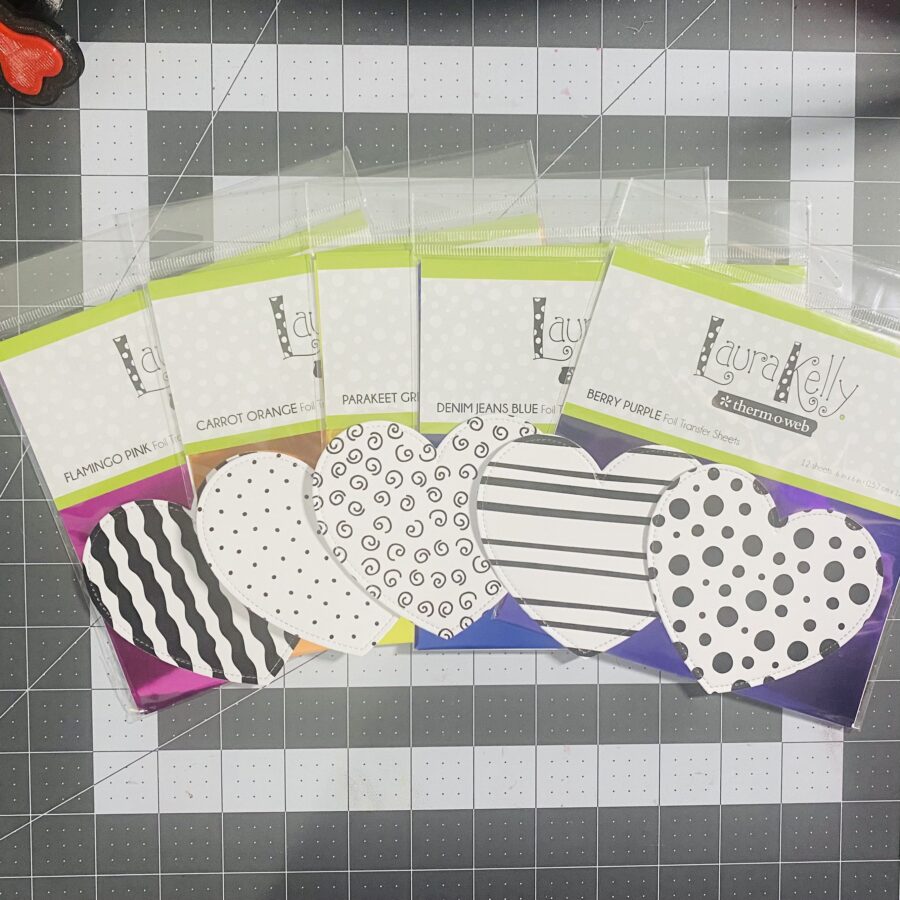
Next, I grabbed 5 different colors Laura Kelly Foil Transfer Sheets: Flamingo Pink, Carrot Orange, Parakeet Green, Denim Jeans Blue & Berry Purple. I then ran each of the hearts through my laminator in a parchment paper sandwich.
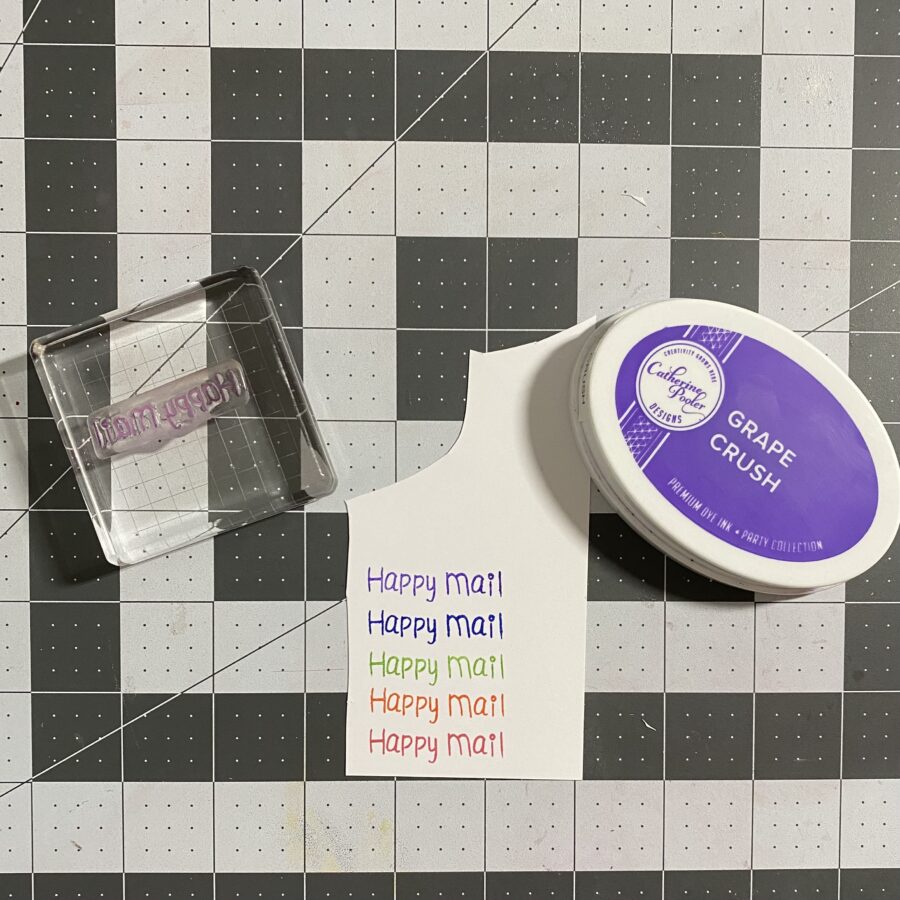
Next, using Catherine Pooler Inks, I stamped out the sentiment “Happy Mail” in 5 different coordinating colors and fussy cut them out, along with fussy cutting out each of the images that I had colored up with my Copic Markers.
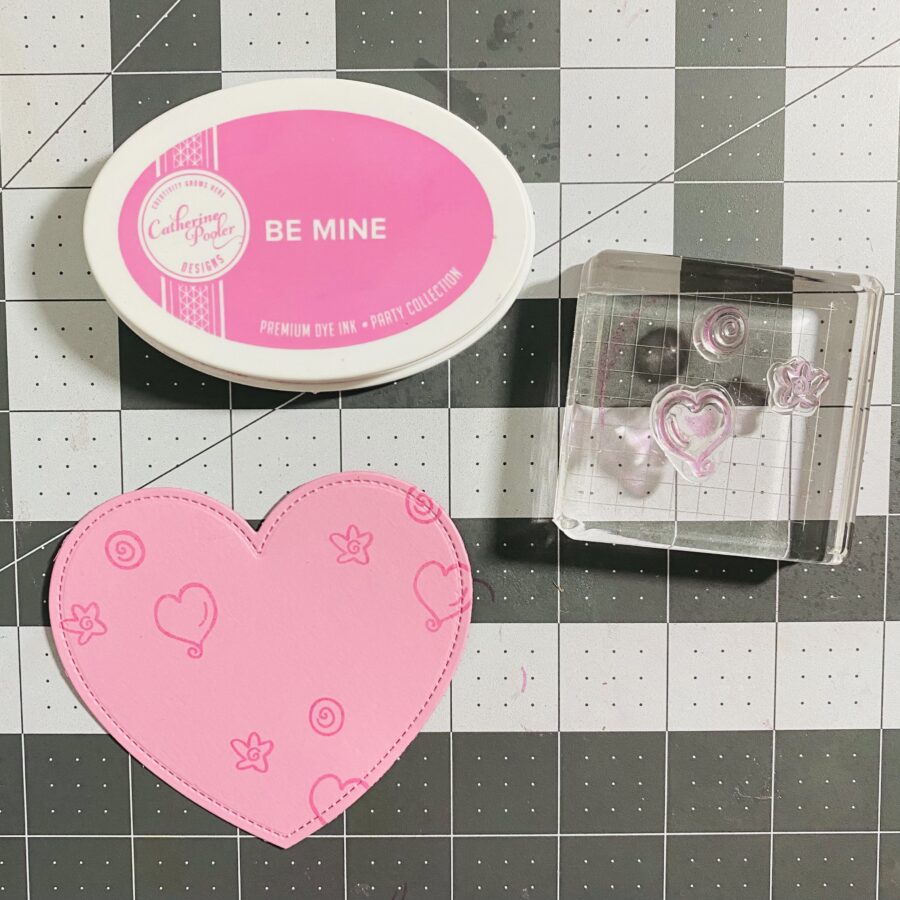 I then arranged a cluster of small detail stamps from the Kindness on Purpose stamp set and stamped them directly onto each of the colored heart die cuts. I made sure each of the colors still coordinated with the overall color theme!
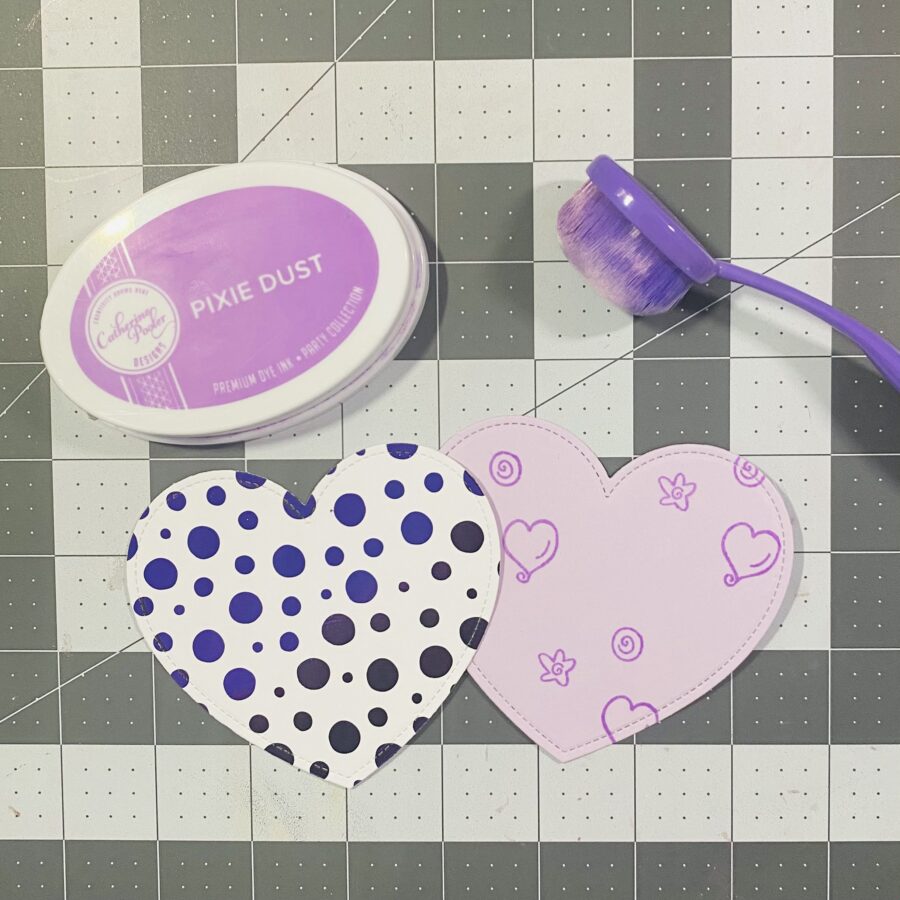
It was now time for a little bit of ink blending. I took my Catherine Pooler Inks and a blending brush and ink blended the edges of each of my heart die cuts in a coordinating color. I did this on BOTH the cardstock and toner sheet die cuts!
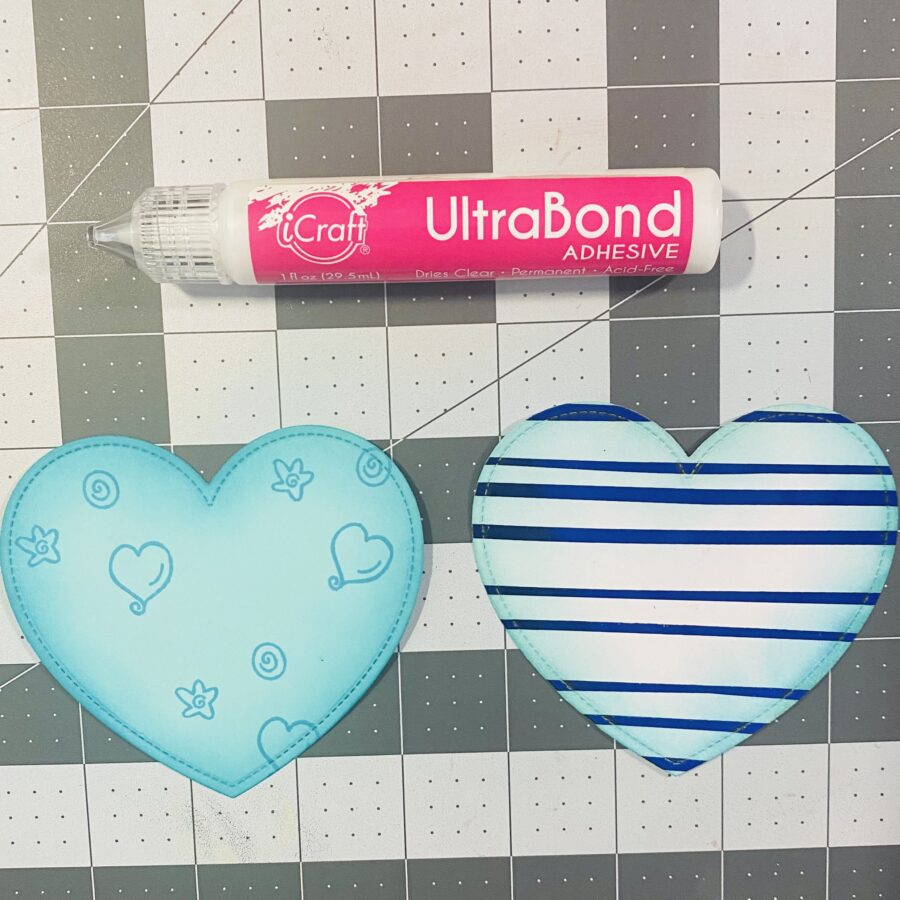
Next, using my UltraBond Permanent Adhesive, I glued toner sheet heart to its coordinating colored cardstock heart. This also helped in giving each heart a nice weight to it so it wasn’t as delicate!
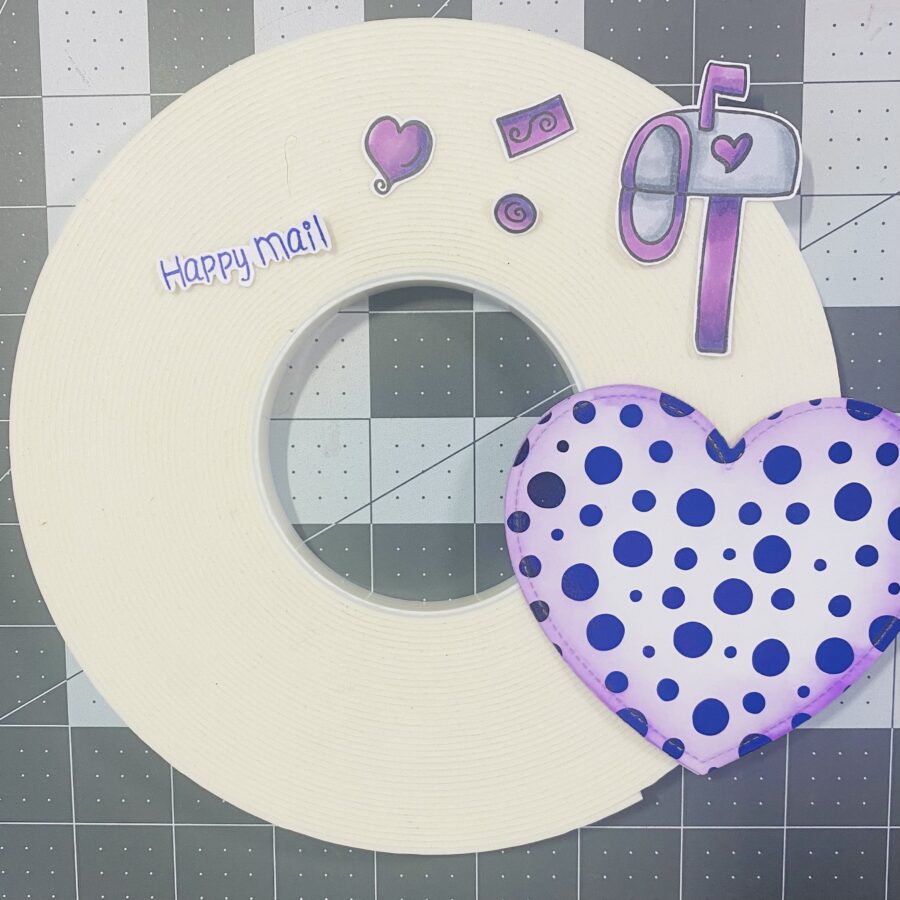
My final step was to assemble each of the valentines, which I did by adhering the sentiments and the mailboxes with White iCraft 3D Foam Tape 1/16″, and then adhering each of the little confetti pieces with UltraBond Permanent Adhesive! And that’s how these cards came together!
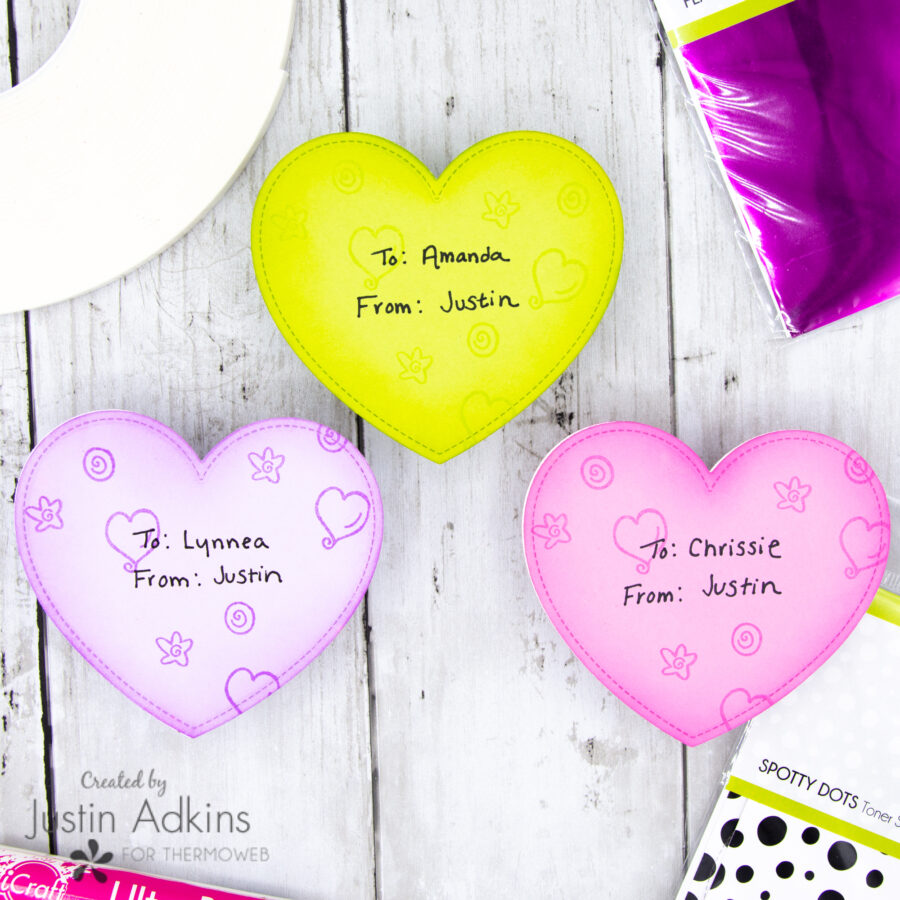
As an added bonus, I wanted to show the backside of some of my cards that show how you can easily write a little “to” and “from” line that makes it super easy to personalize!
I have a few more pictures to share with you of my projects as well!
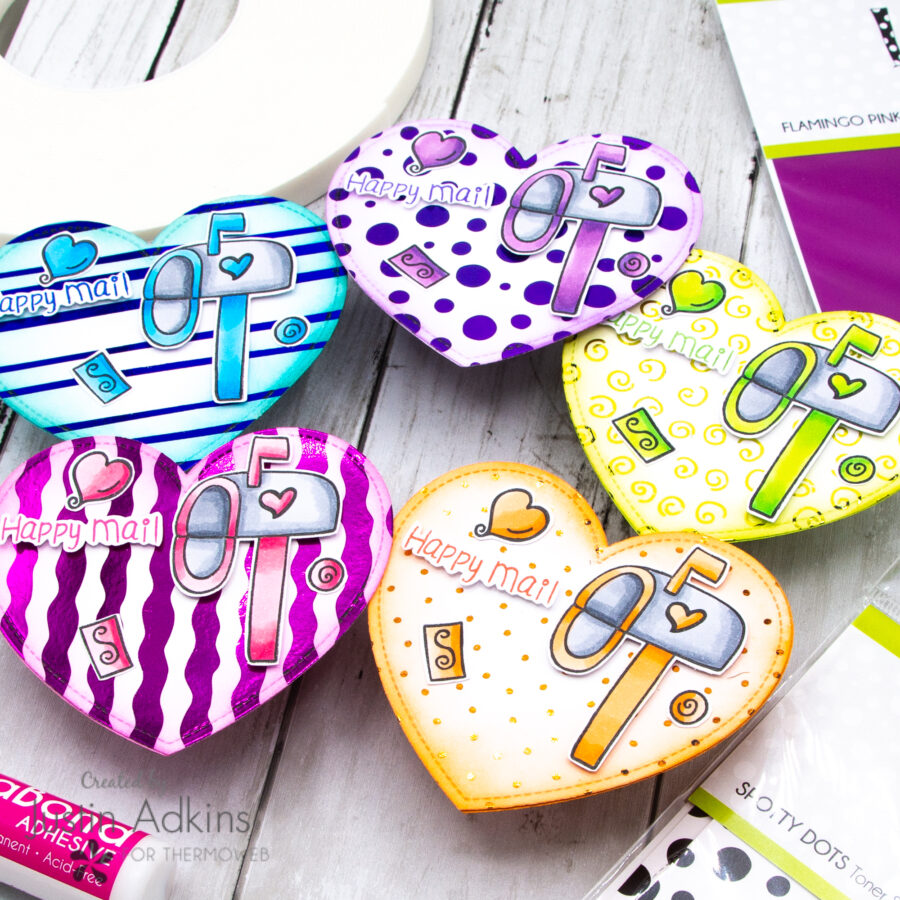
Here is a list of the products used for my project today:
Laura Kelly Kindness on Purpose Stamp Set
Laura Kelly Toner Sheets – Sprinkled Stripes
Laura Kelly Toner Sheets – Wacky Waves
Laura Kelly Toner Sheets – Baby Swiss Dots
Laura Kelly Toner Sheets – Sweet Swirls
Laura Kelly Toner Sheets – Spotty Dots
Laura Kelly Foil Transfer Sheets – Flamingo Pink
Laura Kelly Foil Transfer Sheets – Carrot Orange
Laura Kelly Foil Transfer Sheets – Parakeet Green
Laura Kelly Foil Transfer Sheets – Denim Jeans Blue
Laura Kelly Foil Transfer Sheets – Berry Purple
UltraBond Permanent Adhesive
iCraft 3D Foam Tape 1/16″, White
Copic Markers
Ink on 3 Hybrid Blackout Detail Ink
Lawn Fawn Outside Ink Stitched Heart Stackables Lawn Cuts
Catherine Pooler Inks: Be Mine, Orange Twist, Lime Rickey, Fiesta Blue, Something Borrowed, Pixie Dust, & Grape Crush
Colored Cardstock
Thank you so much for stopping by the Therm O Web blog today! I hope this project inspires you to break out some of your favorite toner sheets and have fun turning them into mini projects!
Don’t forget, you can follow me on Instagram or check out my blog for even more crafty inspiration!
Until next time! Happy Crafting!
Justin
