
 Halloween stitching is such fun from decor to costumes and everything in between. Today’s sewing project is great for decor or a treat for a wee one.
It’s the perfect project for Halloween fabrics, but any fabrics will do with HeatnBond Lite appliques. HeatnBond Craft Extra Firm Interfacing is the secret to keep these blocks firm enough to stack yet soft enough to play. The best part is that you can make a bunch of Halloween Fabric Baby Blocks in one afternoon!
Halloween Fabric Baby Blocks
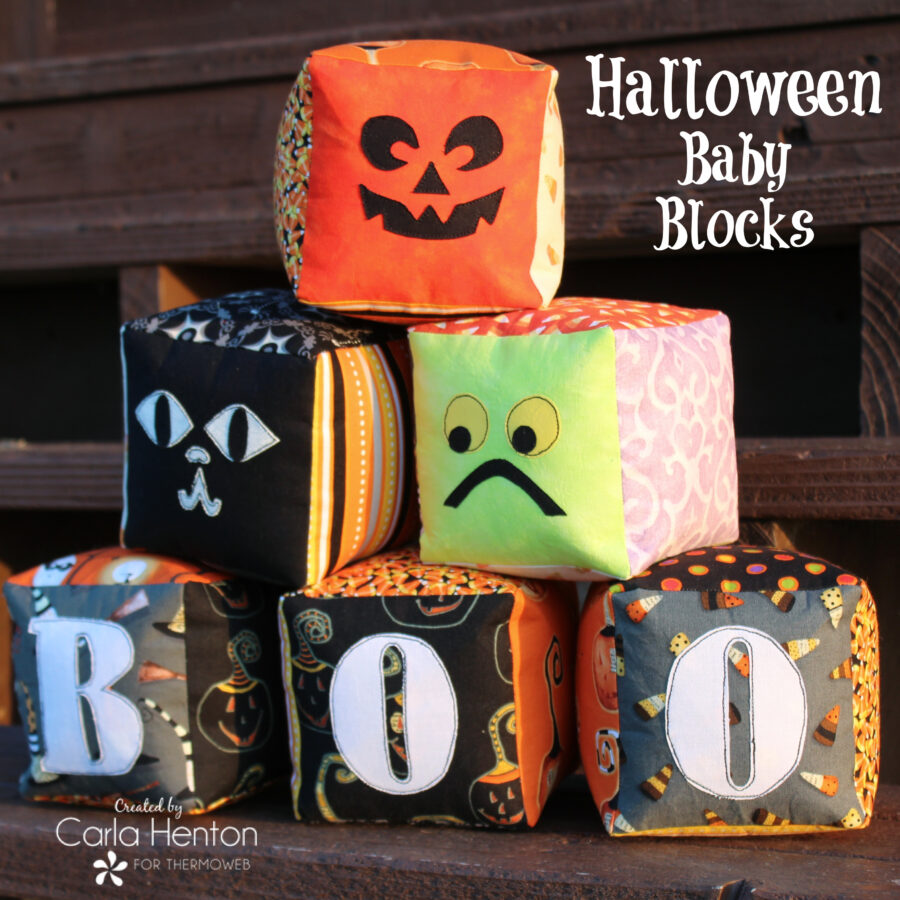
Halloween Fabric Baby Blocks
By Carla at Creatin’ in the Sticks
Supplies:
Pattern – Click Here: Halloween Baby Block Reversed HeatnBond Applique Templates
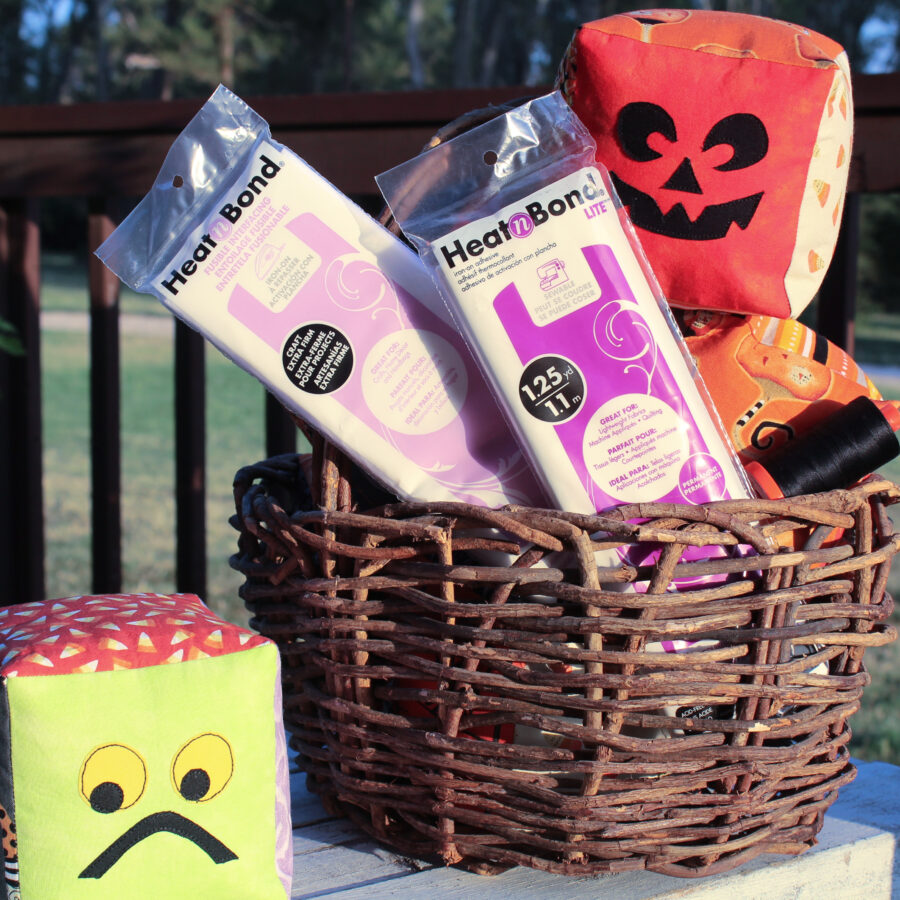
HeatnBond® Craft Extra Firm Non-Woven Fusible Interfacing – One package makes 5 blocks.
HeatnBond® Lite Iron-on Adhesive
Cotton Fabric:
For each block – six 5″ squares of fabric
For applique: small scraps of black, white, and yellow
Other supplies:
Aurifil Thread #2692
InkJet Printer to print the template pattern, Iron (I love my pink Oliso), Sewing machine, Sharp scissors, hand sewing needle, Fiberfill for stuffing, chopstick for pushing out corners, and other basic sewing supplies.
Sewing Instructions for one block:
*1/4” seams are used throughout. Backstitch at beginning and end to lock the seam
Step 1:
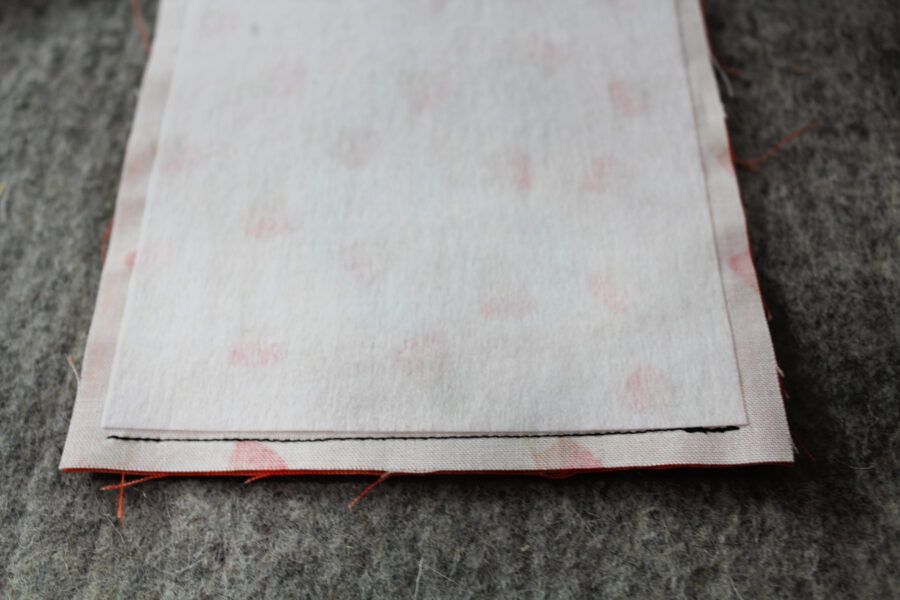
Firstly, center one 4 1/2″ square of interfacing with the adhesive side down to the wrong side of one 5″ fabric square. Bond the interfacing to the fabric square by following the package instructions. Repeat for all 6 fabric squares.
Step 2:
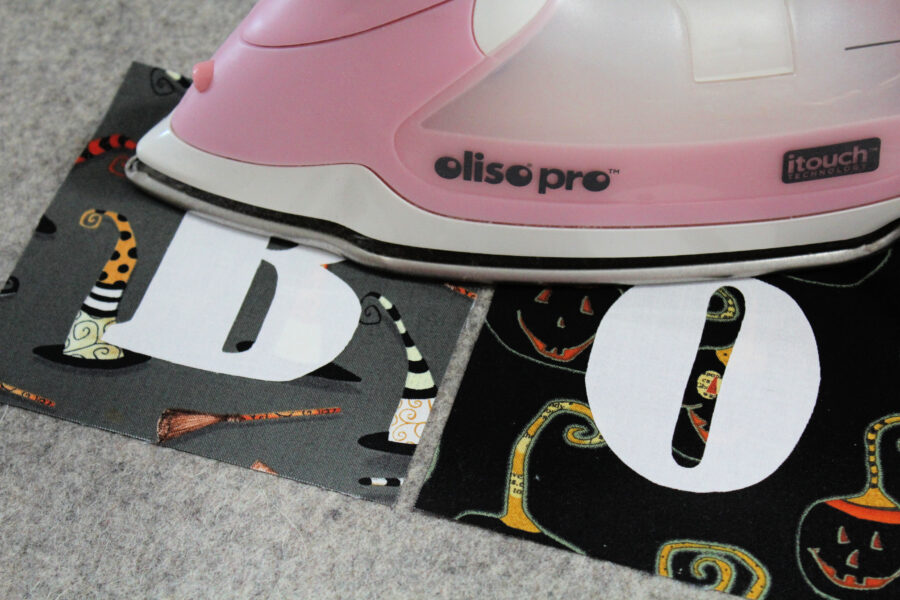
Secondly, applique one of the designs on one of the interfacing-backed fabric squares. Download and print the pattern templates above. With HeatnBond Lite the pattern pieces will need to be traced on the paper side of the adhesive. Follow the manufacturer’s instructions for tracing the patterns and bonding to the wrong side of fabrics. The patterns have been reversed for you. Next, cut out all applique pieces on the solid black lines, peel off the backing paper, and place applique with the adhesive side down on the 5” x 5” background piece of fabric following the small key on the pattern sheet.
After the pieces are laid out, bond the applique pieces to the background following the package instructions.
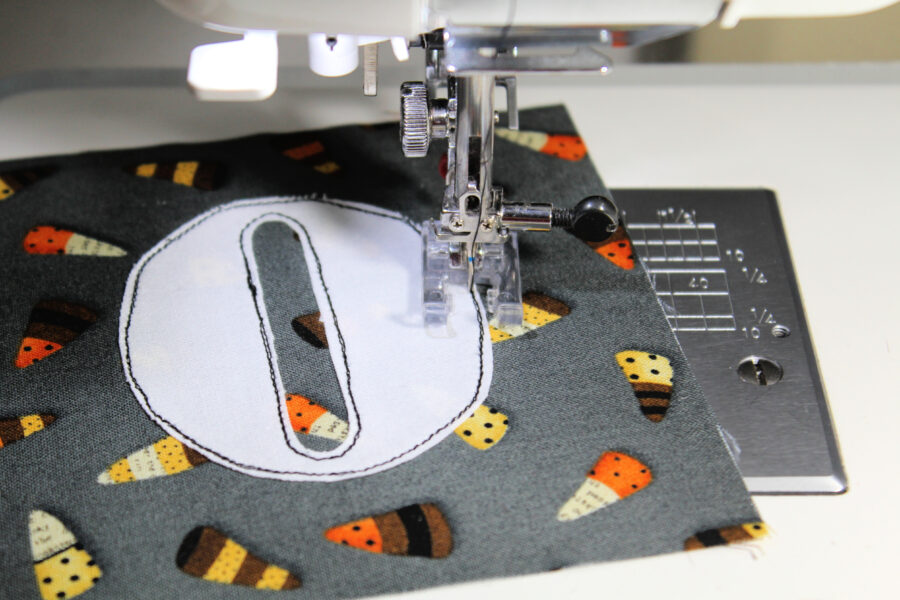
Finally, stitch around appliques with a straight stitch and black thread. Stitch around each piece 2 or 3 times.
Step 3:
Thirdly, lay out the blocks and stitch them with 1/4″ seams right sides together. Instead of marking each seam intersection with a dot, use the interfacing is a guide for stitching. Stitch from the corner of the interfacing to the other corner of the interfacing.
This is the layout to start the block. Stitch the seams to make this first.
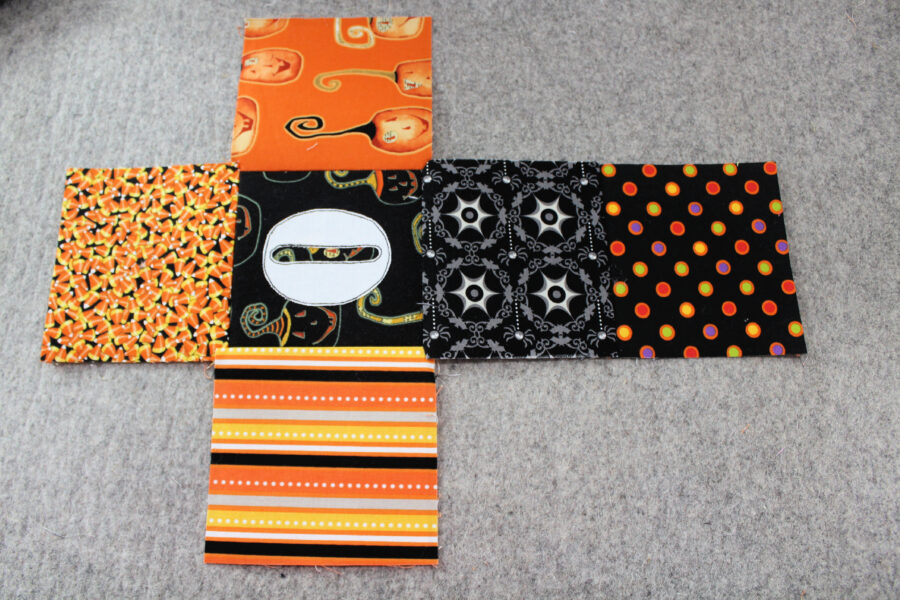
Fold and press the 1/4″ seam allowance on the ends as shown in the next graphic.
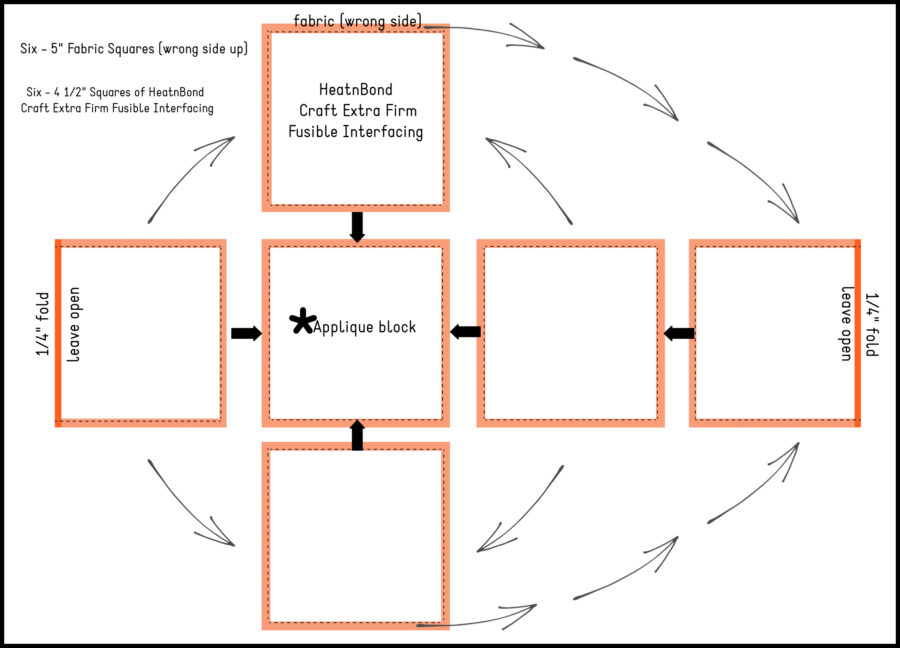
The next step is to stitch the squares into the block shape. The graphic above has arrows to show which seams connect. It is important to remember to only stitch to the end of the interfacing. The result is a cube with one side (the folded seam allowances) open for tuning.
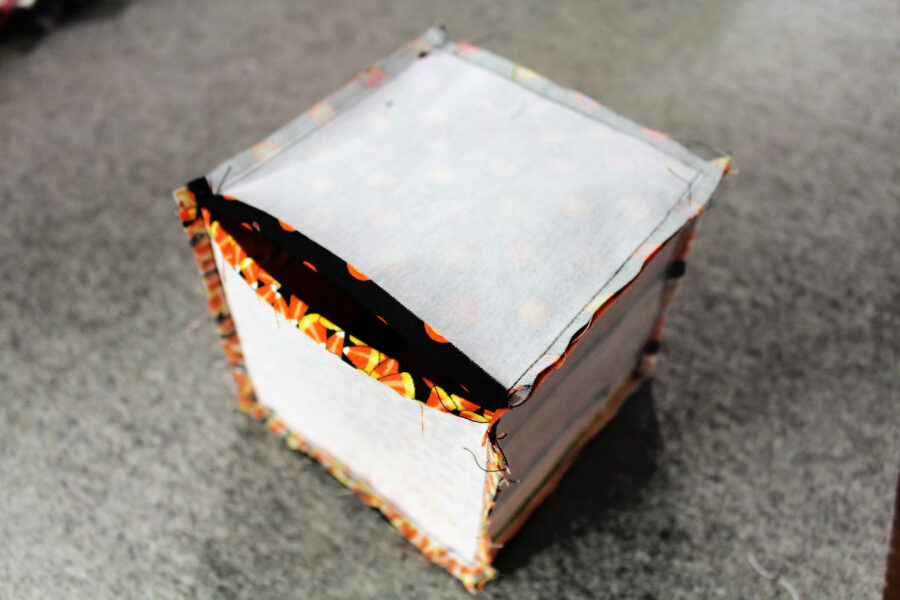
Step 4:
Fourth in the steps is to turn the block right side out. Use a chopstick to push out the corners. Stuff the block with fiberfill and sew the open end shut with a whip stitch.
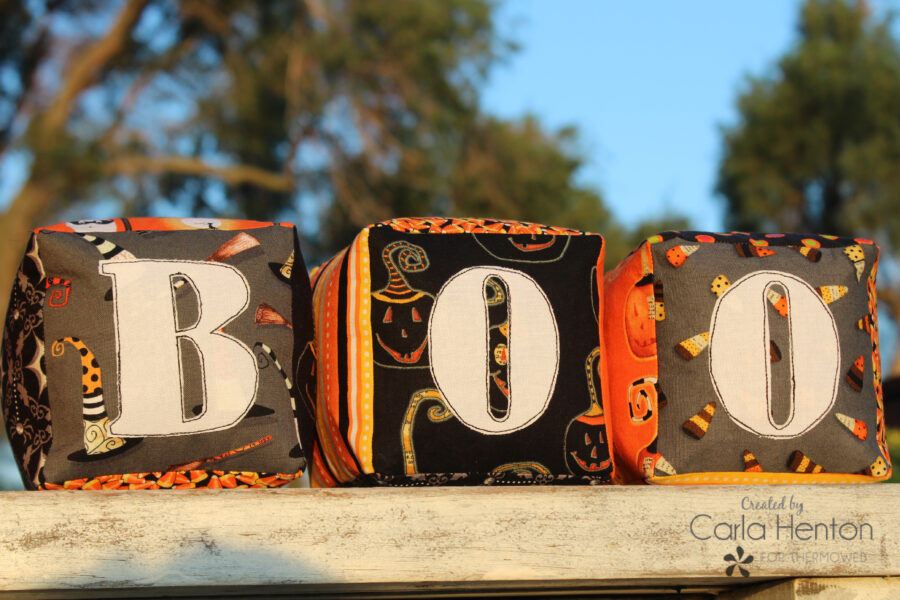
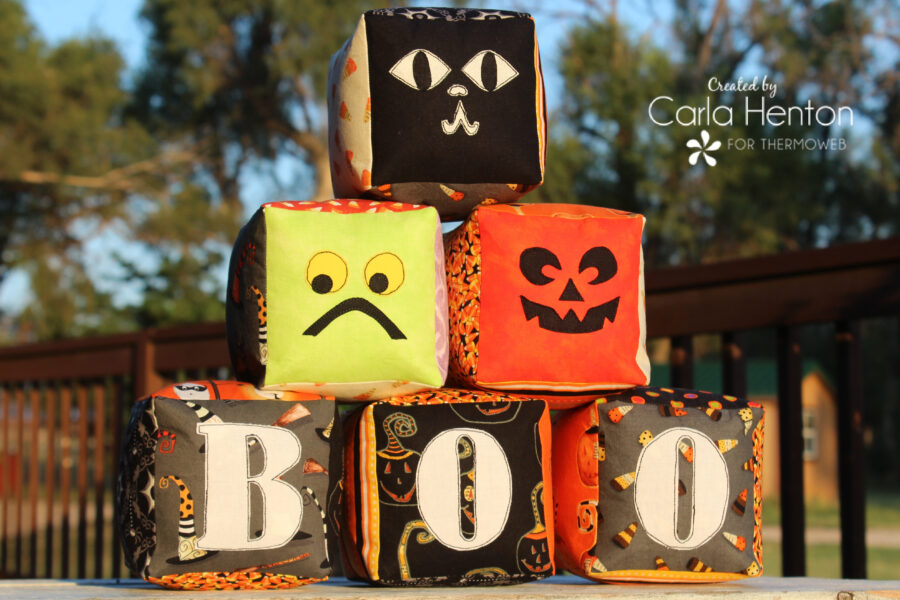
Use your imagination and create all kinds of fun blocks.
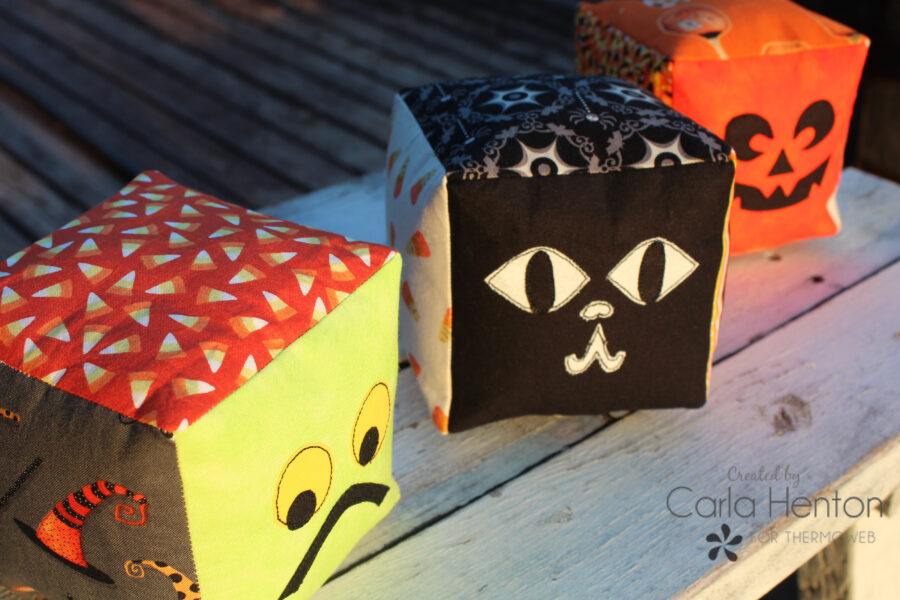
Happy Halloween Crafting! – Carla

Elizabeth Kelbaugh
September 10, 2021 at 7:17 am (4 years ago)Very cute, not too scary Halloween baby blocks. I would love to make them for myself but I may just make them for a great nephew.