Hi friends, it’s Jen from The Smitten Chicken. I am super excited to share my newest project with you today. I do most of my fabric shopping online so swatch cards are essential to get just the right shade of fabric. Nothing is more frustrating than getting some fabric in the mail and have it NOT MATCH!!!
DIY Fabric Swatch Cards with Riley Blake Fabrics and Fabric Fuse
But when the swatch card is left as a card it can still be a little tricky to match. I decided to cut up my swatch card and create individual swatch cards. The best part? They are magnetic! Would you like to make one too?
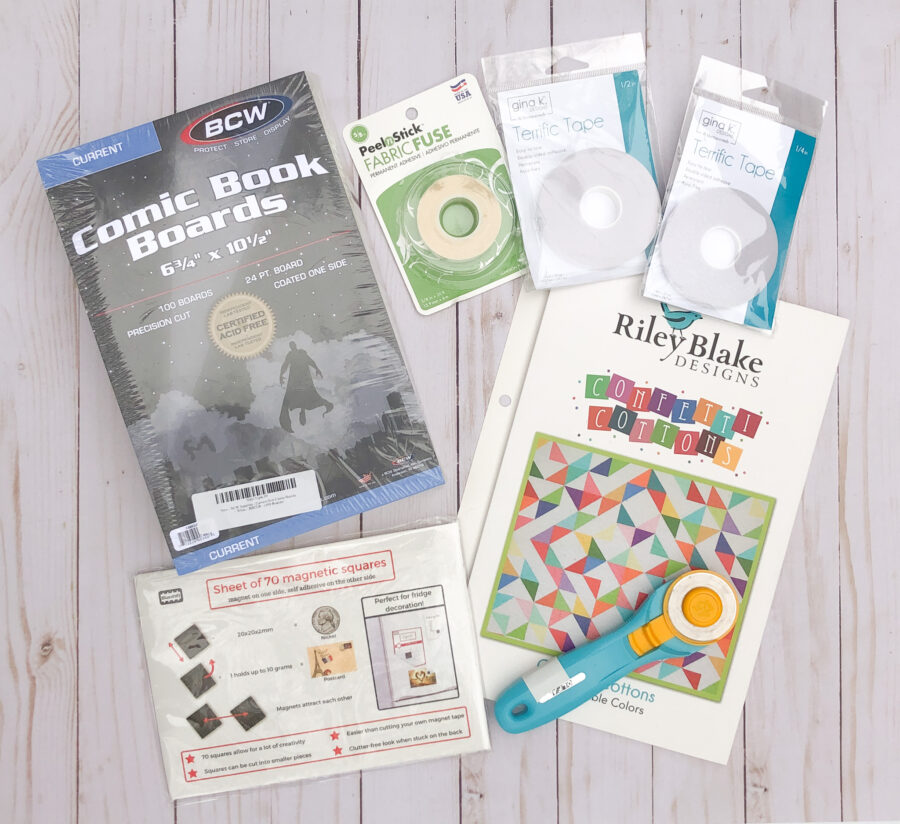
Supplies you will need:
Riley Blake Designs Swatch Card
Rotary Cutter with a dull blade
Gina K. Designs Terrific Tape 1/4″
Gina K. Designs Terrific Tape 1/2″
Magnets
Comic Book Boards
Magnetic board
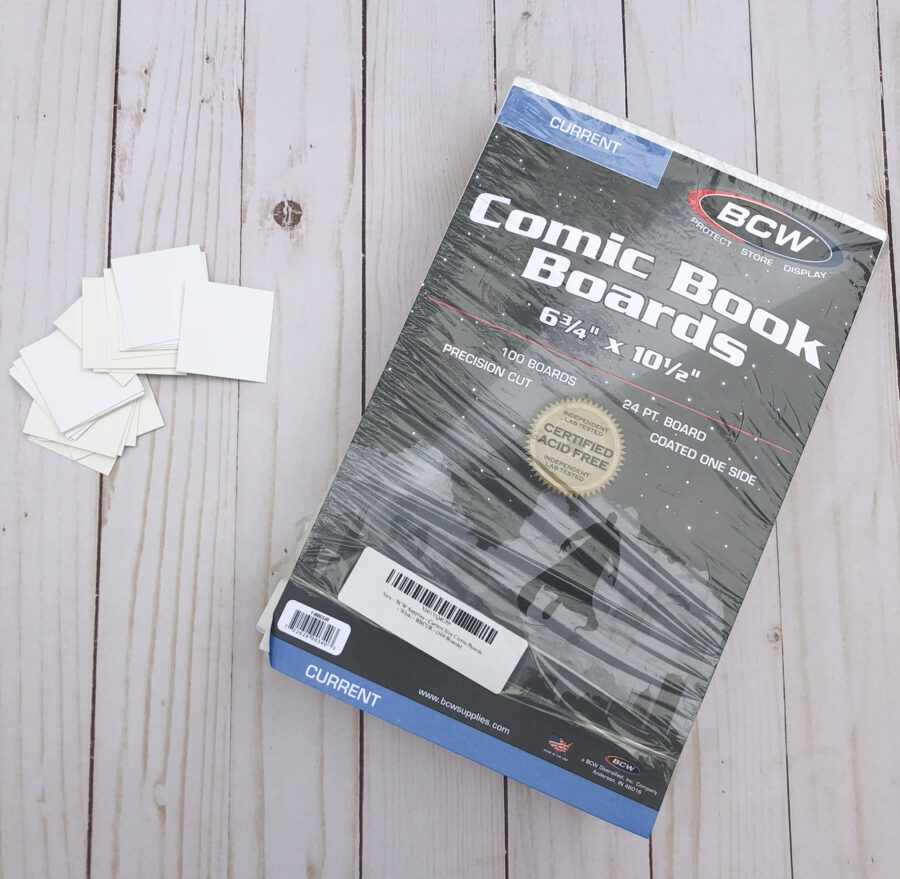
Start by trimming down the comic boards. I chose comic boards because they are a little thicker than cardstock. Then with the extra comic boards, I can wrap my fabric around it for another organizing hack! Win, win!!! I cut down the comic boards to 1 5/8″ x 1 3/4″ rectangles.
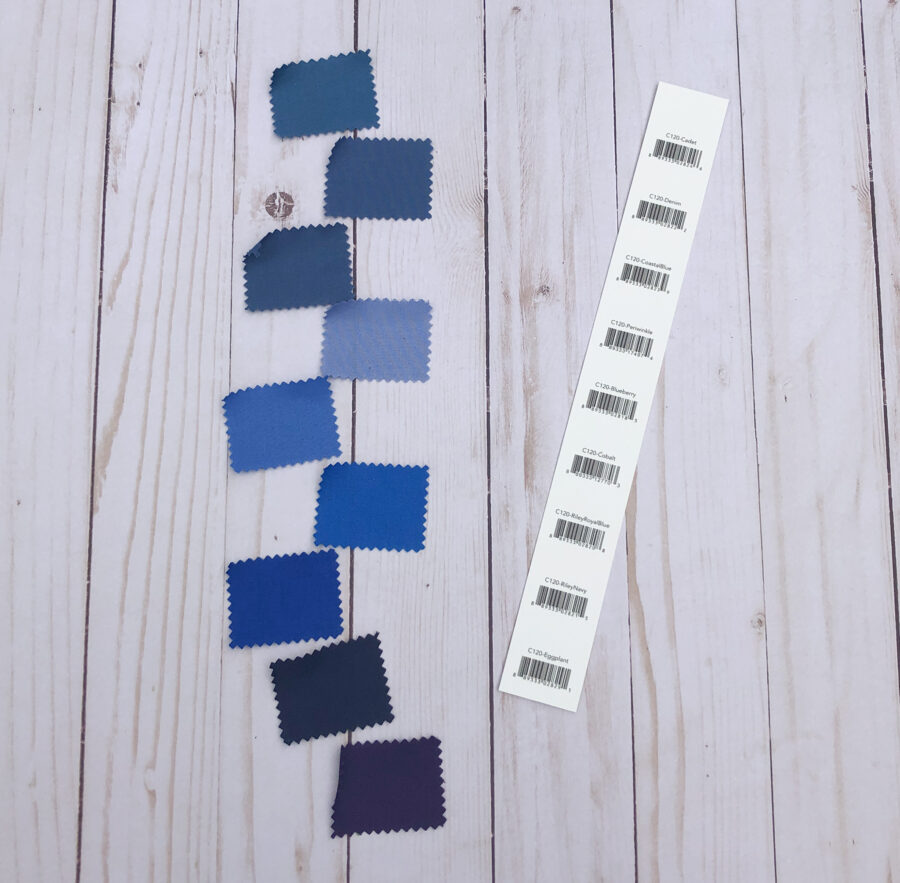
Next, pull off the fabric color swatches. Don’t get these out of order!!!! I do one row at a time to help! Cut the names out in a column. I lined my ruler up on the barcode to get them straight. Then cut out each name. My name pieces were cut 3/8″x 1 3/8″.
TIP: Don’t cut through swatches on the back! As you progress through the swatch card, some of the swatches of fabric are on the back.
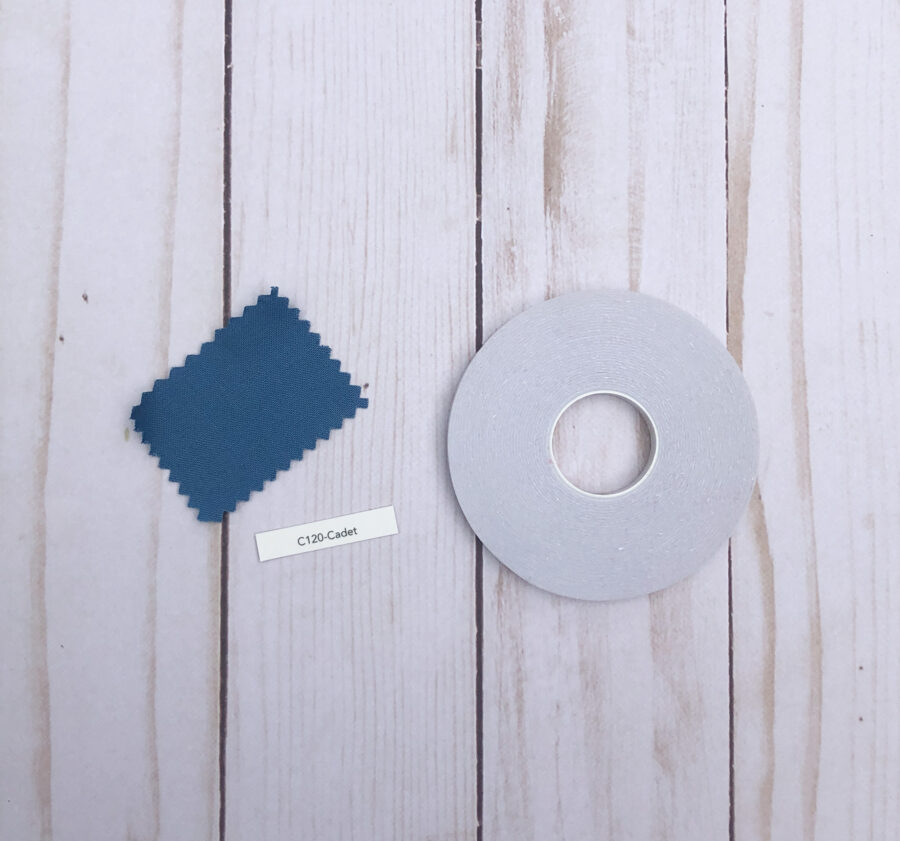
Then cut your Gina K. Designs Terrific Tape 1/4″ to about 1 1/4″. Attach it to the back of the name of the fabric. Then remove the paper backing and attach it to the bottom of the comic board rectangles you previously cut out.
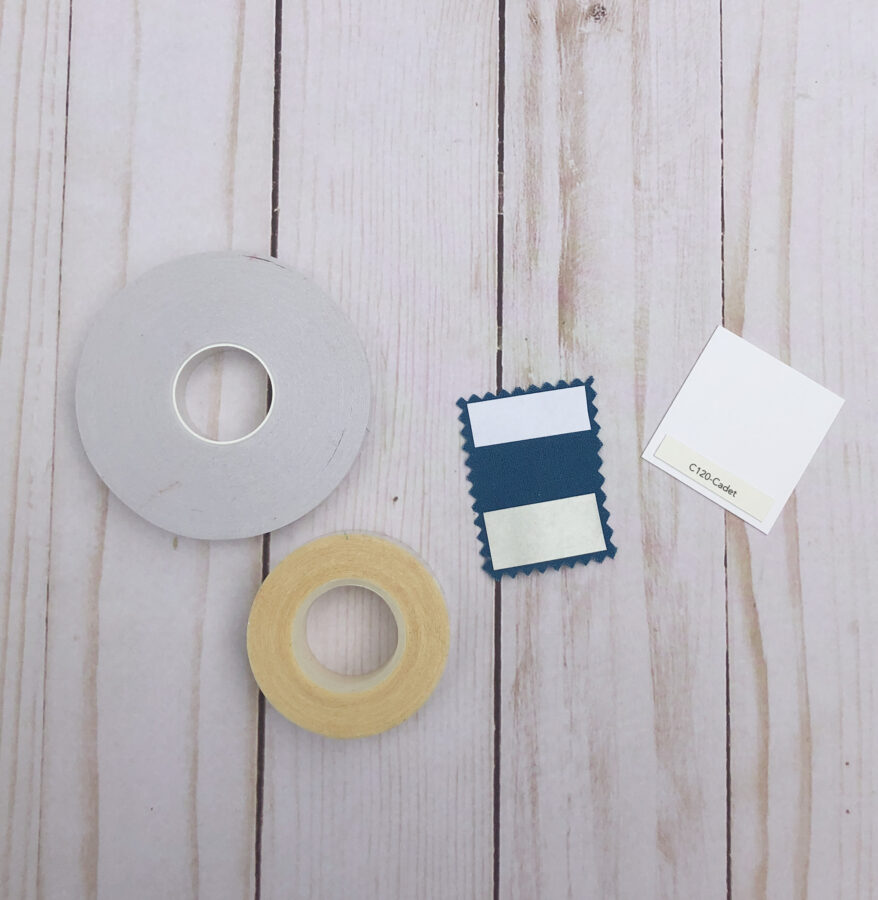
Next cut your Gina K. Designs Terrific Tape 1/2″ to about 1 1/4″. Attach it to one end of the fabric swatch. Then cut your Peel n Stick Fabric Fuse to about 1 1/4″. Attach it to the other end of the fabric swatch. Remove the papers and attach them to the rectangle comic board pieces.
TIP: Remove the Peel n Stick paper first and place the fabric swatch on the front of the card. Then remove the paper from the Terrific Tape to fuse the fabric to the back of the card. Then the swatch will lay nice and flat. And no tape will stick to the wrong place!
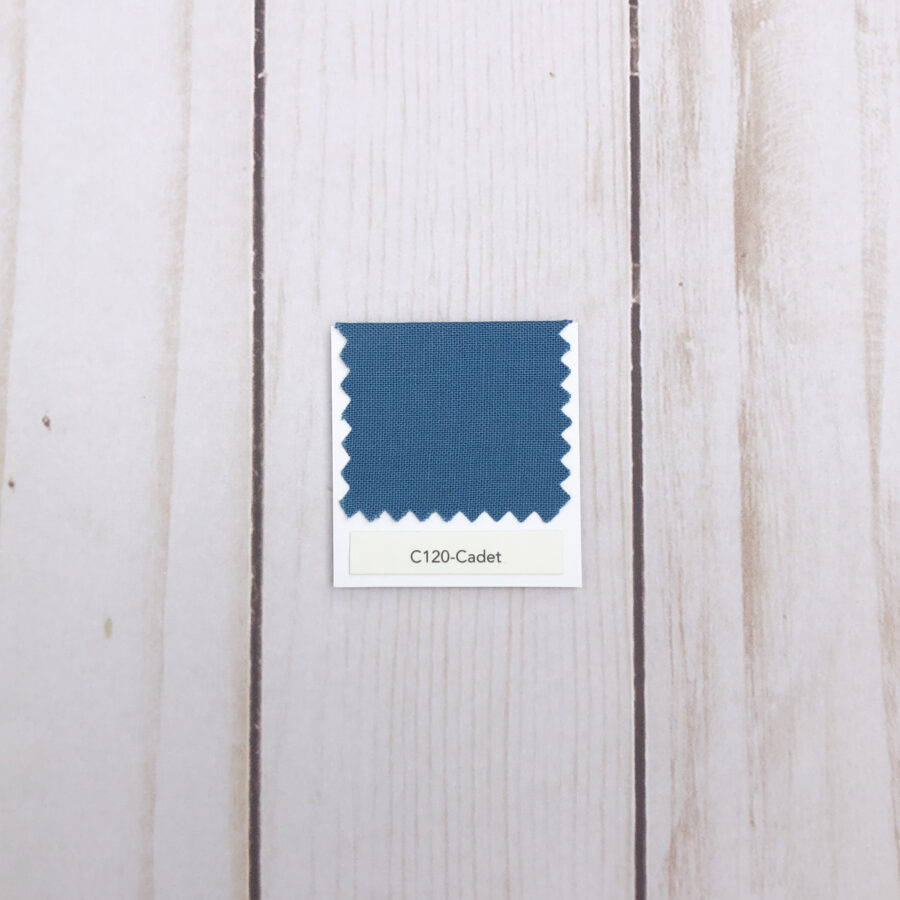
I wanted to have my fabric swatches on the edge of the comic paper. Now I can place the swatches right next to or even on the fabric I am trying to match!
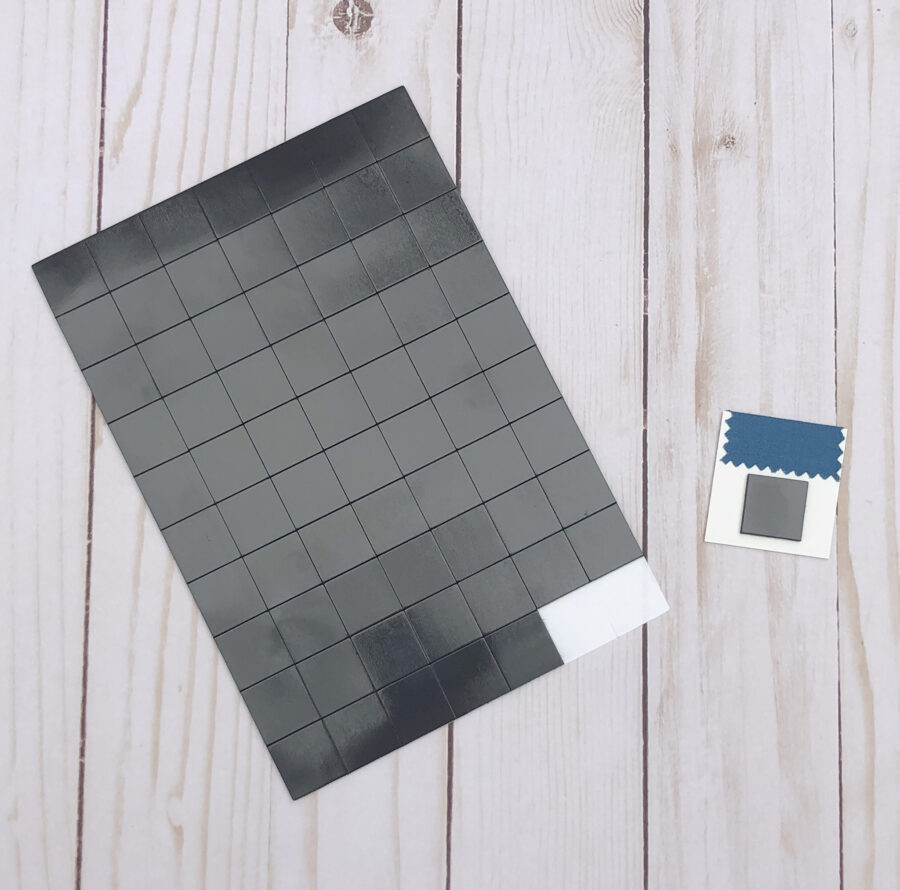
The last step is to attach the magnets. I bought sticky magnets on Amazon. Just peel them off and attach them to the back of the fabric swatch.
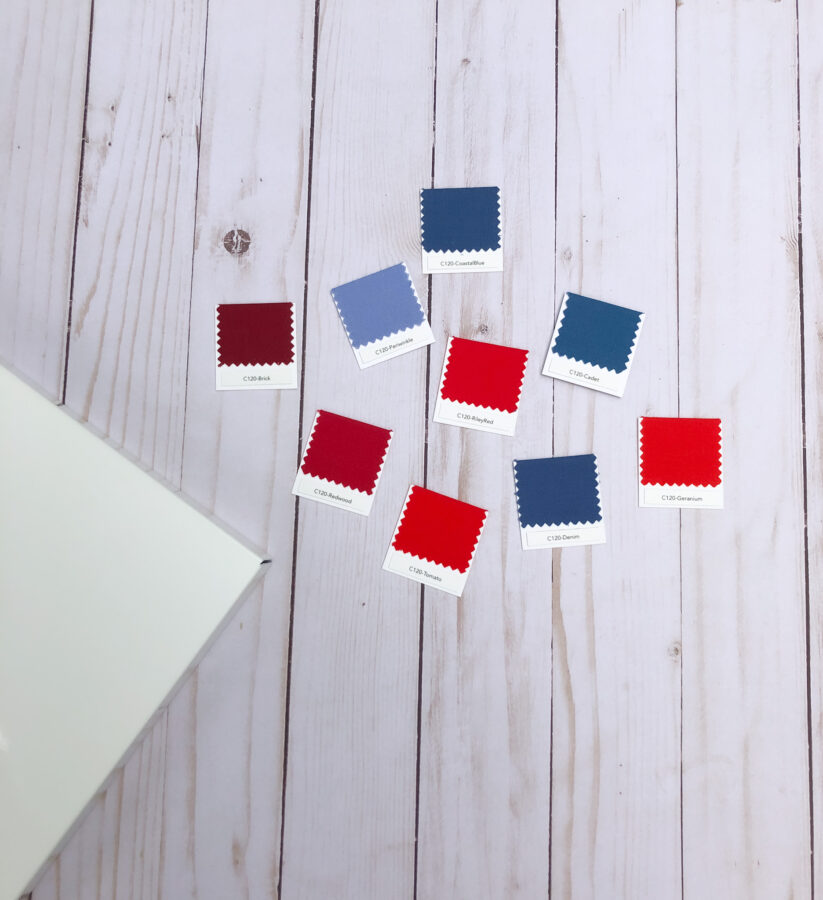
Then create a swatch rainbow! Or if you are like me, I’m working on a patriotic quilt coming up. So I pulled all of my reds and blues! I found this white magnetic board at Ikea to store all of my fabric swatches.
Thanks for following along today! If you would like to see more of what I am up to, follow me on Instagram, Facebook, Pinterest and subscribe to my new YouTube channel!
Chirp Out!
Jen

[…] for this one too! (If you want to see how I made these fabric swatches, you can check out this blog post here.) The colors I am using are: Jade, Alpine, Leaf, Sweet Mint and Hint of […]