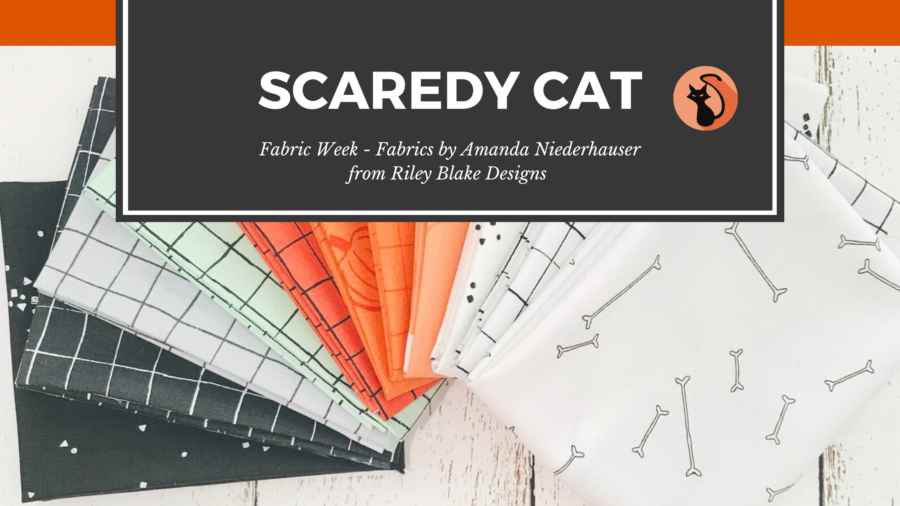
 Halloween Bat Pillow
We’re excited to bring you some fun ideas featuring Amanda Niederhauser’s Scaredy Cat Fabric Collection from Riley Blake Designs!
Amanda (used to design for us here!) is a very talented quilter and sewer so we were thrilled to bits when we found out about her Halloween fabric line. They’re perfect for those who want to keep things light and fun for the holiday but equally perfect for that dark, skelly project too! With some oranges, creamy whites, greys, and a fun pistachio green there’s something for everyone’s taste!
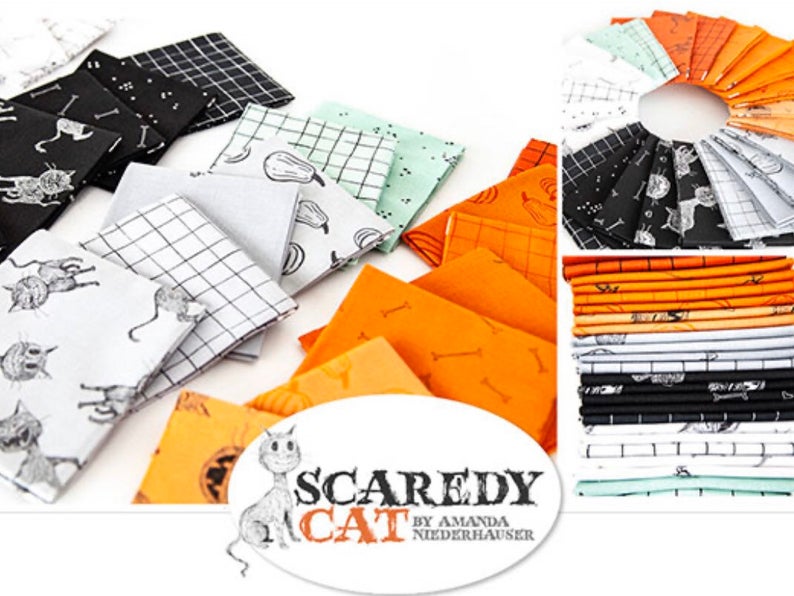
Click here for more able this beautiful collection and the fabrics prints available!
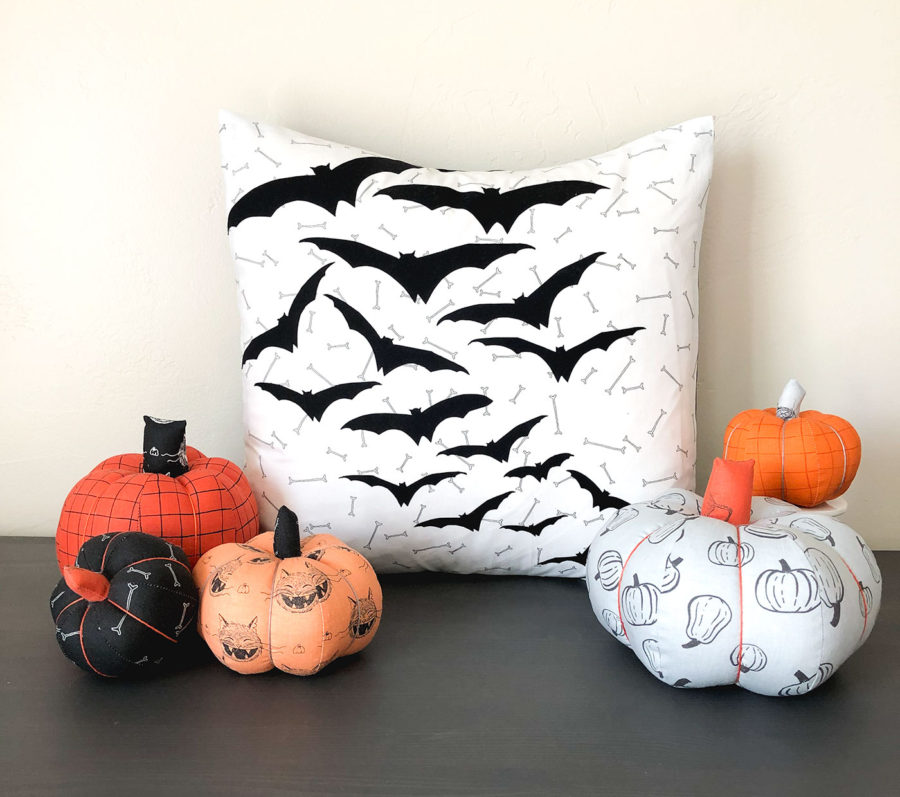
So tell us…are you ready to decorate for Halloween yet? I think we are all looking for something to look forward to and Halloween is a great reason to get festive. This Scaredy Cat Bat Pillow requires very little sewing and is a fun quick project. Want to make your own?
If you would like to make some stuffed pumpkins too, you can find the pattern in my Etsy shop here.
Scaredy Cat Bat Pillow
Supplies
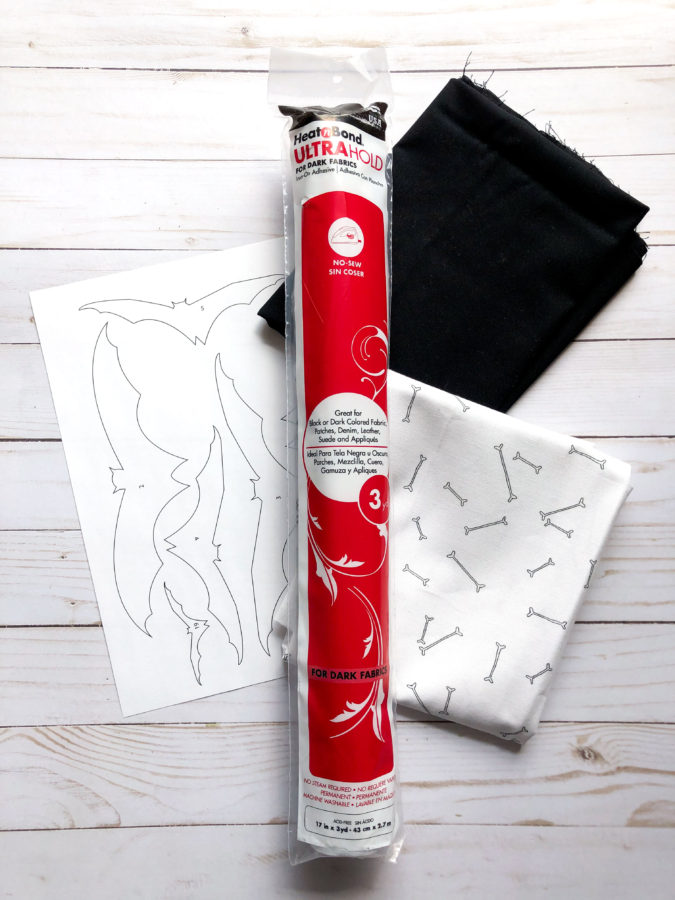
- fabric- 18″ X 18″ square of background fabric (I am using Scaredy Cat fabric from Riley Blake Designs)
- 2- 14″ X 18″ pieces of backing fabric. (I am using a black solid cotton fabric)
- HeatnBond Ultrahold Dark (available at Amazon and JOANN)
- HeatnBond UltraHold Dark 7/8″ or 5/8″ tape ( available at Amazon and JOANN)
- 18″ pillow form
- Scaredy Cat Bat Pillow Template
Prepare Applique Pieces
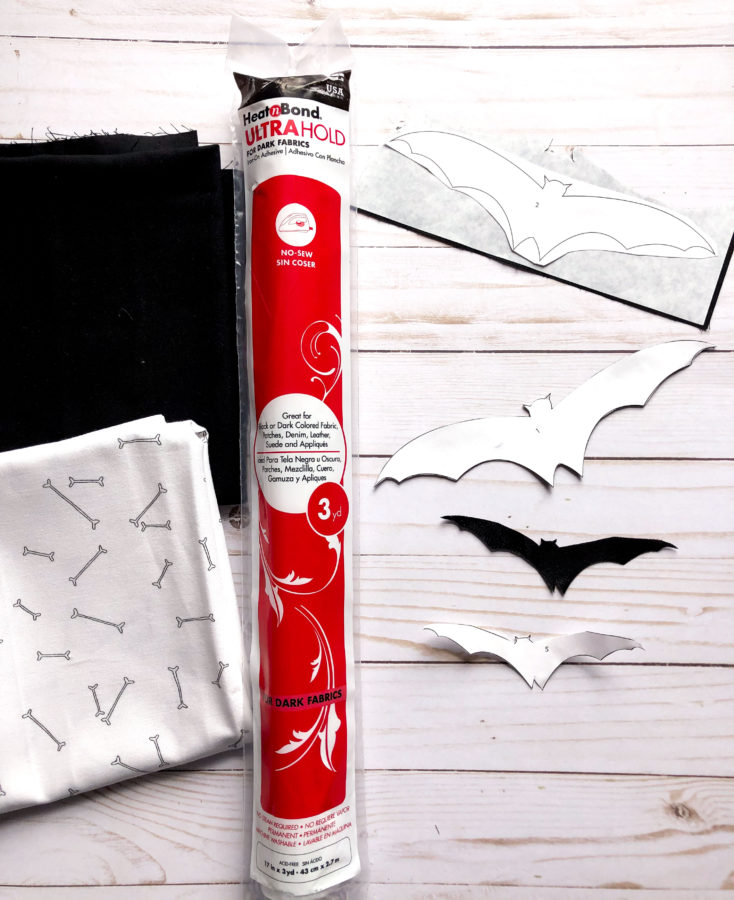
- Print your bat templates onto regular printer paper.
- Cut out a piece of black solid fabric large enough for all the bats to fit, cut out a piece of Dark Ultrahold just slightly smaller than your fabric.
- Fuse the Dark Ultrahold to the black fabric.
- Glue your template onto the paper side of your Dark Ultrahold bonded fabric. I like to use SpraynBond Fusible Adhesive or a glue stick.
- Cut out each bat along the printed line.
- Do NOT remove the paper backing until you are ready to place the bats on the background fabric.
Add Bat applique to the pillow front
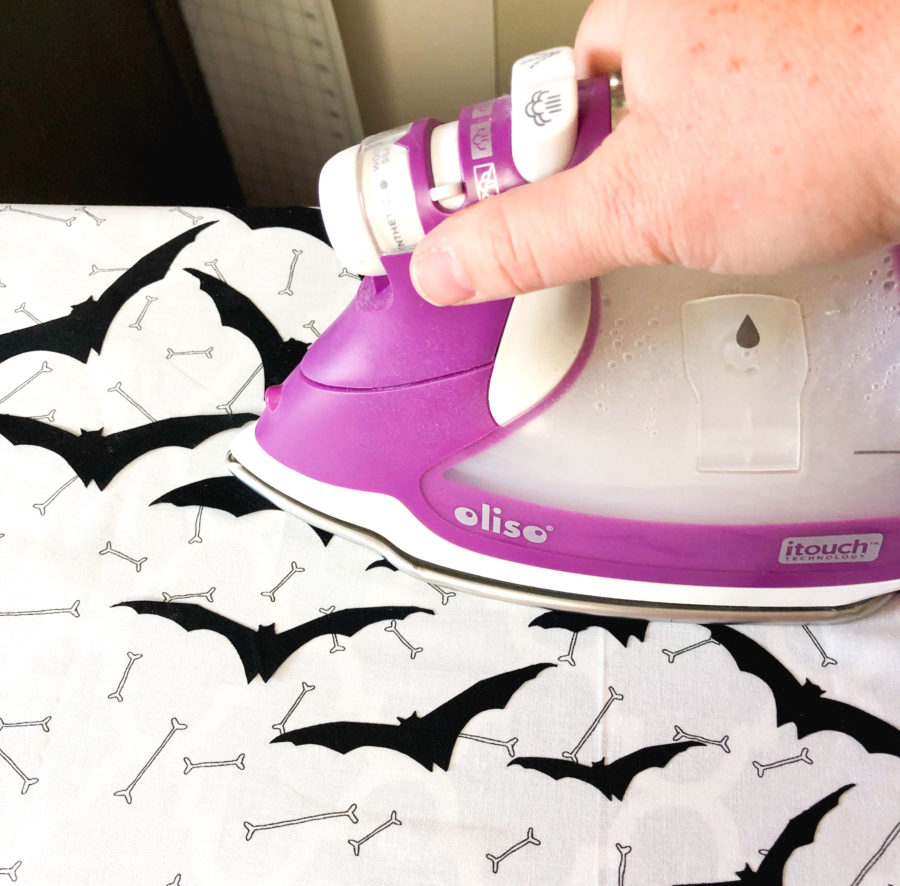
- Place your background fabric onto your ironing surface.
- Position your bats in order from smallest to largest in a random diagonal line across the background fabric. Be sure to leave at least 1/2″ from the sides to allow for the seam allowance.
- Once you have them positioned as desired, remove the paper backing one at a time and return to the position on the fabric.
- Fuse the bats to the background fabric following the package directions.
Make Pillow back:
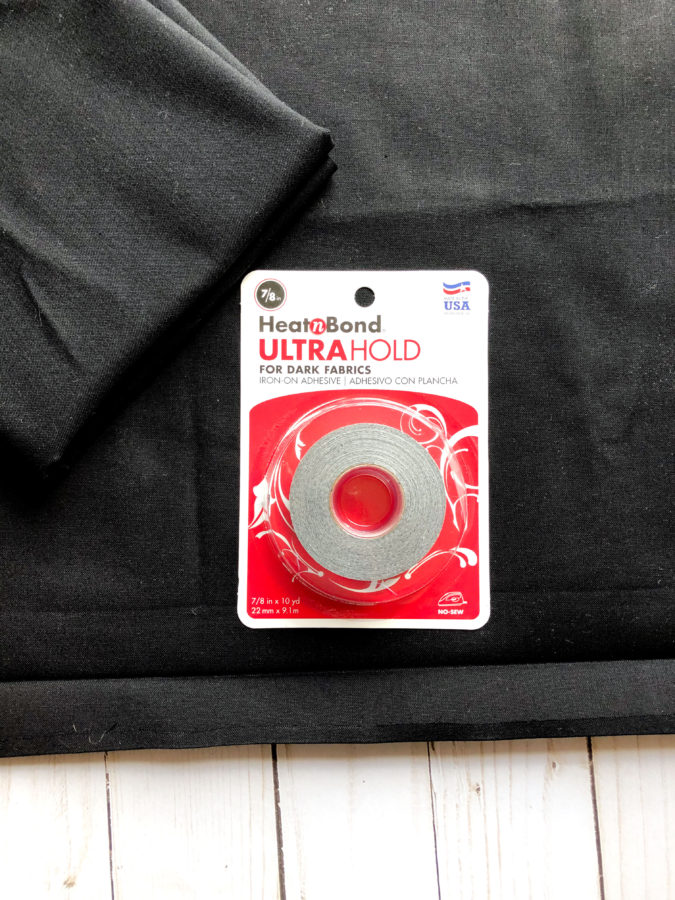
- Take your two 14″ X 18″ pieces of fabric and on each piece press one of the 18″ sides over 1″ and then another 1″. (you can see the press lines in the photo above)
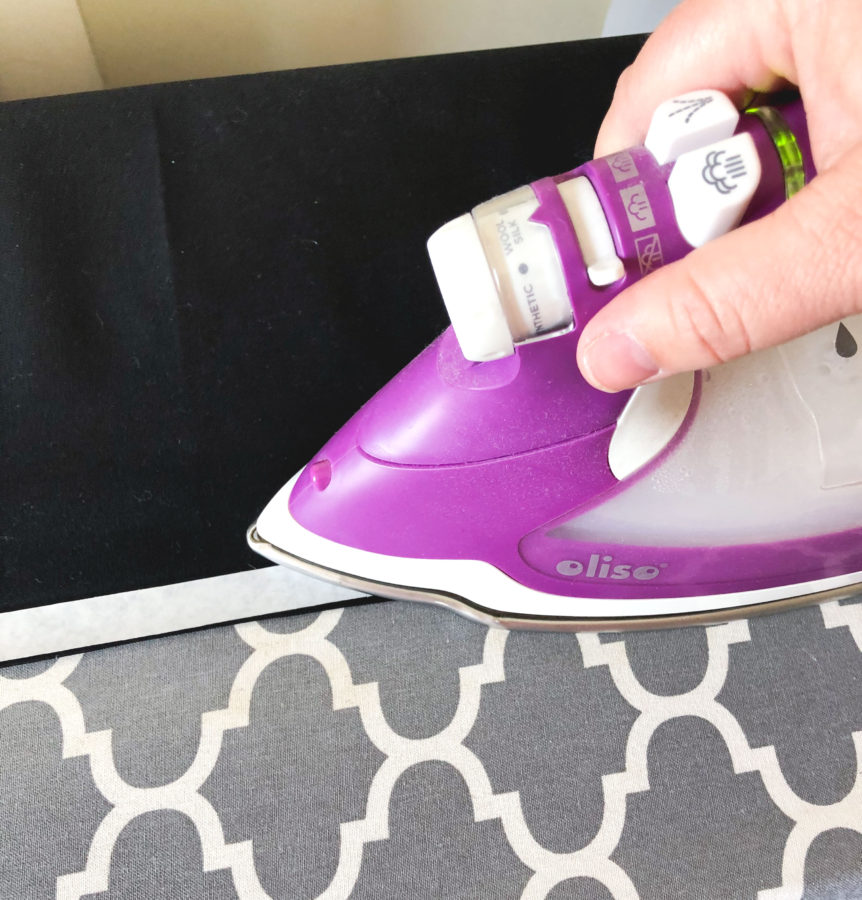
- Unfold the second fold, and line your HeatnBond Ultrahold tape up with the folded edge of your 18″ side.
- Fuse the Ultrahold tape into place.
- Remove the paper backing and re-fold the second fold, enclosing the exposed adhesive inside the fold.
- Fuse the hem into place.
- Repeat for the second backing piece.
Finish Pillow Cover:
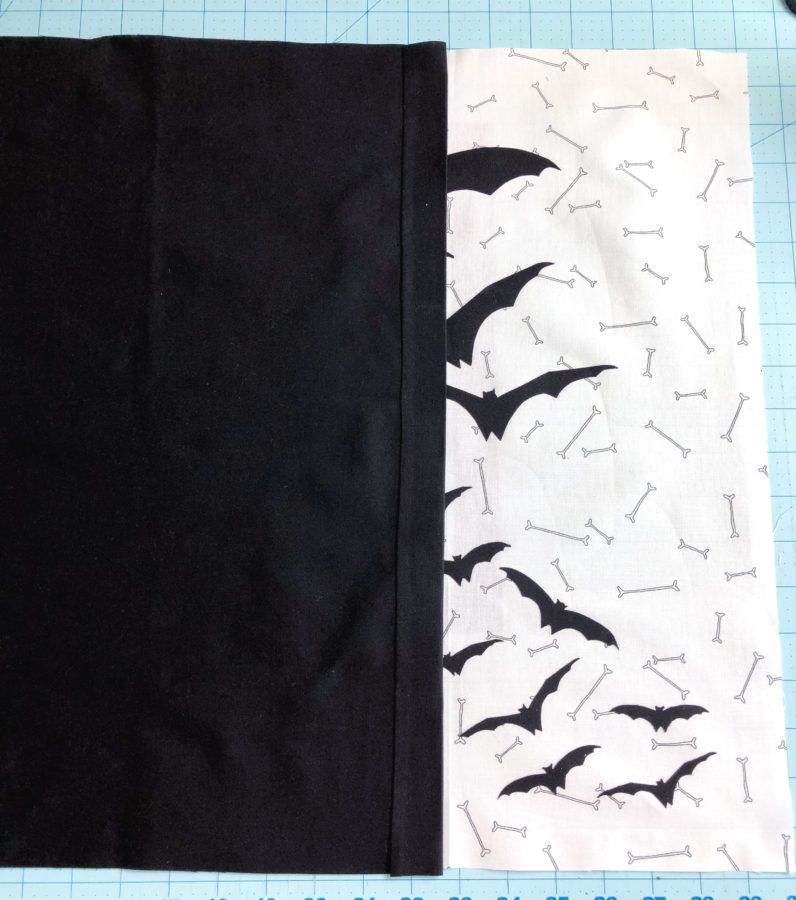
- Place your background fabric with the bats, right side up on your work surface.
- Take one of the backing fabric pieces and line up the three raw edges with the edges of the background fabric. (the folded hem should be right side up)
- Take the second piece of backing fabric and line it up on the opposite side of the background fabric. The hemmed edges should be in the middle of the pillow and overlapping.
- Pin around the entire pillow.
- Sew around all four sides of the pillow using a 1/4″ seam allowance.
- Turn the pillow cover right side out through the backing.
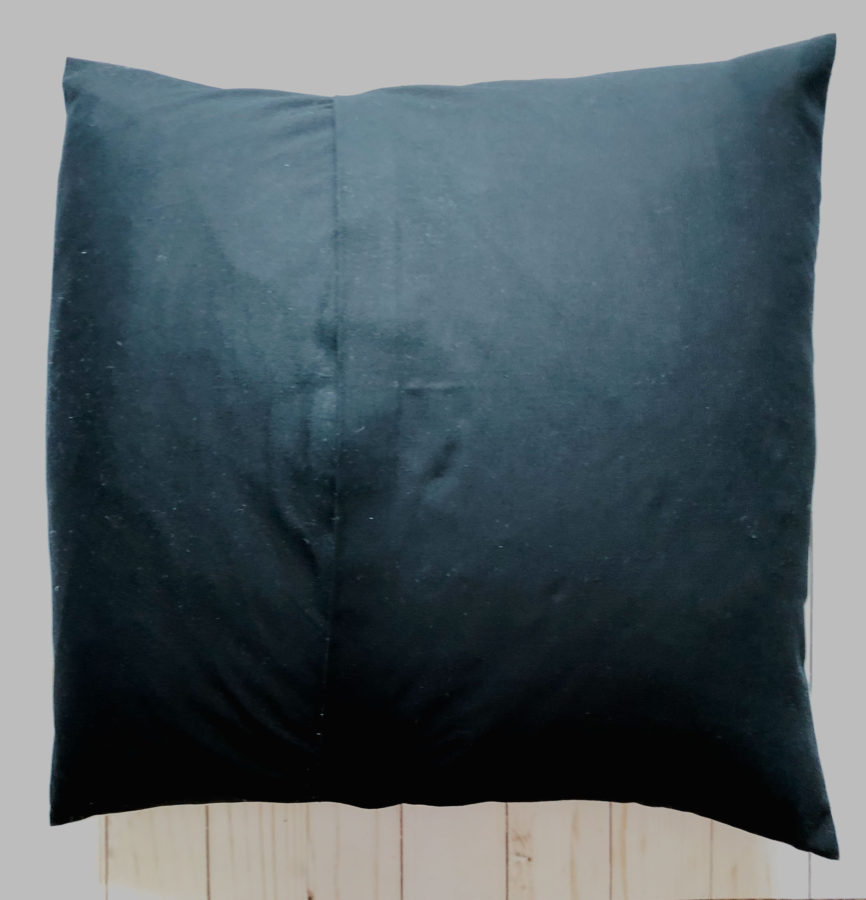
Press the seams well, then insert your pillow form.
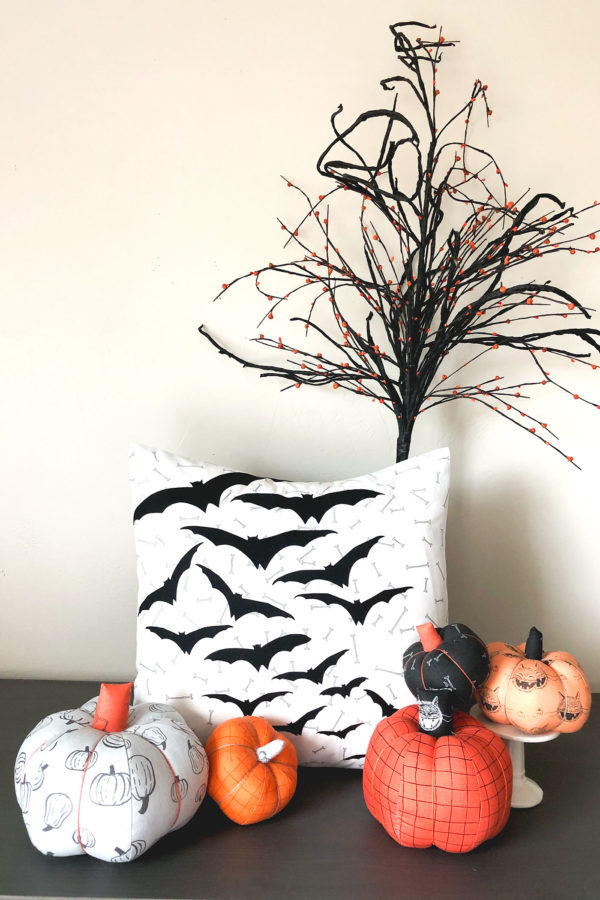
Ta Da!! Super easy, almost no Sew pillow! (if you wanted it truly no-sew you could purchase a plain pillow cover and just add the bats using the HeatnBond Ultrahold dark.)
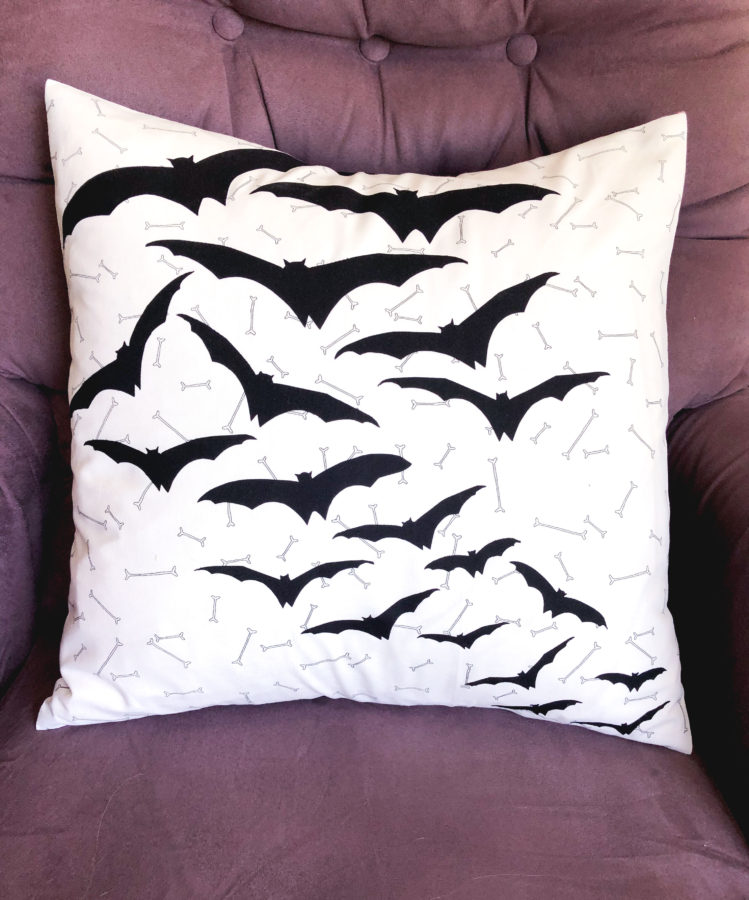
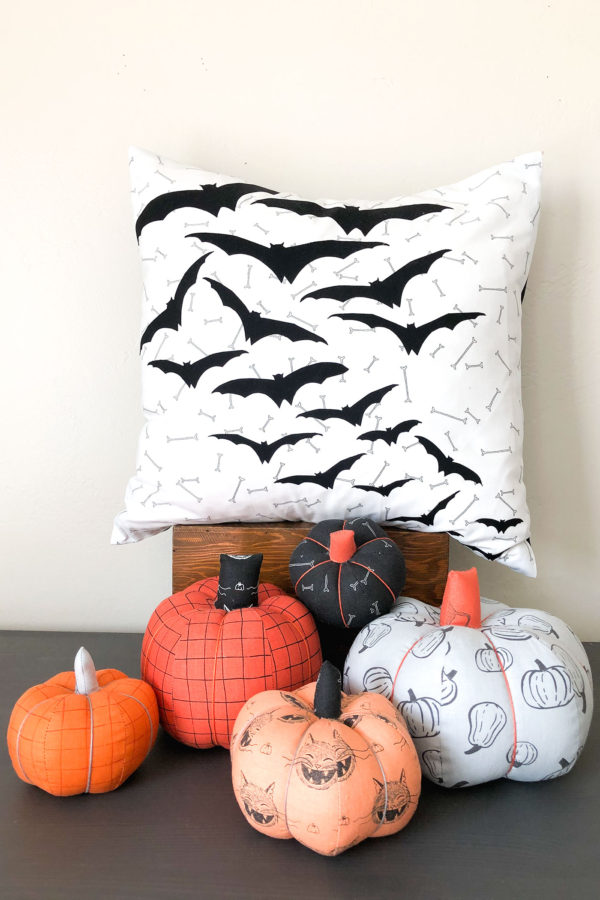
Such a fun accent for your Halloween home!
Happy Haunting friends! Amy

Sue D
September 14, 2020 at 8:02 pm (5 years ago)Fun decor. I usually just decorate with a harvest theme–no scary things.