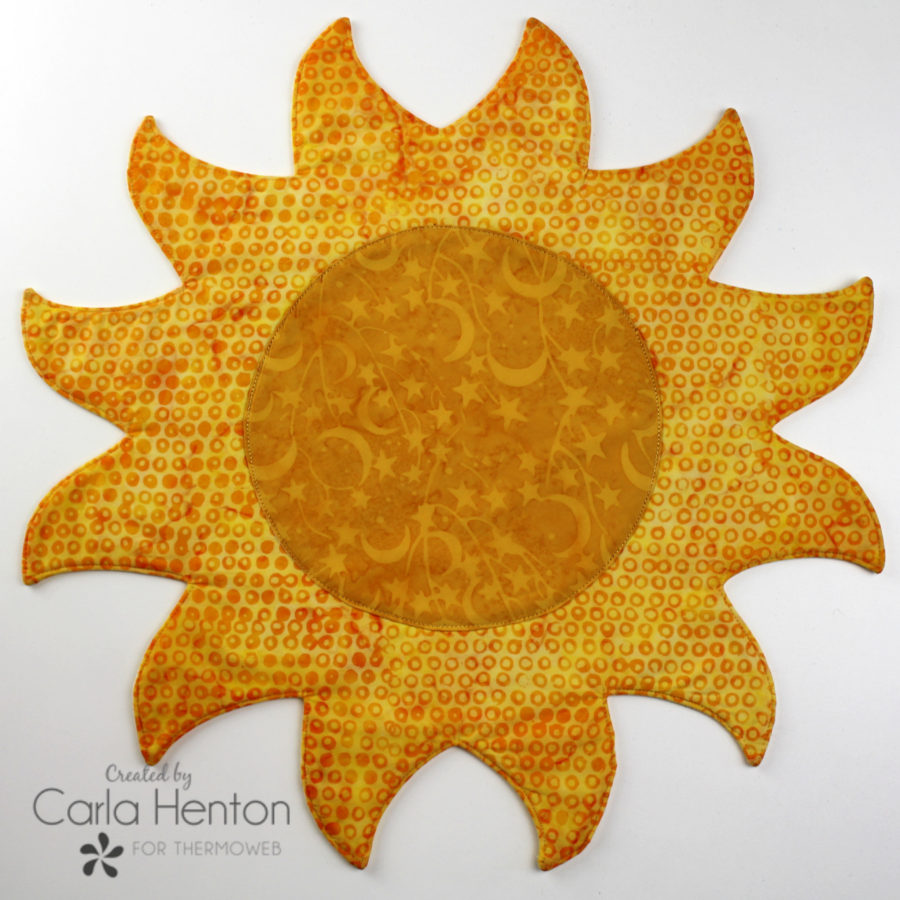
It’s a sunshine day at Thermoweb and let’s celebrate with these super fun Sunshine Placemats. Little mini quilts of sunshine!
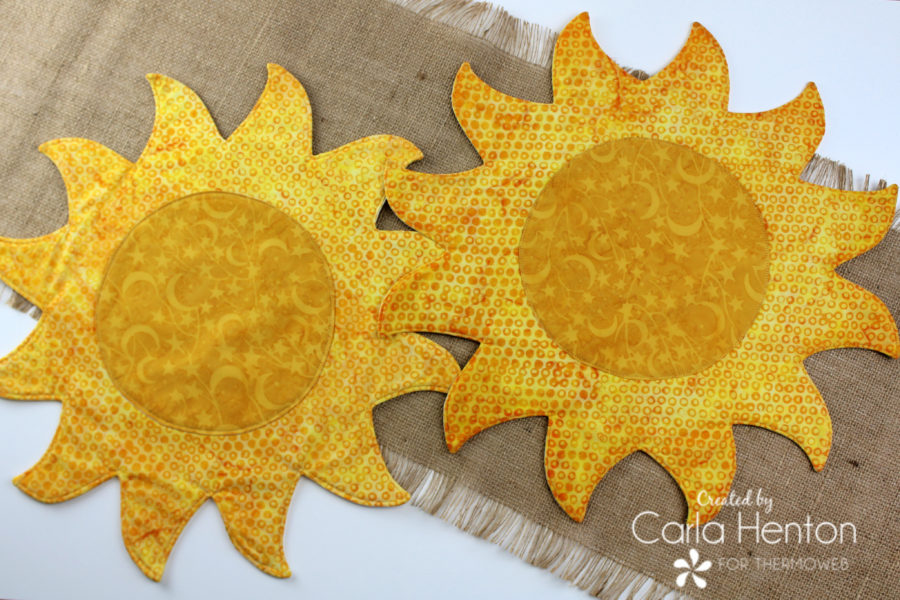
Sunshine Placemats
by Carla at Creatin’ in the Sticks
Finished size 15 1/2″ x 15 1/2″
Sunshine Placemats Supplies:
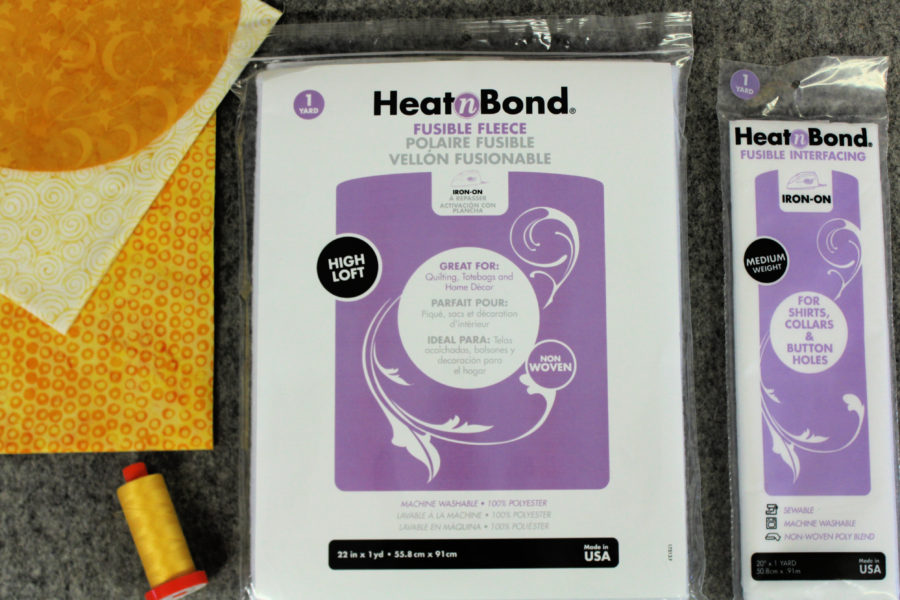
HEATnBOND® FUSIBLE Medium Weight Interfacing
Cotton Fabric: (Island Batik fabrics)
18” x 18” square for the front
18” x 18” square for the back
1 fat quarter for center
Other supplies:
The PDF pattern for Sunshine Placemats: Sunshine Placemats by Carla Henton at Creatin in the Sticks
Aurifil 50 wt. Thread: yellow (1135), InkJet Printer, Iron (I love my Oliso), Sewing machine, Sharp scissors, a chopstick for pushing out corners, and other basic sewing supplies.
Sunshine Placemats Pattern Cutting Instructions:
Fabric – Fold the 18” fabric squares in half, press, and then fold in half again and press to fold the fabric into 9” squares. Place the Sun Rays pattern right side up on the top of the front fabric. Align the two sides marked fold over the folds of the fabric and pin. Cut 1 of the Sun Rays.
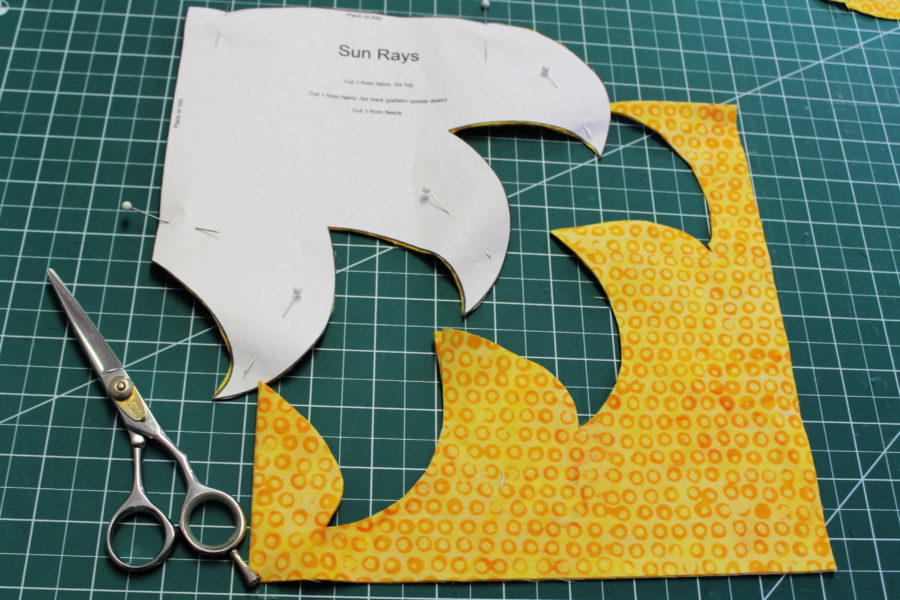
Next, turn the pattern over and repeat this step with the back fabric. The last step for cutting fabric is to cut one Sun Center from the center fabric.
Fusible Fleece – Place the cut back Sun Rays fabric right side up on the adhesive side of the fleece and pin.
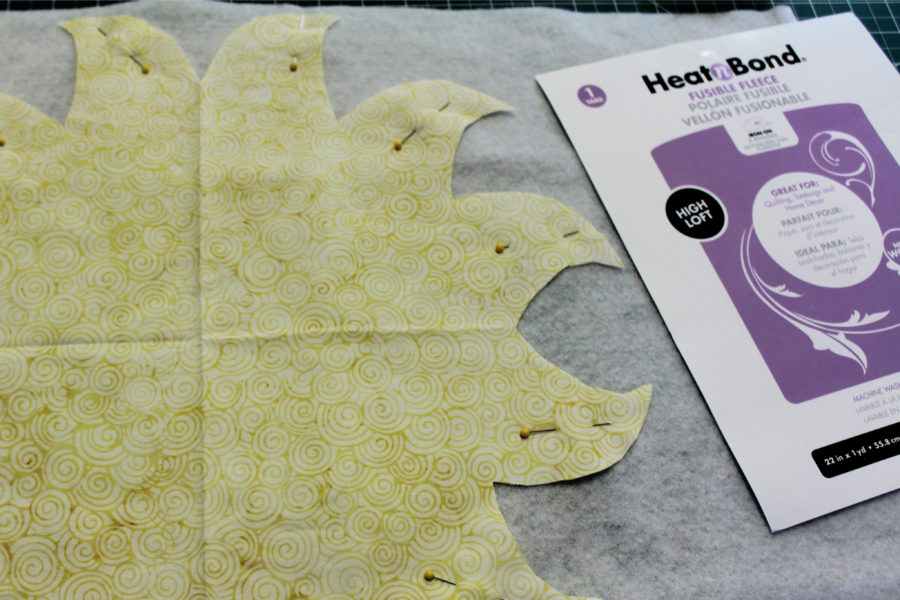
Cut one Sun Rays from the fleece.
Interfacing – Cut one Sun Center from the interfacing
Sunshine Placemats Sewing Instructions:
Step 1: Remove the pins from the Fusible Fleece and bond the Sun Rays back to the fleece following the package instructions. Set the fleece-backed Sun Rays aside.
Step 2: Pin the Sun Center interfacing to the Sun Center fabric with the adhesive side towards the right side of the fabric. Stitch ¼” from the raw edge completely around the circle. Once the stitching is complete, spread the interfacing away from the fabric and cut a slit in the center.
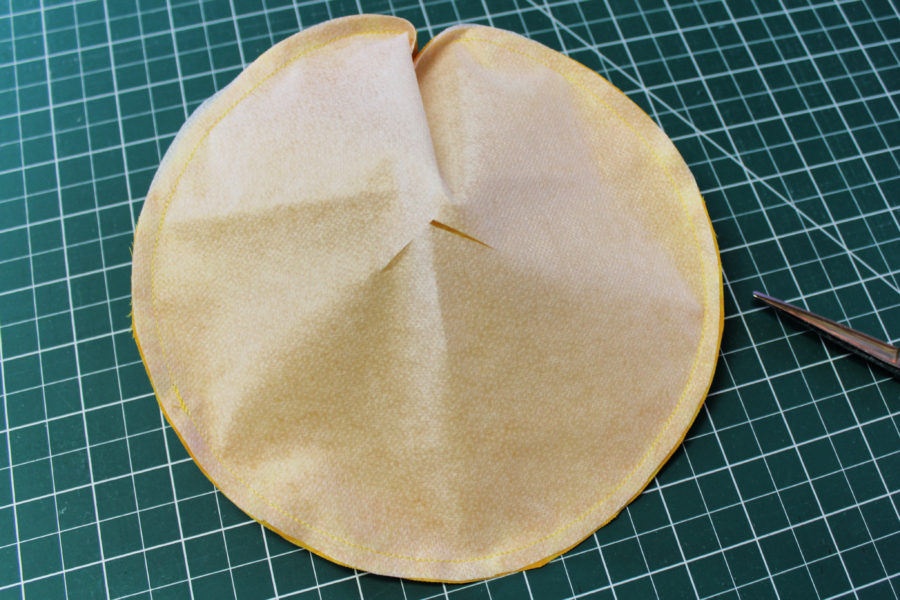
Turn the Sun Center right side out through the cut slit. Use a chopstick inside the circle to smooth and push the edges out.
Step 3: Place the fabric front Sun Rays on an ironing surface with the right side up. Fold the circle in half and half again to mark the center by finger pressing. Place the prepared Sun Center with the interfacing adhesive down on the fabric. It is important to align the Sun Center in the middle. Bond the Sun Center to the Sun Ray top by pressing with iron in sections for 10 – 15 seconds.
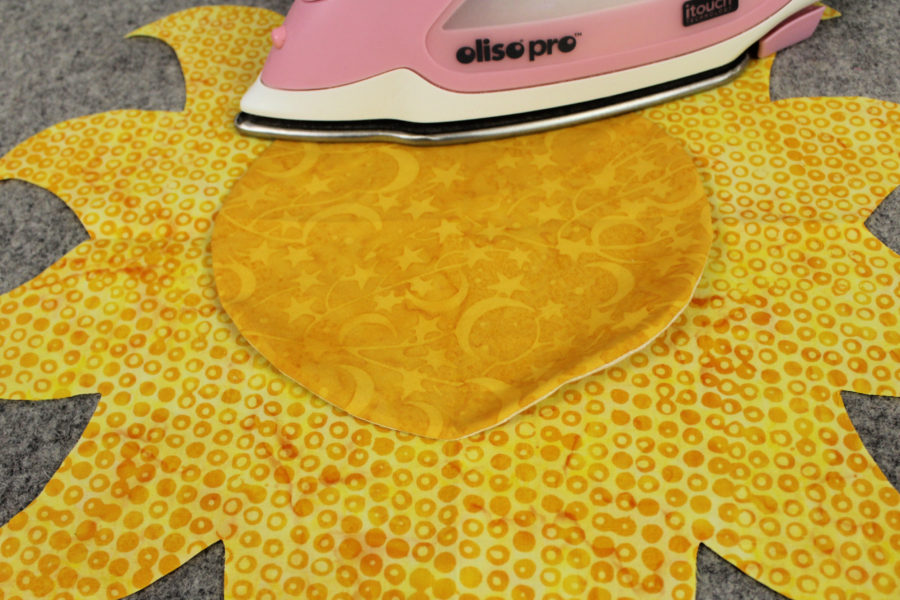
Let the center cool then stitch around the edge of the circle. After the stitching is finished, pull the fabrics apart and cut a slit in the back of the circle. Cutaway the center to leave a ¼” seam allowance and press. Use the cutaway for another project.
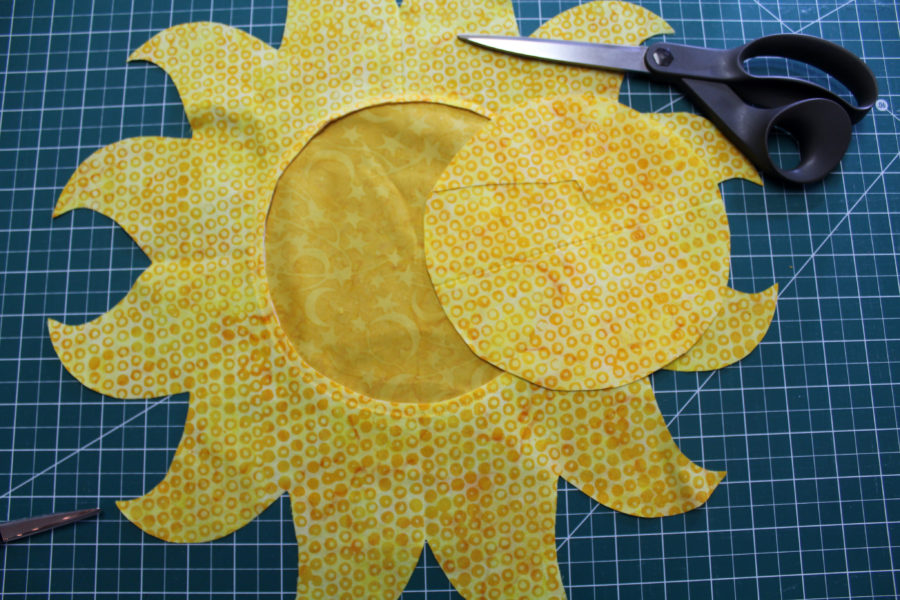
Step 4: Pin the Sunshine front to the Sunshine back with right sides together. Stitch around the Sun Rays ¼” from the raw edge. Leave a 3” opening on one side for turning right side out.
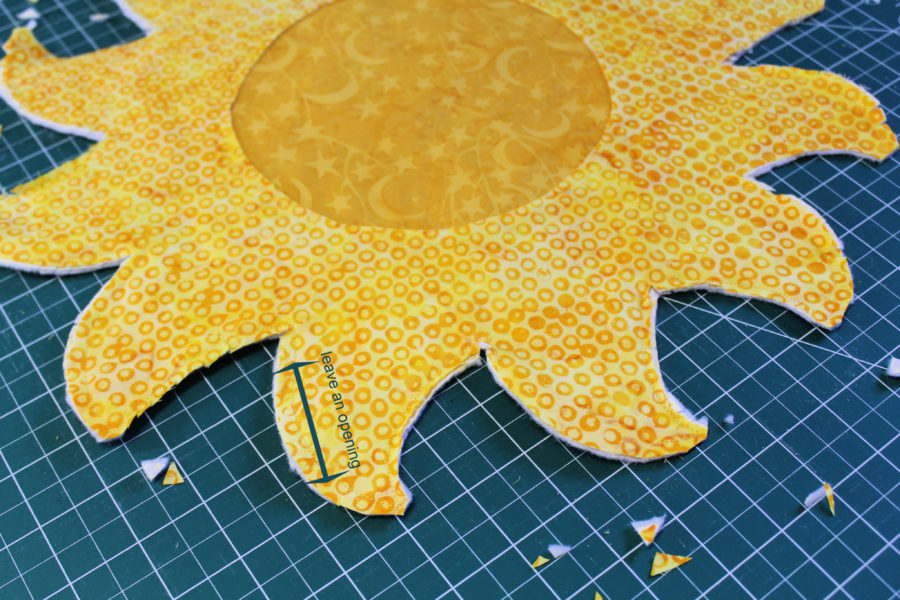
Clip the corners and turn the placemat right side out. Push each ray out with a chopstick. Press the opening shut by turning the edges inside 1/4″.
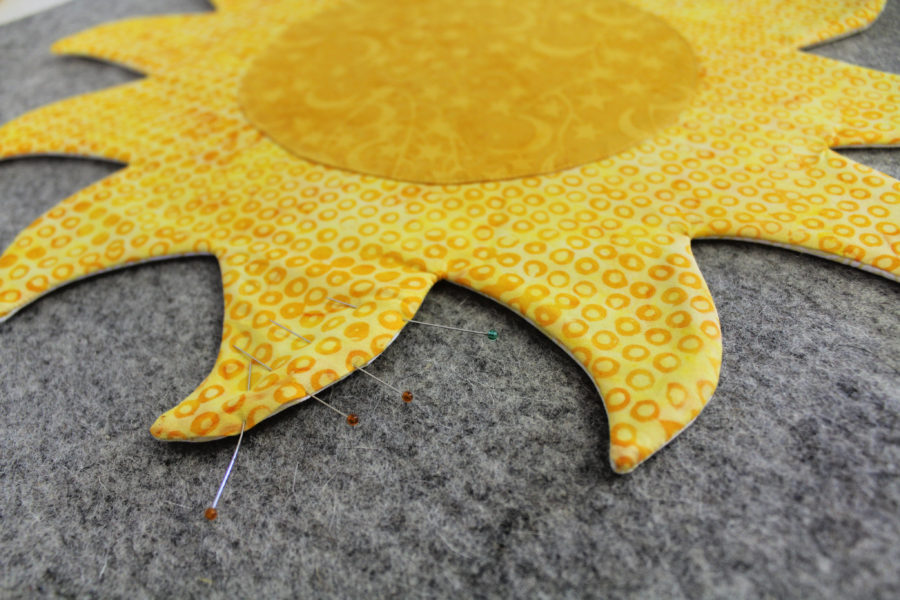
Edgestitch around the placemat. Stitch around the center over the previous stitches. Quilt if desired.
Make these placemats with pretty backing fabric and they can be reversible too!
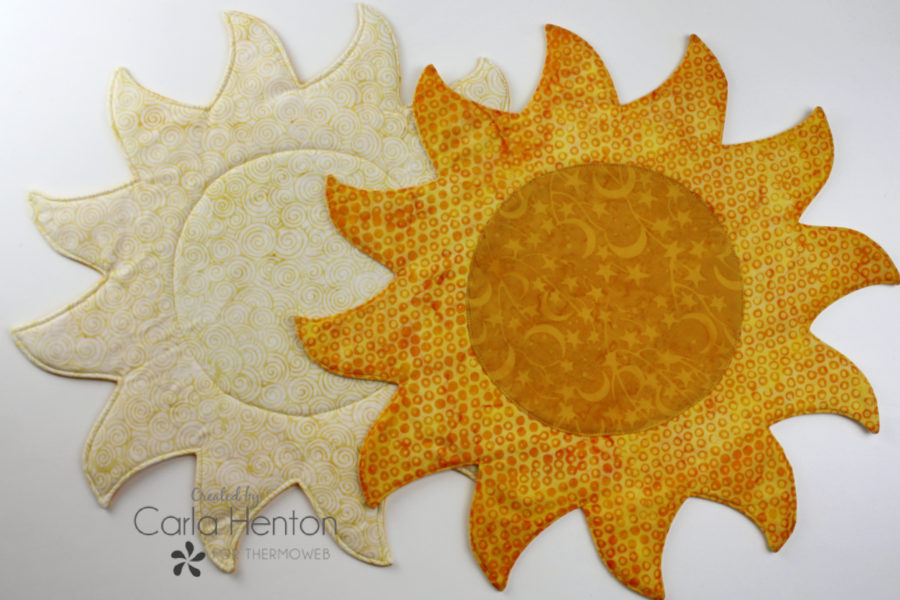
Feel free to enlarge the pattern for larger plates. I may just hang one on my wall for sunshine every day.
2 Comments on Sunshine Placemats with HeatnBond
1Pingbacks & Trackbacks on Sunshine Placemats with HeatnBond
-
[…] Foil Flock Transfer Sheets – Emerald Green Deco Foil Flock Transfer Sheets – Teal Waters Deco Foil Flock Transfer Sheets – Green Envy Deco Foil Transfer Sheets – Rainbow Deco Foil™ Adhesive Pen .34floz iCraft Ultra Bond […]

Carol Kussart
May 29, 2020 at 6:45 am (5 years ago)These are really cute placemats (or wall hangings), Carla! Thanks!