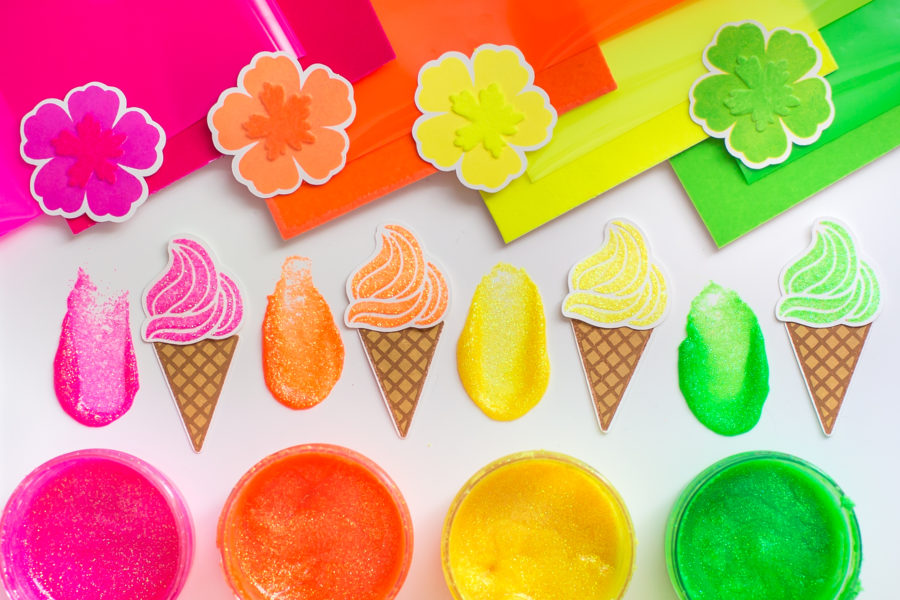
If you missed all the announcements…we’re pleased to bring you ALL NEW products from…
Electro-Pop is a fun, colorful collection filled with NEW StampnStencil Sets, Neon Flock, Enamels and Glitz Glitter Gels! They are the PERFECT way to add a color POP to everyday!
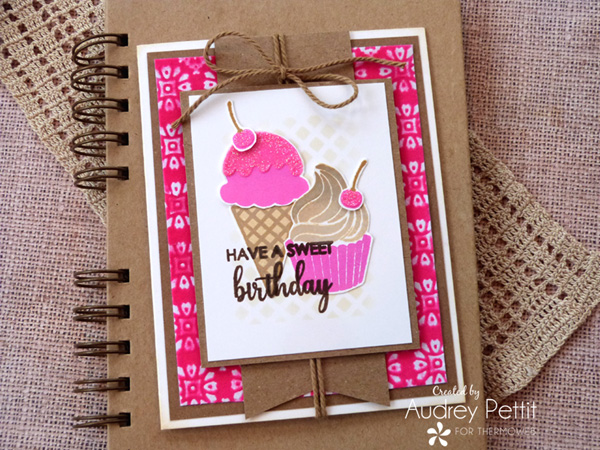
Sweet Birthday Card
by Designer Audrey Pettit
ThermOWeb Supplies:
Gina K Designs Premium Cardstock: Luxury White
Rina K Designs Stampn’Stencil Set: Sweet Stuff (coming soon!)
Rina K Designs Electro-Pop Neon Flock Transfer Sheets: Poppin’ Pink (coming soon!)
Rina K Designs Glitz Glitter Gel: Poppin’ Pink (coming soon!)
iCraft Pixie Spray
Purple Tape 1/2″
iCraft Ultra Bond Adhesive
XL Memory Tape Runner
Gina K Designs Foam Tape
Rina K Designs Neon Ink: Poppin’ Pink (coming soon!)
Kraft Cardstock, Ink: Ranger Ink
Embossing Folder: Sizzix
Twine: Stampin’Up
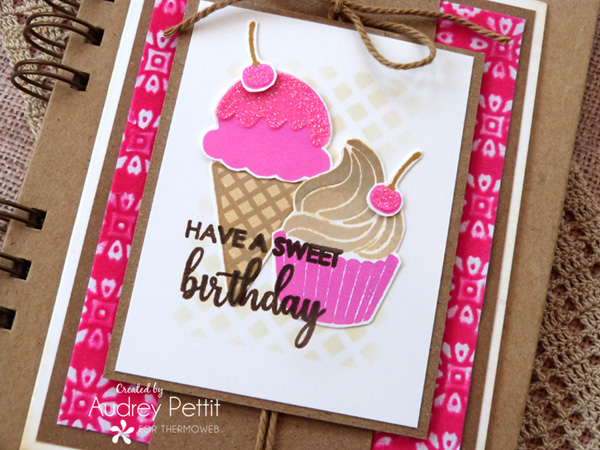
We are so excited to share our brand new line of Stampn’Stencil products from Rina K Designs along with new neon colors of flock transfer sheets and Glitz glitter gels!
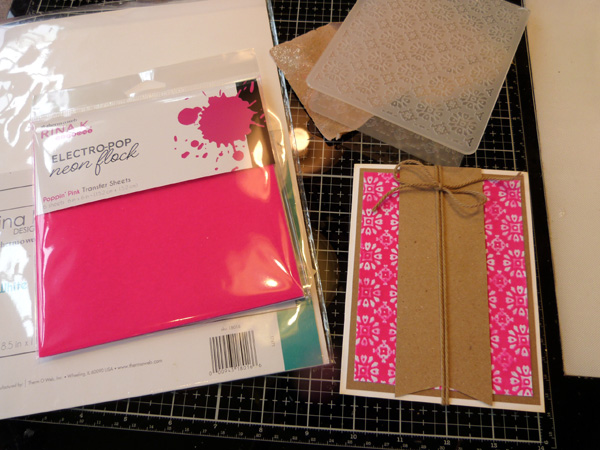
Electro-Pop Neon Flock
To begin, create an A2 card base from Luxury White cardstock. Layer the base with kraft cardstock. Cut a smaller layer of Poppin’ Pink Electro-Pop neon flock transfer sheet, and emboss it with your favorite embossing folder. Sand the raised areas of the embossing with fine-grit sandpaper to remove the flock and reveal the white core. Add the flock and a strip of kraft cardstock to the center of the card base. Wrap the center of the card with twine.
Purple Tape
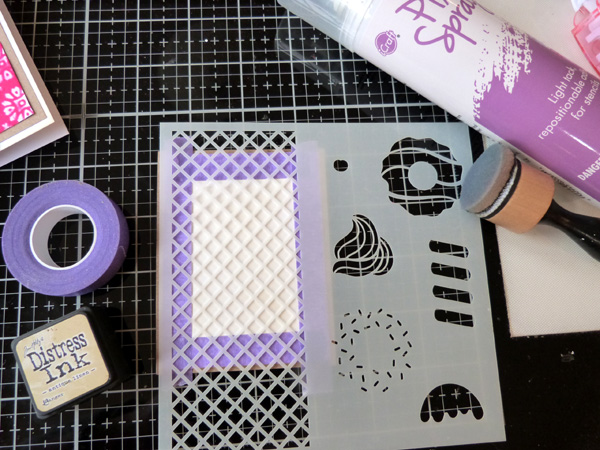
Cut a 3×4 panel of Luxury White cardstock. Mask off the edges with 1/2″ Purple Tape. Spray the back of the Sweet Stuff stencil with Pixie Spray, and allow the spray to dry until tacky to the touch. Place the spray side down onto the masked paper so that the waffle-weave pattern is centered. Ink over the stencil with Antique Linen Distress Ink. Layer the panel with kraft cardstock.
StampnStencil
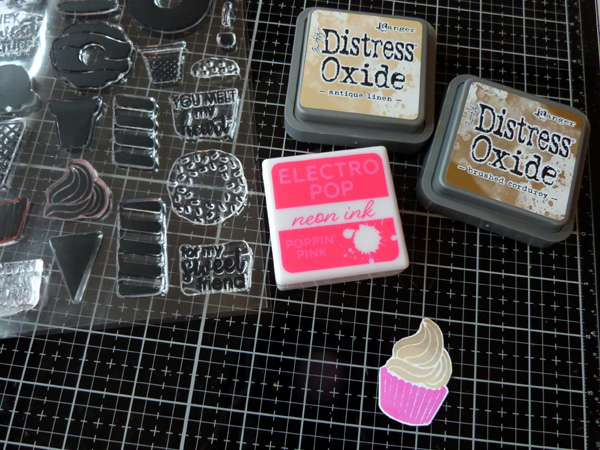
Stamp the cupcake, cherry, and ice cream cone images onto Luxury White cardstock using a mixture of Poppin’ Pink neon ink and brown Distress Oxide inks. Die-cut the images with the matching dies.
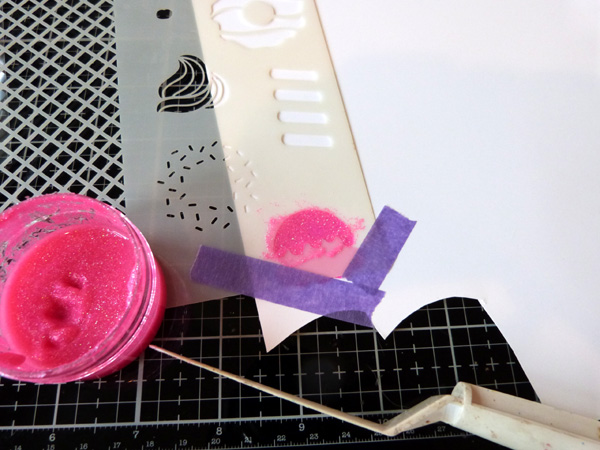
Place the stencil onto Luxury White cardstock, and apply Poppin’ Pink Glitz Glitter Gel to the ice cream detail image. Allow the gel to dry, and then trim around. Add Glitz to the cherries using the detail stencil.
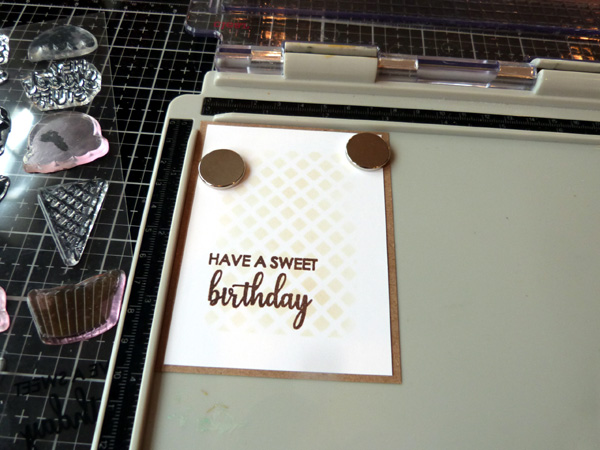
Place the panel into a stamp positioning tool, and stamp the sentiment onto the bottom left corner in brown ink. Leave the sentiment stamp in place.
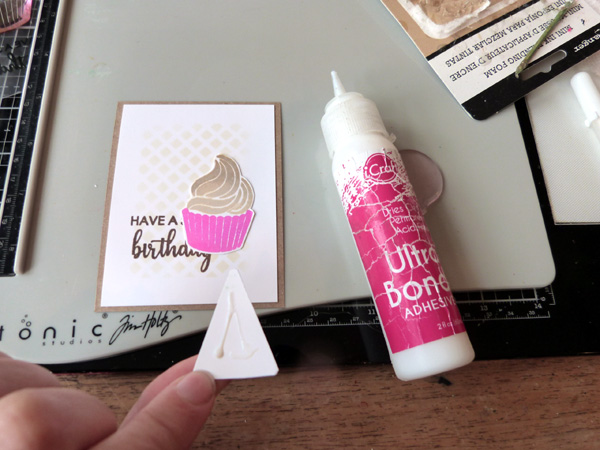
Adhere the images to the panel using Ultra Bond liquid adhesive.
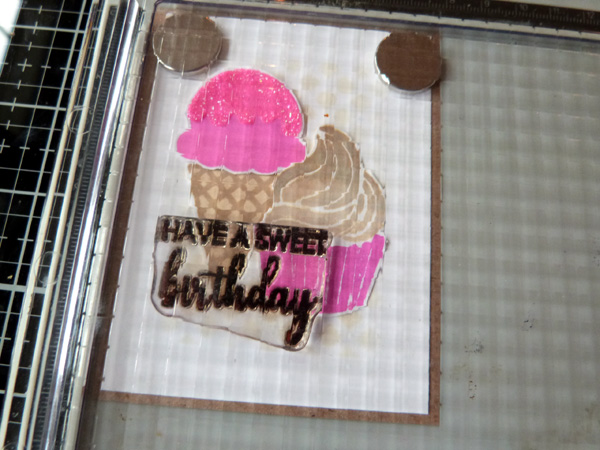
Place the panel back into the stamp positioning tool, and stamp the sentiment again.
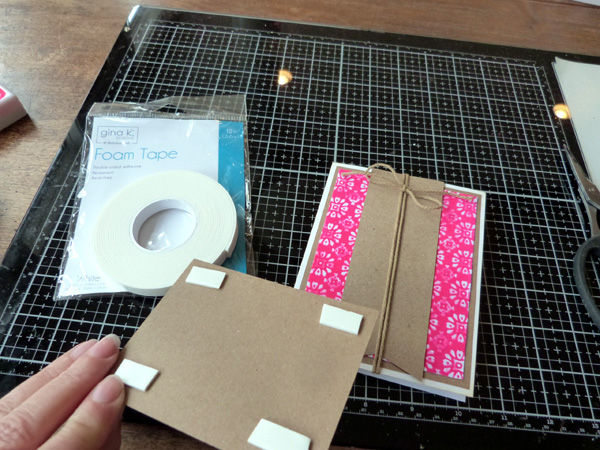
Adhere the panel to the card using Gina K Designs Foam Tape.
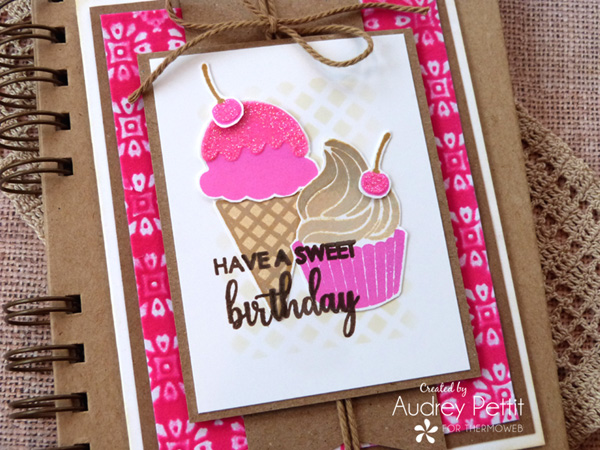
Enjoy!

