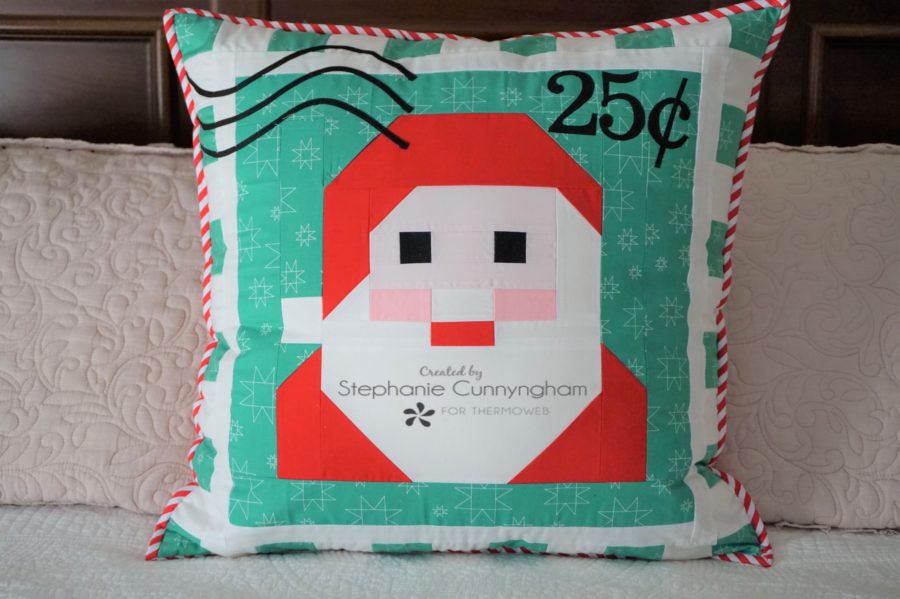
Supplies Needed
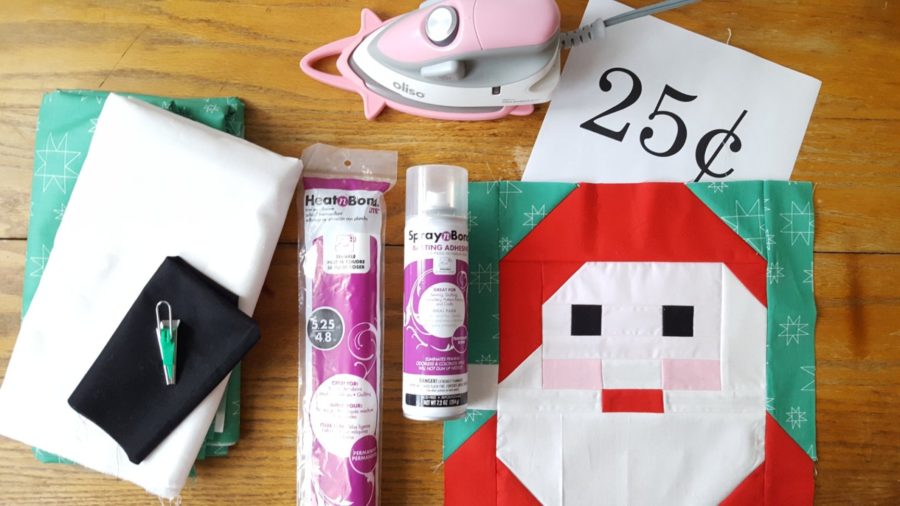
- 1/4 yard background fabric
- 1/4 yard white fabric
- 1/4 yard binding fabric
- 1/2 yard backing fabric
- 23″ square of batting
- 24″ square of lining fabric
- Fat quarter black fabric
- 12.5″ quilt block
- HeatnBond Lite Fusible Interfacing
- SpraynBond Basting Spray
- 1/4″ bias tape maker
- A zipper at least 22″ long
- A good iron
- 25 cents template
Santa Mail Sewing Instructions
- Cut the background fabric into two 2.5″ x 12.5″ strips. Sew these strips to the right and left sides of your 12.5″ block.
- Cut the background fabric into two 2.5″ x 16.5″ strips. Sew these strips to the top and bottom of your 12.5″ block.
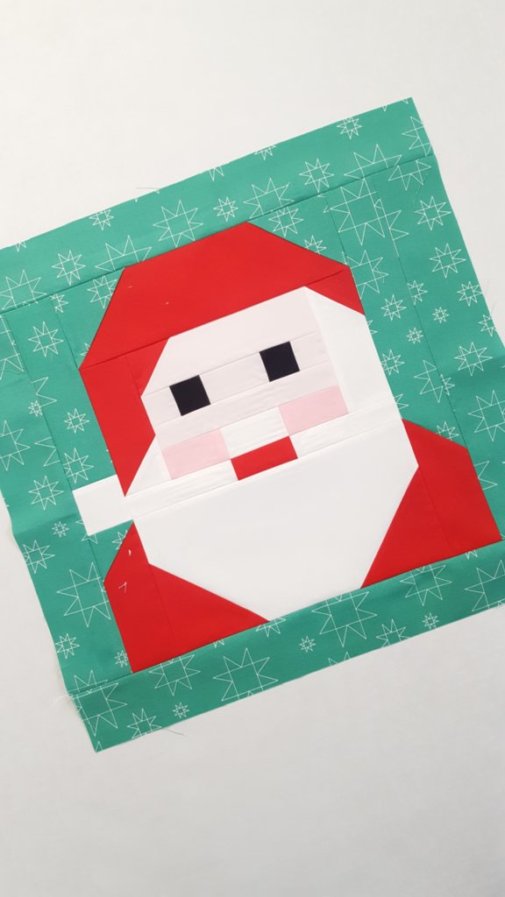
- Cut the white fabric into two 1.5″ x 16.5″ strips, and sew these to the right and left sides of your block.
- Cut the white fabric into two 1.5″ x 18.5″ strips, and sew these to the top and bottom.
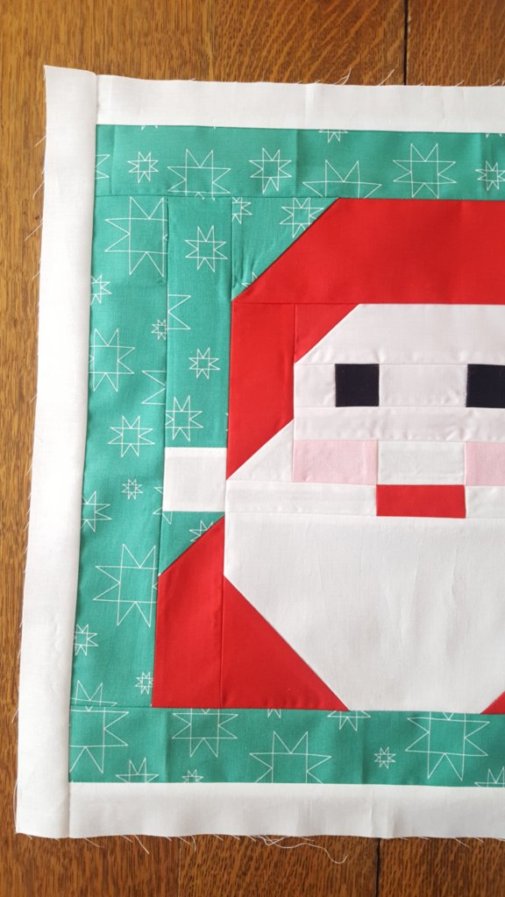
- Cut two 2.5″ x WOF strips from both the background and the white fabric. Subcut into 2.5″ squares. You will need 20 squares of background fabric and 20 squares of white fabric.
- Sew nine squares together, starting and ending with a white square. Make two of these strips. Sew these strips to the right and left sides of the quilt block.
- Sew 11 squares together, starting and ending with a green square. Make two of these strips. Sew these strips to the top and bottom of the quilt block.
- Quilt block should now measure 22.5″ square.
- Layer your quilt block, batting, and lining fabric and quilt as desired, keeping in mind you still have applique to do. I just quilted in the ditch around the white strips and squares. If you apply your applique and then try to quilt, it gets a little more tricky to quilt around the pieces you appliqued. However, if you want to quilt over everything, applique included, save the quilting for the end!
- To make the cancellation mark for the block, cut the fat quarter of black fabric on the diagonal (from corner to corner) in 1/2″ strips. Cut two.
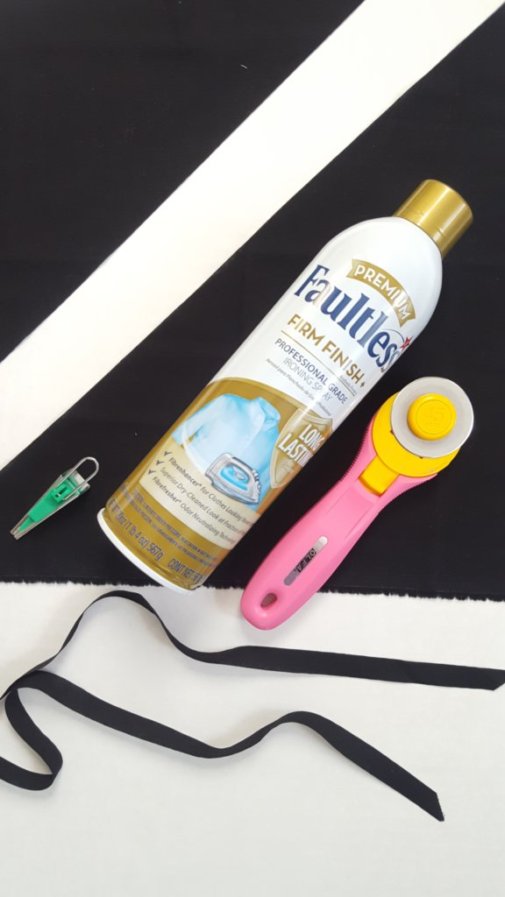
- Heat your iron. Spray the black strips really well with spray starch, then insert them into your bias tape maker. Pull the strips through the end of the bias tape maker, ironing as you go. You should end up with something that looks like this:
- Take your strips outside and spray the wrong side (the side pictured above) really well with basting spray. Your fabric will look white when you do. That’s ok.
- Fold the wrong edge under on one end of your bias strip, then press it on your quilt block in a wavy line pattern. You can make these as long or as short as you want to. You can add, two, three, or four of these marks. I added three.
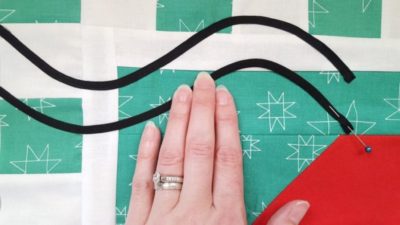
- Thanks to the basting spray, you can adhere these strips to your block and not have to pin them, which makes it much easier when sewing these tiny strips. Next, stitch along both edges of your bias strips to secure them in place.

- Next, trace the 25 cents template on the paper side of the HeatnBond Lite.
- TIP: For the line that goes through the cents sign, trace it as it’s own piece instead of trying to cut around it.
- Fuse the HeatnBond to the back of the black fabric and cut out pieces.
- Remove the paper from the back of your pieces and place them on the upper right corner of your quilt block, making sure they don’t overlap the white fabric.
- Stitch these pieces in place to secure.
- To make the pillow back, cut the backing fabric into an 18″ x 22.5″ rectangle and a 7″ x 22.5″ rectangle.
- Insert zipper along 22.5″ side of both rectangles. Trimming from the smaller rectangle, cut pillow back to 22.5″ square.
- Cut three 2.25″ x WOF strips of binding fabric and sew them together. Attach binding using your favorite method.
- Stuff pillow cover with a really big pillow and enjoy!
- You can purchase 24″ pillow forms at craft stores.
- I used a Euro pillow insert I already had, which is about 26″, and it worked well too!
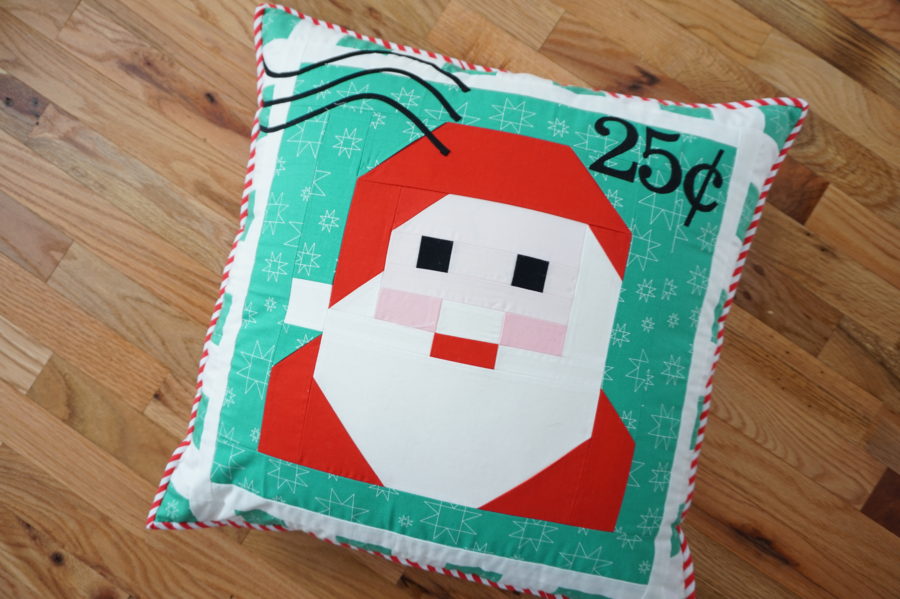
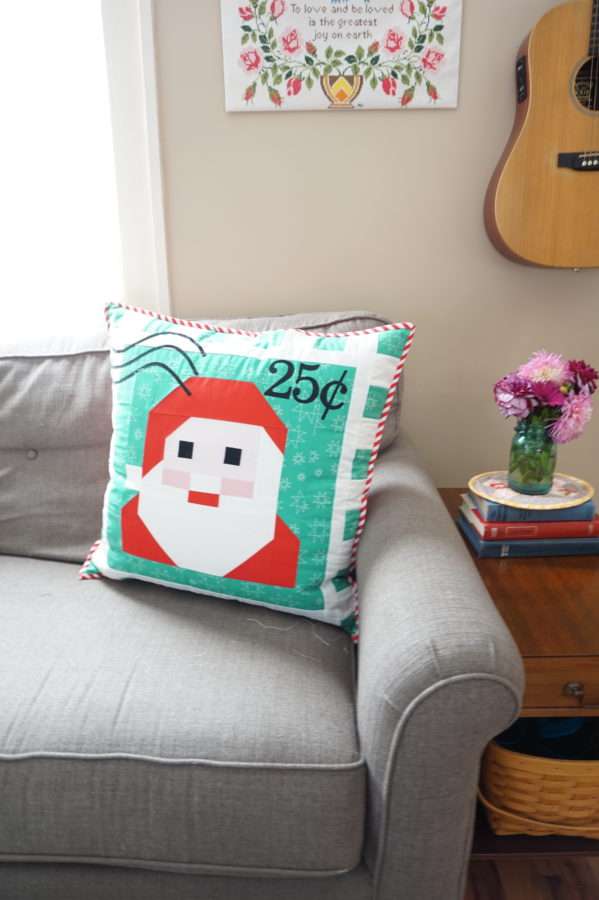
I hoped you enjoyed sewing along with me! You can find more of my work on Instagram or on my blog.
See you again soon!
-Stephanie-
