Happy March!! I can’t believe we are already into the 3rd month of 2019, where is this year going!?!
Becca here from Sunflower Seams, stopping by to share this adorable Knit Bow Headband tutorial using HeatNBond Soft Stretch Lite with you today! My daughter is still in the age of fun hairstyles and bows in her hair so I am always thinking of new ways to make a fun matching bow. Whether you have a newborn or tween this tutorial will be your new go-to for a quick and easy Knit Bow Headband. So, let’s get started…
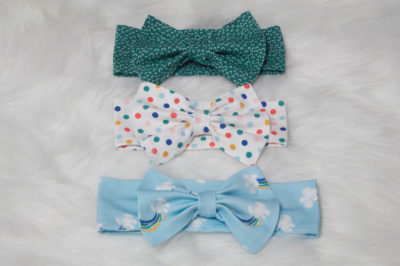
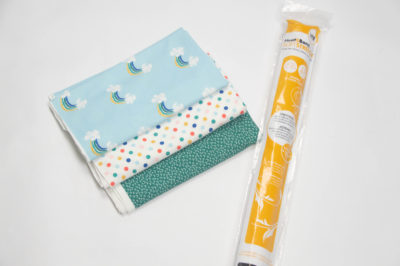
Knit Bow Headband
HeatNBond Soft Stretch Fusible Adhesive – Lite
1/8 yard of your favorite knit fabric (I used Hawthorne Supply Co. Rainbow Skies) for this project

Knit Bow Headband Instructions
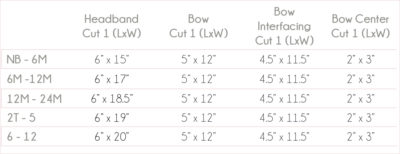
Step One: Using the cutting chart above, cut out one of each piece, headband, bow, bow center and interfacing, making sure the direction of greatest stretch is running parallel to the length of each piece.
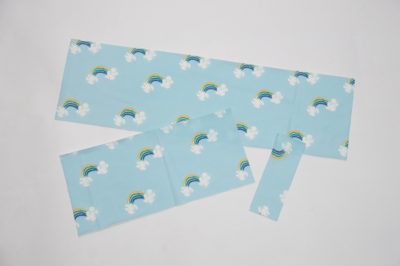
Step Two: Fold the short ends in 1/4″, wrong sides together and press. Fold the headband piece in half length-wise, right sides together, and pin. Sew along the top raw edge. Be sure to use a stretch stitch, you don’t want to pop any stitches when putting the headband on the child’s head. Turn the headband right side out and press. I like to use a quick turn tool to push out all of the seams when pressing.
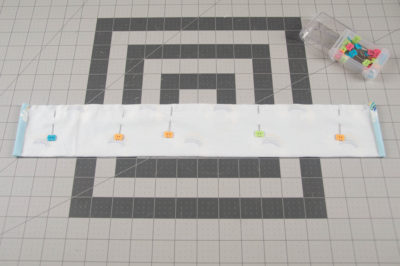
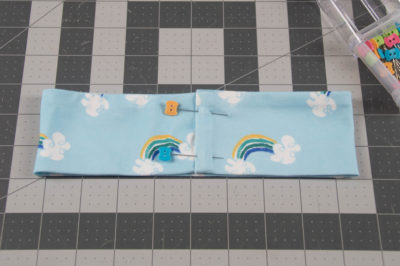
Step Three: Slide one of the short ends of your headband into the other end 1/4″ and pin. Sew down the the seam 1/8″ away from the folded edge.
Step Four: Using a heat source, fuse the interfacing to the wrong side of the bow piece.
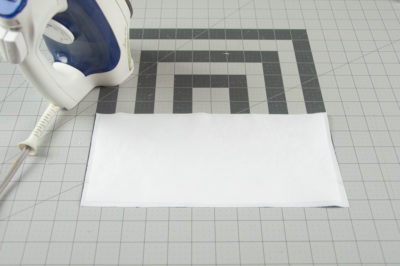
After the Soft Stretch Lite has completely cooled, peel off the paper backing.
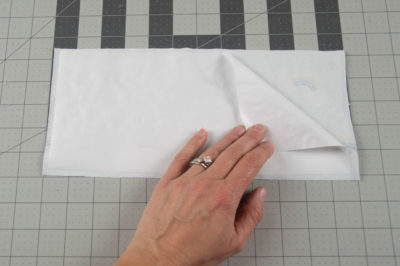
Step Five: Fold the bow strip in half width-wise, right sides together, and pin Starting in the center of the bow, sew around the entire bow piece, leaving a 1-2” opening for turning.
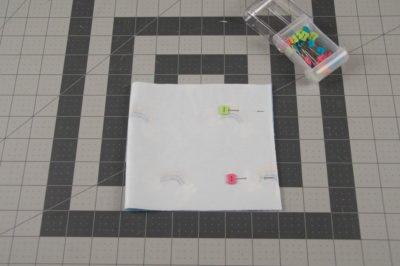
Step Six: Cut the corners close to the stitching, making sure not to clip any of your stitches. Turn the bow piece right side out, pulling the fabric through the opening. Push the corners and seams out with a quick turn tool and press.
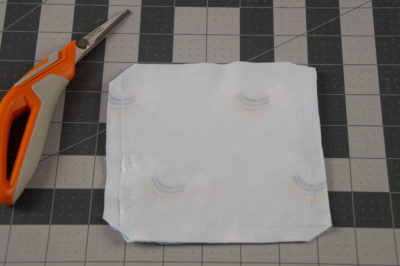
(Optional): Hand or machine stitch the opening closed. If you machine stitch, be sure both your main and bobbin thread match your fabric. The seam will be hidden by the bow center when assembled.
Step Seven: Fold the bow in half width-wise and press lightly. Using the crease you just made, sew two rows of gathering stitched down the center of your bow. Gather to the preferred narrowness in the center. Tie the thread off at both ends to secure and trim.
Step Eight: Fold bow center piece in half length-wise, right sides together and pin. Using a 1/4” seam allowance, sew down the long raw edge. Turn the bow center piece right side out with the seam running down the back center and press.
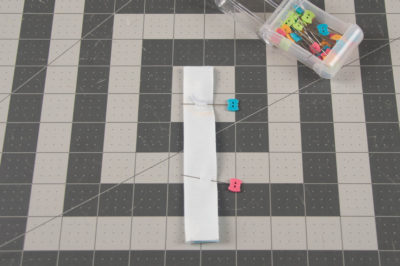
Step Nine: Place the center of the bow on top of the center of the headband. To prevent any shifting you can sew a couple of stitches through the bow and headband. Place the bow centerpiece around the bow and headband, right sides together, and pin.
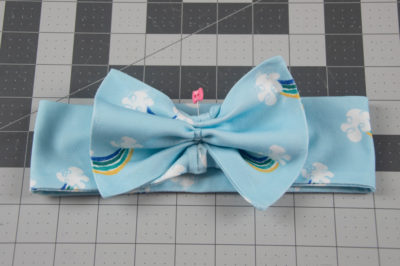
Step Ten: Sew down the bow center piece, getting as close to the bow and headband as you can without stitching over them. Trim any excess fabric and urn the bow center right side out.
Happy Sewing!
xoxo, Becca

Today is the official KICK OFF for National Craft Month!
2 Comments on Knit Bow Headband with HeatNBond Soft Stretch
1Pingbacks & Trackbacks on Knit Bow Headband with HeatNBond Soft Stretch
-
[…] you’ve missed some of my other projects for them you can find them here, here and […]

Mary Holshouser
March 3, 2019 at 10:01 am (6 years ago)Wish I had a little girl.
thanks for the extensive directions.
txmlhl(at)yahoo(dot)com