
We’re really excited about our Valentine Sew Along this week and we’d love to have you join us. Four Therm O Web designers have created applique blocks for you that will be shown over the next four days. All the blocks are 10 ½” x 10 ½” unfinished and can be made with fat quarters and/or scraps. Patterns will be available with supplies and instructions. You’ll have plenty of time to applique and stitch the blocks before February 14th when we’ll share four projects and patterns using the blocks. You can make one of the projects or all four…it’s up to you! Once you finish your blocks, we’d love to see them on Instagram with the tag #thermowebsewalong
Designers for our Valentine Sew-Along:
Carol Swift
Amy Chappell
Carla Henton
Amy Warner
Hi! It’s Amy Chappell here to share with you my Valentine’s Day applique block! I am so excited about all the fun blocks in this series and hope you will have fun making your own Valentine’s mini quilt along with us!
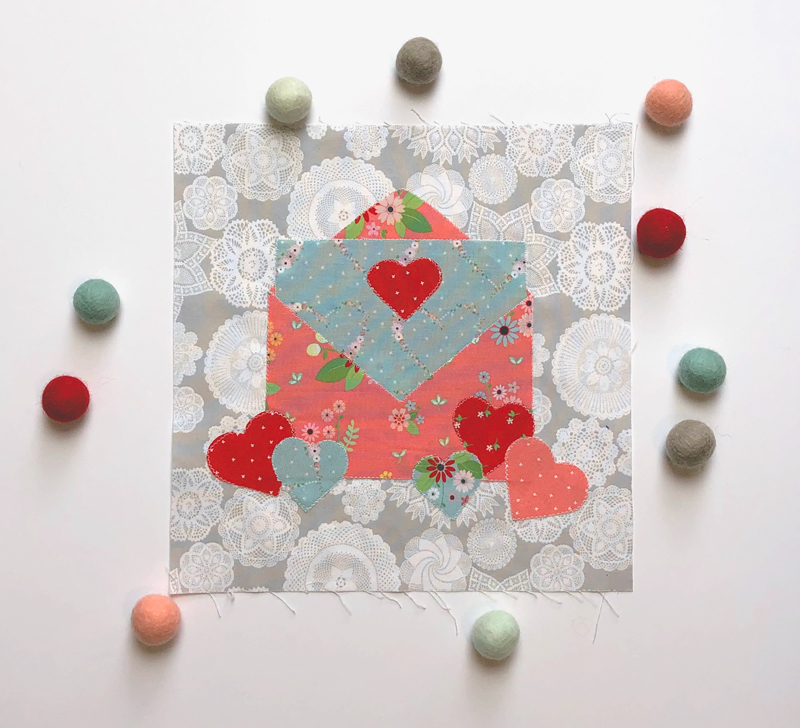
Valentine Sew Along
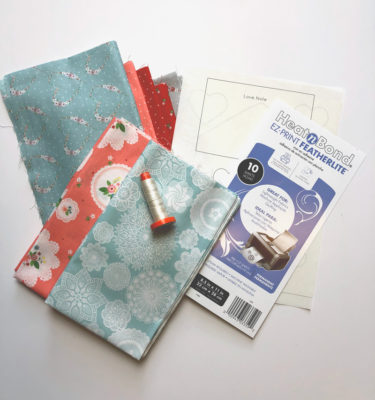
Quilt Block Instructions
To begin we need to gather our supplies. This block has a few layers of applique, so I chose to use the Heat n Bond EZ-print Featherlite sheets. It makes it so easy to just print off your pattern! This particular block does not have any images that need to be reversed, so you can print directly onto the sheets. If you do not want to use the EZ print sheets, you can always trace the pattern onto Heat n Bond Lite.
You will also need some fabric. I am using Vintage Keepsake fabric by Bev McCullough for Riley Blake Designs. You only need small bits for the applique, but if you want to have a consistent background for all of your blocks (there are a total of 4) you will need at least 1/3 yard of the background fabric. Cut out a 10 1/2″ square of the background fabric for this block.
I am using Aurifil Thread for the applique.
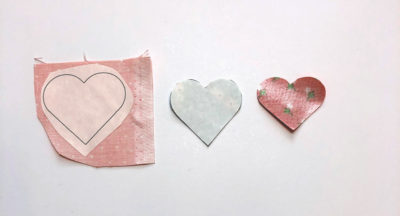
Prepare your applique pieces by cutting a slight margin around your pattern pieces on your Heat n Bond. Follow the package directions to fuse the pattern piece onto the wrong side of your fabric.
Cut out your pattern piece and then remove the paper backing.
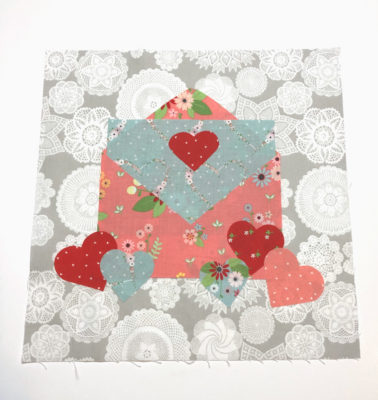
Arrange your pattern pieces on the background fabric. Again follow the package directions to adhere your applique pieces onto the block. Make sure you allow plenty of time to make sure the fabrics fuse together.
Stitch around all of the applique pieces. You can use a straight stitch, narrow zig-zag stitch or a blanket stitch. I am using a narrow zig-zag stitch on my blocks.
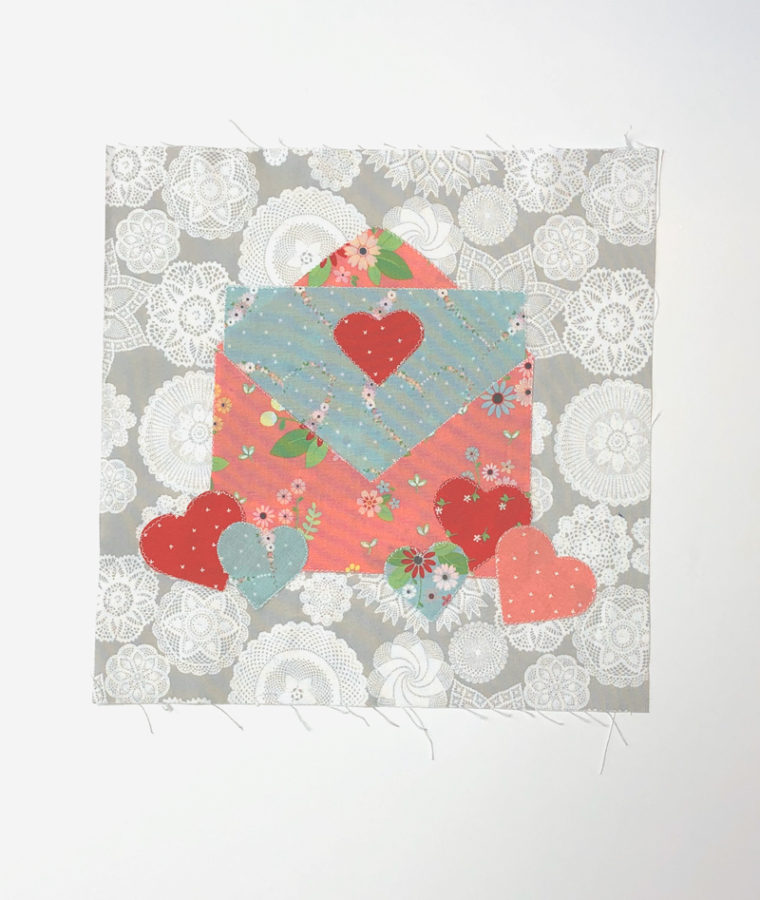
Once all of your applique pieces have been stitched down, your block is finished! Add a border and make a pillow, or follow along with our series, and make a Valentine Mini Quilt!
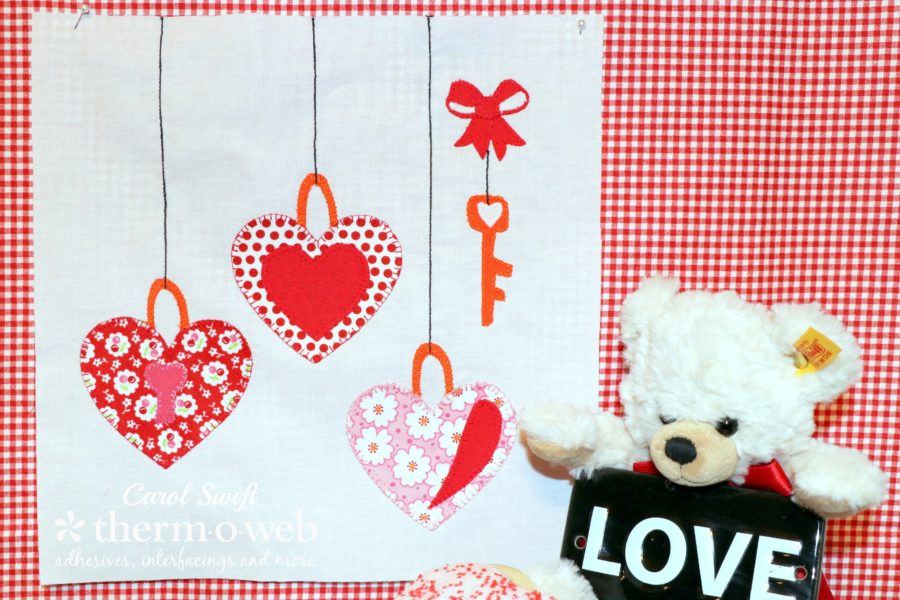
You’ll find the first pattern here and be sure to join us tomorrow and Friday for the final two patterns!
xoxo,
Amy
