 We’re happy to announce we’ve teamed up with our friends at Joy Clair for this week! It’s a new promotion for us with a company who offers beautiful stamps. You’ll find products creative stamps for crafting and bible journaling.
We invite you to visit their blog and website to see their products and what their design team has created for our product promotion.
Here’s one of their new releases that we love…Penguin Tropical Christmas! So cute!
All this week you’ll find projects twice a day from our team of designers and the talented team at Joy Clair! Don’t miss a day!
Make Shaker Cards with Deco Foil and Joy Clair
Hello Crafty Friends!!
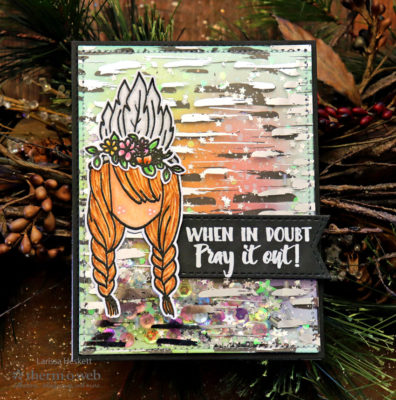
Larissa here today with a Couple Cards showing how you can create EASY Shaker Cards using our Clear Designer Sheets!!
Products Used:
Therm O Web Products
Brutus Monroe Designer Toner Sheets in Brush Strokes
Deco Foil Transfer Sheet in Silver
Laminating Machine
Other Products:
Joy Clair Prayer Warrior Bible Journaling Stamp Set
Joy Clair Deer Friends Bible Journaling Stamp Set
Copic Markers
Distress Inks
Distress Paint
Sequins
Sewing Machine
When In Doubt Shaker Card Instructions:
My First Card uses the Brutus Monroe Clear Toner Sheets in Brush Strokes!!
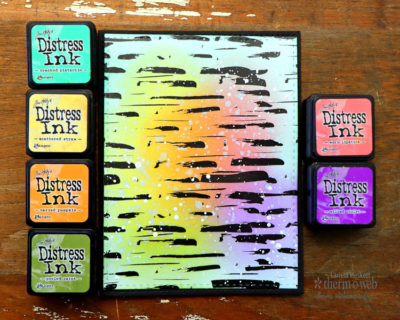
I inked the White Brush Strokes Designer Sheet with Distress Inks Cracked Pistachio, Mustard Seed, Carved Pumpkin, Worn Lipstick, and Wilted Violet to create a Rainbow Inked Background!! Then I added some Picket Fence and Black Soot Distress Paint Splatters!!
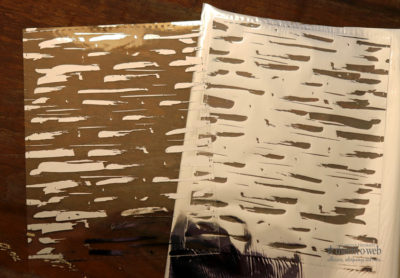
Next, I Foiled the Clear Brush Strokes Designer Sheet using Deco Foil Toner Sheets in Silver by running it through my Laminating Machine!!
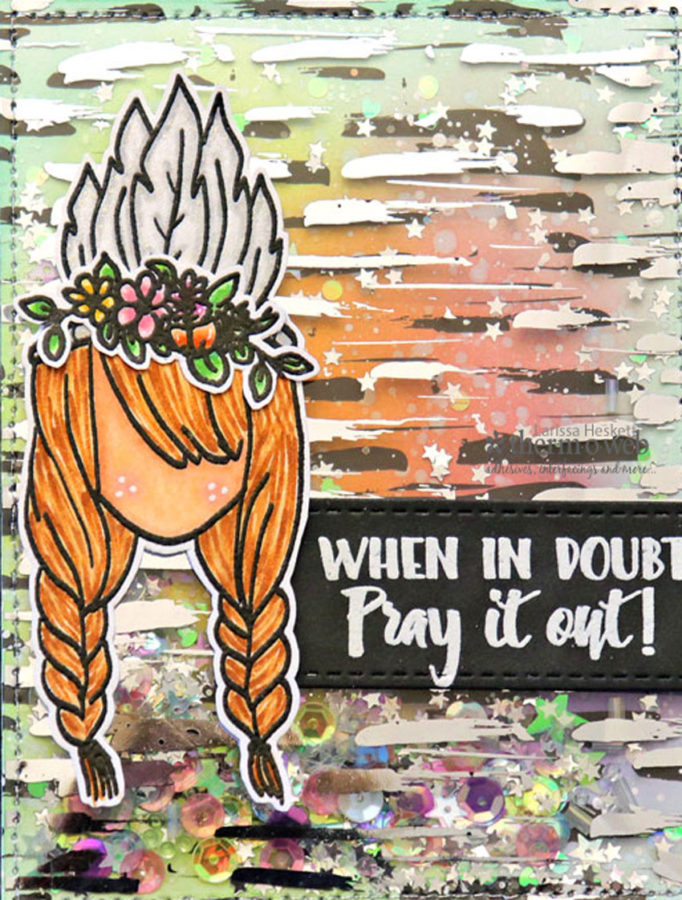
I used my Sewing Machine to Stitch the two Brush Strokes Designer Sheets together leaving the top open so I could dump in my Sequins for the Shaker Elements!! Then I Stamped and Embossed the Images!! Colored them in using Copic Markers and Cutting them out to adhere them onto my Card Front!!
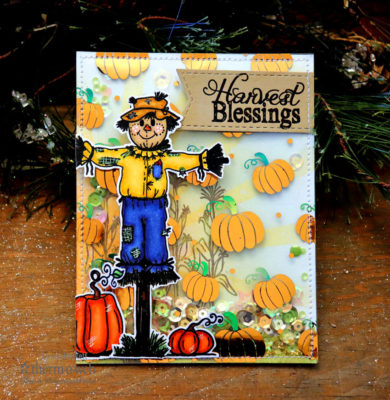
For my Next Card, I’m using the Deco Foil Clear Toner Sheets in Pumpkin Patch to create a FUN Multi-Layered Foil Shaker Card!!
Products Used:
Therm O Web Products
Deco Foil Clear Toner Sheets in Pumpkin Patch
Deco Foil Transfer Sheet in Cooper and Emerald Watercolor
Purple Tape
Laminating Machine
Other Products:
Joy Clair Harvest Blessing Stamp Set
Copic Markers
Distress Inks
Sequins
Sewing Machine
Harvest Blessing Shaker Card Instructions:
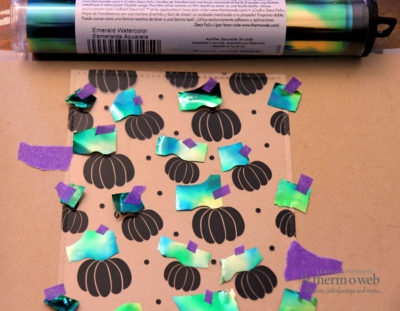
Start by cutting down small pieces (or using up those Scrap pieces of Foil) to cover the Pumpkin Stem!! I’ve used Emerald Watercolor, but you can use any color you’d like!! You can use small pieces of Purple Tape to hold them in place!!
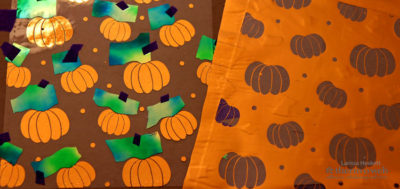
Then cover the entire piece with some Copper Deco Foil and run it through your Laminating Machine!!
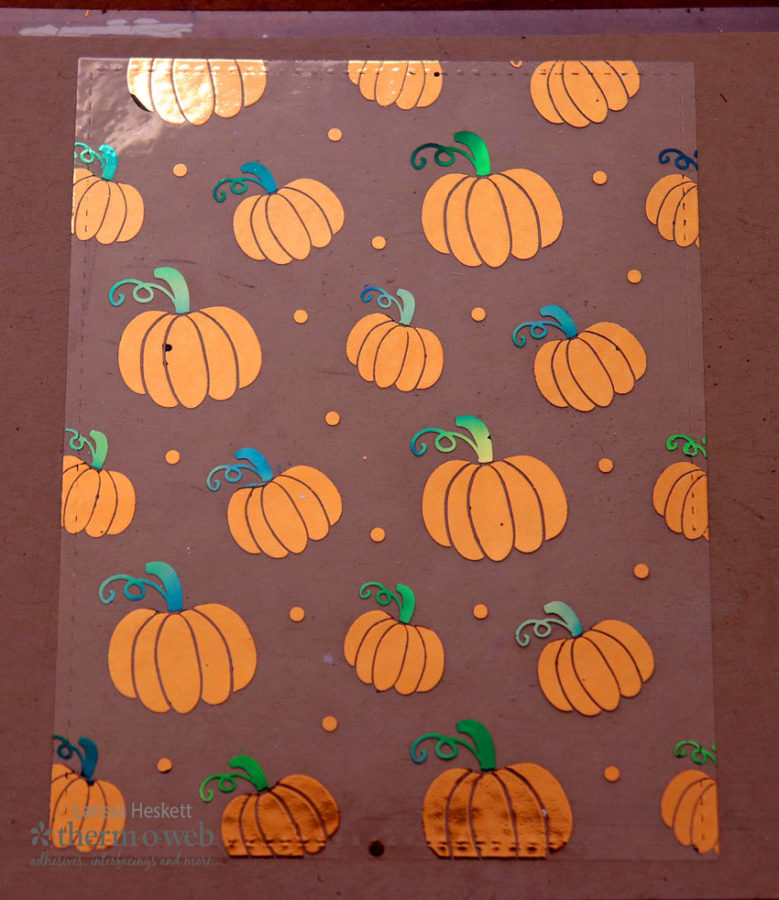
Then SQUEAL in delight when you reveal the BEAUTIFUL Results!!
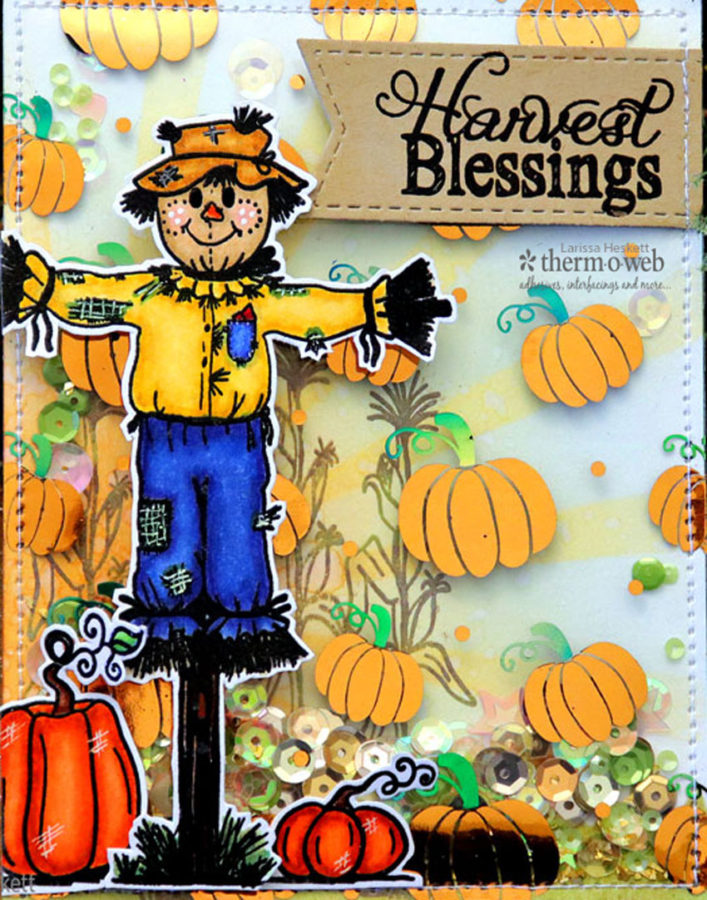
I created a Stamped and Inked Background and then used my Sewing Machine to Stitch the two Brush Strokes Designer Sheets together leaving the top open so I could dump in my Sequins for the Shaker Elements!! Then I Stamped and Embossed the Images!! Colored them in using Copic Markers and Cutting them out to adhere them onto my Card Front!! Isn’t that Scarecrow CUTE!!?? He makes me SMILE!!
THANKS SO MUCH for stopping by today!! If you’ve missed the AMAZING Inspiration Week, please visit here to catch up and make sure to leave a comment for a chance to WIN!!
If you create something I hope you’ll share with us on Social Media using the #Hashtag #decofoil, #thermoweb, #ginakdesigns as we LOVE to see what you create!! Have a FABULOUS WEEK!!
<hr />
We hope you’ve enjoyed the projects we’ve been sharing this week as well as friends at Joy Clair!
Be sure to stop by their blog for added ideas and inspiration featuring our two companies products!
And so you can pick some new supplies to have fun creating…we’re offering you a chance to win a $25 Gift Card to shop with us!
<img class=”aligncenter wp-image-43504″ src=”https://blog.thermoweb.com/wp-content/uploads/2018/10/Joy-Clair-Prize.png” alt=”” width=”600″ height=”600″ />
<a id=”rcwidget_hwdnq181″ class=”rcptr” href=”http://www.rafflecopter.com/rafl/display/1a395fbb140/” rel=”nofollow” data-raflid=”1a395fbb140″ data-theme=”classic” data-template=””>a Rafflecopter giveaway</a>
<script src=”https://widget-prime.rafflecopter.com/launch.js”></script>


trainwithmeghan
October 17, 2018 at 9:09 am (7 years ago)I LOVE the background and the foiling! Amazing shakers!!!
Kelly
October 17, 2018 at 10:37 am (7 years ago)AHh!! This is soo cute!! Luv luv luv !! I’m curtebtky obsessed with shaker cards!! Thank u did this B-E-A-utiful idea!!!
Dana M
October 17, 2018 at 12:35 pm (7 years ago)Wonderfully fun and creative shaker cards!
Jeanne Beam
October 17, 2018 at 1:44 pm (7 years ago)Great shaker cards. Adorable scarecrow!
Thanks for sharing…
Karthikha Uday
October 17, 2018 at 4:33 pm (7 years ago)Fantastic shaker cards!! Love the pumpkin one so much! <3
Denise Bryant
October 17, 2018 at 8:32 pm (7 years ago)Fun shaker card ideas! Love the foiled pumpkins and cute scarecrow!
gail
October 18, 2018 at 5:14 am (7 years ago)Love the cards very much – never used this product -very lovely work!!
Cindy Deily
October 19, 2018 at 2:25 pm (7 years ago)Just bought some foil and printed laser images – can’t wait to try this out! Love the samples!
Helen Gullett
October 19, 2018 at 7:11 pm (7 years ago)WOW!!!! They are super awesome shaker cards. Love love love the backgrounds and stamp sets you used.
pinkheelscreative
November 7, 2018 at 2:05 pm (7 years ago)How did you get the pumpkins orange? Did you have to cut out pieces of the orange foil for them before you used the copper? I would like to make this but I’m confused. Thanks for sharing this beautiful card.
admin
November 7, 2018 at 2:36 pm (7 years ago)Hi! Larissa is the queen of multi-foiling. She cut the foil color for the stems and then cut the copper foil for the pumpkins. Once laid out then she ran it through the laminator. You could cut the individual stems and then lay a sheet of the copper behind before running through the laminator to quicken up the process. If you look at Larissa’s card tutorials you will find many examples of multi-foiling. Best to you! Julia