Hi there! It’s Katrina here on the Therm O Web blog today, sharing a layout made with some of the new Deco Foil products…Clear Designer Toner Sheets, NEW Deco Foil Transfer Sheets and Stencils (along with the Purple Tape!) that were just introduced at Creativation. Once you see these new products in action, you are going to want to play!
Dream Big Scrapbook Layout With NEW Deco Foil Products
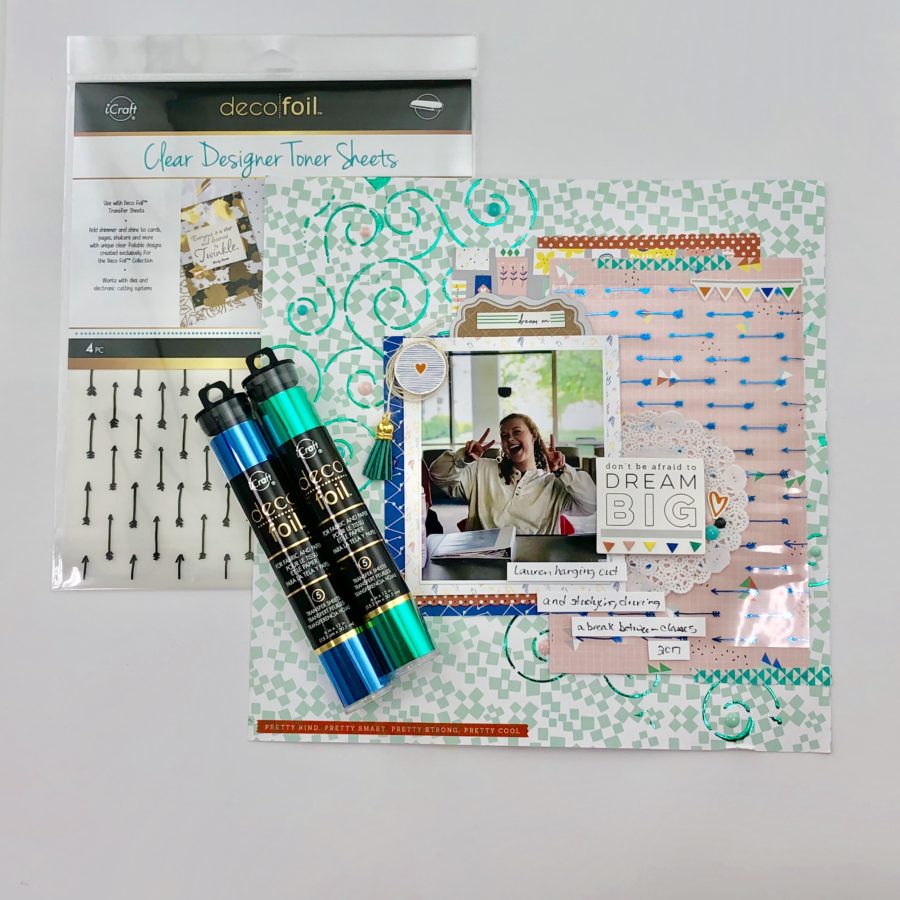
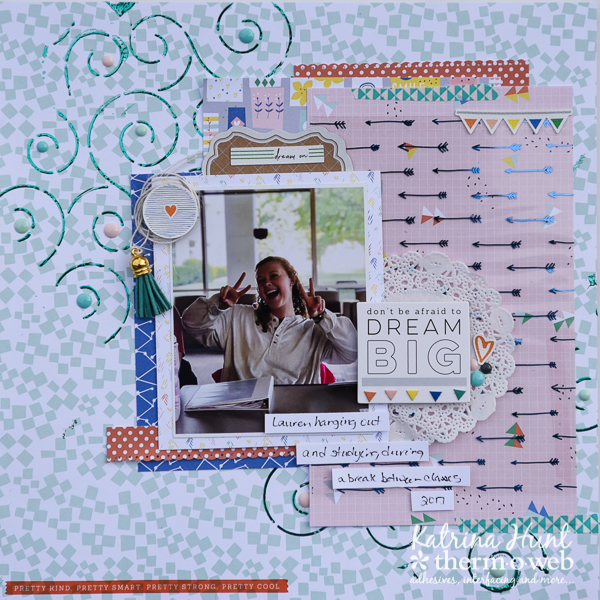
Therm O Web Supplies Used:
Therm O Web 3D Foam Squares – Combo Pack
Therm O Web Zots Singles – Medium
Therm O Web Memory XL Tape Runner
Therm O Web Deco Foil White Foam Adhesive
Therm O Web Deco Foil Transfer Gel
Therm O Web Deco Foil – Jade and Denim
Therm O Web Deco Foil Stencil – Swirls
Deco Foil Clear Designer Toner Sheets – Arrows
iCraft Purple Tape
12″ inch Laminator
See that purple tape? You are going to love it! Let’s get started on the layout.
Dream Big Scrapbook Layout Instructions:
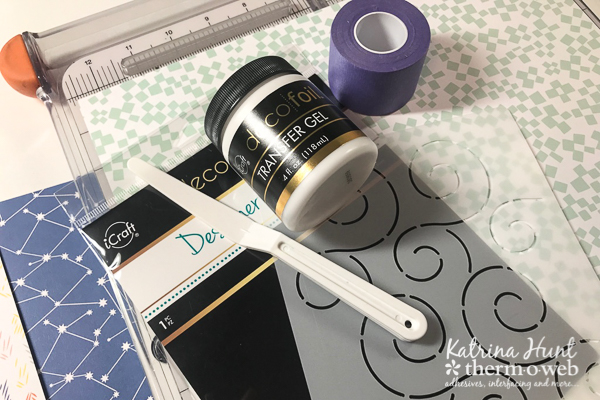
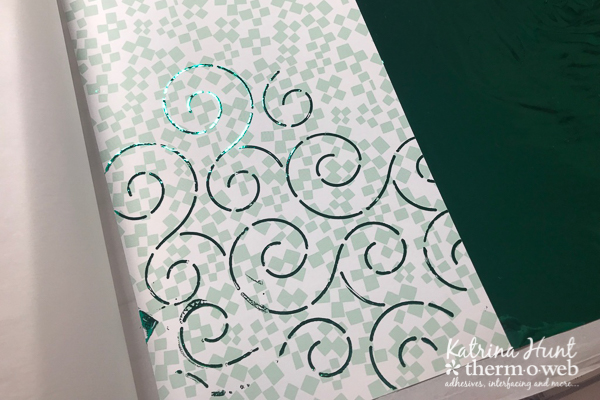
Adhere edges of stencil down on your background paper with the new iCraft Purple Tape. Apply the Deco Foil Transfer Gel over your stencil, smoothing and lifting the excess at you apply.
Note: I used a plastic palette knife, but you could also use an old gift card, etc to smooth. Once smoothed, carefully lift edges of the tape you applied and then gently lift the stencil up, leaving your background made with the transfer gel.
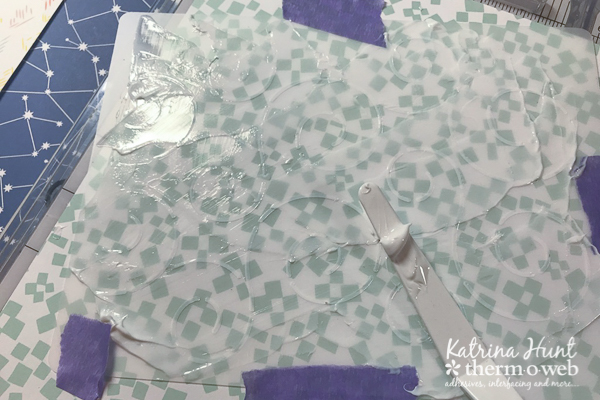
Below, you can see the transfer gel that was applied in the step above in the top corner. I used the same technique to apply in the lower corner AND the same strips of Purple Tape! I love this stuff because it doesn’t rip your paper at all and you can keep using the same little strip for a while. There is another reason, but that’s for another blog post! (Think Funny!)
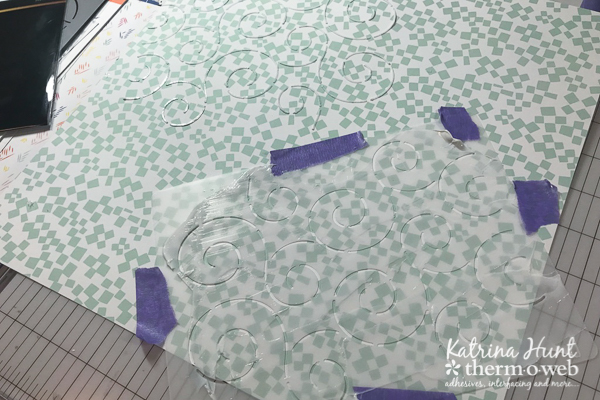
Let your transfer gel completely dry, it should be clear and tacky. I let mine dry overnight because it was late! Once dried, then you will use Deco Foil to apply over the stenciled design. I had to make a carrier sheet for my 12×12 sheet of paper and I just cut it out of parchment paper that I had on hand for baking.
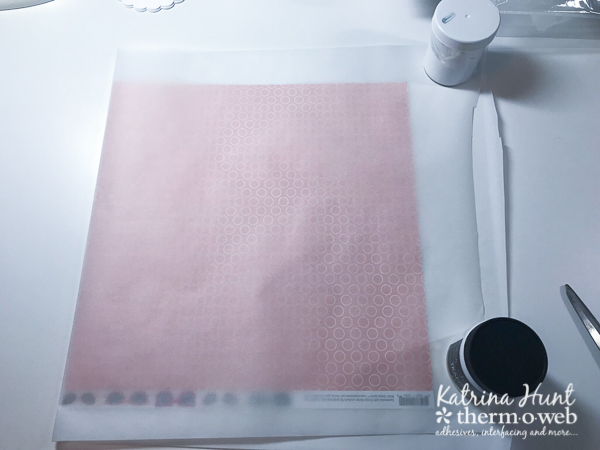
The laminator that I have and that is linked above will fit a 12×12 piece of paper and that’s what I love about it! You want to turn your laminator on and let it heat for about 20 minutes before you want to actually foil your project.
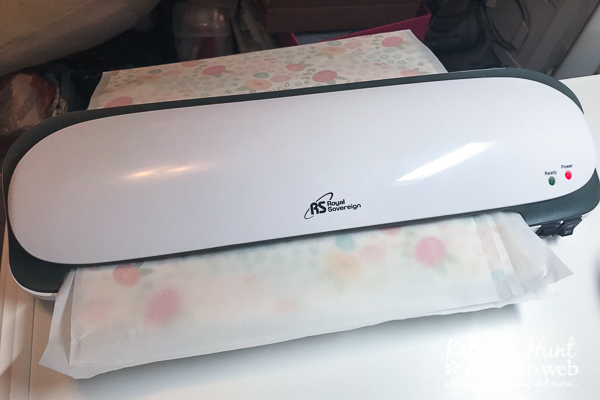
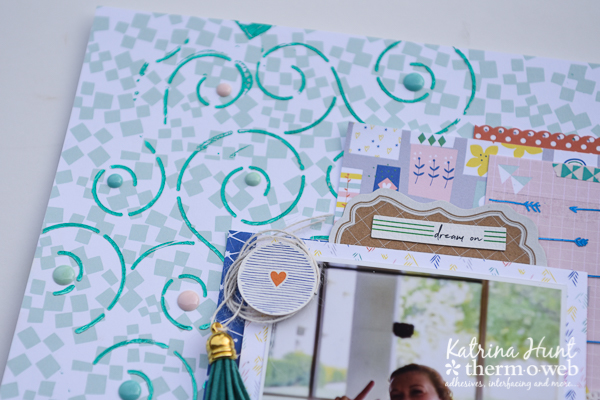
Lay the foil transfer sheet silver side down, color side up on top of your stenciled design. Use the carrier sheet and run thru the laminator. Isn’t that jade color so pretty?!!
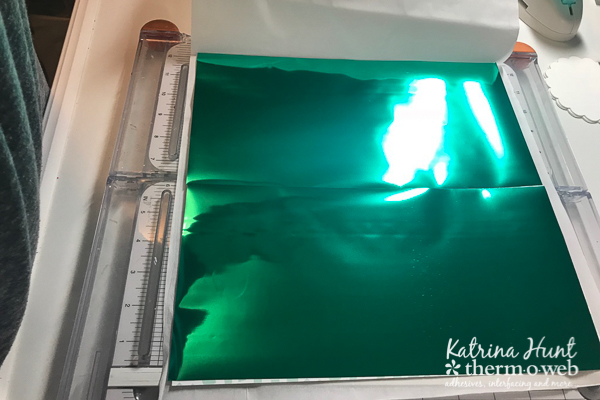
I was a little messy with my stenciling, but isn’t that the way they are supposed to work?! Here is the design, once the foil is removed.
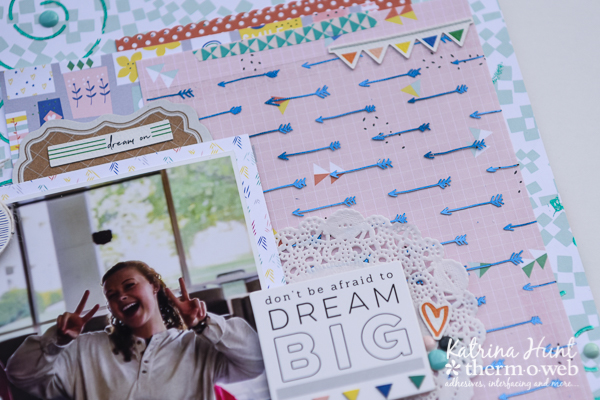
Next, I foiled one of the new Clear Designer Toner Sheets – Arrows in the new Denim Deco Foil color. I was so excited I forgot to take a step out picture! These are clear sheets that have pre-printed toner designs on them. They also come in just plain clear and are printable, for you to make your own designs. The Memory XL tape runner is perfect to use with these because you cannot see the adhesive thru the acetate! Here is a close up of the arrows.
I started putting my layout together using some 3D Foam Adhesive Squares along with the Deco Foil Foam Adhesive. It’s slightly thinner than the squares, so you can get different levels of dimension to your projects. It’s not just for foiling!
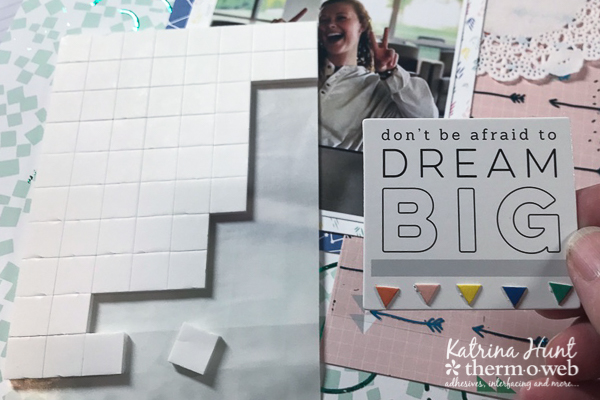
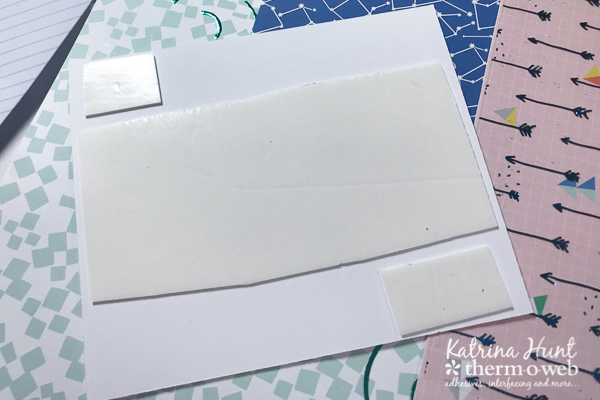
I applied the Deco Foil Foam Adhesive to the back of my photo “collage” to give it a little lift. You can see below that it’s thinner than the squares, but still will give some dimension.
I finished adding some embellishments and I had a completed layout! I accented the stencil swirls with some enamel dots.
Thanks for stopping by the Therm O Web blog today! I hope you are as excited as I am about the new products. I have so many ideas floating in my head, that I need to take a vacation from work just to try them all! Have a great week!

Marjorie DUMONTIER
January 31, 2018 at 2:50 pm (7 years ago)That’s a fun layout !