Today I’ve made a quick and easy card using the Mini Webbing stencil from The Crafter’s Workshop and gorgeous Antique Pearl Mixed Media Transfer Foil sheets. Absolutely love the bright and girly look of hot pink mixed with the elegant touches of gold. And check out the fabulous texture on that foiled background.
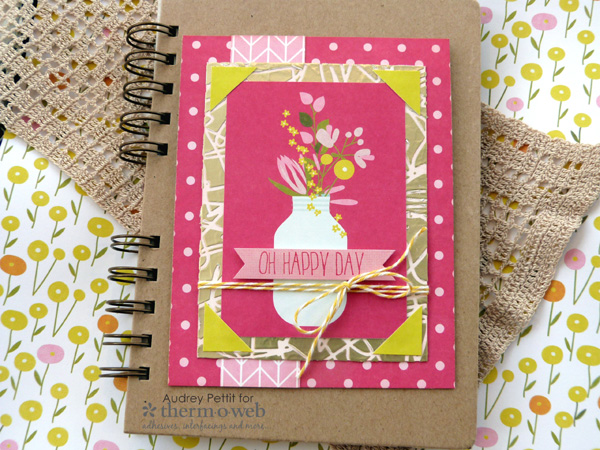
Oh Happy Day Mixed Media Card by Designer Audrey Pettit
Supplies:
Therm O Web Premium Cardstock- White
Rebekah Meier Designs Mixed Media Transfer Foil- Antique Pearl
iCraft Deco Foil Transfer Gel
Rebekah Meier Designs Mixed Media Medium
Royal Sovereign Laminator
iCraft Deco Foil Foam Adhesive
Therm O Web Memory Tape Runner XL
Patterned Paper, Sticker: Photoplay Paper
Stencil: The Crafter’s Workshop
Ink, Ink Blending Tool: Ranger Distress Ink
Twine
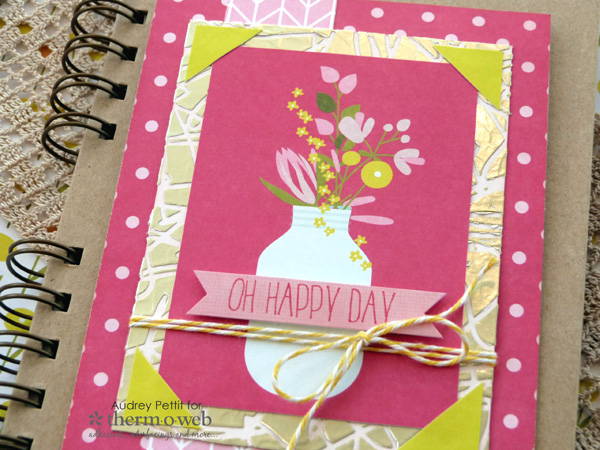
Create beautiful, textured backgrounds for cards, art journals, scrapbook pages, and more with your favorite stencils and Therm O Web’s amazing line up of Mixed Media products and Deco Foil Transfer Sheets. It’s easy and fun for crafters of all skill levels!
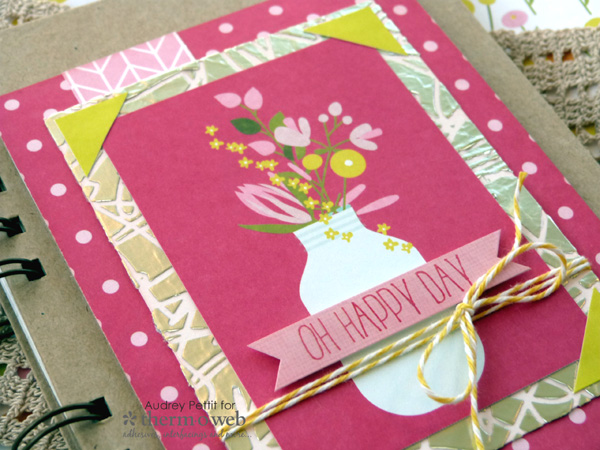
Let’s take a closer look…
Oh Happy Day Mixed Media Card
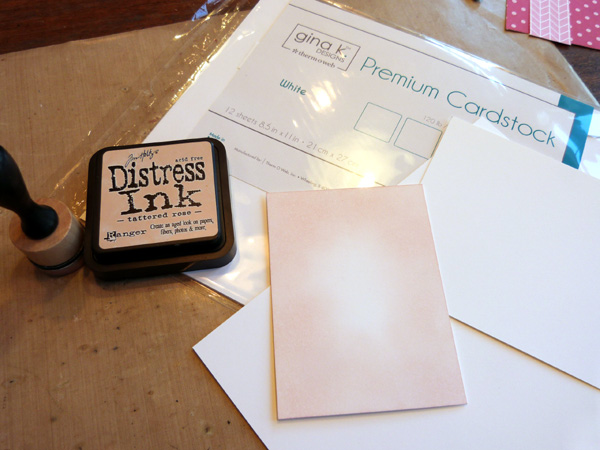
To begin, cut some patterned papers for the base of the card, and then cut a panel of white GinaK Designs Premium Cardstock to use as the background for your focal foiled layer. I measured the journaling card I wished to use for my main image, and then made sure my cardstock panel had a good half inch border all around. Ink the cardstock a light shade of pink (or whatever matching ink color works for your project) using an ink blending tool. You’ll notice I only concentrated on the edges of my paper, as the journaling card will cover the center area.
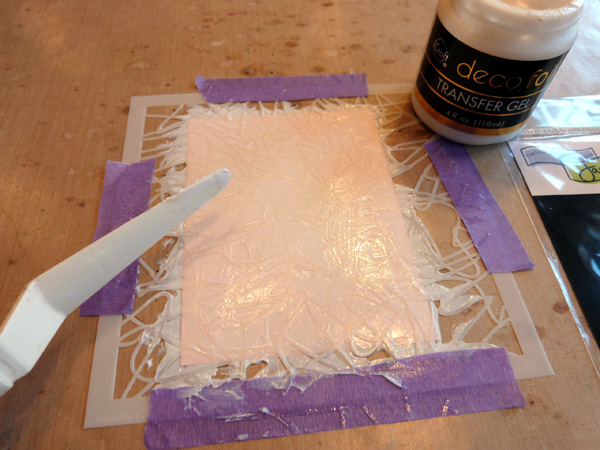
Place the inked cardstock face up onto your work surface and cover it with your desired stencil. Tape the stencil at the edges to keep it from shifting while you work. Using a palette knife, spread a thin, even layer of Deco Foil Transfer Gel over the entire surface of the stencil. Scrap away any excess gel using the side of the palette knife, and return the excess to the jar.
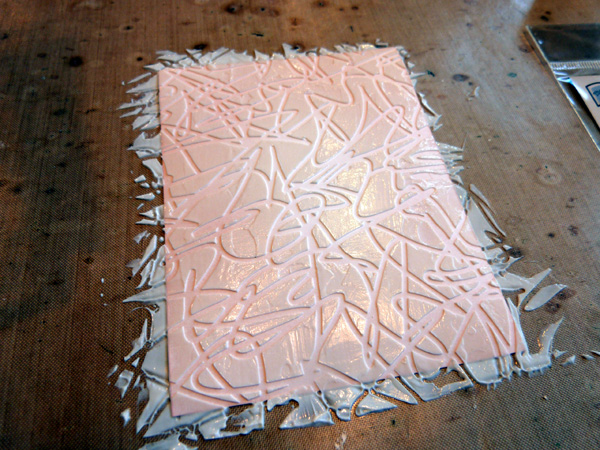
Peel up the stencil, and wash it and the palette knife immediately with warm, soapy water. Allow the Transfer Gel to dry completely. The gel will turn clear when it is dry.
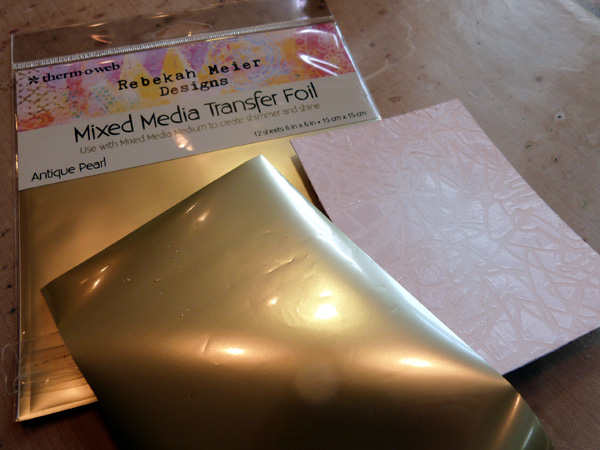
Cut a sheet of transfer foil that is slightly larger than the gelled cardstock. Place the foil down onto the cardstock, with the silver side down and the colored side up.
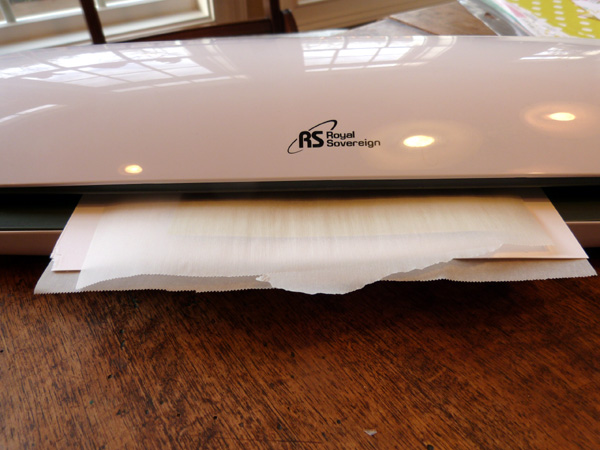
Place a piece of scrap cardstock behind, and sandwich the paper/foil between the sheets of a folded piece of parchment paper. Run the parchment through the hot laminator.
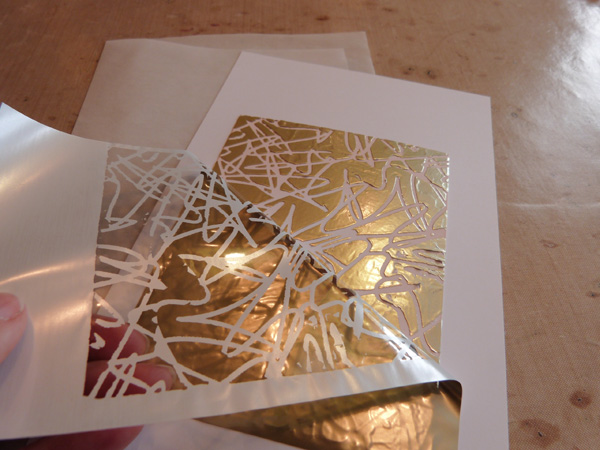
Peel up the transfer foil to reveal the amazing foiled background!
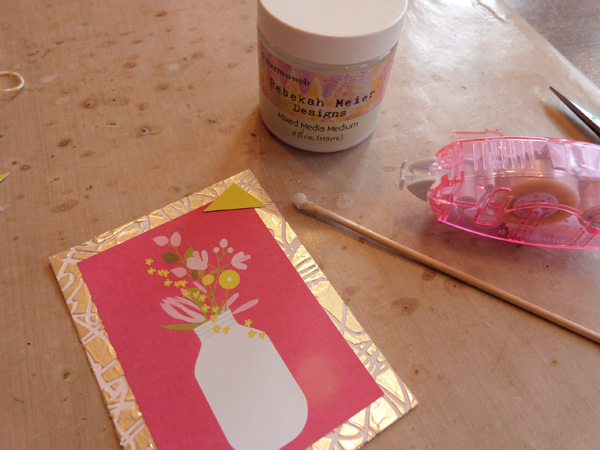
Adhere the journaling card to the center of the foiled panel. Because the surface is textured, I recommend using Mixed Media Medium for a strong bond. Use the medium to adhere any extra details to the design, like these tiny paper photo corners I used here.
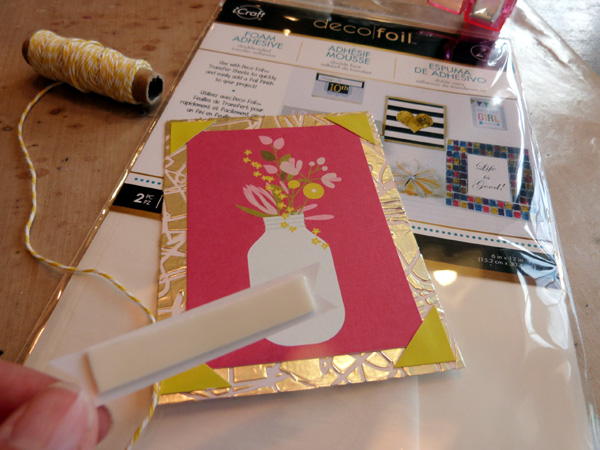
Wrap twine around the bottom of the journaling card. Add a sentiment sticker using a bit of Deco Foil Foam Adhesive for dimension. Adhere the panel to the center of the card base using Memory Tape Runner XL.
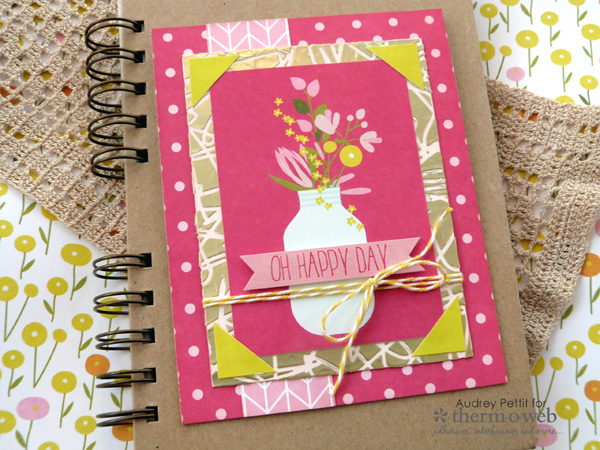
And there you have it! A bright and fun card with an amazing mixed media background! Enjoy!

Marjorie DUMONTIER
January 18, 2018 at 7:47 pm (7 years ago)That’s such a gorgeous card ! I love textured frame ad even more with the gold foiling !
[margessw(at)icloud(dot)com]