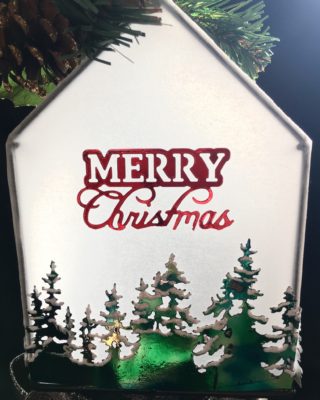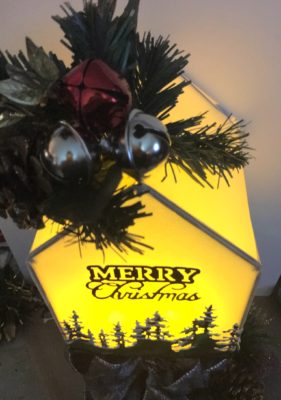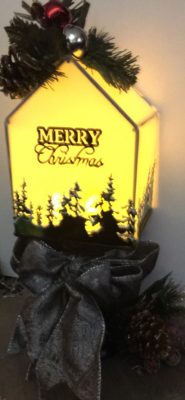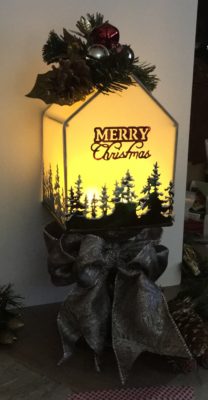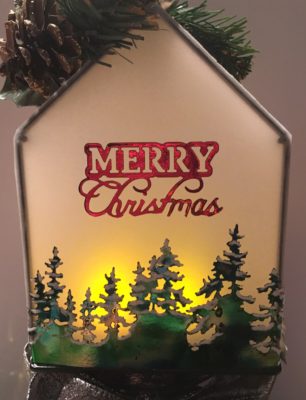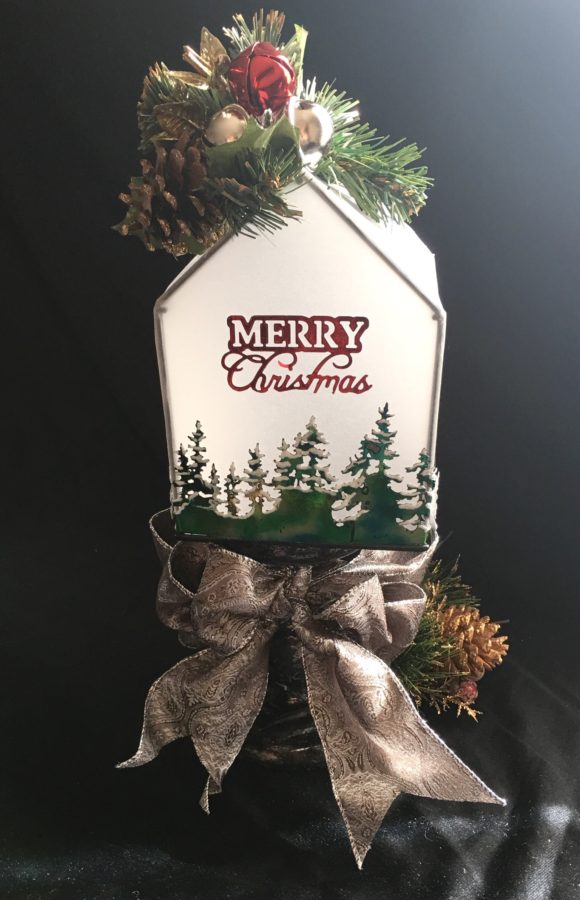
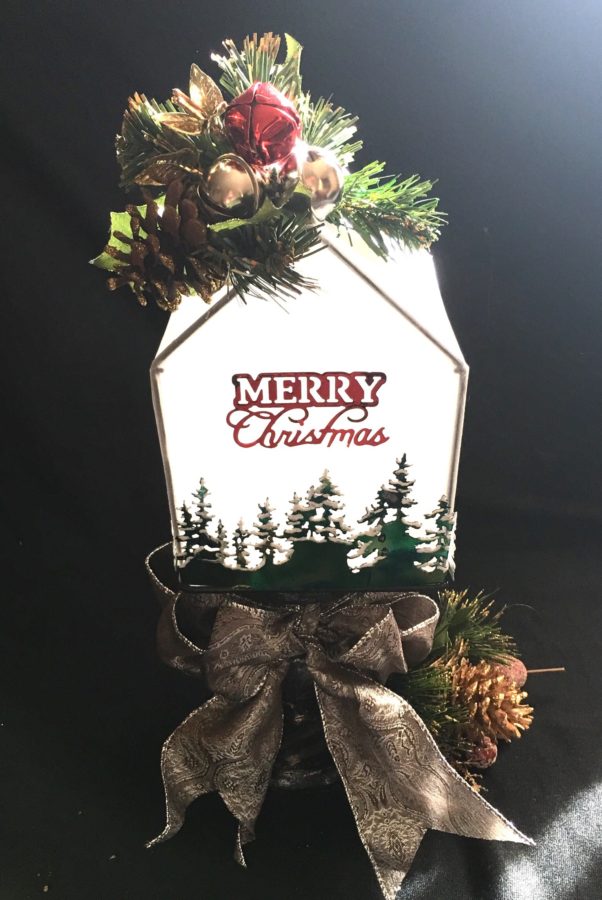
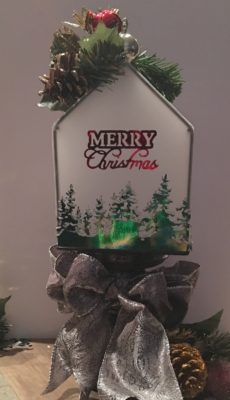
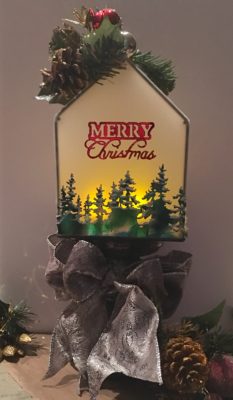
Hi all, Wendy here with my Mixed Media Christmas Luminary, the perfect project to light up your holiday decor. Therm O Web Mixed Media and Deco Foil products are the perfect complement to any home decor craft project, giving just the right finishing touches. Keep scrolling through photos to see the inside.
Mixed Media Christmas Luminary
Therm-O-Web Supplies used:
Deco Foil Transfer Sheets – Amber Watercolor
Deco Foil Transfer Sheets – Emerald Watercolor
Deco Foil Transfer Sheets – Red
Rebekah Meier Designs Mixed Media Transfer Foil – Patina
Super Tape Roll 1/8″
Other Supplies Used:
Sizzix Big Shot Die-Cutting Machine
Your favorite Christmas dies, dollar store pedestal and house bird feeder, vellum, led tea lights, wired ribbon, Christmas decorations (to cut apart), bells, Nuvo Drops (white), and glitter (white)
Mixed Media Christmas Luminary Instructions:
This project is easier than it looks! I started with a wire bird feeder and ceramic pedestal I purchased at my local dollar store, ThermOWeb Peel and Stick Toner Sheets, and a few of my favorite Christmas dies by Sizzix.
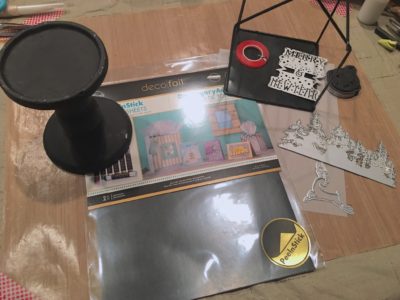
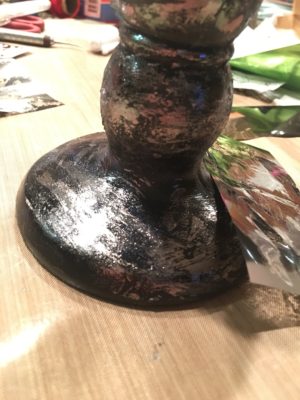
The first thing I did was to embellish the pedestal using Mixed Media Medium and Mixed Media Transfer Foil (Patina). I really loved the piece I did for my recent Halloween post in gold and was curious how the Patina color foil would work in the same way. I really love the outcome. The pedestal was black when I bought it so it was easy to brush on the Medium, wait until it was a bit tacky and then press the foil onto the surface. This gave me an antique patina for my base.
Tip If you are unable to find a similar pedestal at your dollar store, you can purchase a wood pedestal at your local craft store and paint it black.TooltipText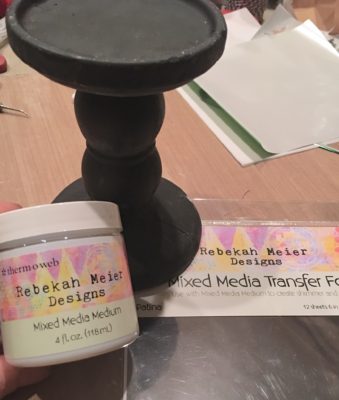
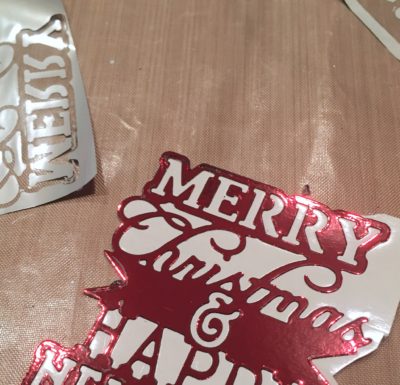
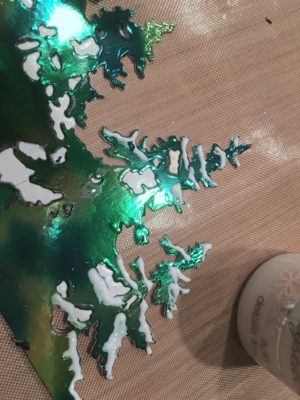
Next, I die-cut my Christmas pieces from the Peel and Stick Toner Sheets. These sheets make it so easy to add foil to any die-cut without adding any extra steps . . . just die-cut the shape and run through your foiling machine and presto . . . you end up with a beautifully foiled shape with no muss or fuss. The Peel and Stick backing make it even easier to add it to your project.
Tip: If you don’t have a die-cutting system, you can trace or draw your Christmas shapes onto the Toner Sheets and cut them out.TooltipText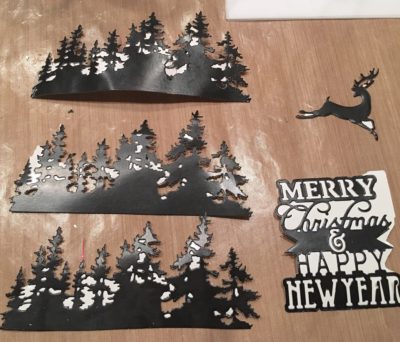
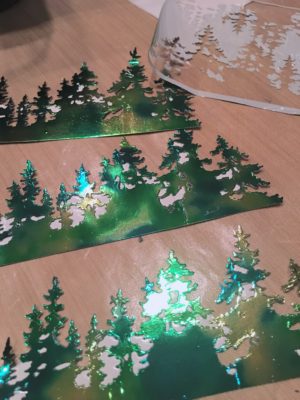
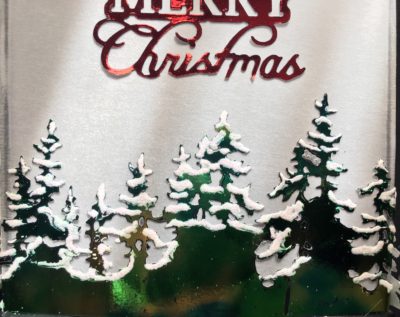
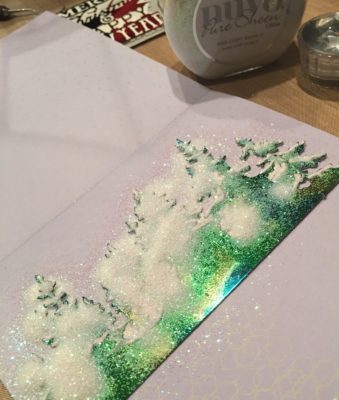
I decided my trees needed a bit of snow, so I used white Nuvo Drops to add snow to the branches and then covered them with glitter for extra sparkle.
Hint: Instead of Nuvo Drops you can use iCraft Mixed Media Adhesive the same way and then add the white glitter.
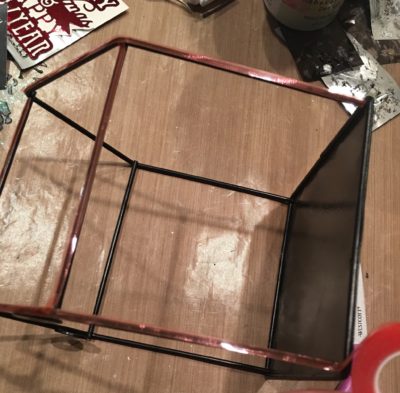
While I waited for my snowy trees to completely dry, I covered my bird feeder in vellum. It was really quite simple using the Super Tape. I covered the metal surface with Super Tape and laid strips of vellum on top. I trimmed the excess with scissors. The Super Tape is so easy to work with and strong enough that I don’t have to worry about it falling apart.
Hint: If you don’t have vellum on hand, try tissue paper. It will be a little more difficult to get the tissue on without tearing, but if you are gentle it will work.
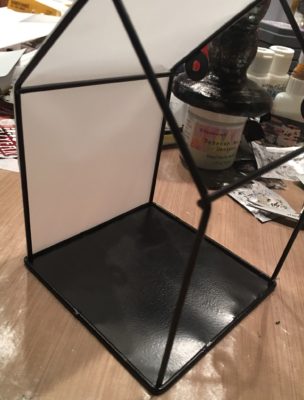
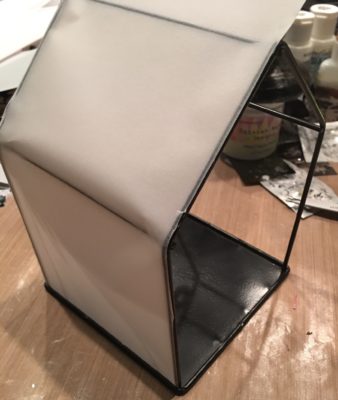
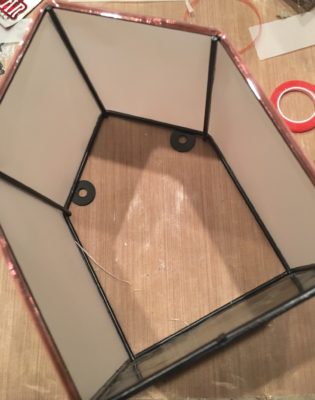
Once my bird feeder was covered, I added my die-cut shapes simply by peeling the backing and sticking them onto the vellum. (I trimmed my sentiment down to fit the space, and decided not to use the deer I die-cut).
Hint: If you don’t have the Peel and Stick Toner Sheets, you can still add hints of foil to your shapes by using the Deco Foil Glue Pen to apply adhesive and then pressing the foil to the surface.
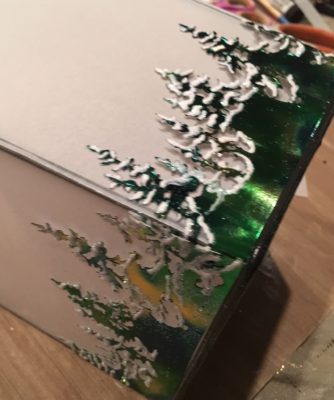
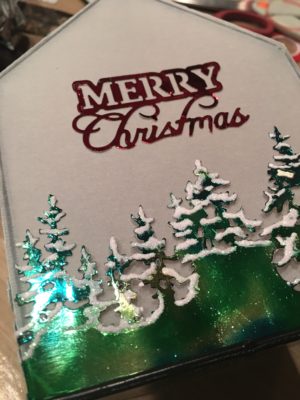
To finish off my luminary I added some led tea lights inside (I used two because one didn’t seem bright enough), set it on the base and used some old Christmas ornaments that I cut apart to create embellishments. I added a bow made from wired ribbon and it was ready to display.
I hope this project inspires you to play with the Deco Foil PeelnStick Toner Sheets. After using them I have so many ideas on how I can use them on future projects. They really do make it so easy to foil die-cut shapes and get a clean, perfect foil every time.
Merry Christmas!
