Hey there, friends! Missy here again, and I have a fun Fall layout to share today using lots of shiny iCraft Deco Foil Transfer Sheets. Fall in Florida is just about nonexistent as far as seeing beautiful leaves change colors on the trees. So I created a fun layout that suits my Fall photo and incorporated some gold, blue and green leaves with some mixed media accents on the background.
Missy Whidden Fall Fun Mixed Media Layout
I began with some of the Gina K. Designs White Premium Cardstock and a sheet of the Rebekah Meier Designs Mixed Media Adhesive Sheets. I wanted to show how you can create this awesome foil look on shapes without using a laminator. This really took only a few minutes to do, and the results are awesome!
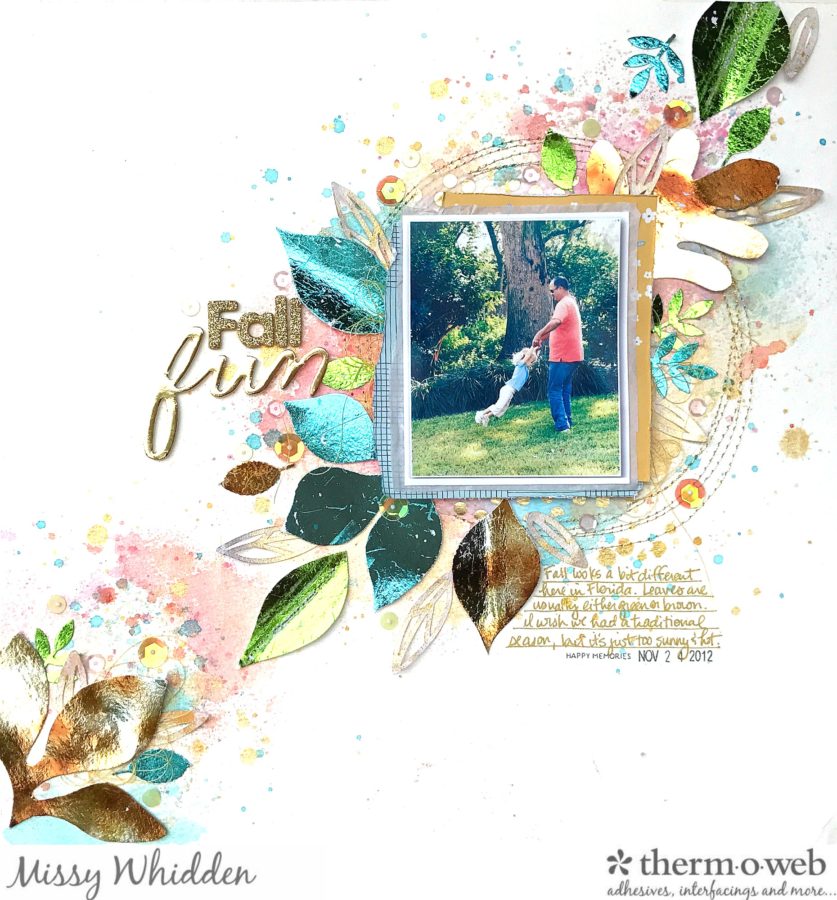
Fall Fun Layout Supplies:
Gina K. Designs Premium Cardstock – White
Rebekah Meier Designs Mixed Media Adhesive Sheets
iCraft Deco Foil Transfer Sheets – Amber Watercolor
iCraft Deco Foil Transfer Sheets – Spring Green
iCraft Deco Foil Transfer Sheets – Aqua
Fall Fun Mixed Media Layout Instructions:
After adhering the Adhesive Sheet to the cardstock, I hand cut several leaves from it. After they were all cut, I used the beautiful iCraft Deco Foil Transfer Sheets in Amber Watercolor, Spring Green & Aqua to add some shine. You simply peel away the top layer of the Adhesive Sheet and adhere the foil to it (foil side up) and smooth it down with your hand. When you peel the leaf away, it’s covered with the foil. Super easy and fast! Look how shiny those leaves are! So pretty.
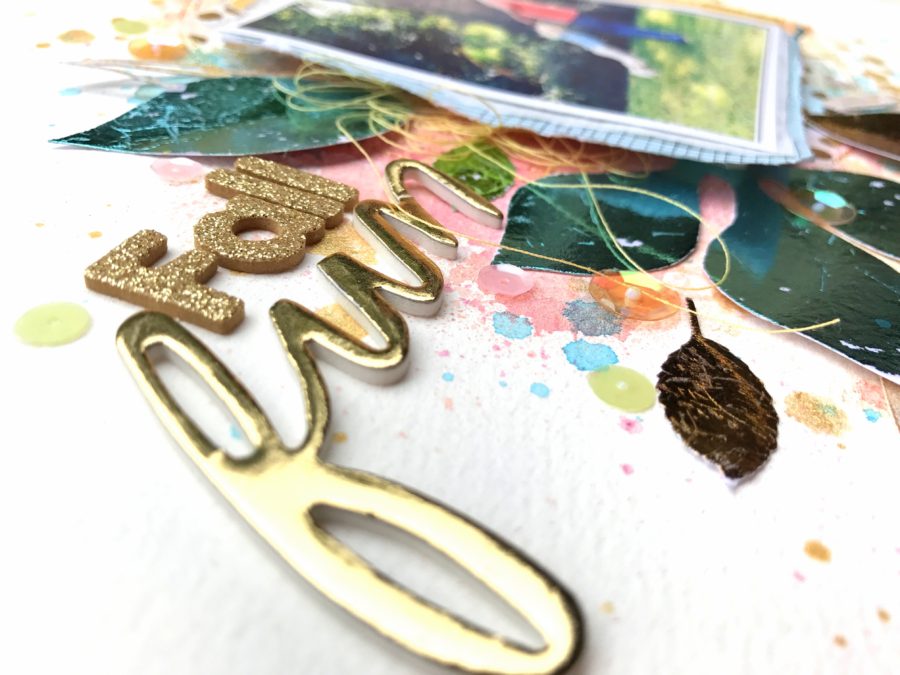
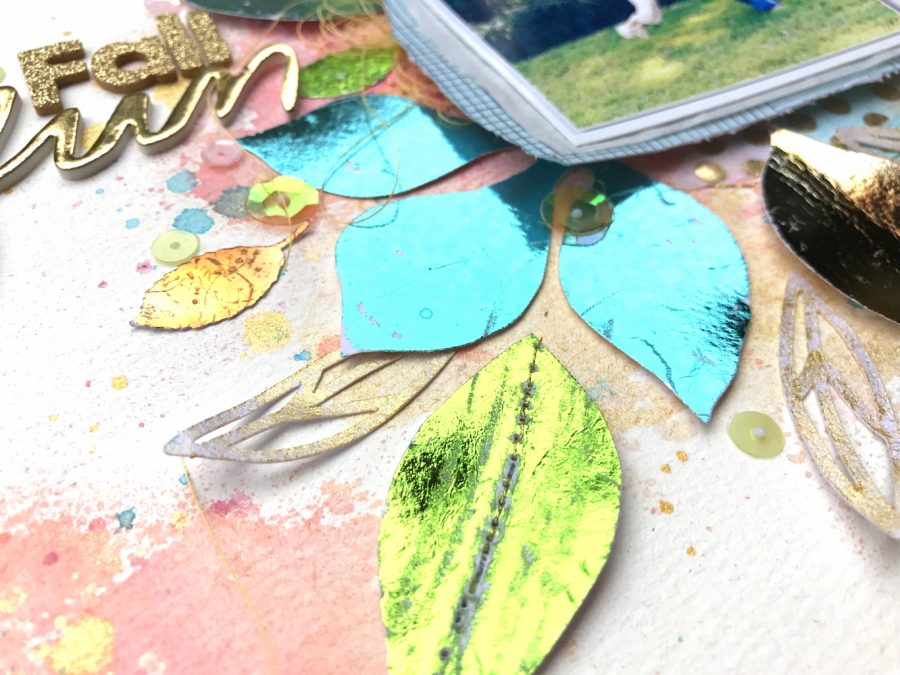
After I got an idea where I wanted to arrange all the leaves, I removed them and started working on my background. I used some pink, coral, turquoise and gold ink sprays with some plastic packaging to create all those watercolor splotches. I also added some splatters with the nozzles. I wanted to create a soft yet colorful background to compliment the leaves.
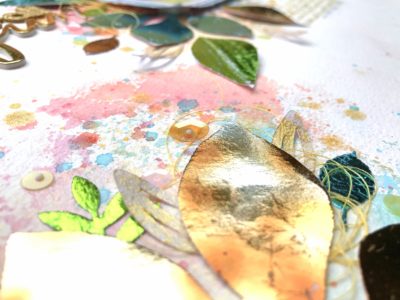
I did fussy cut most of the leaves, but I also used a few punches from my stash to create these smaller ones. They punched really well through the cardstock and the adhesive sheet. Here you can see I jazzed up the background a bit more with some machine stitching in metallic gold. I love adding to the shine factor when I use the foil! To adhere these smaller leaves, I used some of the Sticky Dots Adhesive.
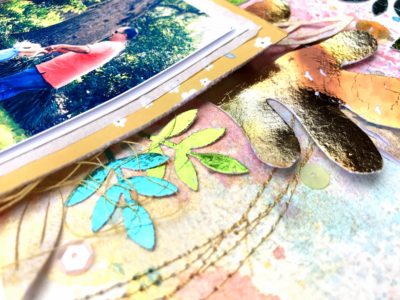
I layered a few pieces of patterned paper behind the photo as well as some tissue paper. I used some of the 3D White Foam Squares under there to raise the photo up off the page and create some depth. This makes the leaves tucked under it look even more dimensional. I had a few random die cut leaves sitting on my desk, so I decided to spray them gold and use them. I also glued down a few sequins here and there using the iCraft Mixed Media Adhesive.
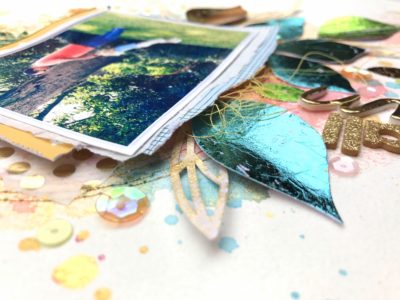
I love adding shiny titles when I use foil, so I pulled out some gold and glittery Thickers from my stash. I love the mix of fonts here.

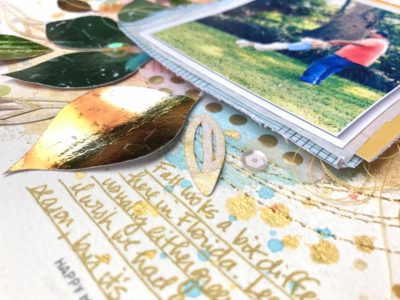
Finally, here’s one more close-up of the journaling area. I used a metallic gold pen. For added detail, I used a few strips of a shiny gold dotted washi tape below and above the photo. I only glued down the centers of the big leaves so I could curl up the edges and create some depth.
I hope this inspires you to creates something fun with your Deco Foils! It’s fun to make your own shapes and embellishments that shine. Be sure to check out my process video if you’d like to see how this all came together.
