Halloween is such a fun holiday filled with sweets and since it’s my first one where my son is “sort of” old enough to enjoy it I am REALLY excited!
Mini Me Halloween Trick or Treat Bag and Goodie Bags
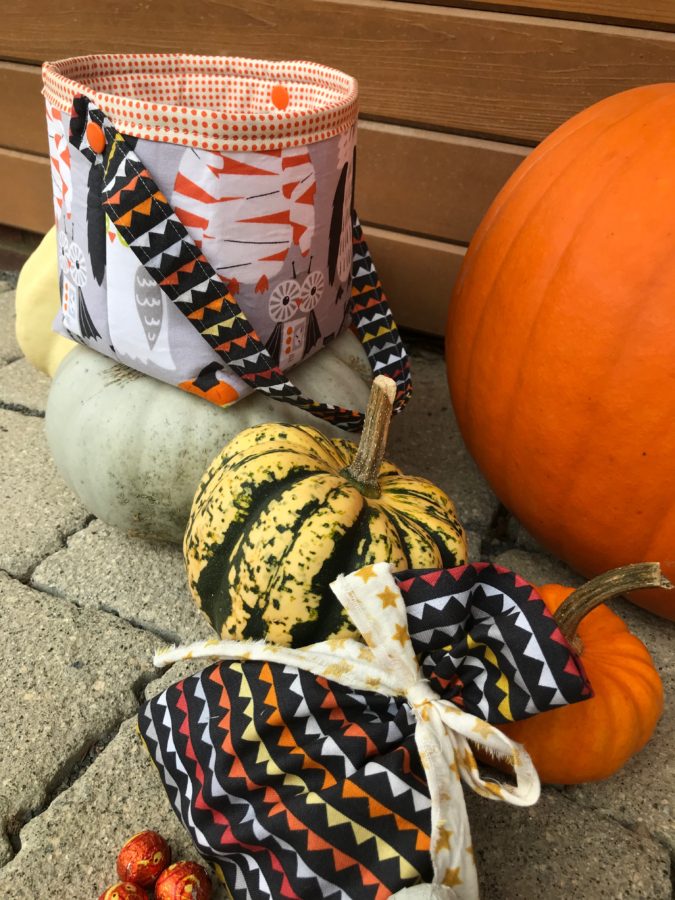
I decided he needed a mini-me trick or treat bag fit just for him and some goodie bags to hand out to our friends. These are quick projects that you can whip up all the way up to walking out the door. Our fusible fleece is my FAVORITE ThermoWeb product and I love adding the HeatnBond Craft Weight Interfacing to it to make a fluffy/stable finished product.
Mini-Me Halloween Trick or Treat Bag Supplies:
Thermoweb HeatnBond Fusible Fleece
Thermoweb HeatnBond Non-Woven Craft Extra Firm Interfacing
Thermoweb HeatnBond Hem Adhesive
One 2” x 24” strip of fabric
Scraps for Goodie Bags
Fat Quarter for Exterior
Fat Quarter for Interior
Kam Snaps kit
Oliso Smart Touch Iron
Sewing Supplies: Machine, Pins, Thread, Scissors, Rotary Cutter, Rulers, Water Soluble Marker
Mini Me Halloween Trick or Treat Bag and Goodie Bags Instructions:
*all seam allowances are 1/4” unless noted
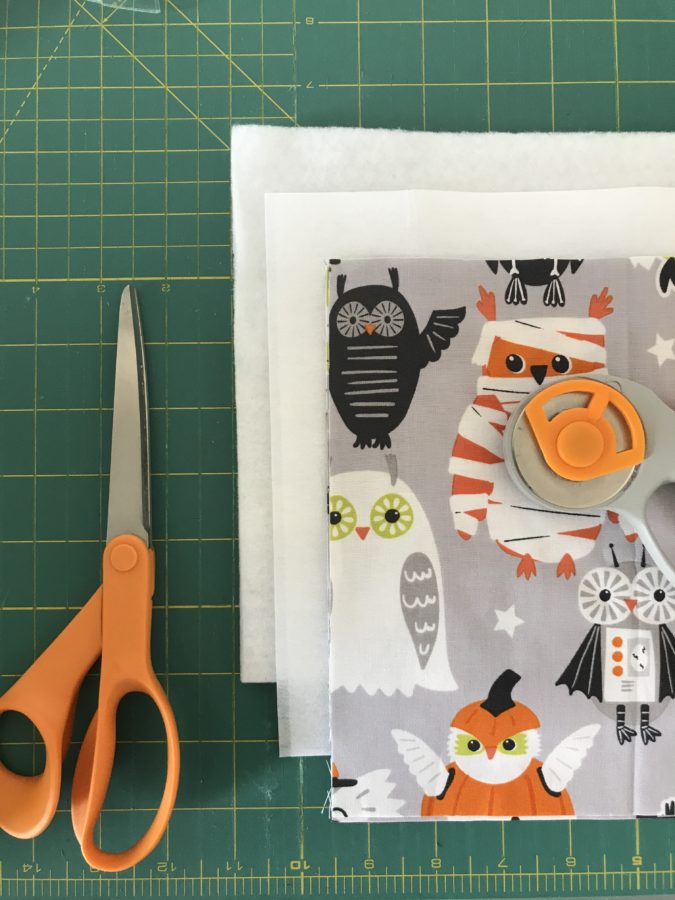
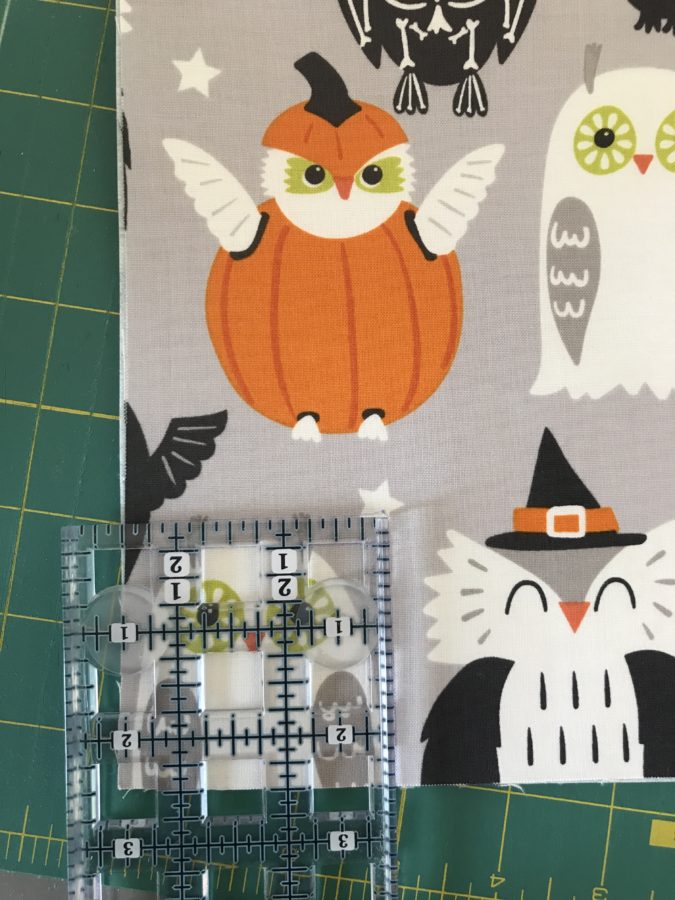
Cut out two 10 1/2” x 8 1/4” pieces from your exterior, fusible fleece, and craft weight interfacing. Cut two 10 1/2” x 9 1/4” pieces from your interior fabric. Iron on the interfacing to the back of the exterior fabric, then iron the HeatnBond Fusible Fleece to the back of the interfacing. This creates a stable, yet soft bag. Now using your ruler, cut out a 2 1/2” square out of the bottom corners of your exterior and interior pieces.
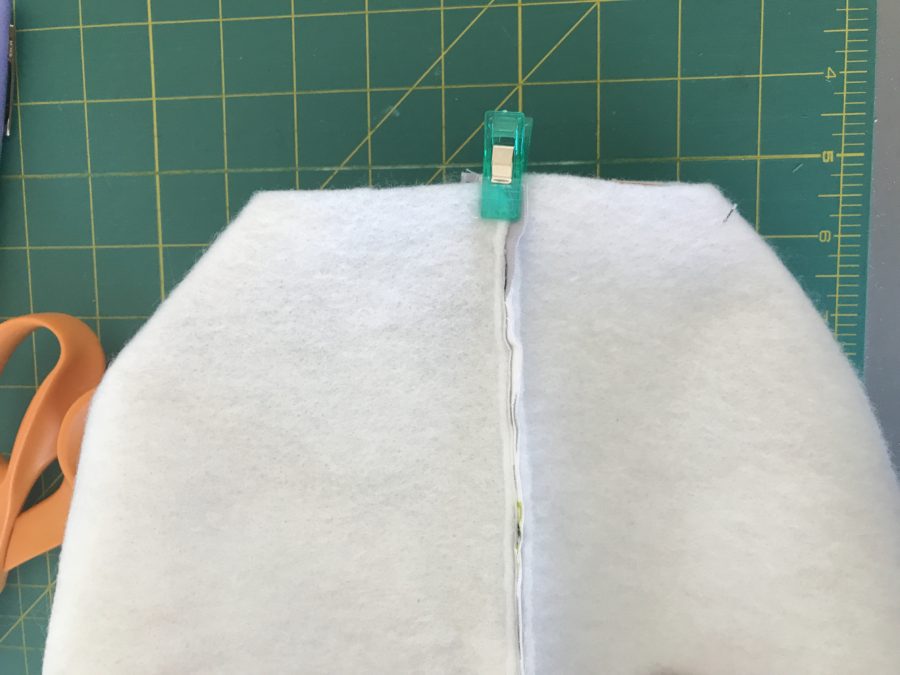
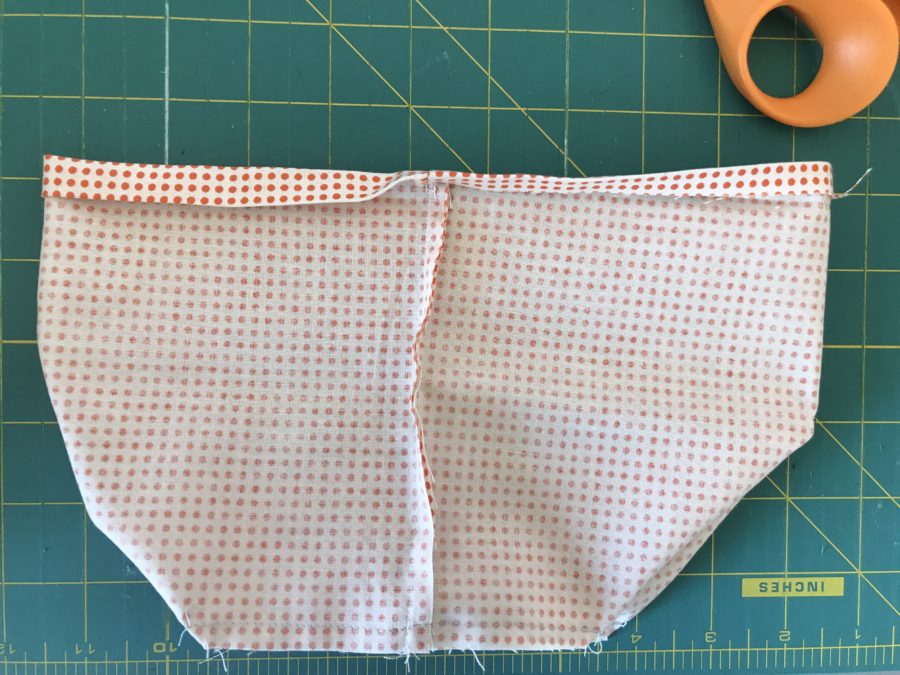
Lay your exterior pieces right sides together. Sew the sides and bottom together, leaving the 2 1/2” square alone. Fold the square and sew across to create the bottom of your bag (see photo for folding guidance). Repeat with interior pieces.
Fold the top of your interior down wrong sides together with a half inch and iron. Fold another half inch and iron well. Place your interior inside your exterior and using your hem tap iron down the folded exterior around the top of your exterior. Optional: topstitch around the folded down hem.
Take your 2 1/2” strap piece and fold it right sides together (hotdog style). Sew along all the edges, leaving a 3” gap to turn it right side out. Press and sew a topstitch around the entire strap. Attach your strap to each side of your that bag about an inch below the top using your KAM snap kit. Add your favorite costume and head out trick or treating!
 />
/>
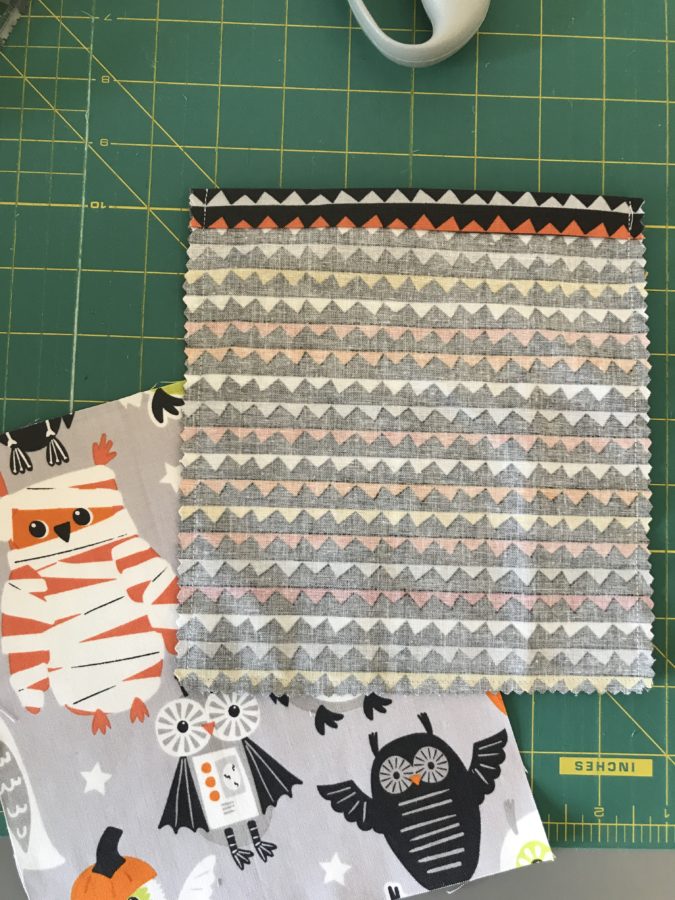
To create a goodie bag cut two 7 1/2” x 8” pieces of fabric from scraps. Fold the top down a 1/2” and iron. Fold another 1/2”, iron, add your hem tape, and iron again. Place your two pieces right sides together and sew the sides and bottom together. Optional- use pinking shears or a serger to seal your edges. Rip a strip of fabric for your ribbon or use some string, fill with goodies and pass out to all the little ones!

Can’t wait to see what you all create! Happy Halloween and happy sewing!
Kristen Wright of Two Blondes and a Sewing Machine

Barbara
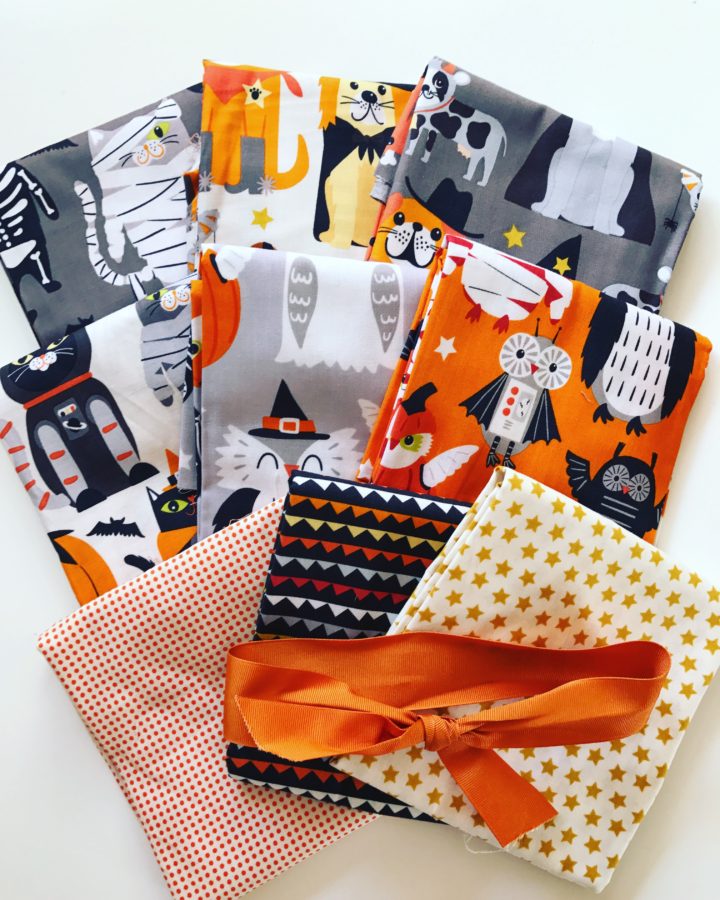
October 26, 2017 at 8:07 am (8 years ago)Great post! Thanks! What fabric line is this? It is way too cute!
margessw
October 26, 2017 at 9:48 am (8 years ago)Oh my !! These are super adorable treat bags !