Hello friends! Today I’m going to share with you how to use the new Deco Foil™ Transfer Gel and your Deco Foil scraps to create a pair of cards. I don’t know about you, but I hate to let anything go to waste and it’s even better when you can turn it into something pretty!
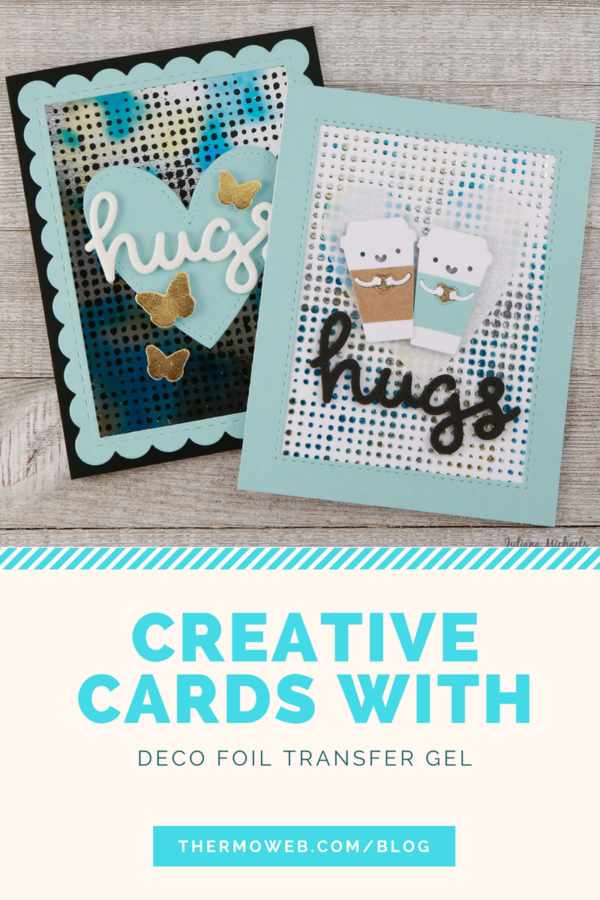
Creating Cards with Deco Foil Scraps and Transfer Gel
Therm O Web Supplies:
- iCraft Deco Foil™ Transfer Sheets – Lapis Watercolor
- Memory Tape Runner XL
- iCraft Deco Foil™ Transfer Gel
- 3D White Foam Squares
- iCraft Deco Foil™ White Foam Adhesive
- iCraft Deco Foil™ Toner Sheets
- 12″ Laminator
- iCraft Mixed Media Liquid Adhesive
- iCraft Deco Foil Parchment Paper
Deco Foil Scraps and Transfer Gel Tutorial
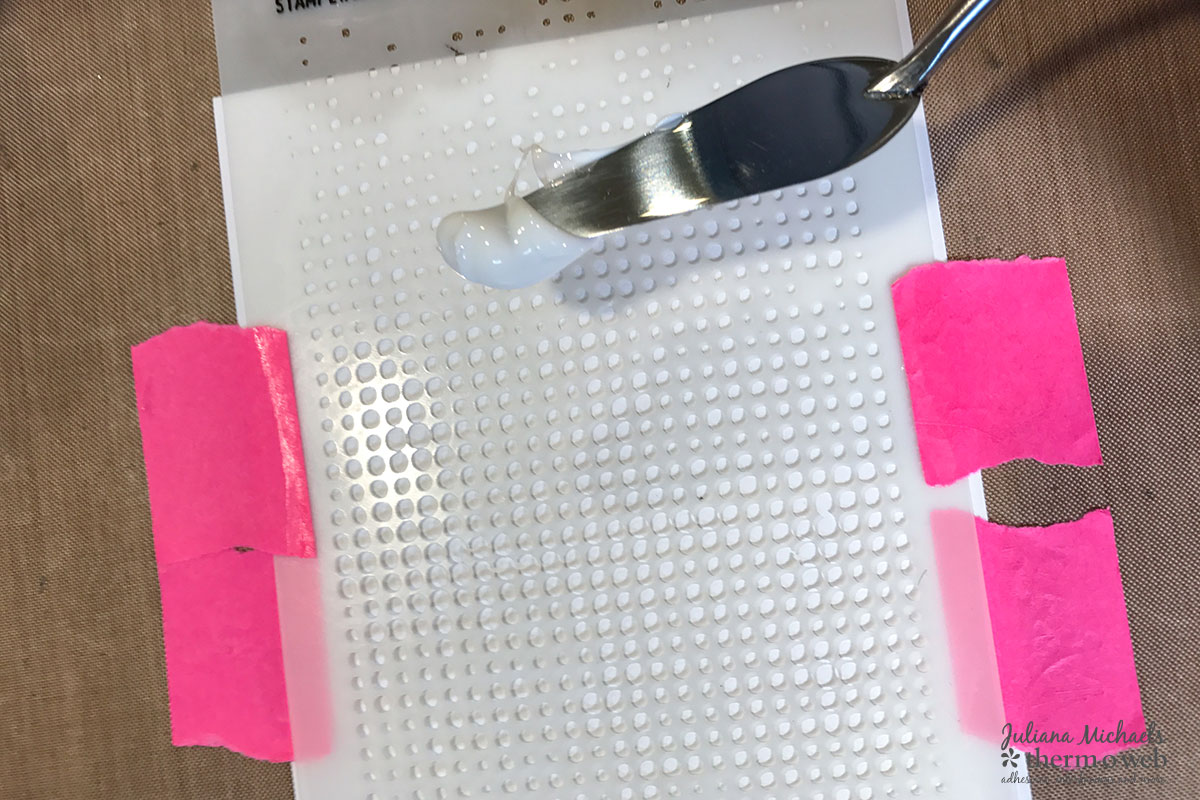
Begin by using low tack tape to hold a piece of 110lb. white cardstock cut to 4.25 x 5.5 in place on a craft mat. Use the same tape to hold your stencil in place. Use a palette knife to spread on a thin layer of Transfer Gel and allow it to dry at least 30 minutes or until it is clear and shiny.
Next, cover the stenciled cardstock with a piece of Deco Foil™. Position it inside a folded piece of parchment paper. Make sure to that the cardstock and foil are pushed all the way against the fold of the parchment paper. By doing this you are more likely to eliminate wrinkling of the Deco Foil™ as it runs through the laminator.
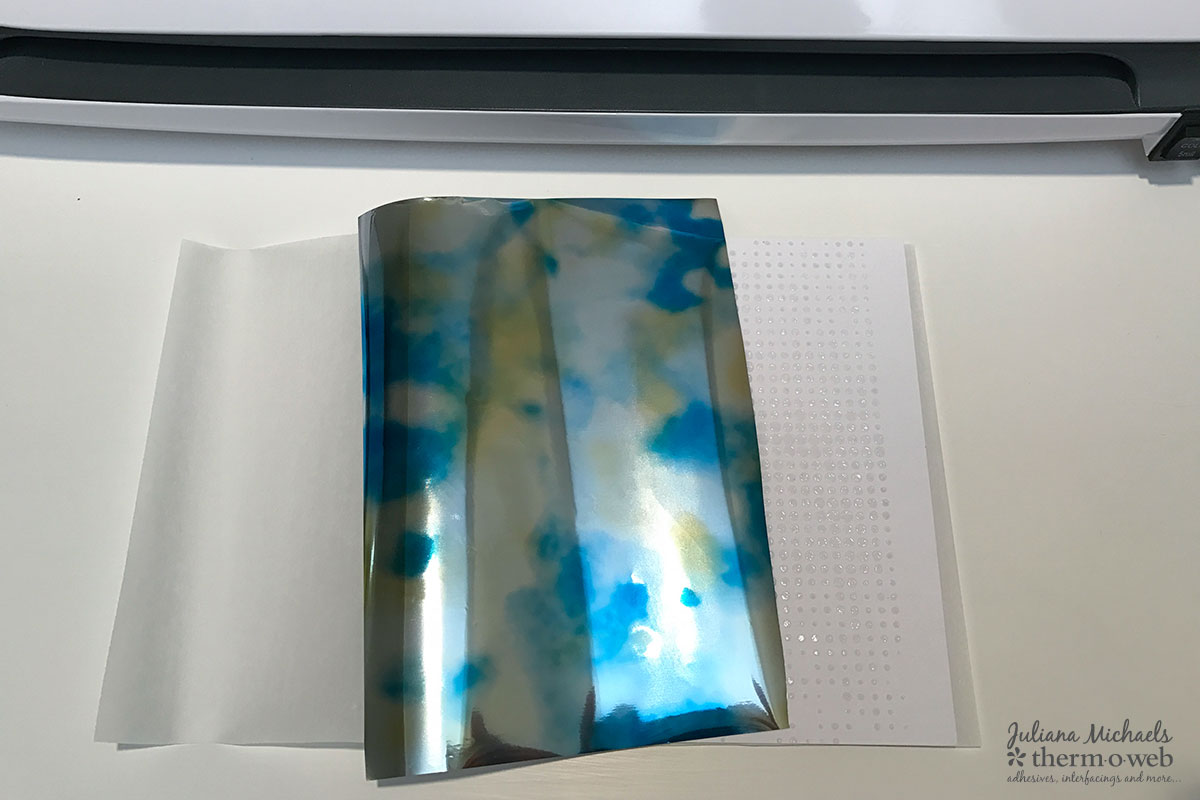
Place this into a preheated laminator.
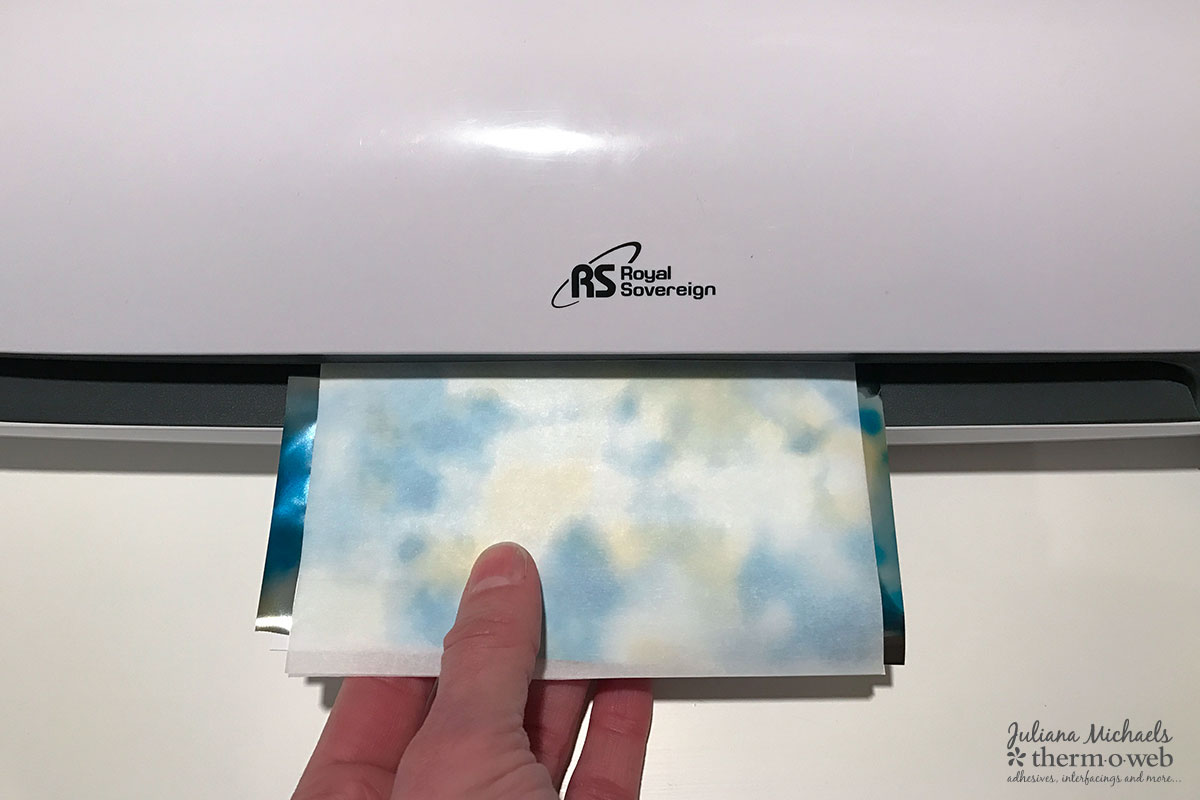
Once it has run through the laminator peel off the transfer sheet to reveal your foiled stencil design. The leftover transfer sheet is now a piece of trash. Or is it?!
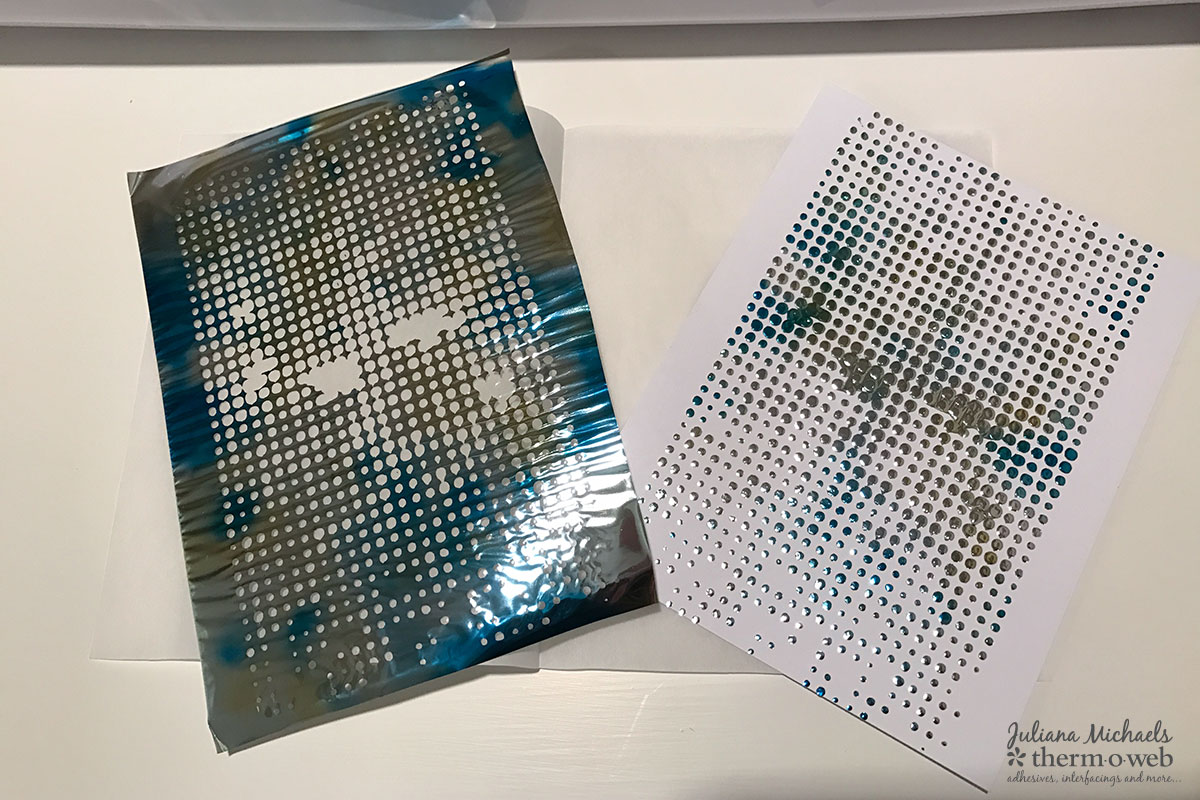
Cut a sheet of Toner paper to 4.25 x 5.5. Place the scrap of Deco Foil from above on top of the Toner paper.
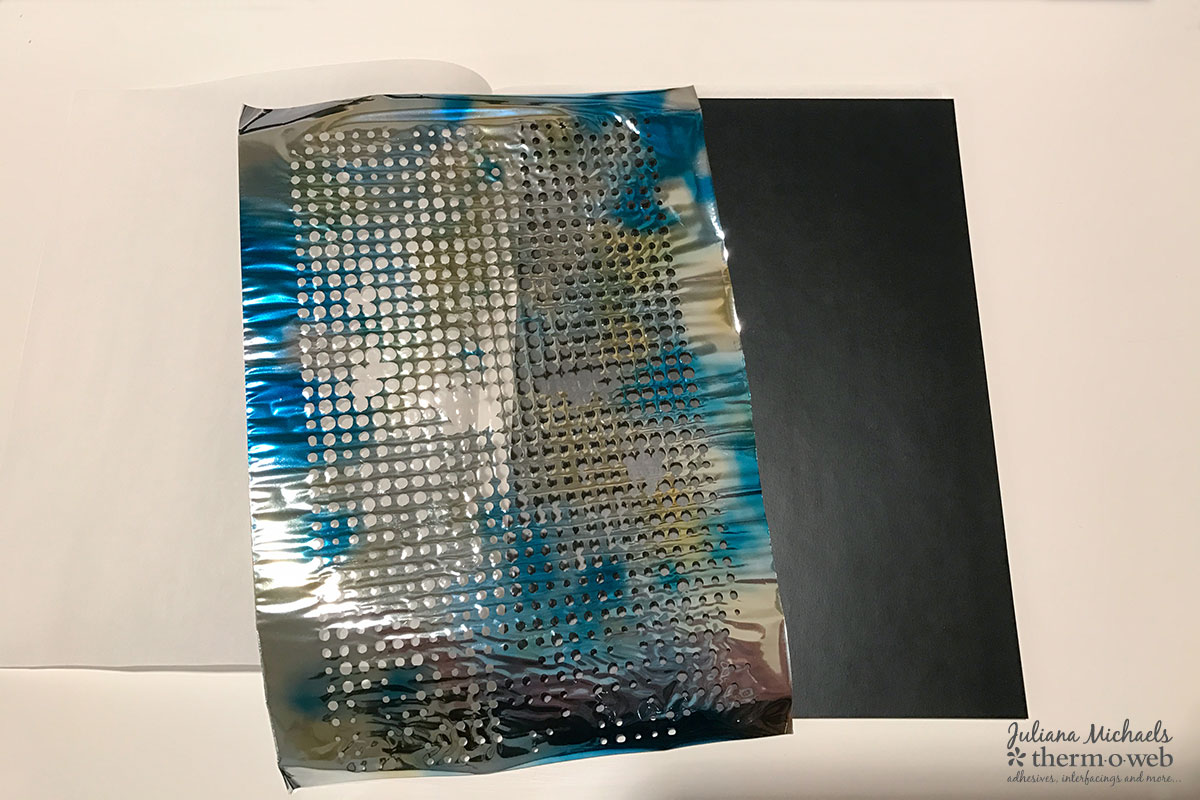
Put this inside a folded piece of parchment paper and then insert it into a preheated laminator.
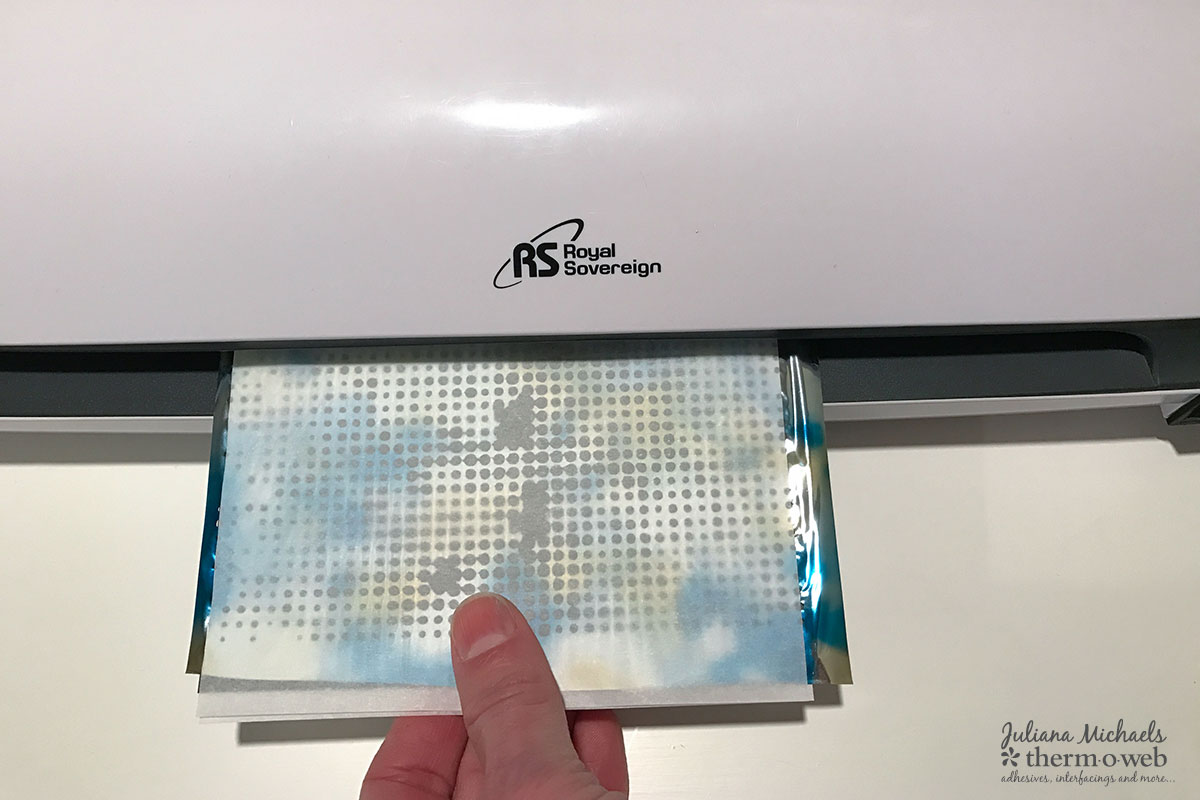
Remove it from the Laminator and peel of the transfer sheet to reveal the beauty you have created. Now you have a negative of the original design with a black background.
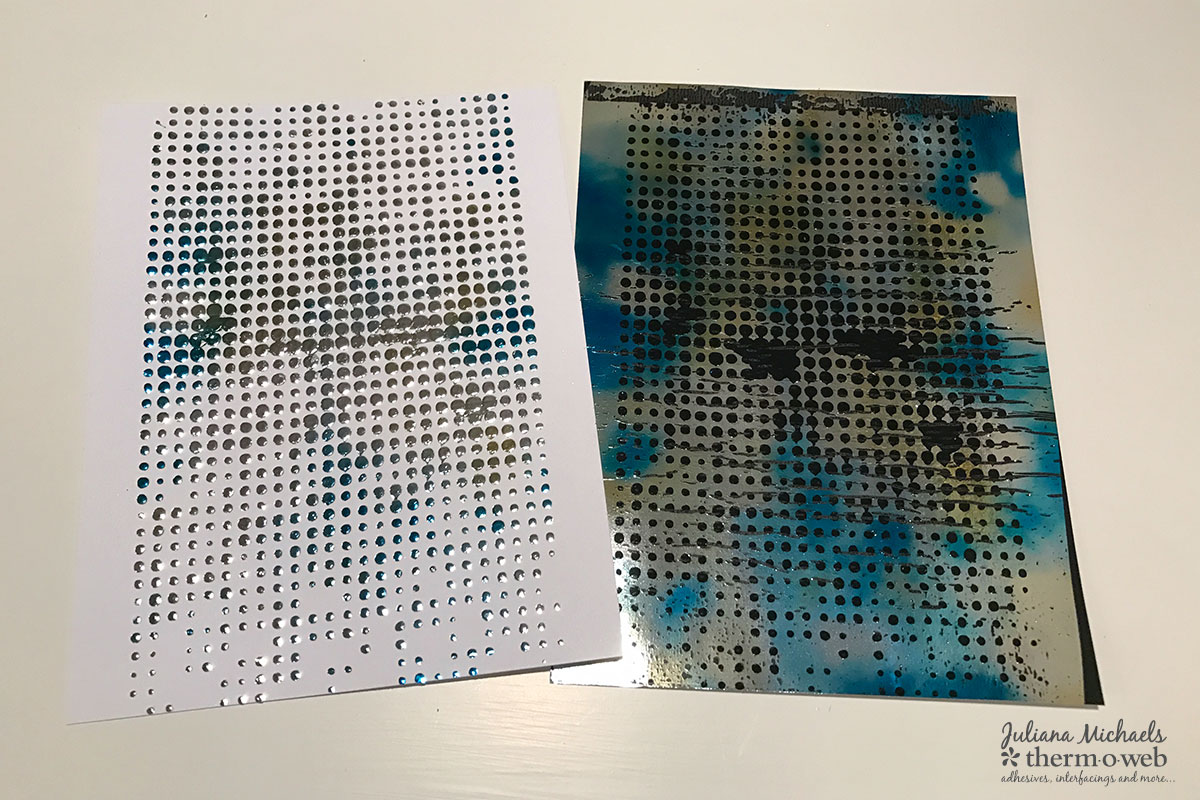
Creating Cards with Deco Foil Scraps and Transfer Gel
For each Deco Foiled design, I trimmed off the excess before I started creating my cards.
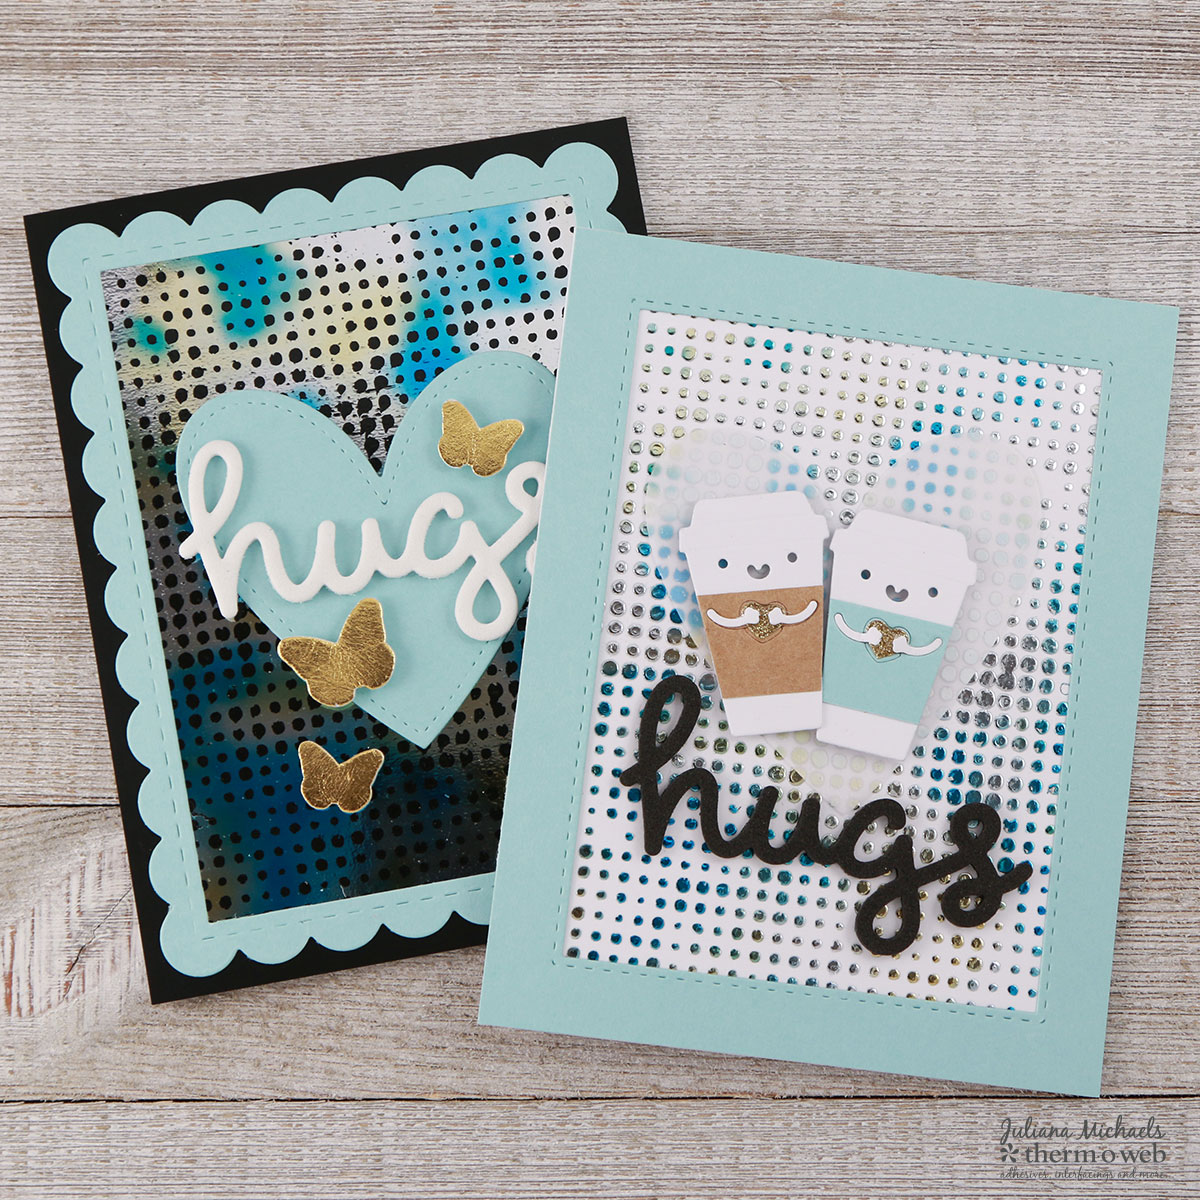
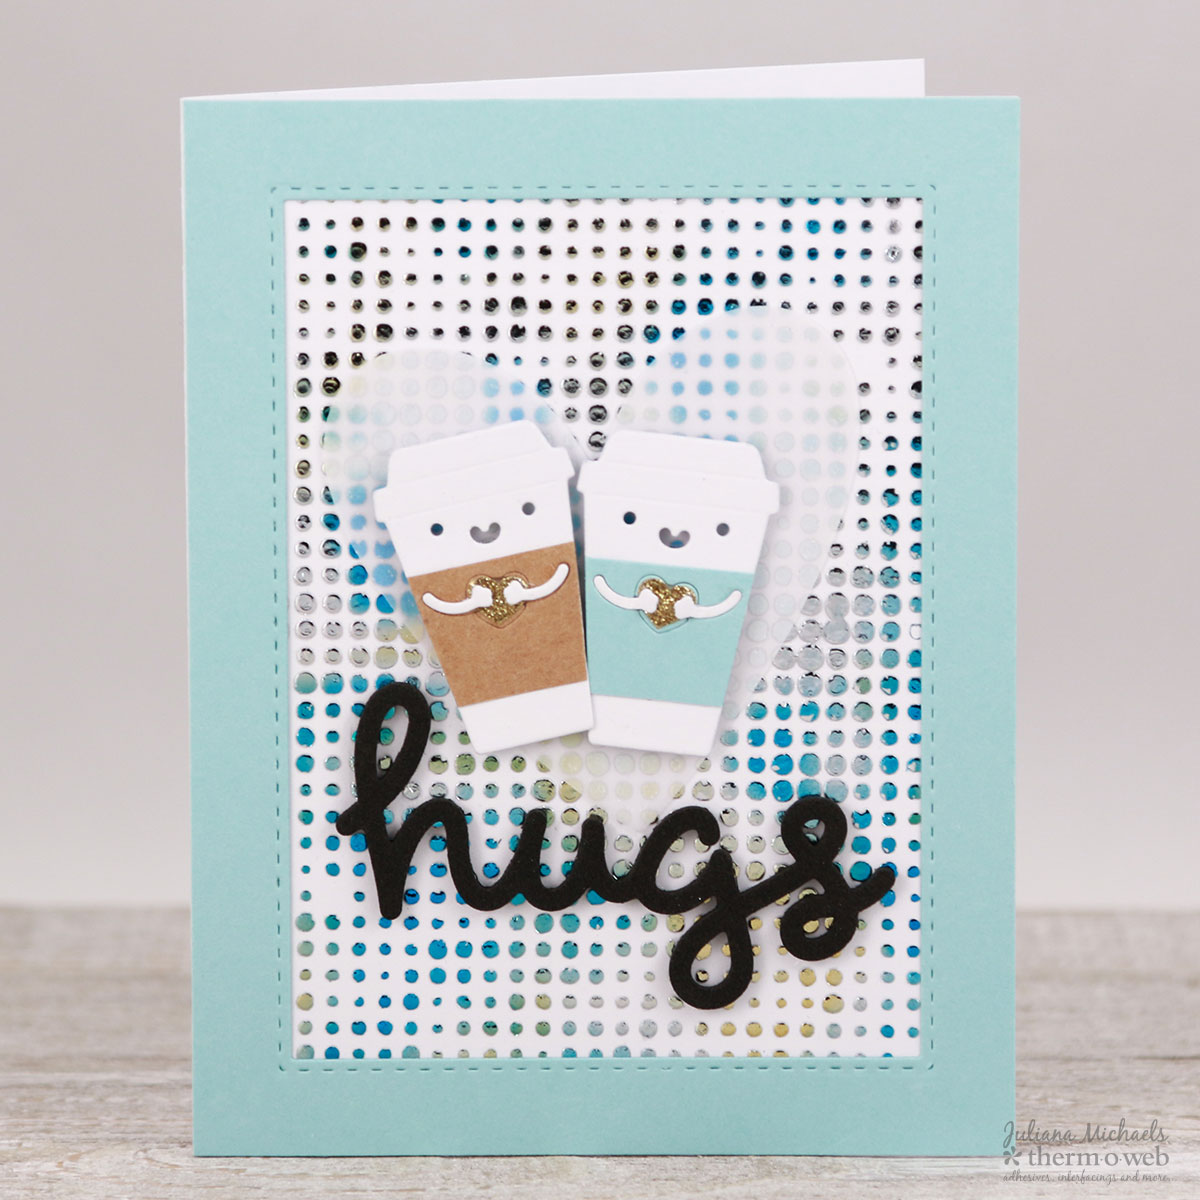
Die cut a cardstock frame and place it over the top of the stenciled cardstock piece. Next, decorate the card, layer on other die cut embellishments including a vellum heart, coffee cups and a sentiment die cut from Fun Foam. The iCraft Mixed Media Liquid Adhesive was perfect for adhering the foam title to my card front.
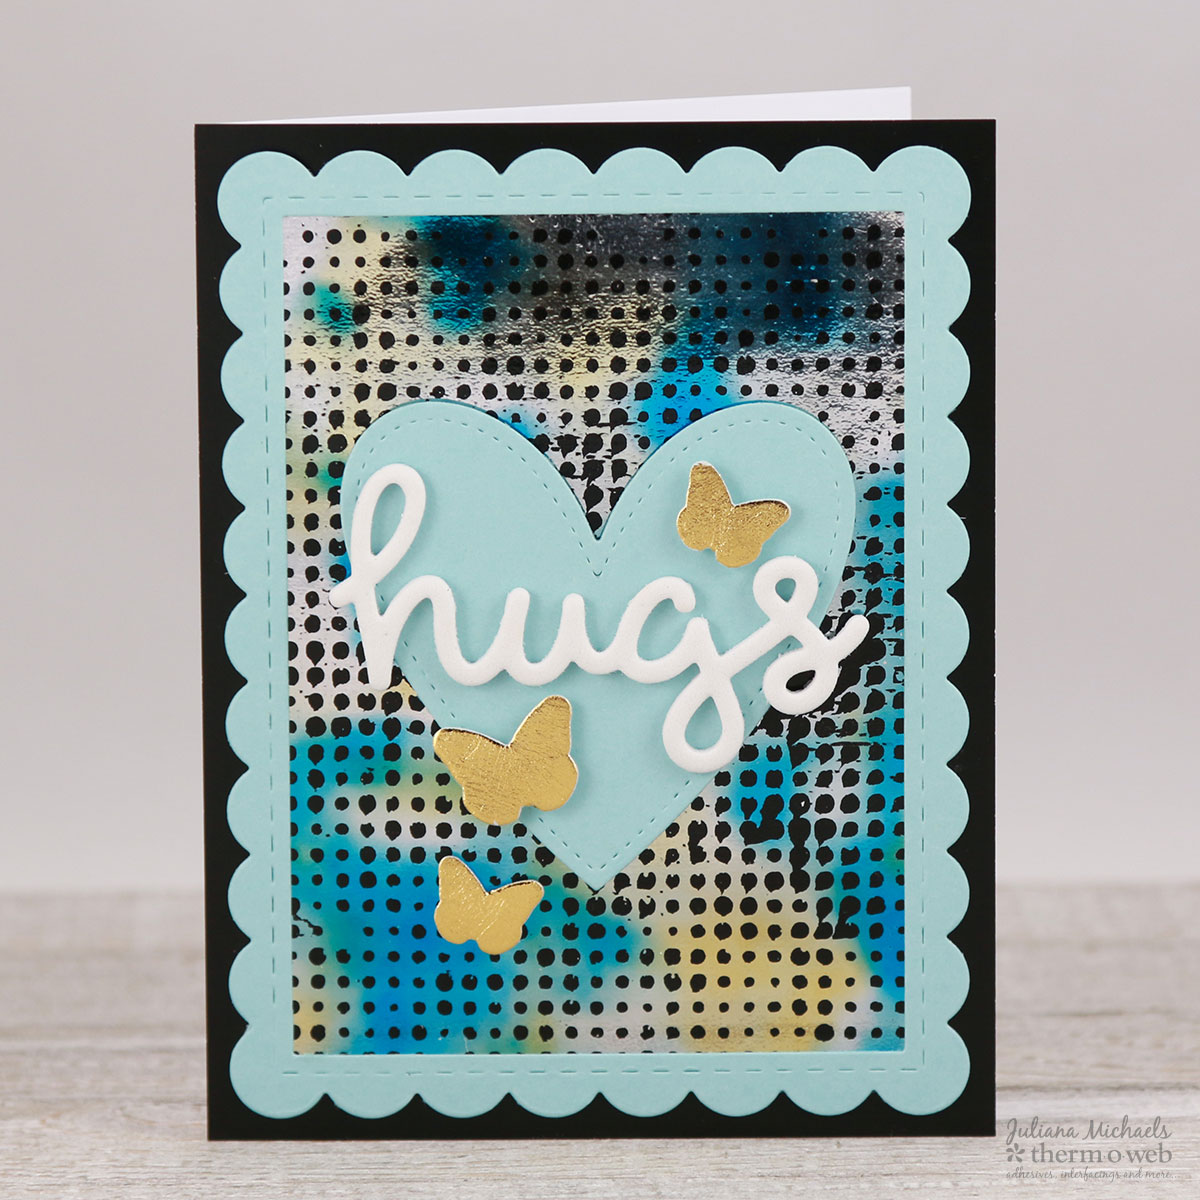
On the second card, die cut a frame from cardstock and layer it that on top of the “scrap” design. Cut another piece of toner paper to layer onto the card front to match the black from the Deco Foiled design. To decorate the card, adhere a die cut cardstock heart and the same sentiment cut from Fun Foam. Finally, die cut the butterflies from Deco Foil™ White Foam Adhesive and cover with a piece of gold Deco Foil.
Thank you for stopping by today! I hope you enjoyed learning more about the iCraft Deco Foil Transfer Gel and how to transform your Deco Foil Transfer Sheet trash into a treasure. Now it’s your turn to give this fun technique a try!
Join us on Instagram for a chance to win prizes ALL MONTH LONG! That’s right! Join us in our Photo Challenge by sharing and tagging us #thermoweb in photos with each day’s challenge theme! The more you participate the better your chances are to win as we’re not telling you what days we’re picking winners!

