Dimensional Die Cuts with 3D Foam Squares
I love adding a little dimension to my projects and the 3D Foam Squares by Therm O Web are prefect for doing just that. Hello Therm O Web fans! It’s Juliana with you and today I’m sharing how to use them to add dimension to die cuts on a card and gift bag.
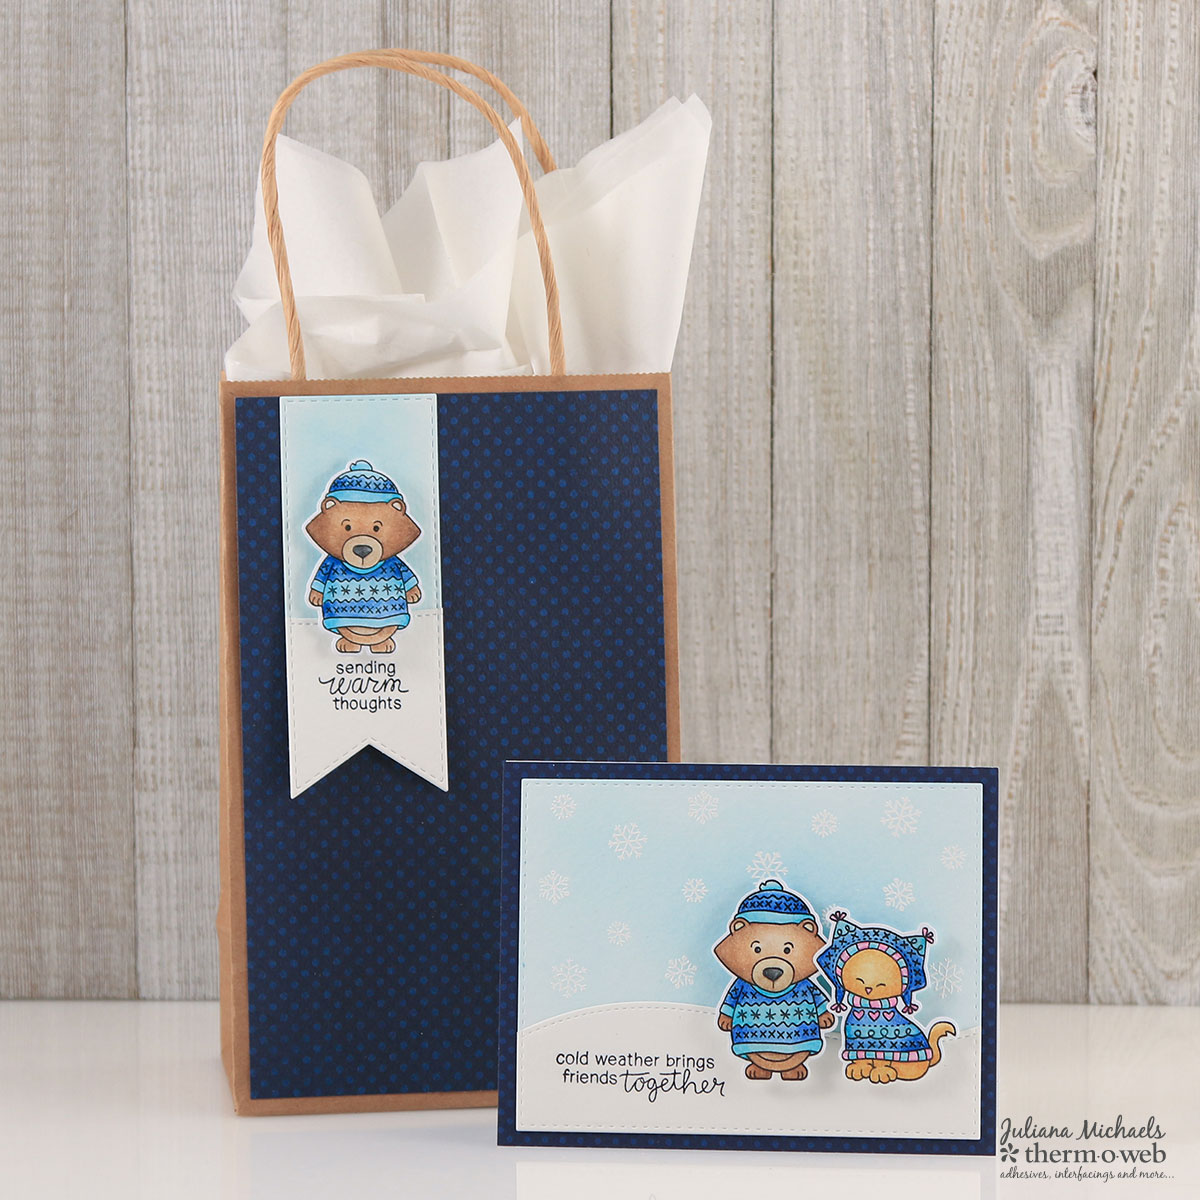
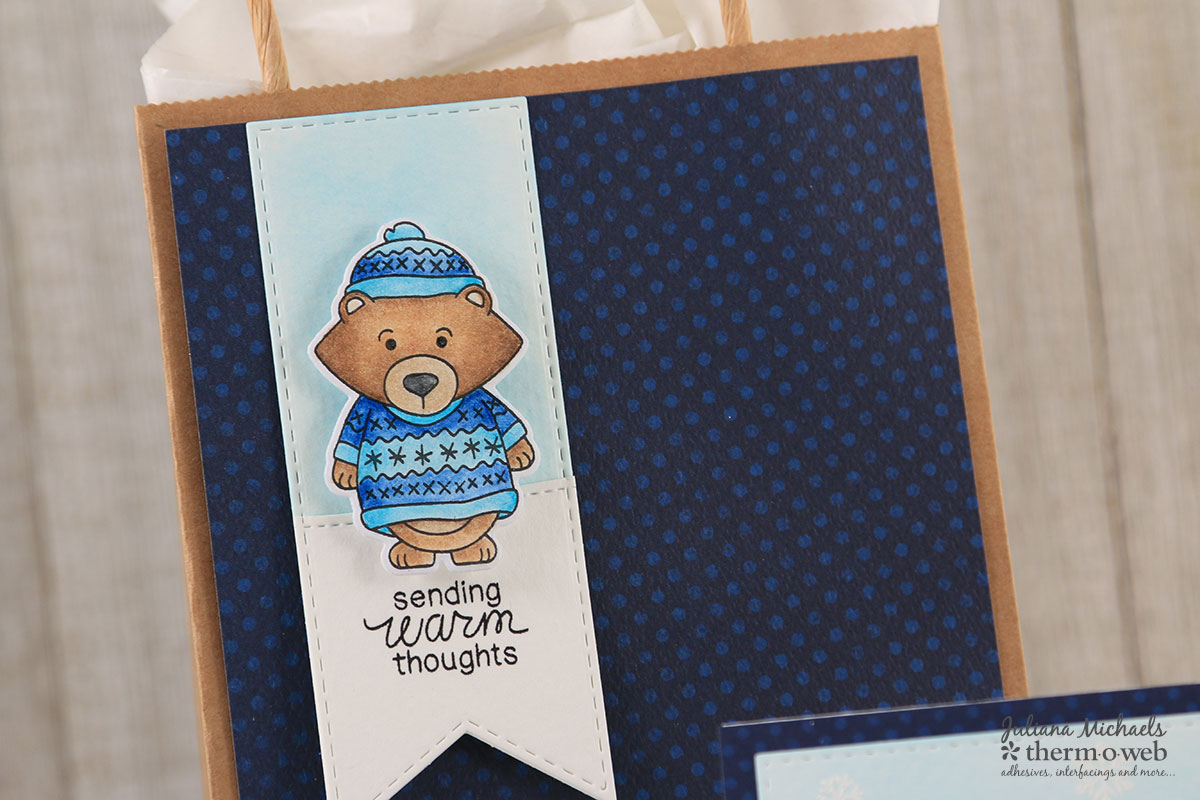
After stamping, coloring and die cutting my images, I added the 3D foam squares to the back side of each of these adorable critters. I then adhered them to the card front for instant dimension.
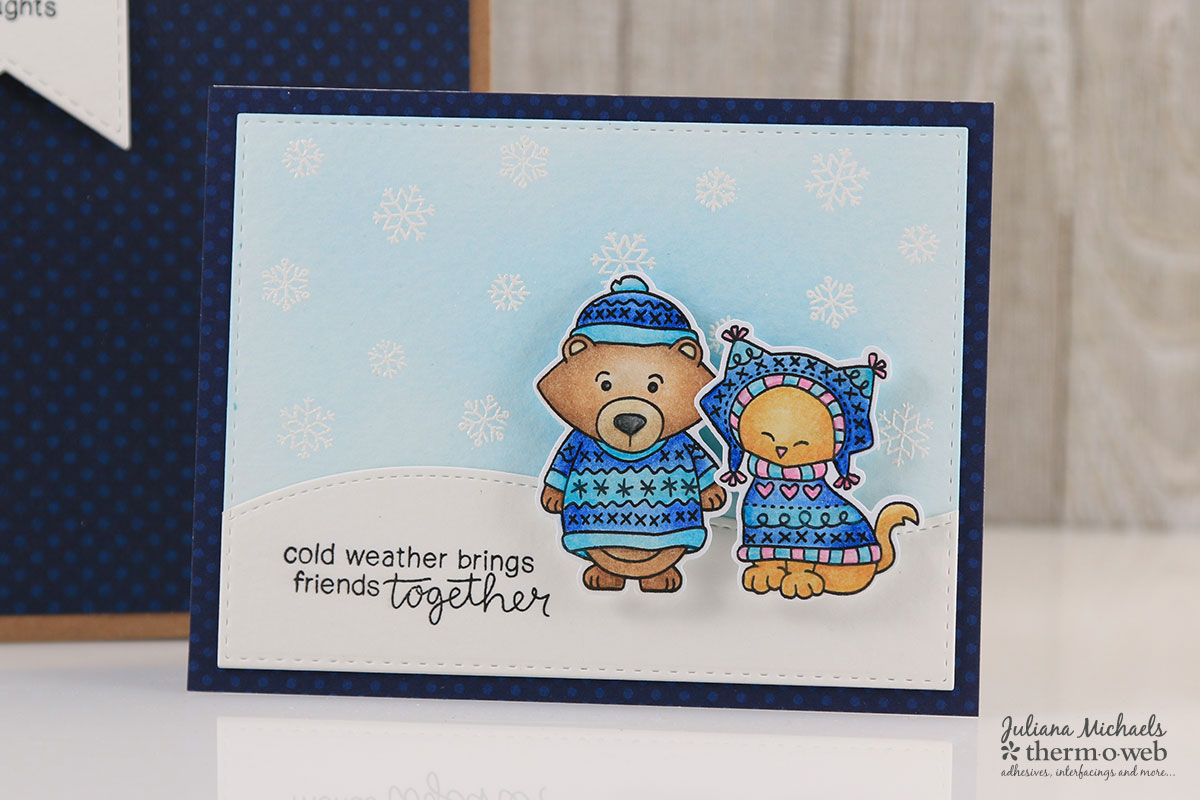
Therm O Web Supplies:
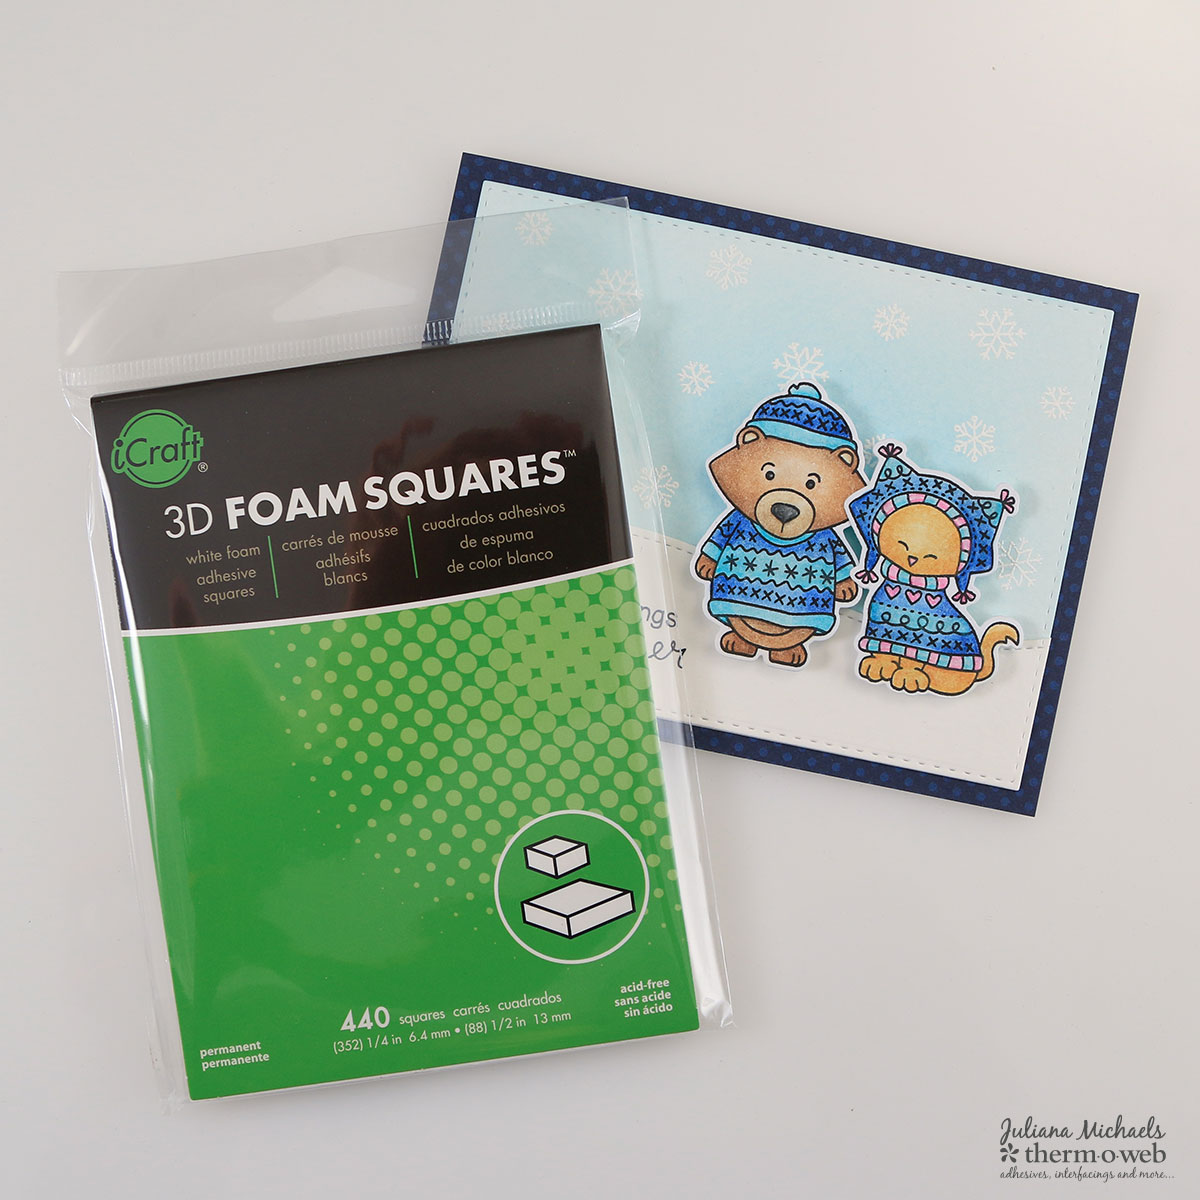
iCraft 3D Foam Squares
iCraft AdhesiveEasy Tear Tape 1/2 Inch
Other:
Stamps: Newton’s Nook Sweater Weather
Dies: Newton’s Nook Sweater Weather, Lawn Fawn, Taylored Expressions
Patterned Paper: BoBunny Double Dot Cardstock
Colored Pencils: Prismacolor
Ink: Ranger Distress Ink Tumbled Glass, Tsukineko Versamark Embossing Ink,Tsukineko Versafine Onyx Black
Embossing Powder: American Crafts Clear
Project Tips:
I love that the 3D Foam Squares are available in 2 different sizes. This makes them perfect for just about any project you can imagine. They are also easy to cut with a pair of non stick scissors, if you need them a slightly different size.
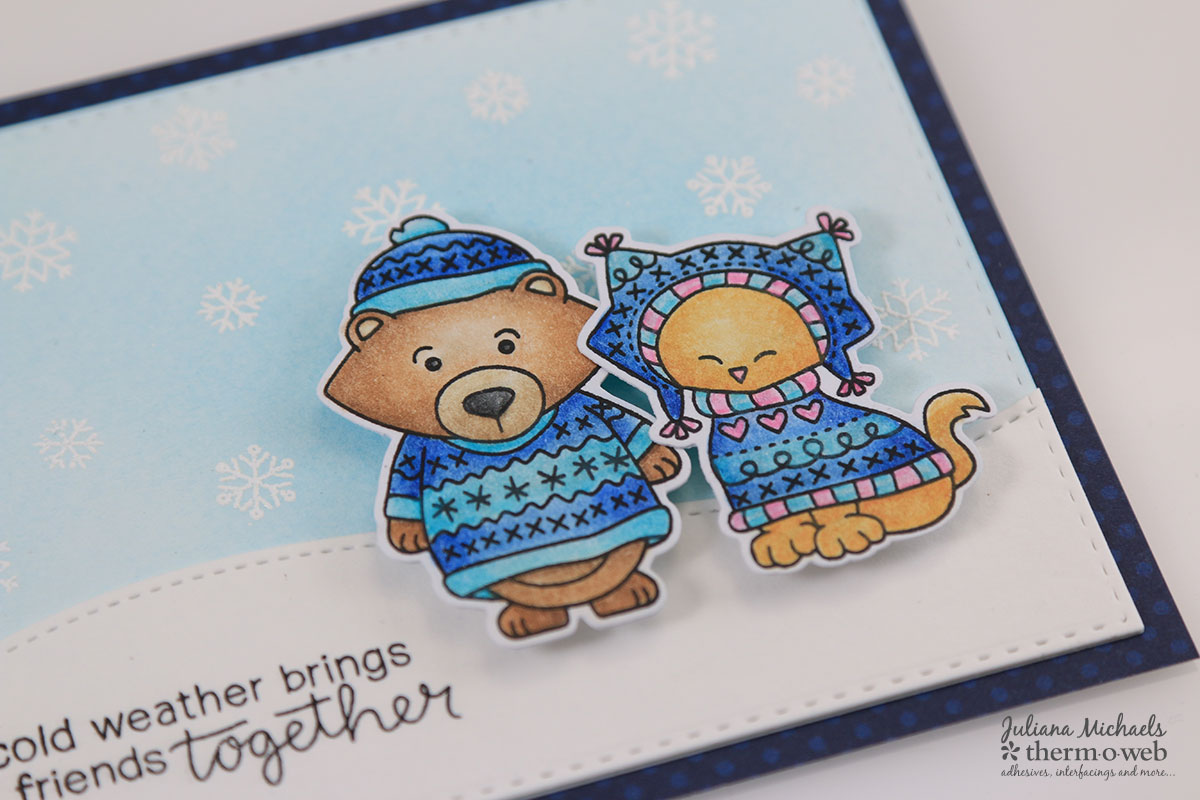
I even used them to adhere the little bear to the tag on the gift bag!
So how do you use Therm O Web’s 3D Foam Squares? Hopefully you’ll pull them out the next time you want to add some dimension to your die cuts!
HUGS!
Juliana
